Getting
to know Word 2010
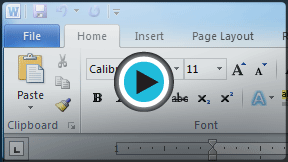
Video:
Exploring Your Word 2010 Environment
Word 2010 is a bit different from
earlier versions, so even if you've used Word before you should take some time
to familiarize yourself with the interface. The toolbars are similar to those
in Word 2007, and they include the Ribbon and the Quick Access
toolbar. Unlike Word 2007, commands such as Open and Print
are housed in Backstage view, which
replaces the Microsoft Office button.
The
Ribbon
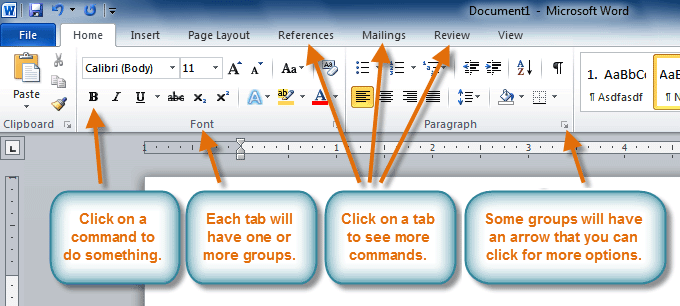
The new tabbed Ribbon system
was introduced in Word 2007 to replace traditional menus. The Ribbon
contains all of the commands you'll need in order to perform common tasks. It
contains multiple tabs, each with several groups of commands, and
you can add your own tabs that contain your favorite commands. Some groups have
an arrow in the bottom-right corner that you can click to see even more
commands.
Certain programs, such as Adobe
Acrobat Reader, may install additional tabs to the Ribbon. These tabs are
called add-ins.
To
minimize and maximize the Ribbon:
The Ribbon is designed to be easy to
use and responsive to your current task; however, you can choose to minimize
it if it's taking up too much screen space.
- Click the arrow in the upper-right corner of the
Ribbon to minimize it.
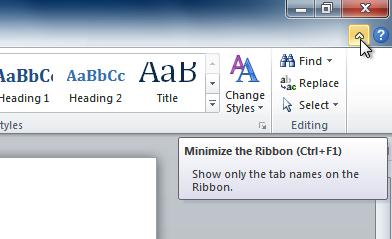
- To maximize the Ribbon, click the arrow again.
When the Ribbon is minimized, you
can make it reappear by clicking on a tab. However, the Ribbon will disappear
again when you're not using it.
To
customize the Ribbon:
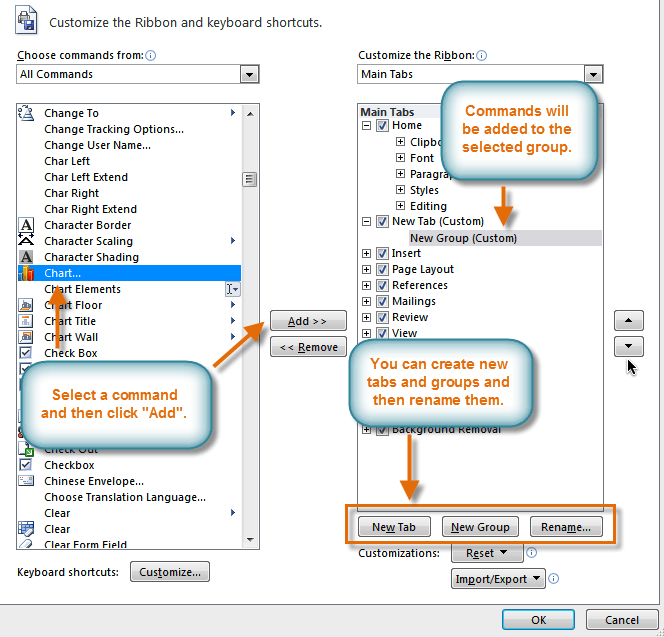
You can customize the Ribbon by
creating your own tabs with the commands you want. Commands are always
housed within a group, and you can create as many groups as you want in
order to keep your tab organized. If you want, you can even add commands to any
of the default tabs, as long as you create a custom group in the tab.
- Right-click the Ribbon and select Customize the Ribbon. A dialog box will
appear.
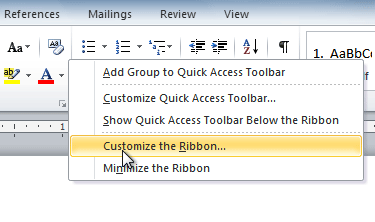
- Click New Tab. A new tab will be created with a
new group inside it.
- Make sure the new group is selected.
- Select a command from the list on the left, then click Add. You can also drag commands directly into a
group.
- When you are done adding commands, click OK.
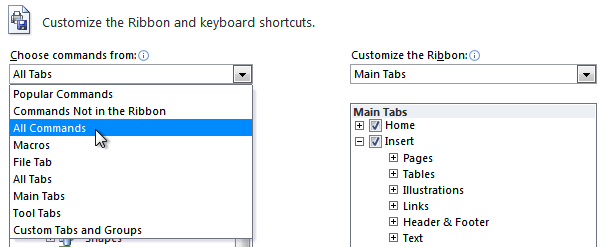
If you
don't see the command you want, click the Choose commands from:
drop-down box, then select All Commands.
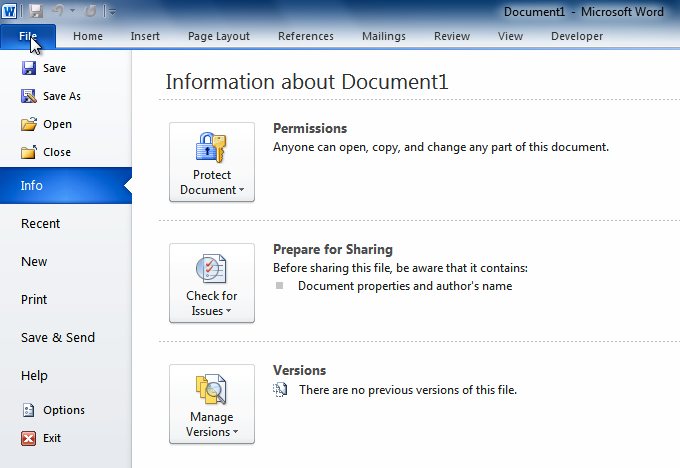
Backstage
view
Backstage view gives you various options for saving, opening, printing,
and sharing your files. It's similar to the Microsoft Office button menu
from Word 2007 and the File menu from earlier versions of Word. However,
instead of just a menu it's a full-page view, which makes it easier to work
with.
To
get to Backstage view:
- Click the File tab.
- You can choose an option on the left side of the page.
- To get back to your document, click any tab on the
Ribbon.
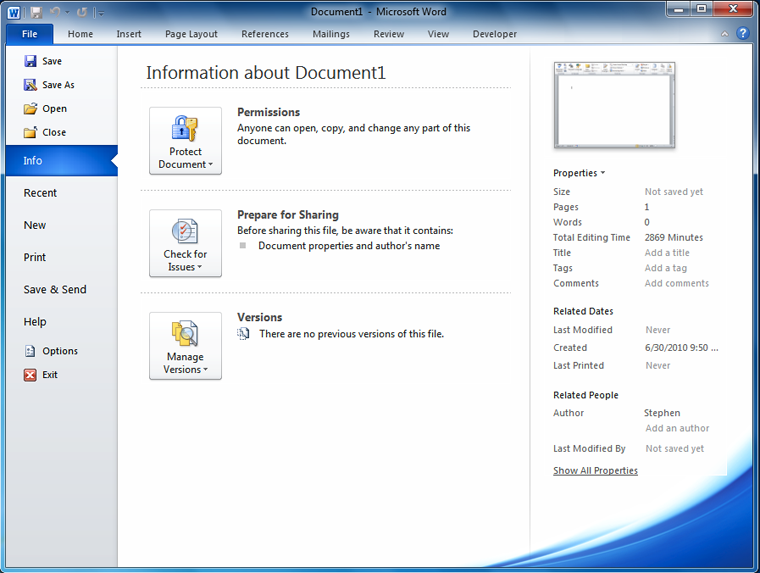
Click the buttons in the interactive
below to learn about the different things you can do in Backstage
view.
The
Quick Access toolbar
The Quick Access toolbar,
located above the Ribbon, lets you access common commands no matter which tab
you're on. By default, it shows the Save, Undo, and Repeat
commands. You can add other commands to make it more convenient for you.
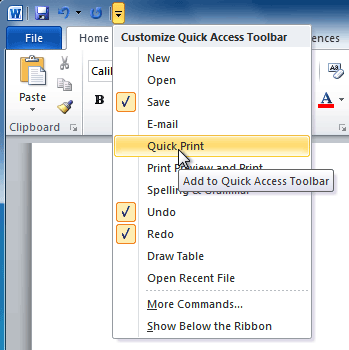
To
add commands to the Quick Access toolbar:
- Click the drop-down arrow to the right of the Quick
Access toolbar.
- Select the command you want to add from the drop-down
menu. It will appear in the Quick Access toolbar.
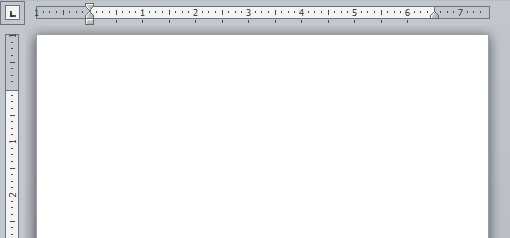
The
Ruler
The Ruler is located at the
top and to the left of your document. It makes it easier to adjust your
document with precision. If you want, you can hide the Ruler to free up more
screen space.
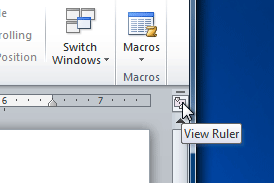
To
hide or view the Ruler:
- Click the View Ruler icon over the scrollbar to
hide the ruler.
- To show the ruler, click the View Ruler icon
again.
Creating
and opening documents
Video:
Creating Documents in Word 2010
Word files are called documents. When
you start a new project in Word, you'll need to create a new document, which
can either be blank or from a template. You'll also need to know how to open
an existing document.
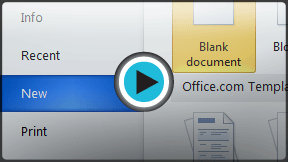
To
create a new blank document:
- Click the File tab. This takes you to Backstage view.
- Select New.
- Select Blank document under Available
Templates. It will be highlighted by default.
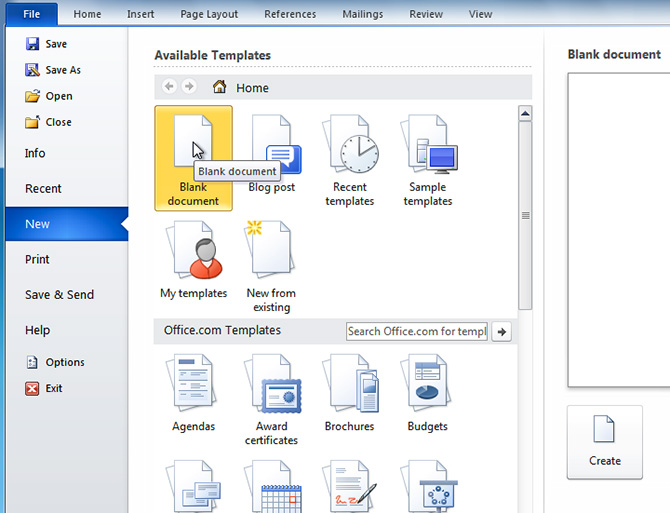
- Click Create. A new blank document appears in
the Word window.
To save time, you can create your
document from a template, which you can select from the New Document
pane. We'll talk about templates in a later lesson.
To
open an existing document:
- Click the File tab. This takes you to Backstage view.
- Select Open. The Open dialog box appears.
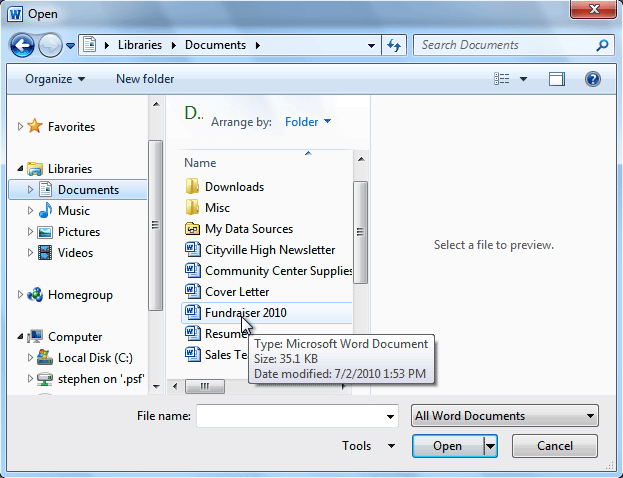
- Select your document, then
click Open.
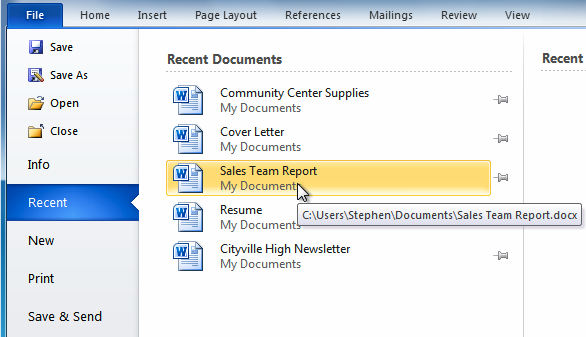
If you've opened a file recently,
you can also access it from the Recent Documents list. Just click on the
File tab and select Recent.
Compatibility
mode
Sometimes you may need to work with
documents that were created in earlier versions of Microsoft Word, such as Word
2007 or Word 2003. When you open these types of documents, they will appear in Compatibility
mode.
Compatibility mode disables
certain features, so you'll only be able to access commands found in the
program that was used to create the document. For example, if you open a
document created in Word 2007, you can only use tabs and commands found in Word
2007.
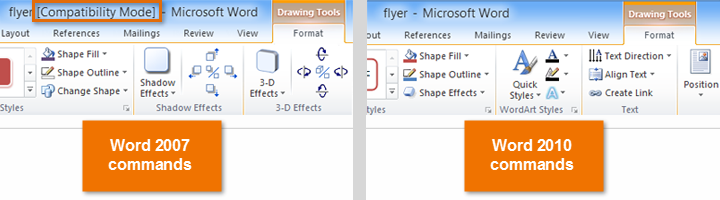
In the image below, you can see how
Compatibility mode can affect which commands are available. Because the
document on the left is in Compatibility mode, it only shows commands that were
available in Word 2007.
To exit Compatibility mode, you'll
need to convert the document to the current version type. However, if you're
collaborating with others who only have access to an earlier version of Word,
it's best to leave the document in Compatibility mode so the format will not
change.
You can review this support page from Microsoft to learn more about which features are
disabled in Compatibility mode.
To
convert a document:
If you want access to all Word 2010
features, you can convert the document to the 2010 file format.
Note that converting a file may
cause some changes to the original layout of the document.
- Click the File tab to access Backstage
view.
- Locate and select the Convert command.
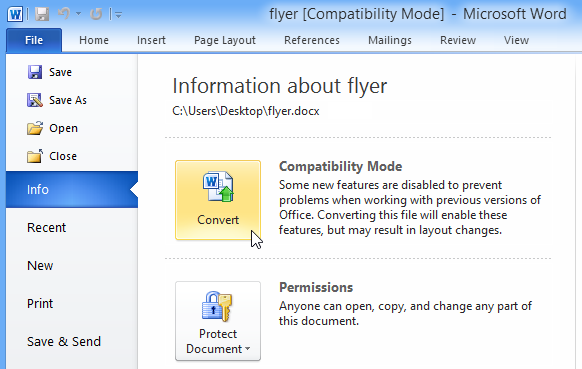
- A dialog box will appear. Click OK to confirm
the file upgrade.

- The document will be converted to the newest file type.
It's important to know how to perform basic tasks with text when working in a word processing application. In this lesson, you'll learn the basics of working with text, including how to insert, delete, select, copy, cut, paste, and drag and drop text.
Working
with text
Video:
Text Basics in Word 2010
If you're new to Microsoft Word,
you'll need to learn the basics of working with text so you can type,
reorganize, and edit text. You'll need to know how to insert, delete,
and move text, as well as how to find and replace specific words or
phrases.
Optional: You can download this example for extra
practice.
To
insert text:
- Move your mouse to the location where you want text to appear
in the document.
- Click the mouse. The insertion point appears.

- Type the text you want to appear.
To
delete text:
- Place the insertion point next to the text you
want to delete.
- Press the Backspace key on your keyboard to
delete text to the left of the insertion point.
- Press the Delete key on your keyboard to delete
text to the right of the insertion point.
To
select text:
- Place the insertion point next to the text you
want to select.
- Click the mouse. While holding it down, drag your mouse
over the text to select it.
- Release the mouse button. You have selected the text. A
highlighted box will appear over the selected text.

When you select text or images in
Word, a hover toolbar with formatting options appears. This makes
formatting commands easily accessible, which can save you time. If the toolbar
does not appear at first, try moving the mouse over the selection.

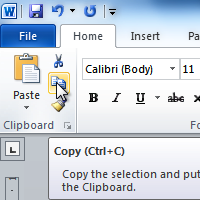
To
copy and paste text:
- Select the text you want to copy.
- Click the Copy command on the Home tab. You
can also right-click your document and select Copy.

- Place your insertion point where you want the text to
appear.
- Click the Paste command on the Home tab. The
text will appear.
To
cut and paste text:
- Select the text you want to copy.
- Click the Cut command on the Home tab.
You can also right-click the document and select Cut.

- Place your insertion point where you want the text to
appear.
- Click the Paste command on the Home tab.
The text will appear.
You can also cut, copy, and paste by
right-clicking the document and choosing the desired action from the drop-down
menu. When you use this method to paste, you can choose from three options that
determine how text will be formatted: Keep Source Formatting, Merge
Formatting, and Keep Text Only. You can hover
the mouse over each icon to see what it will look like before clicking it.

To
drag and drop text:
- Select the text you want to copy.
- Click and drag the text to the location where you want it to appear. The
cursor will have a rectangle under it to indicate that you are moving
text.

- Release the mouse button, and the text will appear.
Finding
and replacing text
When you're working with longer
documents, it can be difficult and time consuming to locate a specific word or
phrase. Word can automatically search your document using the Find
feature, and it even allows you to change words or phrases using Replace.
To
find text:
- From the Home tab, click the Find
command. The navigation pane will appear on the left side of the
screen.

- Type the text you want to find in the field at the top
of the navigation pane.
- If the text is found in the document, it will be
highlighted in yellow, and a preview will appear in the navigation pane.
- If the text appears more than once, you can click the arrows
on the navigation pane to step through the results. You can also click the
result previews on the navigation pane to jump to the location of a
result in your document.

- When you close the navigation pane, the highlighting
will disappear.
To
replace text:
- From the Home tab, click the Replace
command. The Find and Replace dialog box will appear.

- Type the text you want to find in the Find what
field.
- Type the text you want to replace it with in the Replace
with field.
- Click Find Next and then Replace
to replace text. You can also click Replace All to replace all
instances within the document.
