Installation & Setup of
the PONYPROG software
Installation
Click on the setup button below to start the installation of
the PONYPROG software (or right-click to download: 541 kB).
(Windows95/98/ME or NT/2000/XP).

Follow the installation instructions.
For more information on PONYPROG see: www.lancos.com
Setup of the PonyProg software
- Start ponyprog, a friendly whinnying horse welcomes you..
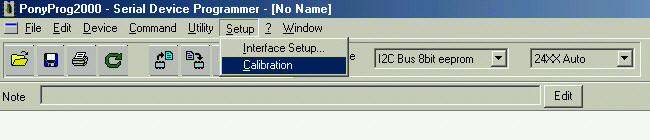
Two messages about calibration and setup
will appear.
- Now connect your PIC programmer with a serial cable to
your PC and plug in the 15V supply.
Make sure that the GREEN LED of the programmer is on.
- Run calibration as below:
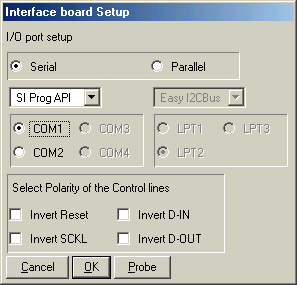
- Now run Interface setup:

With interface setup you choose which com port the
PICPROG is connected to.
Select a COM port and then click on "probe"
to check if it is the right one:
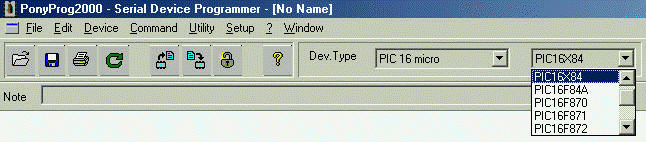
- To test your PIC programmer, select PIC16, PIC16F84 in
the toolbar:
(Do not insert a µController in one of the sockets)

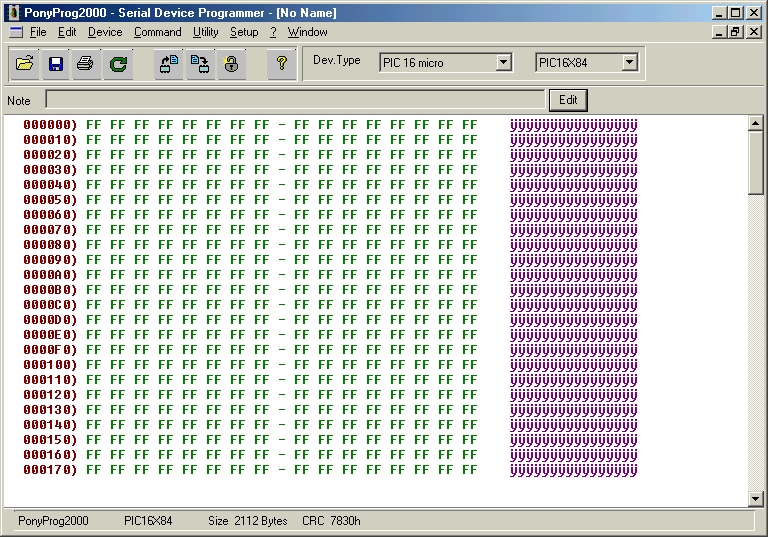
- Now select "read all" from the command menu:
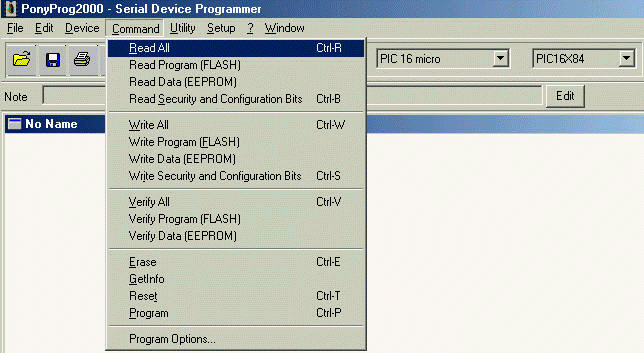
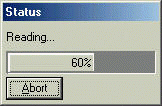
PONYPROG will start reading data; and the RED LED of your programmer
will light up:
- The result will be all "FF" because no device
is inserted:
- Your PIC programmer is ready for use, you can test it
with the example "LEDSRUN" on
my main page:
BACK
TO MAIN PAGE