When I got my 86 4Runner, it suffered from the infamous "4Runner Rear-End Sag." As I understand it, on the 1st generation 4Runners, Toyota essentially used the same* rear leaf springs as they used on their 4WD pickup trucks, despite the fact that the 4Runner weighs significantly more. Thus, it is common for 1st generation 4Runners to suffer from sagging springs.
*(Note: I heard somewhere that later model 1st generation 4Runners had an extra leaf in their spring packs, but that they still suffer from the same problem. I don't know if this is true or not.)
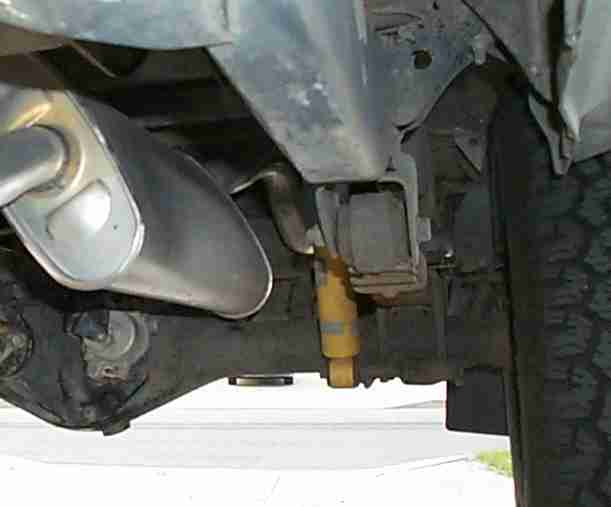
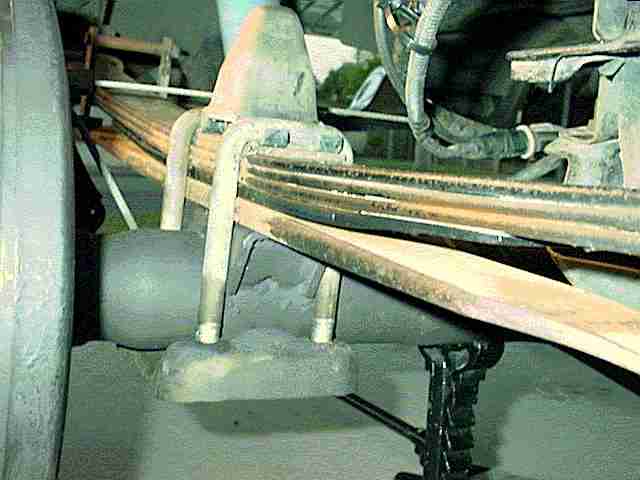
My springs were totally flat. They had no arch and were resting almost completely flat on the overload springs.
Because they were resting on the overload springs, the spring packs were quite stiff. Something had to be done.
There are various methods that can be used to raise the rear end of a vehicle that uses leaf springs:
Helper springs should be avoided at all costs. They are basically metal bars that clamp to your spring pack, holding it in an arched position. They limit the flexibility of the spring pack, and can even damage it by concentrating excessive force on a small portion of the spring. Just for fun, I tried some that a buddy of mine had laying around. With them on, it felt like I had wooden wheels on my 4Runner!
Blocks and longer shackles could provide the needed lift, however they would do nothing to address the problem of my springs being flat. I wanted my springs to flex better, and that meant my springs needed to have some arch to them.
This left me with two options, either replace my springs, or use add-a-leafs (AALs) to add another leaf to and bolster my existing spring packs. Since the AAL approach is so much cheaper, I decided to give them a shot first before replacing my springs.
On several occasions, I saw Rancho AALs mentioned on the various Toyota BBSs, and most of the comments about them were positive. Rancho has a single-leaf AAL which sells for around $60. They also have a "soft-ride" setup that sells for around $120. The softride setup actually consists of two AALs per spring pack. Since it would cost me less than $300 for a set of new Skyjacker springs, I felt that $120 was more than I wanted to spend trying to prop up my stock springs. I decided that I was going to try the cheaper $60 Ranchos AALs.
I stopped by my local 4Wheel Parts Warehouse to pick up a set, however they didn't have any in stock and would have had to order them for me. The salesman was helpful and, after I explained what I was trying to accomplish, he suggested a set of ProComp AALs. He said that a friend of his had them on his pickup and that they work pretty well. I was concerned that the AALs might make my spring pack too stiff and give a harsh ride. He said that, on his friend's truck, they were a little on the stiff side, however he thought that they would not be too bad on my 4Runner since it weighs more in the rear. The Procomp AALs cost under $30 and they were in stock. Since I wasn't sure that AALs would solve my problem, $30 was even better than $60. Needless to say, I took a set home with me.
Installation was straight forward. The ProComp AALs that I bought are only about 21.5" long, so I was able to install them without having to remove the spring packs from my 4Runner.
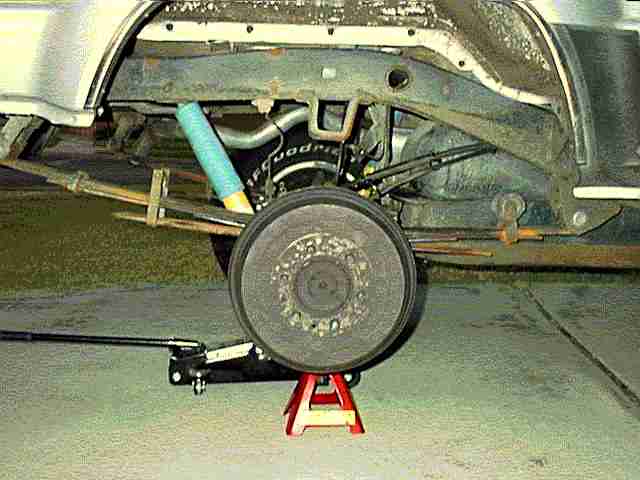
First, I jacked up my 4Runner and secured the chassis on tall jack stands. Next, I removed the wheels and the axle. Working on one spring pack at a time, I used two large C-clamps to hold the leaves of the spring pack together as I removed the centering pin (bolt) that holds the pack together. Sometimes the pins will rust in place and are difficult to remove. I sprayed PB Blaster on mine and fortunately, they came out without putting up a fight. I used a pair of vise-grips to hold them still while I removed the nuts.
After removing the centering pin, I loosened the C-clamps. This released the tension in the spring pack. Then I inserted the AAL between the bottom leaf of the pack and the overload spring. I smeared some grease on the ends of the AAL where it contacted the bottom leaf of the spring pack as per ProComp's instructions.
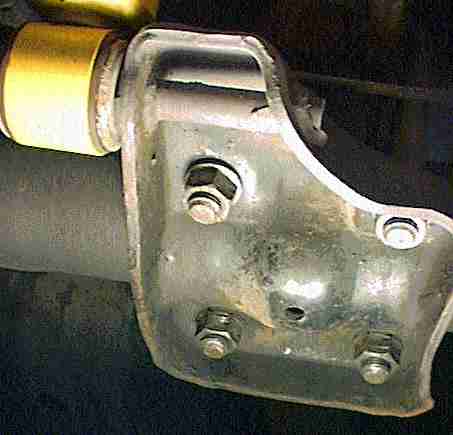
Due to the added thickness of the AAL (~3/8"), the stock centering pin was too short to reuse. Fortunately, ProComp included very long pins with the AALs. I installed their long pin and tightened the nut until the spring pack was re-compressed. Next, I used a hacksaw to cut the pin off about 1/16" or so above the top of the nut. Then I made sure that the AAL was aligned properly with the rest of the spring pack and I torqued the nut on the centering pin to spec (33ft-lbs).
Following the same procedure, I installed the other AAL into the other spring pack. Then I reinstalled the axle and torqued the U-Bolts to 90ft-lbs.
Note: Be careful when re-installing the U-Bolts. It is a tight fit where they pass through the bracket, and if they aren't aligned properly, the threads will get damaged when they are tightened. Also, be sure to tighten them in a pattern a little bit at a time so that they are tightened evenly (same amount of threads protruding from the nuts).
On my 4Runner, the stock U-Bolts were long enough to accommodate the added thickness of the AAL.
However, it would probably be a good idea to make sure that your U-Bolts are long enough before you take everything apart.
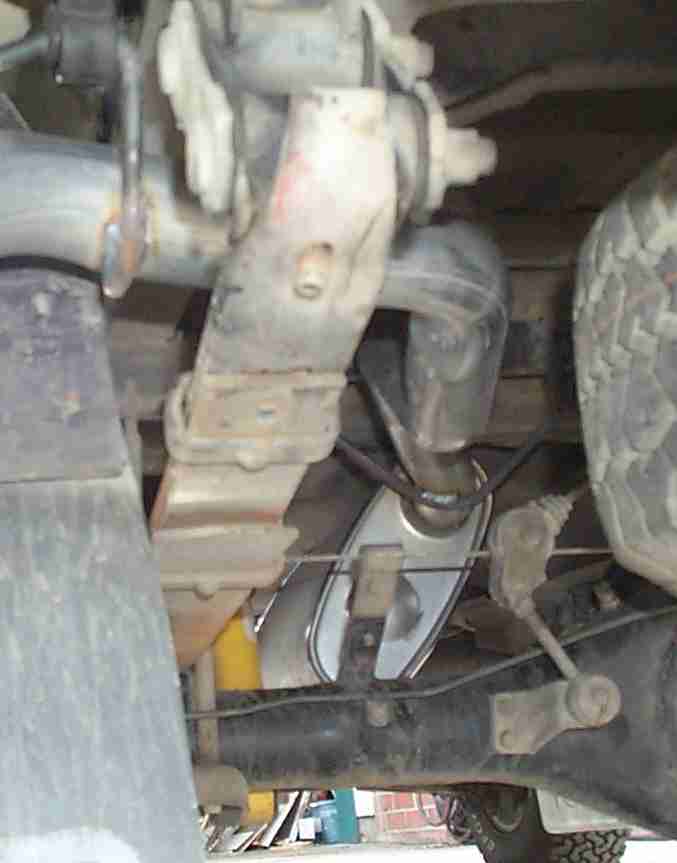
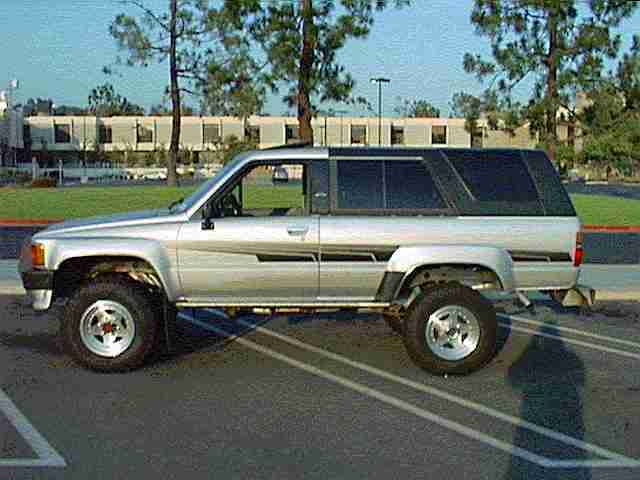
After installing the tires and setting my 4Runner down on the ground, it was immediately apparent that something was different. The spring packs were now arched, and they were no longer resting on the overload springs!
Crude before and after measurements indicate that the AALs raised the rear-end of my 4Runner roughly 2" from where it was. Now, the rear-end actually sits slightly higher than the front, but it is not too noticeable. I don't really want to crank my torsion bars up, so this is how looks for now:
I figure that the AALs may settle a bit, and once I get my rear bumper on the rear-end will come down a little bit.
After driving it around for a few days, I found a fairly level surface and took some better measurements. My 4Runner now sits 1.5" above stock height in the rear with a full tank of gas and stock spare tire. I factored in my best estimate of the difference in tire size between the stock 225/75R15 size and the 30x9.5R15 BGF's I have installed.
I am pleased with the results. The ride quality is improved. Now that I am no longer riding on the overload springs, it is definitely more resilient. I do notice more body roll in cornering, but not too bad. I haven't done any serious wheeling yet, but so far the off-road performance seems to be as good if not better than before. I haven't experienced any problems with axle wrap.
The ProComp part number for the AALs I bought is 13120. As mentioned, they are approx. 21.5" long which is quite a bit shorter than the other springs in the spring pack. I talked to someone who's stock springs were damaged after installing the short (~16"???) Rancho AALs. Because the Rancho AALs were so much shorter and stiffer than their stock springs, their stock springs kinked at the edges of the AALs. So far, everything looks OK with my setup; my springs conformed nicely to the ProComp AALs and apparently they are a bit longer than the Rancho's this person was using. However, if you are concerned about this, you may want to spend more money on a set of longer AALs. Personally, my thought is that if my stock springs do get damaged (which I feel is unlikely), I'll bite the bullet and replace them.
In conclusion, this has modification delivered a high "bang-for-the buck" factor. For less then $30, it is like I have a new 4Runner. It looks so much better now that it is leveled, and I don't have to break the bank on a new set of springs. I wish that I hadn't waited so long to do this modification.