|
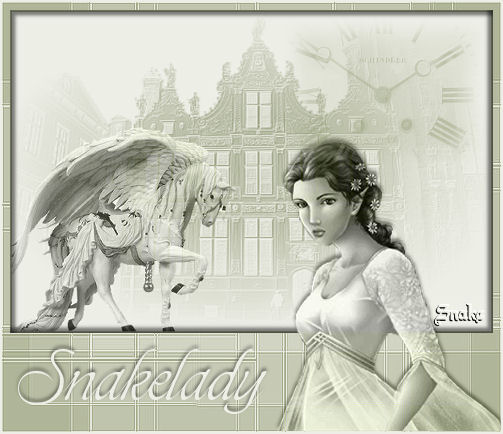
Time Flies
What do you need:
2 nice tubes and a background.
Filter FM Tile Tools.
the tubes I used are from the club Moni's Psp Design.
All the materials are
"here".
Open the tubes in Psp, and put your mask in your mask
folder.
Put the brush in your brush folder.
Pick two colors from your tube.
Open a new image 600x400 transparent and fill this with
your light color.
Layers - new rasterlayer and fill this with your dark
color.
We are now going to add a mask , based on an image.
Layers - new mask layer - from image:
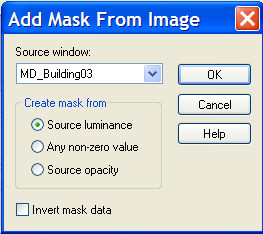
Look for MD-Building03 and click ok.
Layers merge - merge group.
Effects - filters - FM TileTools - Blendemboss, click
apply.
Copy the tube MD-Angelwhite and paste as a new layer.
Image - resize 95% - alle layers NOT marked.
Move to the left. See my example.
Blend mode - luminance legacy
Layer opacity 75.
Layers merge - merge all.
Image - add borders - 2 pixels with your dark color.
Image - resize - 80% - all layers marked.
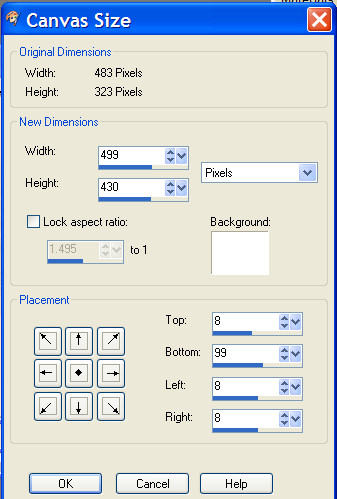
Image - canvas size with these settings.
Your backgroundcolor is
the light color!!
Select the space around your image with the magic wand.
Layers - new rasterlayer. Fill this with your dark color.
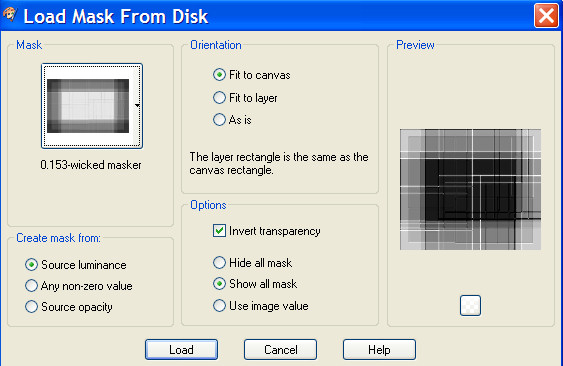
Layers - mask -Load mask from disc and find the mask
0.153wicked masker.
Invert transparency marked.
effects - edge effects
- enhance.
Layers merge - merge group.
Selection - invert selection.
Effects - cutout: -5, -5, 50, 5, black
Selections - invert selection.
Effects - dropshadow : 5-5-50-5, black.
Selections - select none.
Copy the tube ( cris ortega) and paste as a new layer.
Move to the right bottom.
Blend mode - luminance legacy.
Effects - dropshadow -3, 0, 50, 5, black.
Activate your brush tool, find the klokbrush and stamp
on the right with your dark color.
Image - add borders - 2 pixels with your light color.
It s time to put your name on it.
I used the font: Toots Extended, size 48.
Effects dropshadow, same settings.
Place your watermark and the tag is ready.
Don't copy without my permission.
Snakelady.
Home
|