| Appliques |
 |
 |
 |
 |
 |
| Step one: I trace my design onto "Heat N Bond light" |
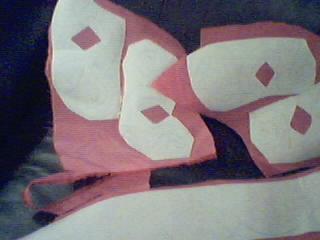
| Step two: Roughly cut fabricaround edges of traced design |
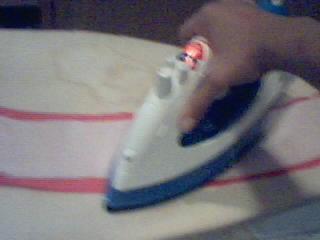
| Step Three: Iron on Paper side so "Heat N Bond light" sticks to fabric. Do NOT remove paper. |
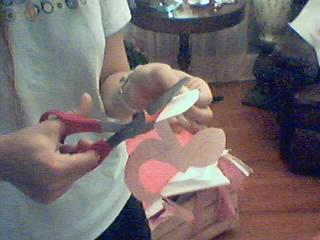 |
| Step four: Cut out appliques around your traced design (I find it's easier to do it once the "Heat N Bond light" is iron one, since the fabric will be stiffer for cutting. |
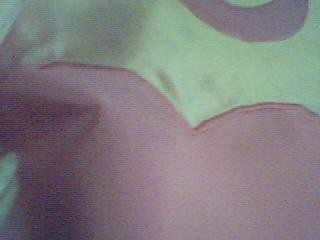
| Step five: Remove paper backing and put the glue side ONTO the fabric (don't iron it. Accidentallly did that with "Wonder under, since the glue is so transparent, you sometimes don't see it if you're not paying attention. Oops!) |
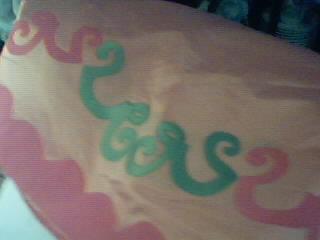
| Step six: Back your fabric with tear away stabilizar and proceed to do an embroidery stitch along the edge. (set your machine to a CLOSE zig zag stitch) My machine has the Length at 0 the width at 3. |