|
|
|
Planting small seeds: |
|
1. Stratify the seeds as described above. After 2 weeks, they should be ready to plant. |
|
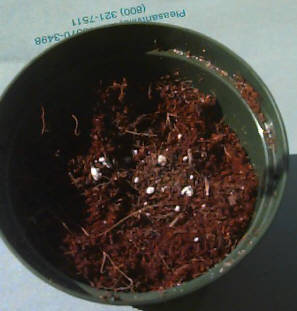
2. Use a moist seed-starting mix to fill your containers. |
|
3. Sprinkle the small seeds on top of the soil. (Like you would sprinkle salt or pepper on something.) |
|
4. Use your fingers to gently firm the seeds into the surface of the soil. (You don't need to totally bury small seeds.) |
|
5. Keep the soil moist until you see new seedlings start to sprout. Some people cover their containers with plastic to make a little greenhouse for this step. |
|
6. Once the new green seedlings start to grow, take off the plastic and give them as much light as possible. |
|
7. When they are about 2-3 inches high, you can thin them out so they have enough room to produce good roots... see transplanting directions below. |
|
|
|
|
|
Planting big seeds: |
|
1. Follow the same steps as described above, but plant fewer big seeds in each container and plant them deeper than the small seeds. |
|
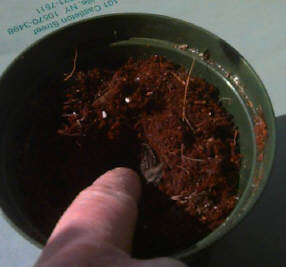
2. For example, instead of sprinkling many small seeds on top of the soil, you should place only 5 to 6 big seeds on the top. |
|
(<------ In the picture to the left, you can see two large seeds by the tip of my finger.) |
|
3. Push them into the soil about 1/2 inch. |
|
4. Pat down the soil firmly over the seeds. |
|
5. Keep moist as described above and transplant when overcrowded. |
|
|
|
|
|
Separate crowded seedlings: |
|
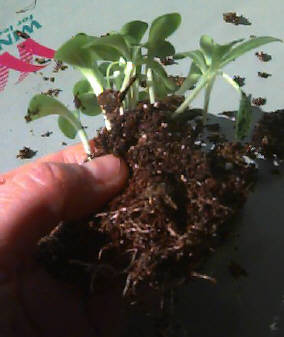
1. If all of your seeds sprout, your container will be crowded with seeds like this ------------> |
|
2. Eventually, they will compete too much for nutrients and prevent each other from growing well. |
|
3. Tap the root ball out of the container and gently separate the tangled roots into smaller groups. This is easier if the soil is moist, but not totally wet. |
|
4. After separated, these smaller groups can be repotted into their own container where they will have more room to grow. |
|
Transplanting seedlings: |
|
1. Prepare new containers for your seedlings by filling them to the top with soil mix and poking a hole into the middle of each one with your finger. |
|
2. Gently take 1 or 2 seedlings that you separated and place their roots in the hole that you prepared for them. |
|
3. Be sure to handle the little seedlings by the leaves, NOT the stems. (They are too fragile) |
|
4. Put some new soil mix on top of the roots and firm it up all around the stem. |
|
5. Keep the soil moist until the seedlings adjust to their new surroundings. |
|
6. Eventually, you should thin them down to one strong seedling per pot. |

|
Home |
|
Restoration work at Swallow Cliff Woods, |
|
G.Kerkstra school garden |
|
How to start a school garden |
|
Earth Day presentation at the Field Museum |
|
Free Seeds |
|
Environmentally friendly crafts |
|
Favorite Links |