Aprilia Falco Chain Installation
After removing the chain, and replacing the sprockets, you'll likely need
to cut the new chain before fitting. The Falco uses 106 links by
default, but if you increase the number of teeth on the front and
back by more than +1 you'll need to adjust the
number of links. The safest thing to do is to line the new chain
out on the floor next to the old one and mark off the length of cut.
Remember that the master link will add one sideplate link, and
you'll need to cut the new chain so the two ends can be joined by
a sideplate.
|
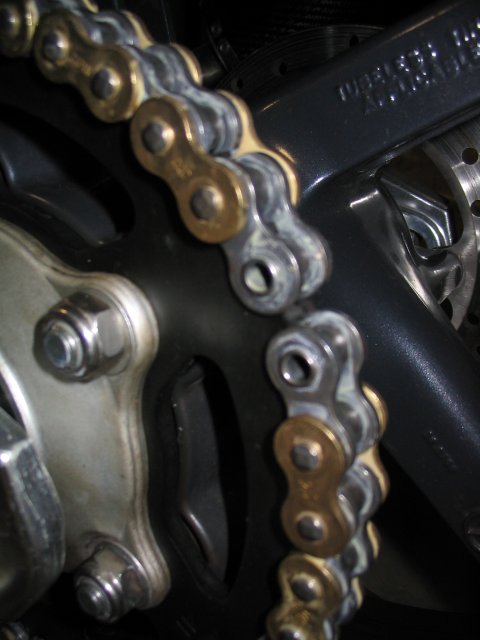
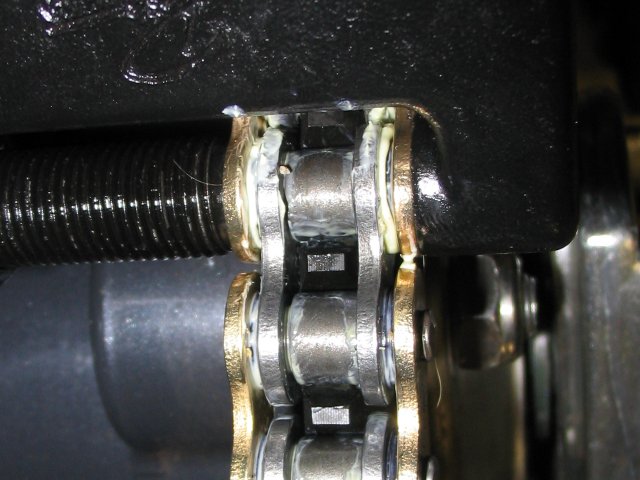
Feed the new chain onto the sprockets, leaving the ends over
the rear sprocket to hold it in place for riveting. Note the
chain is cut one link short so that the addition of the master
link will come out to the desired length (usually 106)
|
|
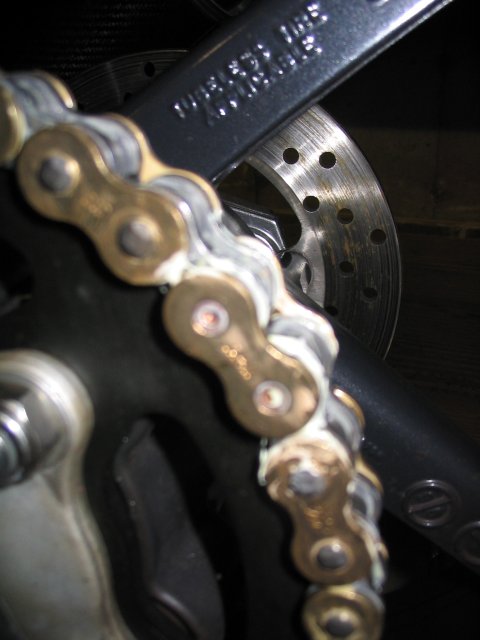
Place two new o-rings on the new riveted
master link sideplate. Grease the pins and o-rings, and place
grease in the holes in the chain. Place the new riveted master
link sideplate through the chain. If you feed from the inside
to the outside, it will be easier to see your work when you
press the final sideplate. The downside is the free sideplate
may get marred a bit, so cosmetically you may want it facing
inwards. You an start the sideplate by hand, but don't forget
to put two new greased o-rings on the pins first!
|
This sideplate is ready to be pressed. It is greased,
and all four new o-rings are in place.
|
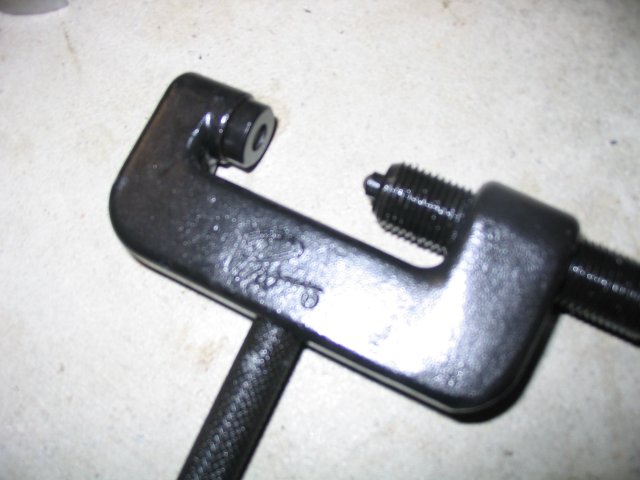
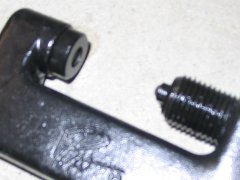
This particular chain tool can be configured
with flat press plates
to press on the sideplate before riveting. The plate
with the channel goes on the anvil side of the tool.
The plate with the holes slips onto the screw side,
so that the un-bucked rivets can come through the press
plate without damage. If you don't have the flat press
plates, you can press on the plate with the tool as it was
configured before, with the press pin withdrawn (this mode
will mar the chain sideplate a bit).
|
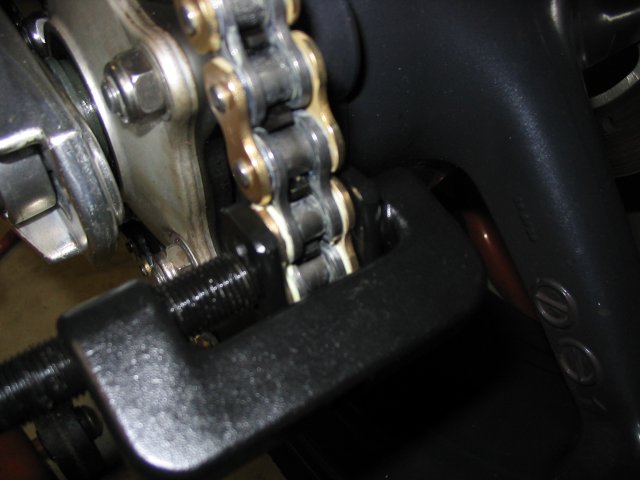
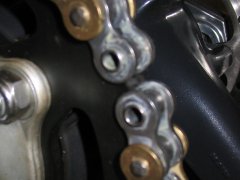
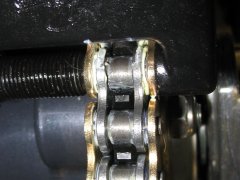
Press the sideplate on until it
just about aligns with the other plates. Do not
overcompress the o-rings. Later, when we buck the rivet
it may press the plate a bit more so don't overdrive the
plate now.
|

|
|
We now configure the tool as a fixed press with
an anvil to hold the head of the rivet, and a heavy
riveting pin to spread the open end of the rivet.
|
|
Snug up the press guide to hold the sideplate in
line with the other sideplates (this step can mar the
finish on the chain). Then turn the press pin screw
a little at a time, checking your progress often.
|
|
|
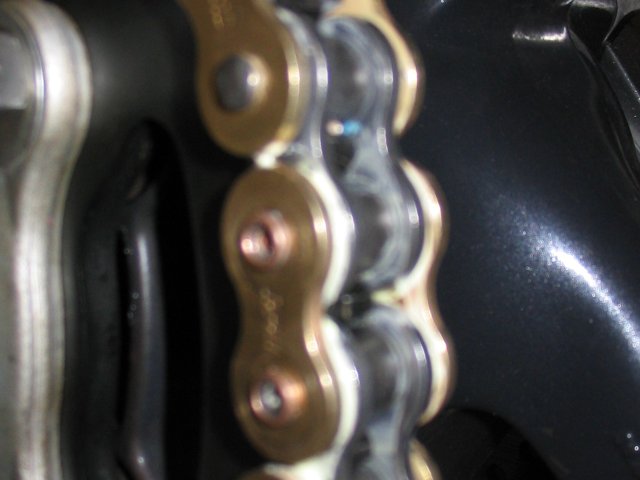
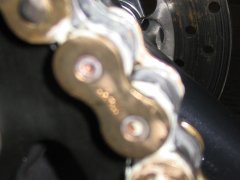
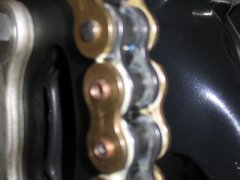
Stop pressing when the master link sideplates are
inline with the rest of the chain, and the rivet head
is expanded similar to the head size on the other links.
|
You're done. Give the bike a careful test ride,
and check that the chain is OK. I have known at least one
dealer-installed master link to work loose (the rivets weren't properly
expanded), so as always, check your work.
Go back to the Falco
home page.