Replacing the Front Brake Pads
Sintered pads don't
seem to wear out, they just seem to get harder and harder.
After nearly 11,000 miles, mine still had a lot of friction
material on them, but not a lot of bite. It would stop, but not
without a lot of effort. I was way overdue for new pads.
|
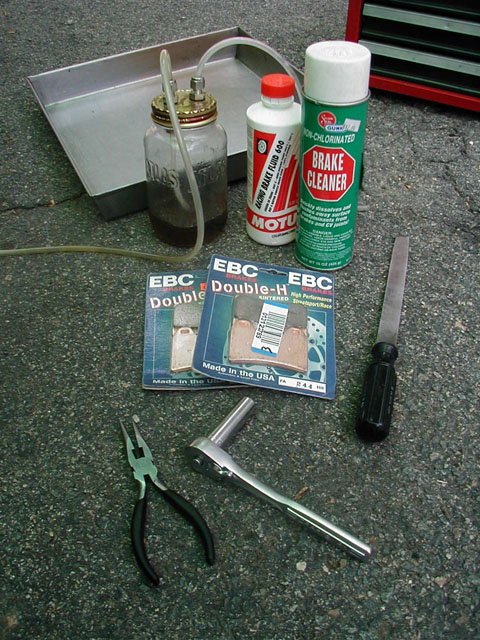
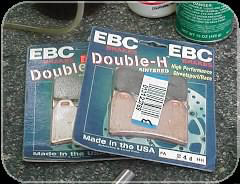
I haven't tried a lot of different pad brands, but
I'm always impressed with EBC HH's on the track. They
seem to work very well with stainless rotors, and when
warm they are great with iron rotors too. I decided to
try the EBC HH pads on the Falco, part number
FA 244 HH. The Falco, Mille, and
RS250 Challenge share the same pads, so there's sure to
be a lot of different brands to try.
|
|
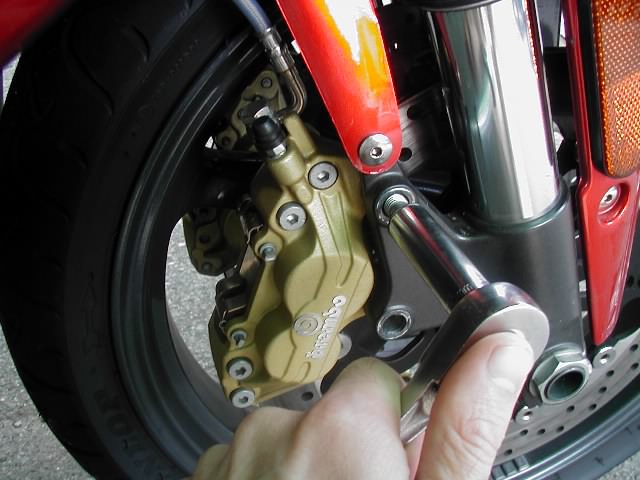
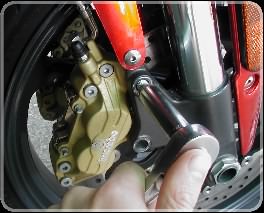
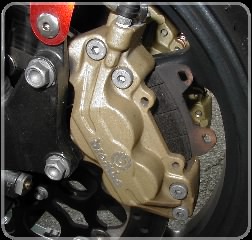
After removing the two M10 bolts, the calipers can
be removed without removing the wheel. Sometimes, its
necessary to push back the pads a bit to make clearance
to tip the caliper. Only remove one caliper at a time
so you don't overflow your master cylinder! Plus, it
never hurts to leave a caliper intact in case you
forget how to put it together.
|
|
|
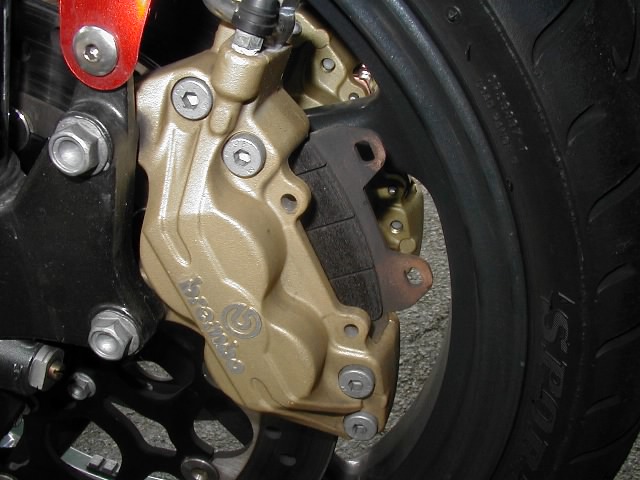
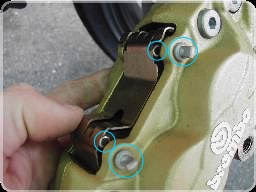
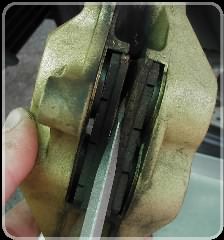
To remove the pads, you need to remove the two
retaining clips, then the two slide pins. The pads will
then slide out of the caliper.
|
|
It is possible to remove the pins and pads without
removing the caliper. But if you have time, you'll
probably want to remove the caliper in order to clean
the dust from around the pistons.
|
|
|
Make sure you have a little airspace at the top of
your master cylinder, then carefully pry back the
pistons to make sure they are free. This also allows
the new (usually thicker) pads to fit over the caliper.
If you flip the pads and place them in the calipers,
you can pry back the pistons squarely without damaging
the pads.
|
|
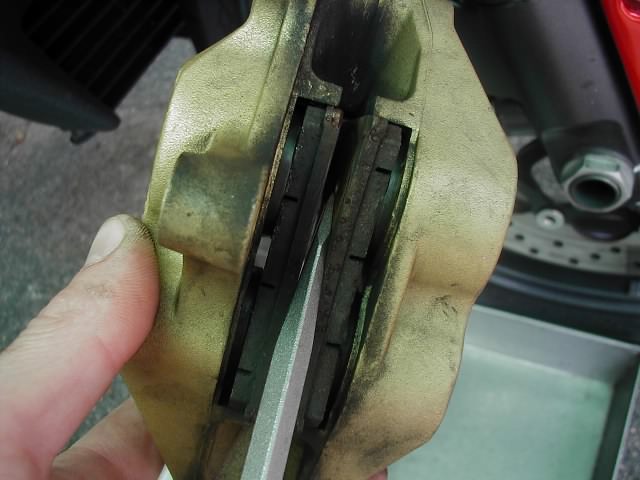
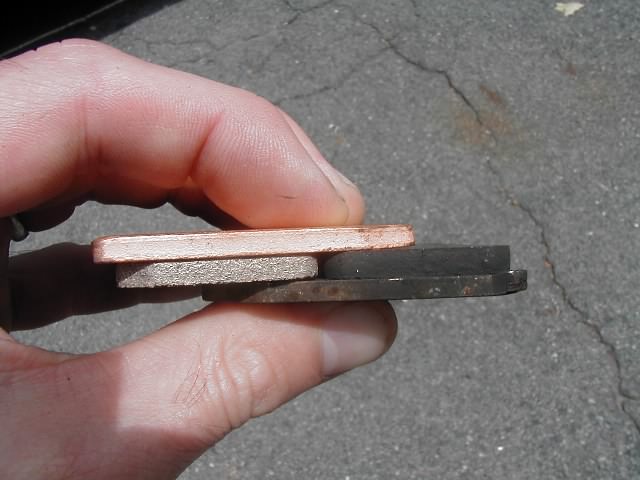
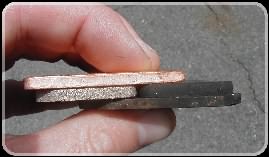
Sintered pads are hard. Very hard. Like modern
clutch plates, they can be work hardened to the point
of losing friction properties long before they wear out
of spec (< 2mm). On the left is the new EBC pad,
with less friction material than the 11,000-mile old
stock pad on the right.
|
|
Before reassembly, there's a few things to do.
-
Using small files, knock down the edges around the locating
holes and sides of the brake pad backing plates. We want to
make sure there's no burrs or edges that can dig in and
prevent the pads from sliding during use.
-
An anti-squeal trick I was taught for cars was to use a
file to knock down the sharp leading and trailing edge of
the friction material too. I do this on bikes too, although
I don't know if it makes a difference.
-
Use steel wool to clean the slide pins. There may be a
couple divots in them from hard braking. Sand these out but
try not to remove so much material that the pads will
rattle excessively.
-
Before reinstalling the slide pins, wipe a very thin coat
of anti-seize lubricant on them. The pins slide into the
caliper, through the pads, picking up the "hooks" on the
anti-rattle plate at each pin. There is an arrow on the
anti-rattle plate which points "up" when properly
installed.
-
Reinstall the retaining clips, and tuck the upper clip
under the anti-rattle plate for added safety.
-
Install the caliper with the mounting bolts just snug. Pump
the brake lever to seat the pads, then torque the M10
mounting bolts to 50 N-m (about 35 ft-lbs).
-
Do the other side!
When EBC HH pads
first came out, the trackside vendors had posted a notice from
EBC on proper break-in procedure. I think the posters have long
since disappeared, but from memory, this is how EBC recommends
breaking in their pads for track use. I imagine for street use,
you can adapt this technique, or simply follow the back of the
packaging which says that 250 miles of frequent, light use is
needed to bed in the pads.
EBC HH Pad Break-in Procedure for the Track
-
Take two slower laps of the track, using the brakes lightly
to warm them up and bed them in.
-
Take one hot lap of the track, using full braking power.
-
Pull into the pits and allow the pads to
completely cool.
-
The pads are now ready to race.
Go back to the Falco home page.