Welcome to my resize guide. This guide is intended to guide you thru the process of resizing your video using Virtual Dub (or its cousin Nandub)
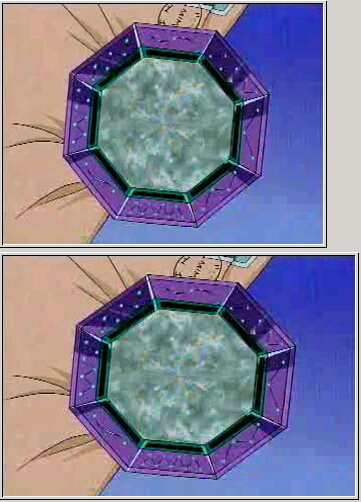
In a lot of VCD and DVD, the original resolution is not correct to the aspect ratio of PC's. This is due to various reasons. Take a look a few shots below to find out which one looks "better" (the one above is the resized output
There are two commonly used aspect ratios used in the media "world" , one is common to TV shows and OVA's, which is 4:3, it means that for every 4 cm (or any unit of length) places horizontally there is 3 cm vertically. There is also 16:9, which is more common for movies. On a PC monitor, the pixels are square, which makes each 4 pixel left to right to 3 pixel up to down. But on TV, if you look really close, they are a little elongated vertically, I <believe> that's why VCD rips comes with this weird 352x240 resolution. As of DVD, I have no idea why, but when it is played on the DVD player (software or standalone), the information on the DVD will tell the player what aspect ratio this video should be played with, so it plays the video accordingly. So now, as an encoder, it is up to you to decide what aspect ratio it is and what resolution the video should encode to...
Enough lecture on theory, lets get to application:
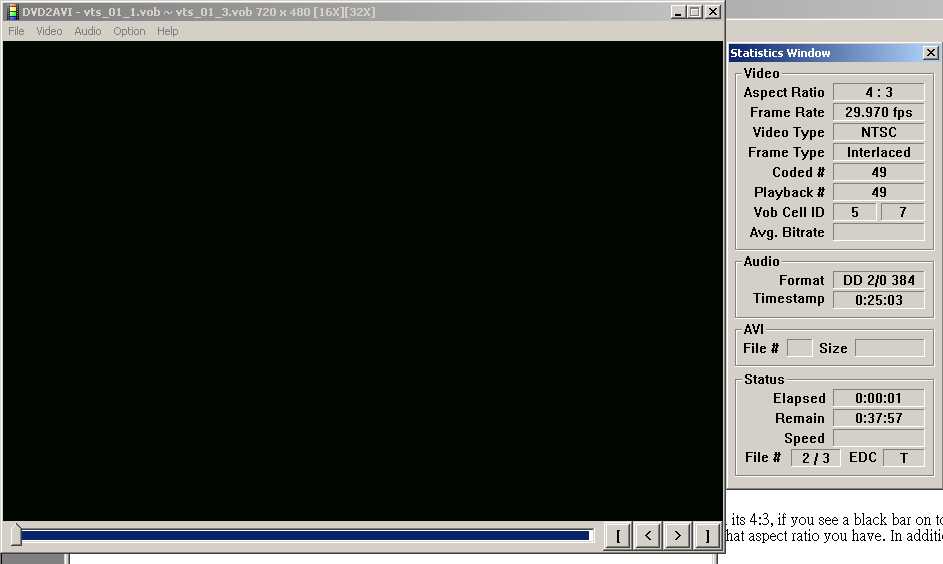
First decide what aspect ratio of the video you are encoding. If it is played on TV in full screen, then its 4:3, if you see a black bar on top and bottom when playing, its most likely 16:9. If you have DVD, it might be helpful to play it and see what aspect ratio you have. In addition, DVD2AVI has this info when you press preview (F5).
After you determine what aspect ratio you have, now you have to choose which exact resolution your want. It all depends on your preference. Naturally you need bigger file to store a bigger image, just keep that in mind when you encode later.
Now open Virtual Dub (or Nandub) and open the video that is being encoded (be it a fake avi made from the DVD projects or the dat/mpg file), go to video and choose filters. At the next window choose resize. and at the next config window that pops up, enter whatever resolution you want, below is a list of commonly used resolution, you can use anything you want, but it must be divisible by 16 (and in some cases 32), that's the limitation of Divx and mpeg standards.
4:3 (or 1.33:1) sources: (from Nicky's guides)
| resolution | actual ratio |
| 720 x 544 | 1.32:1 |
| 640 x 480 | 1.33:1 |
| 592 x 448 | 1.32:1 |
| 544 x 416 | 1.30:1 |
| 512 x 384 | 1.33:1 |
| 448 x 336 | 1.33:1 |
| 400 x 304 | 1.32:1 |
| 384 x 288 | 1.33:1 |
| 336 x 256 | 1:31:1 |
| 320 x 240 | 1.33:1 |
16:9 (or 1.85:1) sources:
| resolution | actual ratio |
| 720 x 384 | 1.87:1 |
| 640 x 336 | 1.87:1 |
| 576 x 304 | 1.89:1 |
| 512 x 272 | 1.88:1 |
| 480 x 256 | 1.87:1 |
| 448 x 240 | 1.86:1 |
Choose precise bicubic filter mode (if you see A value, just choose anyone, should work just fine) and click ok

with the filter still selected, go to lower right corner and click on cropping.
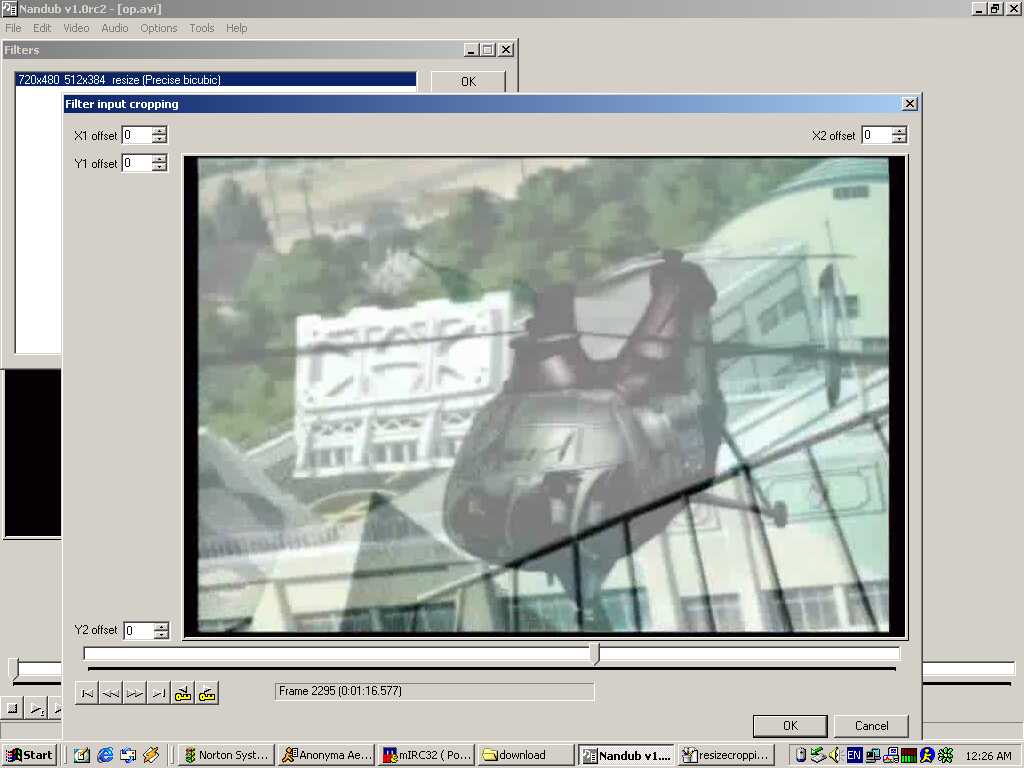
now scroll to some bright spot in the video and use the four boxes to get rid of all black bars around (or any shifted picture in a lot of VCD rips). Feel free to cut one or two pixels into the picture as no one will ever notice it (who will ever blame you for cutting 1 pixel out of 720 from the source?)
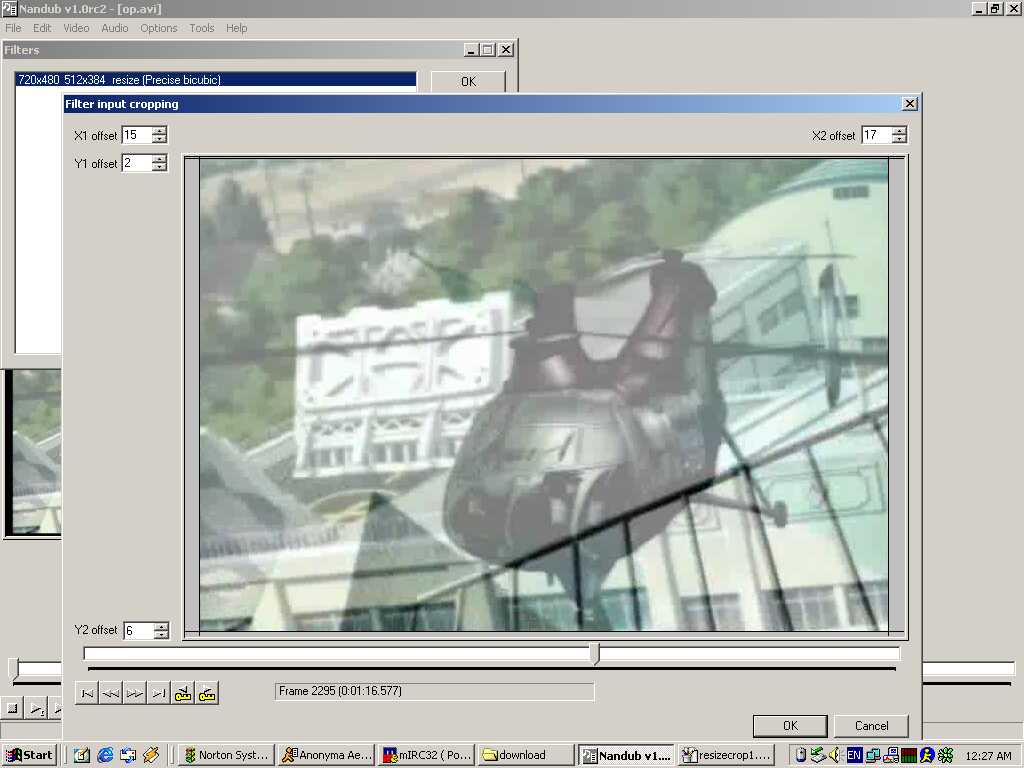
when you are done click ok and get back to the main window, scroll around and see it looks alright and continue to encode...
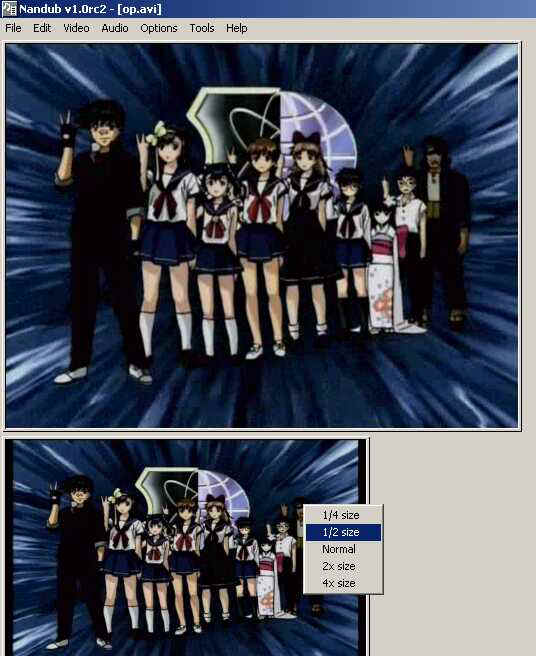
BTW, the preview in VDub can be resized by right clicking on the preview and choose whatever size you want, comes in handy sometimes. The top is output and the bottom is input...