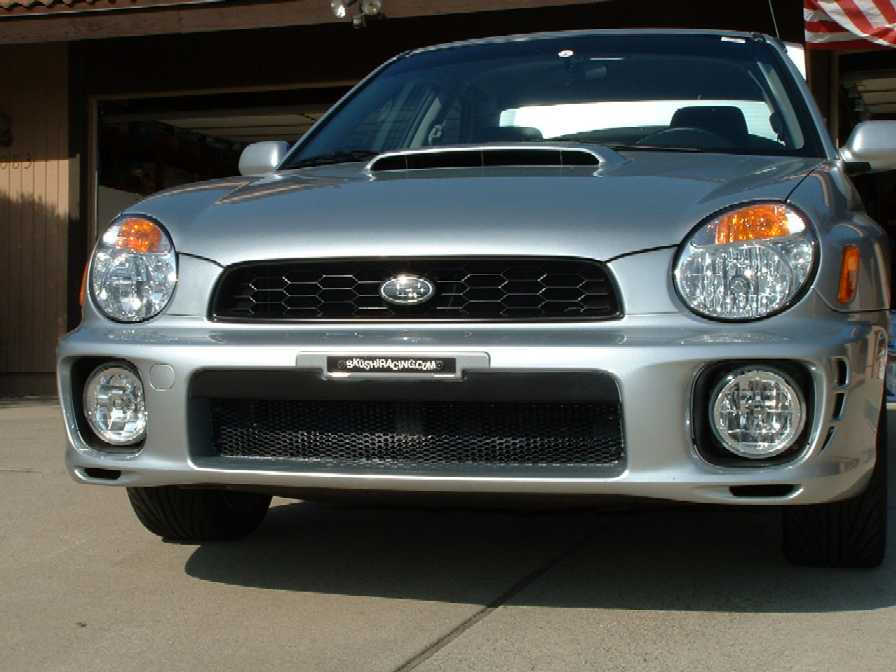
The goal of this project was to produce a design that was both economical and aesthetic. We sourced the grill material from Summit Racing at about $30 dollars and the brackets/retainers/rivets/paint came from the garage supplies. (The grill is painted black aluminum).
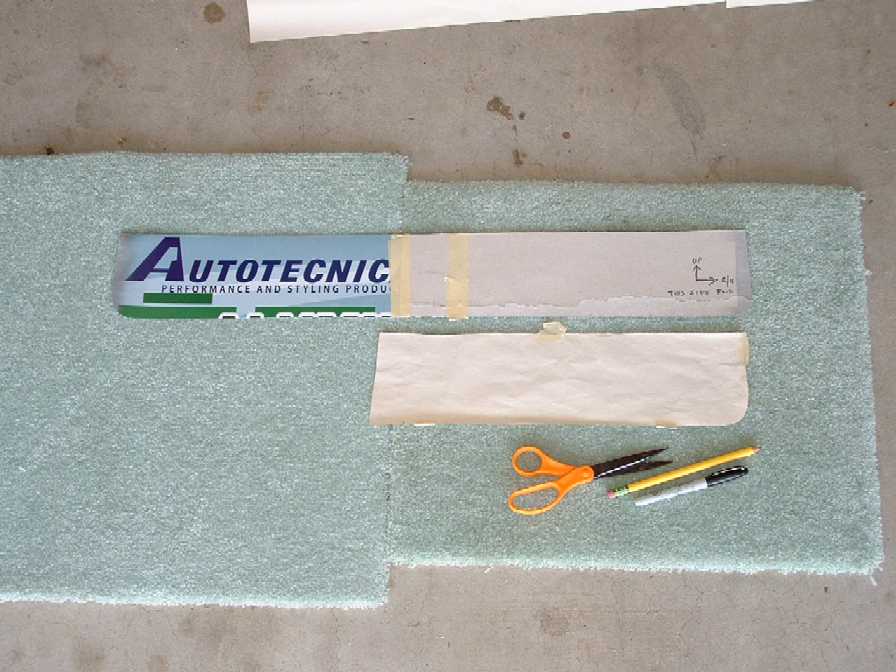
First we drew up a paper template that would later be used to size the grill. This was a little trickier than it first appeared but with a little patience a good template can be made. We first used paper and pencil then transferred over to a piece of cardboard. The corners and the top are the key areas to try and match.
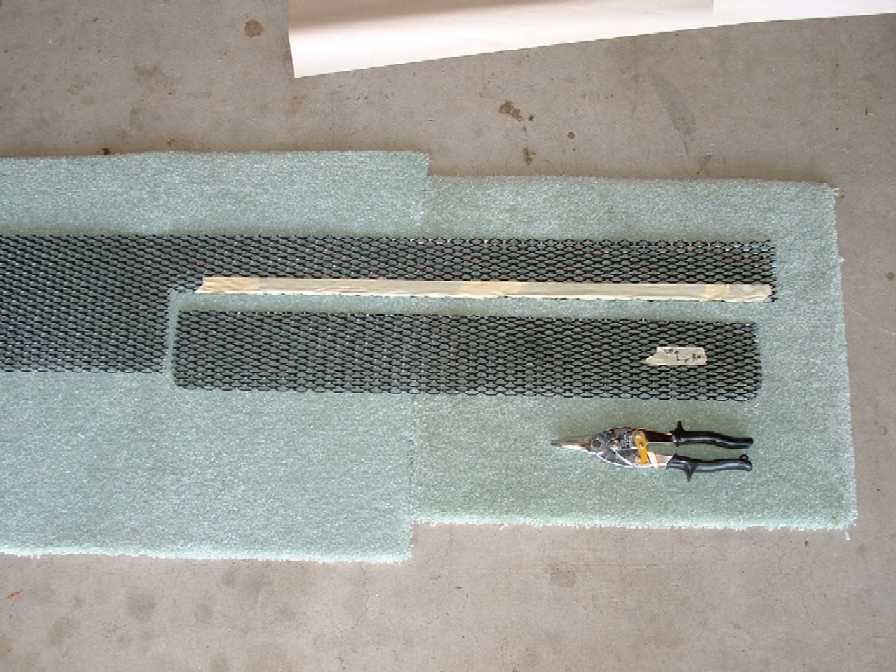
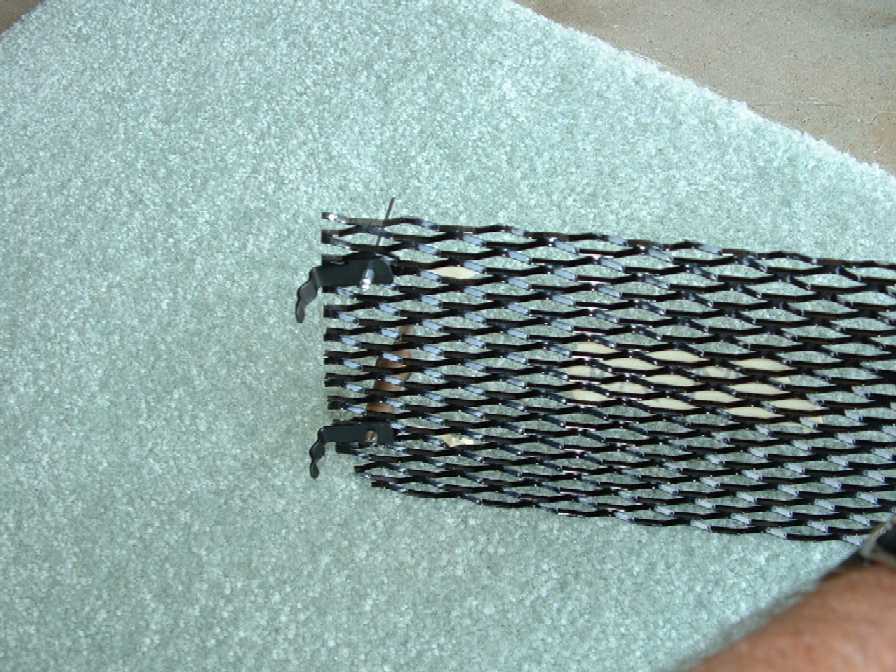
Next we laid the cardboard template on the material and matched as best we could to the grill weave. We wanted to cut along a line, not through an opening leaving a ragged edge. Aviation snips are the only way to go with this kind of cutting, especially the corners.
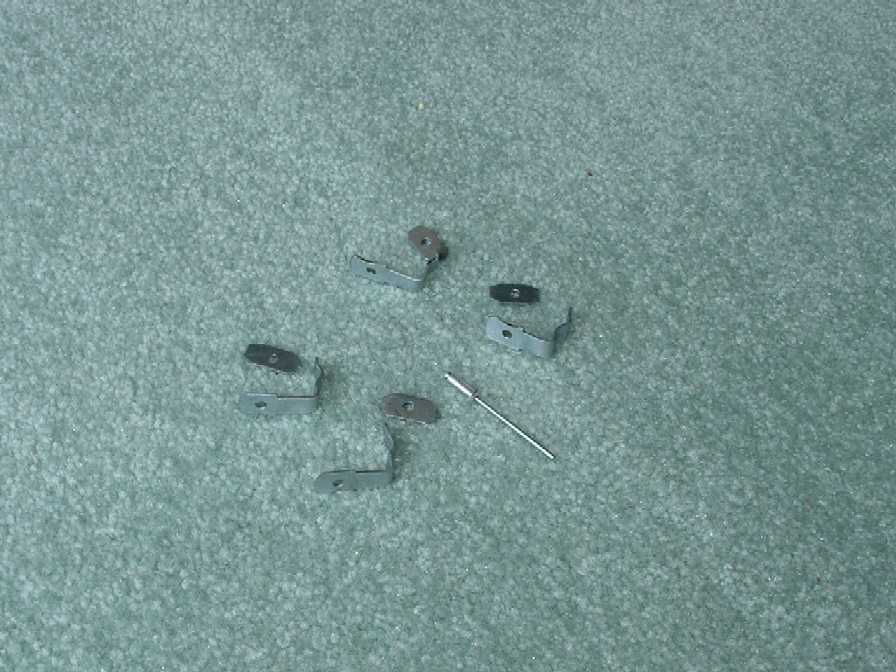
The brackets are next and they are the most important parts to allow the grill to mount correctly. Using a small piece of scrap mild steel material (about .25 wide by 1.75 long ), a 90 degree bend is made with a 1" leg, the other leg is bent into a tight "S" shape. This "S" shape is the same as you see on clips that go into pegboards. We used a couple of different pliers to hold and bend the brackets. The height of the "S" from peak to valley is about .070". A .125" hole was drilled in the unbent leg for rivets that are installed later. A little black paint finishes the bracket.
Small retainers were made from scrap steel material. These act as washers to allow the brackets to be riveted to the grill. The shape is roughly the same as the grill weave and a .125 hole is drilled in each. Black paint finishes the retainers. (4 are required).
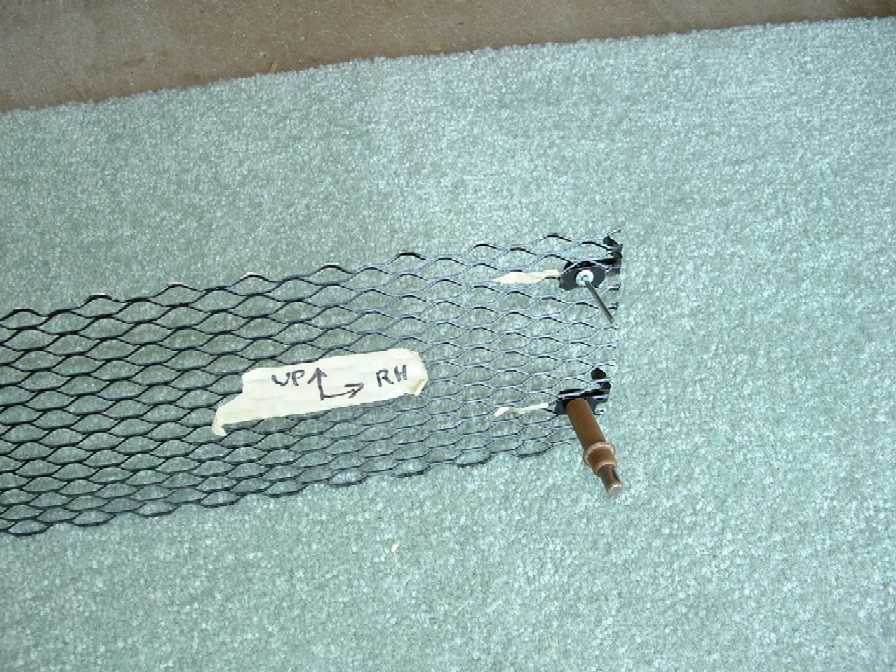
Fitting of the grill/bracket/retainer assembly was kind of tricky and here is were the use of "Clecos" come in handy. These devices come out of the aviation industry but many auto fabricators use them. Clip the upper brackets about .5" from the top of the grill and the lower brackets about .75" from the bottom of the grill. The "S" bend legs should be just past flush with the edge of the grill.
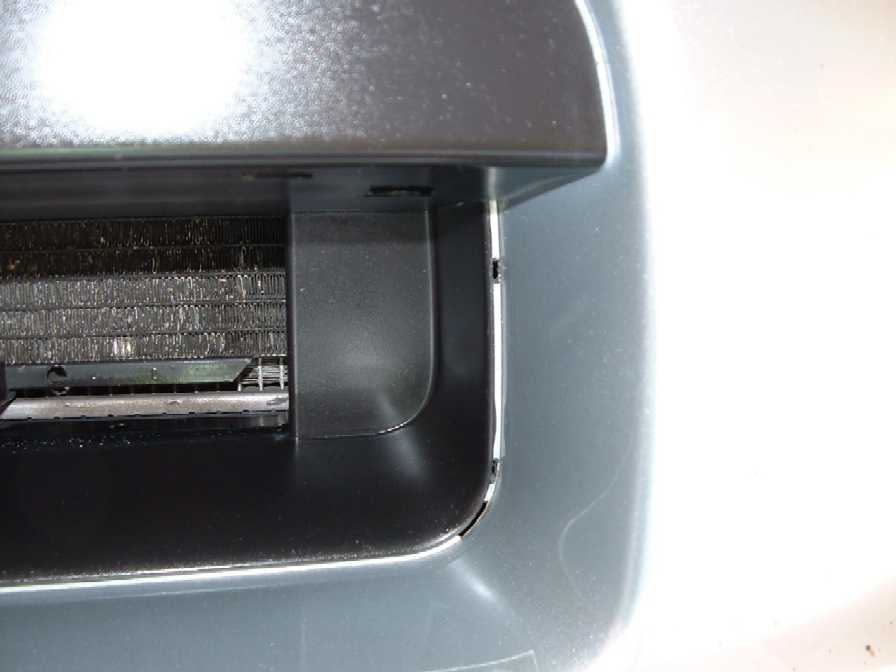
Trial fit the grill bracket assembly to the bumper opening and mark with a pencil where the "S" legs hit the bumper. (We ended up scratching the bumper with the sharp screen material so this is a caution).
The bumper was next slotted for the brackets at the pencil locations. In each corner on the bumper opening there is an existing factory slot. Our slots were very similar but located one at the top and one at the bottom, just above the factory slot. The slots are about .3" tall and .05" wide. A long "6" #40 drill is the way to go to start the slot, we finished them up with small files.
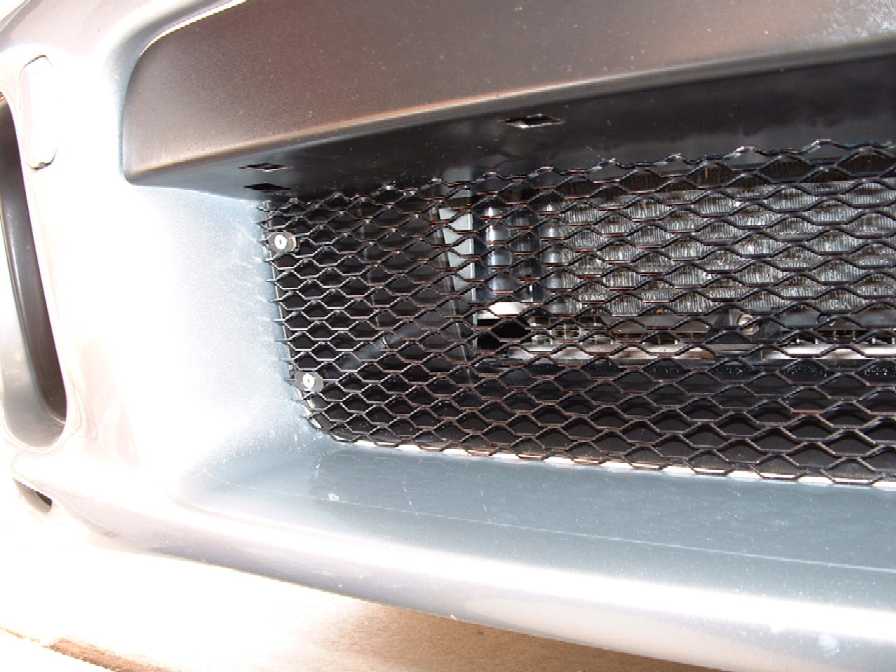
At this point we are ready to rivet the brackets to the grill. Again using the Clecos to temporarily attach the brackets to the grill we located the assembly to the bumper and this time pushed the "S" bend leg into the slots that we cut. (We final trimmed the grill and tweaked the brackets for best fit). Finally the brackets/retainers are riveted to the grill using 1/8th-pop rivets.
A final inspection for scratches and a little touch up paint completes the project.
1/29/03 Copyright 2003, skoshiracing