 |
|
|
|
|
|
|
|
|
|
|
|
|
|
|
|
|
|
|
|
|
|
|
|
|
|
|
|
|
|
|
|
|
|
|
|
|
|
|
|
|
|
|
|
|
|
|
|
|
|
|
|
|
|
|
|
|
THE NEW GARDEN |
|
|
|
After years of being harassed about the condition of the back corner of our lot I finally decided to clean it out and build a new flower garden connected to my veggie squares. I was once a square foot gardener with beans, broccoli, cabbage, and the whole works, but now it�s only tomatoes, cukes, squash, onions and peppers. So, anyway, with everything planted and still some unused energy to burn I decided to web document my garden. Of course this is only for those seriously bored people to check out late at night when they can�t sleep, or those that are like the spectators in roman times pulling for or against the gladiator. In this case it will be the Dianthus, Candytuft, Gerber Daisies, and the Purple Verbena battling to survive in my newly built coliseum. Along with these purebreds will of course be the adversaries; morning glories, honey suckles, crabgrass and assorted other weeds. My weapons will be ancient metal scratching claws, primeval stabbing weapons called weed weasels, cutting tool such as lawn mowers and by all means chemical warfare. Per profit share of Roundup is sure to rise.
I did not photo doc the very start of this project. I�m still sort of new to digital cameras and their ability to take a million pictures of any and everything and then throw them all away after viewing, but I�m catching on quick (how else can I explain this web page?). I did start my pictures with the fence.
With all this said, let the games begin! |
|
|
|
 |
|
|
The first machining step after cutting to length was to bevel the tops. |
|
|
|
|
|
|
Then came the neck cut. |
|
|
|
|
|
(Move your mouse over the picture to see the side beveling step.) |
|
|
|
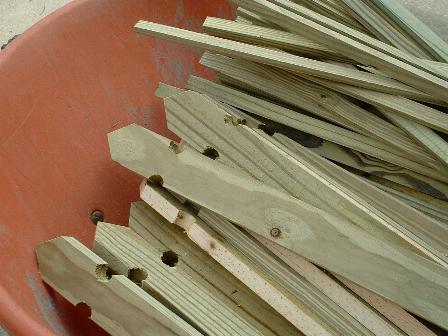
Next came the 64 pickets. I made these from 1x6's. I first cut them to length and then bored a 1" hole in the center. I then reset the drill press jig to bore the two side holes for the neck. I then split the 1x6 in half and finally ripped them to 2" wide. I made 64 of them! |
|
|
|
 |
|
|
|
Chips flying. |
|
|
Board in place and drilled |
|
|
|
|
|
|
|
|
|
|
 |
|
|
The final product. I actually only used 54 of them. I'll keep the others for spares.
I thought the worst was over, but it really had just begun. Next came the post holes and fence assembly. Ugh. Double ugh. |
|
|
|
|
|
 |
|
|
|
|
|
|
 |
|
|
|
|
This is the front fence section. The holes are dug and ready to set the post. |
|
|
|
|
|
 |
|
|
|
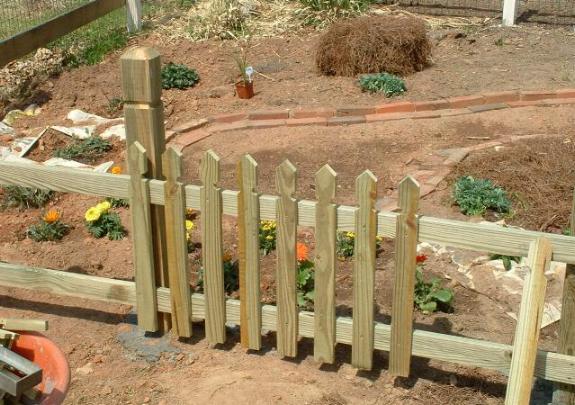
The posts are set and assembly has begun. |
|
|
|
|
|
 |
|
|
|
|
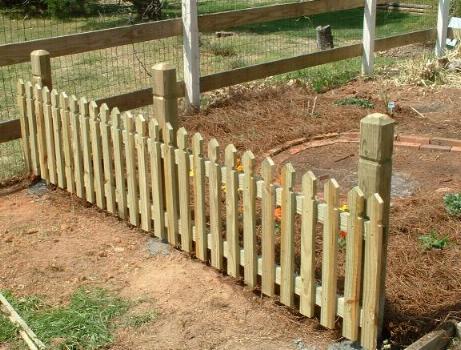
The completed fence. |
|
|
|
|
|
|
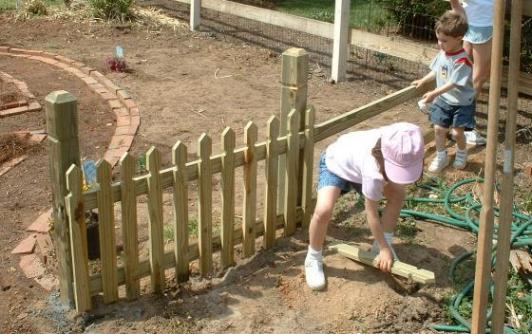
My helpers on the side fence section. |
|
|
|
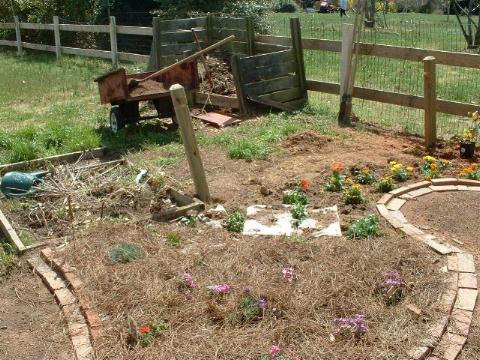
Here is the garden finished to date. Of course, like all gardens, it's a work in progress as the ebb and flow of summer battles take their toll.
(move mouse over pictures to move to other parts of the garden.) |
|
|
|
 |
|
 |
|
|
|
|
|
These show the path from the gate. It is planted in grass that has already started to struggle. It might get the thumbs down and sod installed. The next picture is back of the front fence. |
|
|
These show the veggie squares with tomatoes and stuff and the entances into the flower garden. |
|
|
|
|
|
|
 |
|
|
|
This is the side fence with Day Lillies planted in front. That's the garden. Next month we revisit to see who the winners and the losers are.
skip |
|
|
 |
|
|
|
|
|
|
|
|