Bearing Saver Installation
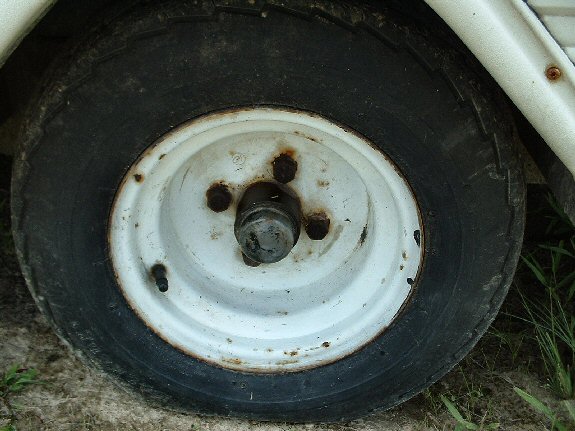
| It is good to install bearing savers if you do not already have them, I recommend having them on every trailer whether it be a boat trailer ,camper or general purpose trailer. It is simple to install these but as I had to be shown at one time, I decided I would show how it is done. Here is the wheel before installation. If you would like a closer look, click on the photo. |
 |
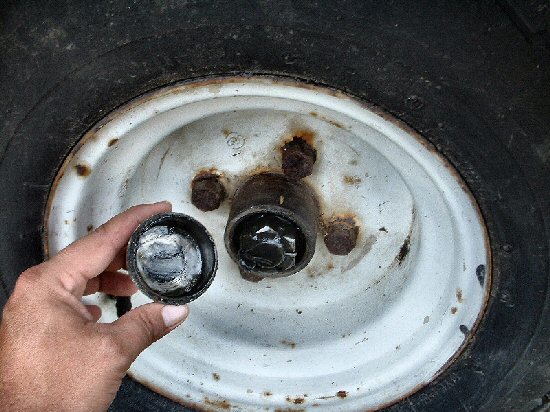
| Place a flat head (Standard) screwdriver in between cap and hub and tap it in with a hammer, It may take a few taps to get the cap to separate from the hub. Once there is a gap, twist the screwdriver clockwise and the cap should fall off. Some people would rather use a pair of channel locks by twisting back and forth but I prefer this because it doesn't scar the cap up as much and I may want to put them back on if I decide to sell it. |
 |
| This is a good time to inspect the bearings inside the hub. I already did this before the camping season started but all you have to do is, jack up the camper, take the weight off the tire, remove the cotter pin, losen the bolt that holds the bearings in, remove the retaining washer and then pull off the wheel. Check to make sure the bearings are not scored, burnt, or missing a bearing. Check shaft for wear and look to see if the seal in the back side of the hub is in good condition. If anything needs replacing, now is a better time than on the shoulder of the road right? |
 |
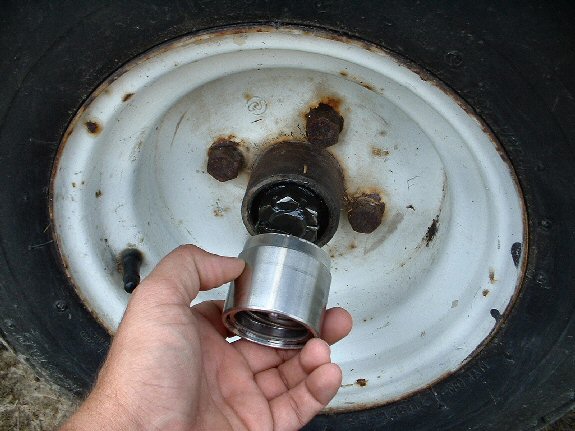
| Install new Bearing Saver. |
|
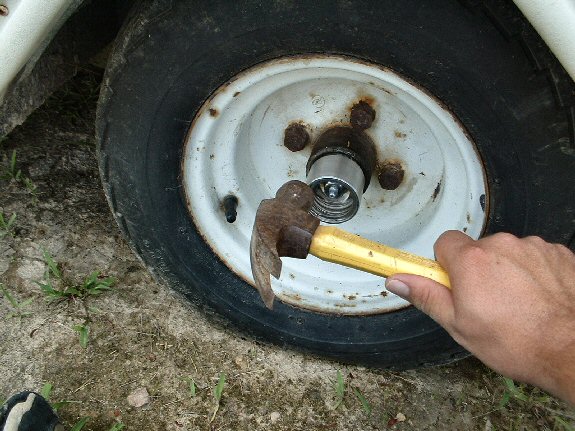
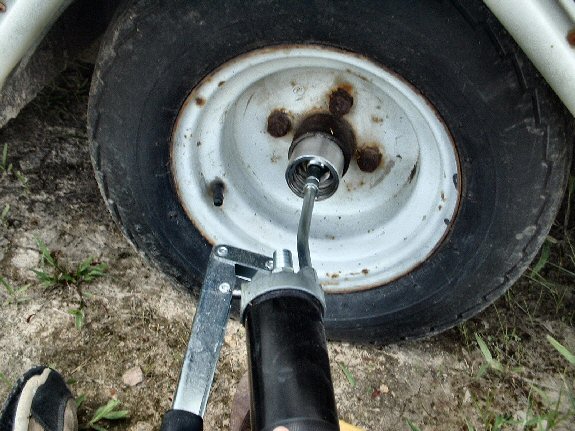
| Tap the new Bearing Saver in making sure it is tight. |
|
| Make sure to pump grease into the Bearing Saver, I only pump it half full myself, that way there isn't so much pressure on the seal when they get hot on the road. |
|
| If you have any questions, please email me. |

View My Guestbook
 Sign My Guestbook
| Home | About Me | Popup | '97 Rockwood | Hunting | Photos | Projects | My Stories | Links |