Building A Bathroom
(Click on the images to see larger pictures. Use the 'back' button of your browser to return to this story.)
I volunteered to do this project, even though it was 17,500 km from home, and I could only bring with me a few tools. When I first looked at this project, we had decided we would use ceramic tiles on the floor. This required that the floor be made level so that the tiles would not later crack. I had a big problem though... I couldn't find a straight piece of wood to use for checking just how out of level the floor actually is! I had just a few very basic tools, and the home owner was not about to buy me a bunch of tools, so I had to become inventive. I chose what I thought looked like the highest point in the space, and started from there. I set my level with one end on the high point, and used a set of wooden shims at the other end of the level to find the point where the bubble in the level was between the lines. I then moved my level so that the end that was on the highest point of floor was now on the shims, and I used another set of shims to again bring the bubble in the level to between the lines. I kept doing this (in a straight line) until I reached the end of the area that would be tiled. I then started back at the beginning again, only this time setting my level at 90 degrees to what I did the first time, working out and making a grid pattern all over the floor. Then I used floor levelling compound to build little mounds at each set of shims that were just slightly higher than the hight of the shim set. When the compound dried, I sanded the mounds down until they were all level to the highest point of the floor. After that, I could pour on the floor levelling compound and smooth it out so it just covers all the little mounds! I no longer needed a long straight edge to use as a reference.
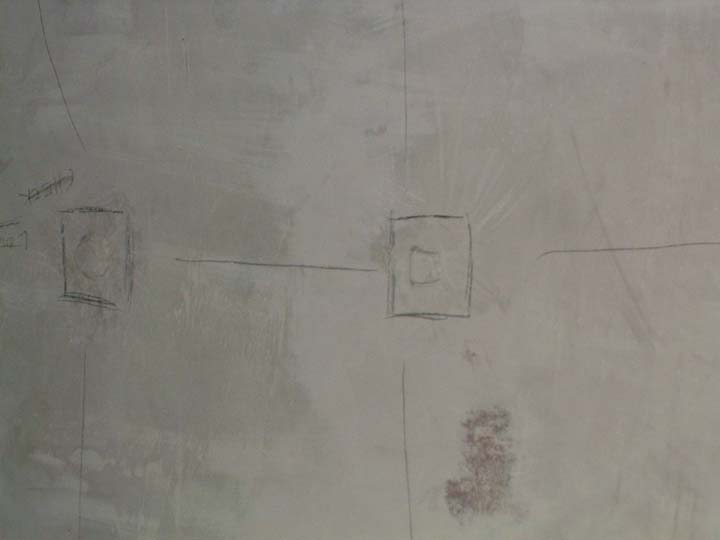
Bumps in my grid with pencil lines for easier identification.
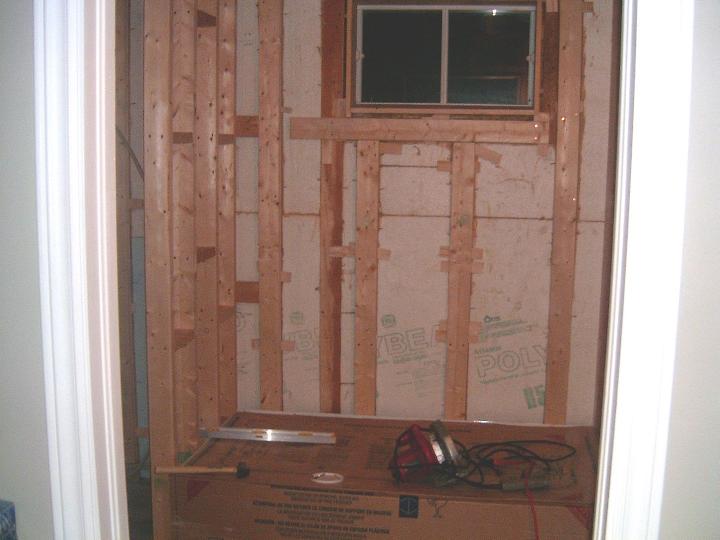
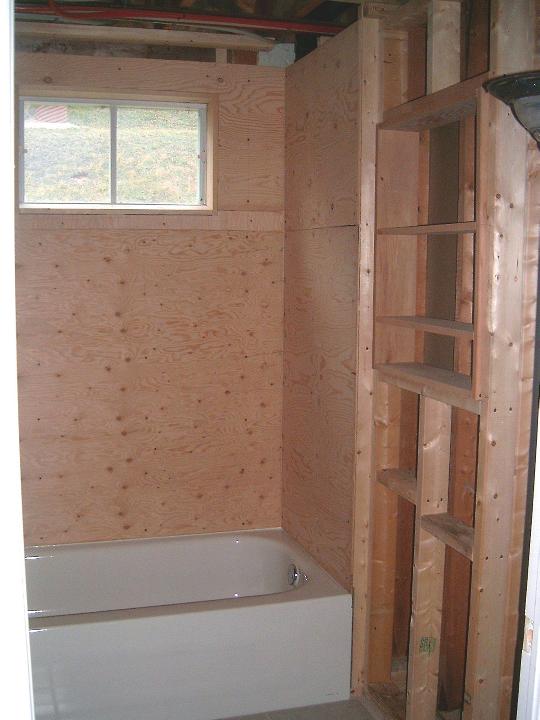
Nothing was straight, and the existing walls didn't even have the 2x4's set at 16 inch centers! You can see the uneven spacing of the wall studs quite clearly.
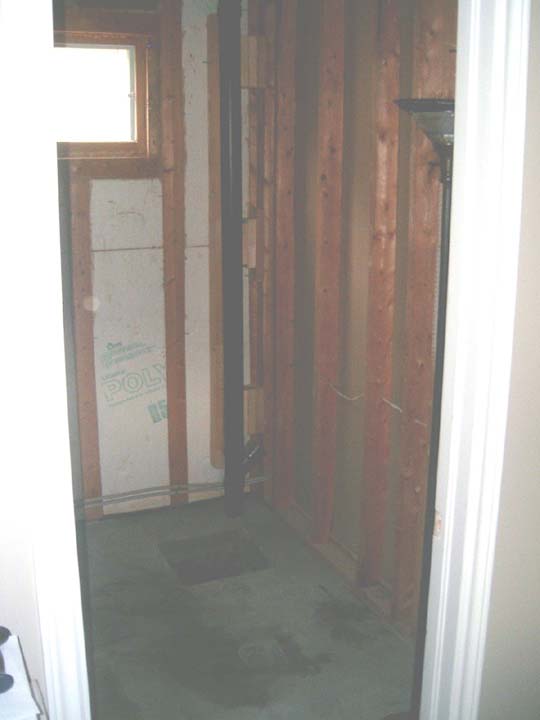
The big black drainage pipe in the corner was also a problem. It prevented the bath tub from fitting snugly into the corner. Since the concrete floor already had openings to access the main sewer pipe, the locations of the tub, toilet, and sink were already pre-determined unless the owner was prepared to break up the concrete floor (which she was not!). The only other solution was to build new walls at the correct distance from each of the drain openings in the floor, for each fixture. That meant 3 steps were required in the one wall, and wasted space behind the new wall.
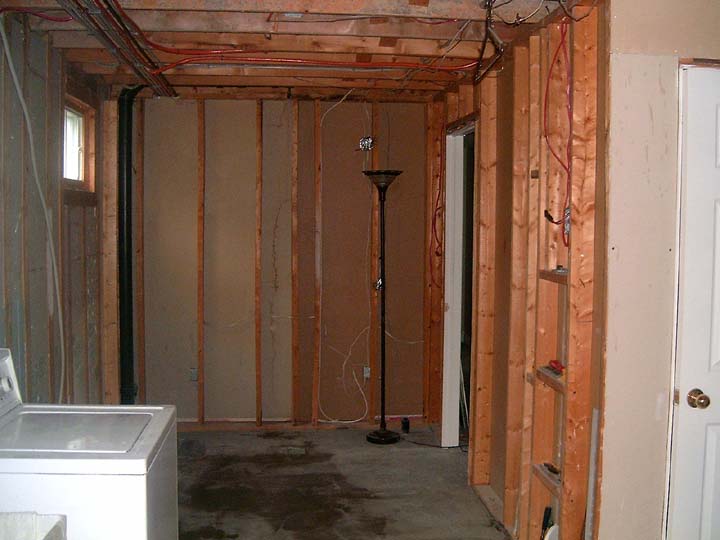
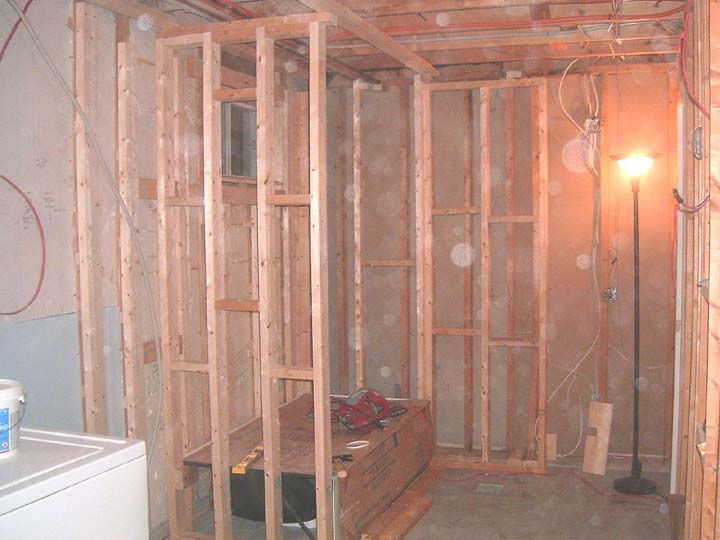
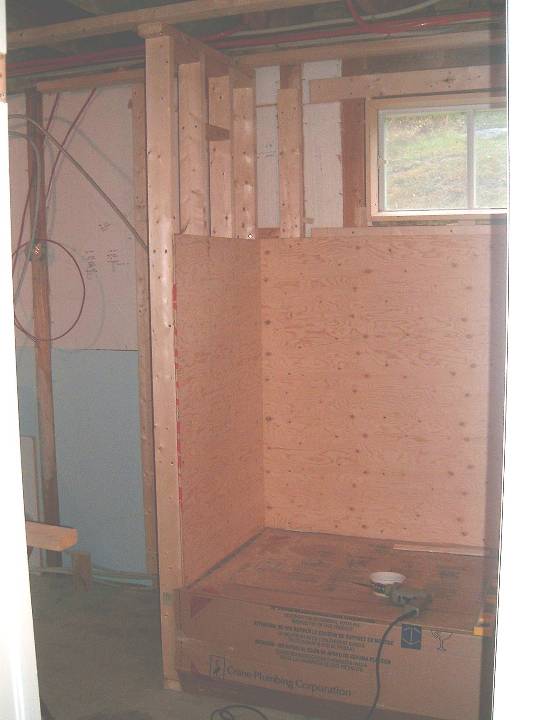
New studs had to be fitted to all walls and the ceiling. Each stud was painstakingly shimmed to make the outer surfaces straight and level with the other studs. I used only screws for this job for 2 reasons: I was not allowed to make a lot of noise (hammering is noisy!) and I had the ability to slack off any screws that needed thicker shims placed under the 2x4 than what I was currently using. I used 3-inch deck screws with Robertson heads and many bundles of shims. In order not to make a slanted surface with a single shim and twist the 2x4's, I always used 2 shims at each location. With the thick end of a shim in each hand, I place the thin edge of the 2 shims together and slide one shim over the other until the combined thickness is what I need for that particular location.
I followed the bathtub manufacturer's instructions for fitting the bathtub and kept it covered with part of its shipping carton to protect it during construction.
Once all the framing was completed, I could start putting up sheets of plywood for the tub enclosure. I wanted to use cement board, but that was not available. Exterior grade plywood was the next best thing. They do have a special drywall that is supposed to resist moisture, but I don't believe it would last as well as the exterior grade plywood.

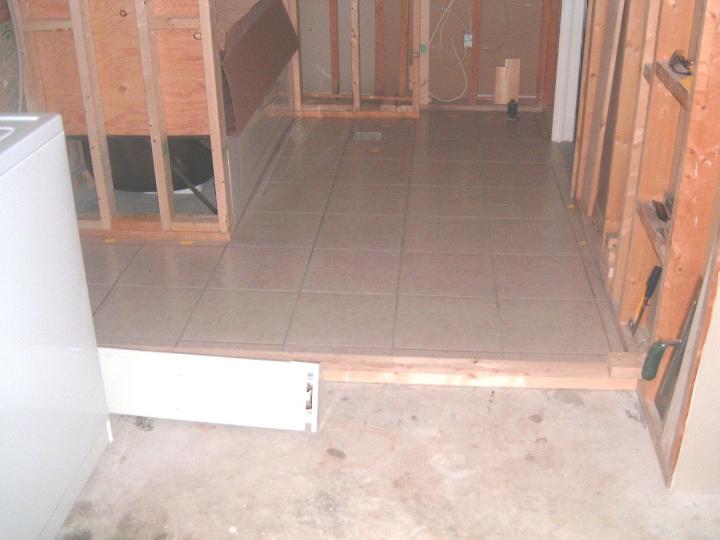
The next step was to tile the floor. I cut and laid out all the pieces of tile beforehand so that I could be sure it all fit together properly. I used little bits of sticky label paper to number each piece of tile so that I could make little stacks of tiles, spread the thinset mortar onto the floor, and then know exactly which tile to grab and place where and in which orientation onto the floor. Having all the tiles pre-cut made it easy to concentrate on the one job of setting the tiles. The instructions of the mortar you are using should be followed with respect to the notch size in the trowel and testing for good adhesion. There are recommended gap sizes for spaces between tiles, usually based on the size of each tile. This is not critical and is mostly a visual preference. Since the hardware store didn't have the size of spacers that I wanted, I simply used large nails as spacers instead of the little plastic spacers that one can buy. After setting each tile, I simply removed the nails, wiped off any mortar from the nails, and reused the same nails for the next few tiles. This process takes longer than using the bought spacers, and you have to be real careful not to move the tile as you pick up the nail, but with care and attention, the job got done!
Once the tiles have all been set and the mortar has dried, I spread the grout into the spaces between each tile. This is not difficult, and the only real concern here is to make sure you fill the gaps down to the bottom. Try not to spread the grout in such a way that a film of grout spans the top of the gap and leaves a hollow space below! Work from one direction only and push the grout across the top of the tiles so as to have the mound of grout approach the gap at an angle. Fill the gaps completely as you move along, but don't be fussy about leaving a mess on the tiles. Once all the tiles have been grouted, the area where you first started grouting from has most likely dried sufficiently for you to start cleaning up. With a damp sponge, wipe up all the extra grout from the face of the tiles. Rinse the sponge often, but don't try and get it all clean on the first pass. Do the whole floor, then start from the beginning again with a clean sponge and a fresh bucket of water for rinsing the sponge. When all the heavy mess is off the faces of the tiles, let it all dry thoroughly, and finish by polishing the tiles with a damp cloth afterwards. Several coats of grout sealer should then be painted into the grout to make it waterproof. Re-sealing will likely need to be done every few years.
In order to make use of the wasted space in the false wall behind the toilet, I decided to put a cabinet in the wall above the toilet.
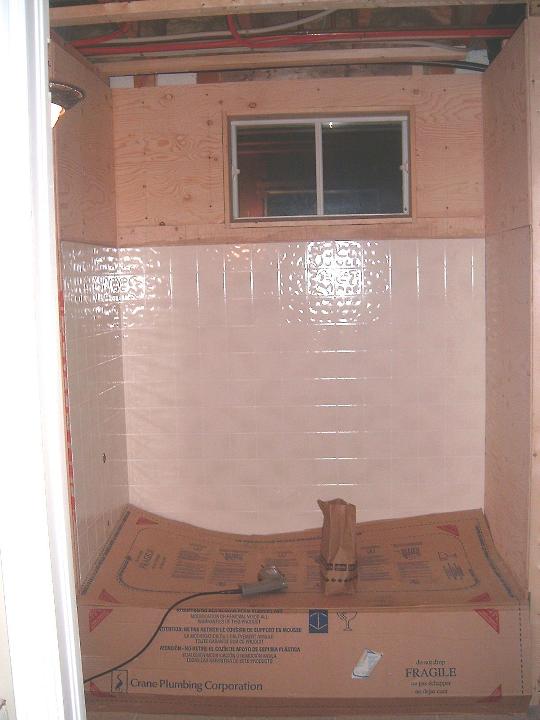
In order to save money, we used Barker Board instead of real tiles for the bathtub enclosure. Barker board is cut with a fine-toothed saw the same as cutting any ordinary wood. The only difference is that one must take care to cut from the hard face into the board. If the cut is made from the back of the board towards the front, the hard surface might be chipped off.
When planning cuts, one must always be aware of the orientation of the board pieces so that the pattern lines up. In our case, the pattern looked like it had perfect squares, so initially I thought that I need not worry too much about turning pieces sideways. Upon closer examination, I found out the pattern was not a perfect square, so if I cut a strip and turned it 90 degrees, the pattern would not be a perfect match with the rest! I really had to plan out all my cuts before starting to cut so as to make sure I had enough material. There were only 3 panels of this pattern available, so a mistake would be devastating!
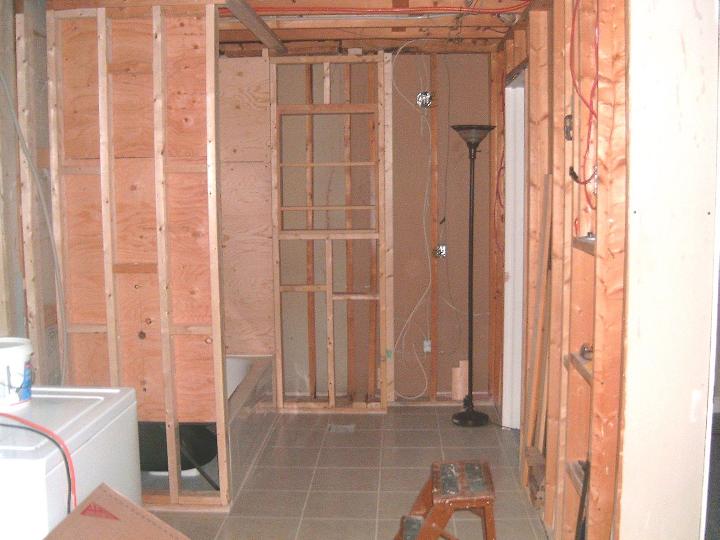
I built the final wall for this room last so that I could move freely between the bathroom and the furnace room, where I had a bit more space for cutting my materials and mixing all the flooring compounds. The room's walls were then covered with standard 3/8-inch thick drywall. The drywall seams were taped and mudded.

The panels of Barker Board are glued onto the plywood with an adhesive specially made for this purpose. As I was applying the glue, I made sure to fill all the seams of the plywood with glue so that if there was ever any leakage past the Barker Board, the water would not find its way through the seam into the wall cavity.

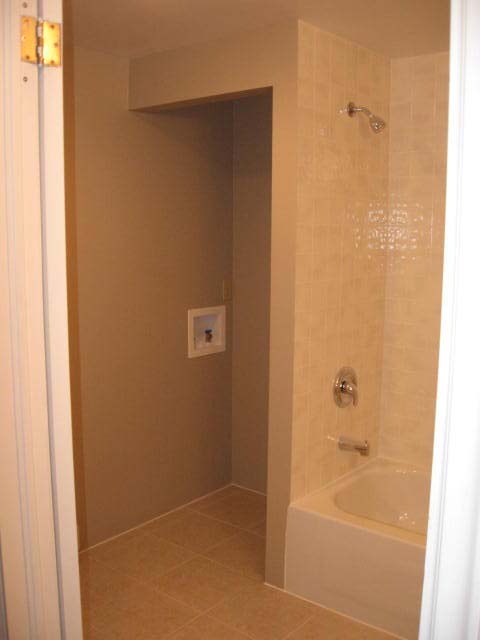
I put a washer and dryer hook-up into the closet space in case a stacking laundry set is to be put into the closet at a later date.
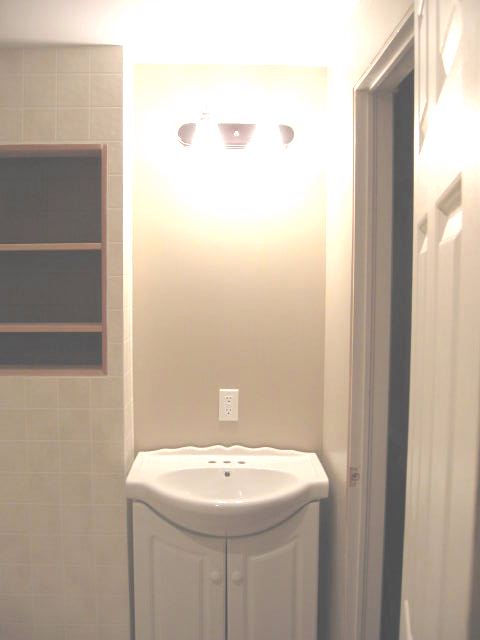
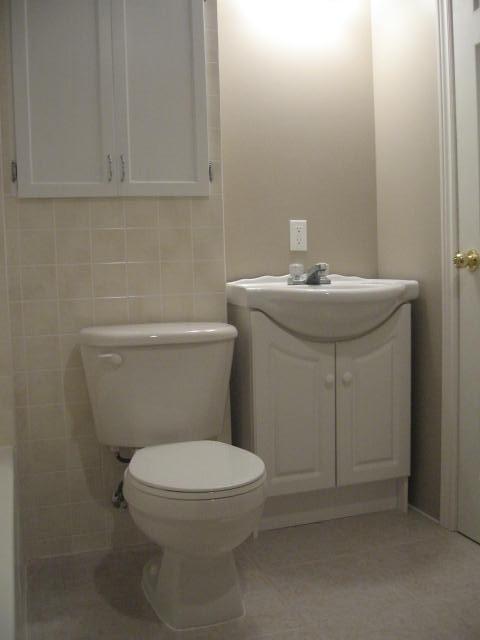
I did most of the electrical work as soon as the framing was done, so once all the plumbing was roughed in (we hired a plumber to do that work) the remaining unfinished walls could be closed up. In the picture below, I'm checking to see how the vanity and sink will fit. Those items will be permanently installed after the painting is done.
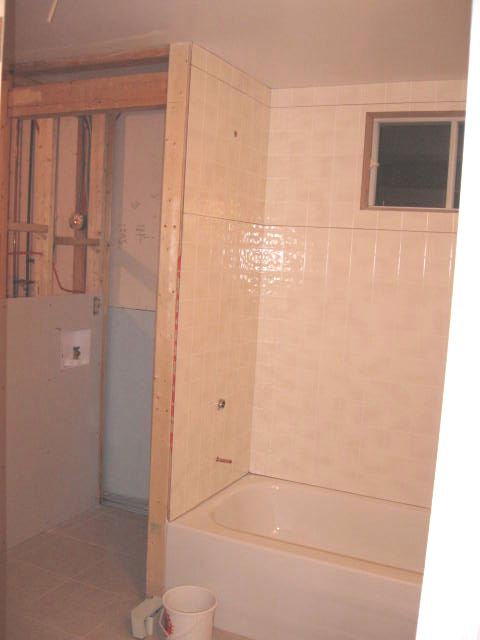
Silicone is used to seal the seams of the Barker Board. The tub is filled with water prior to filling the gap between the tub and the barker board with silicone. This is done so that if there should be any movement of the tub when it has weight in it, the seal between the tub and Barker Board was made when the gap is widest. When the weight is removed, the silicone is compressed and that is fine. If this procedure is not done and the silicone is put on with the gap at its narowest, when weight is put into the tub and the gap widens, the seal could be torn open.
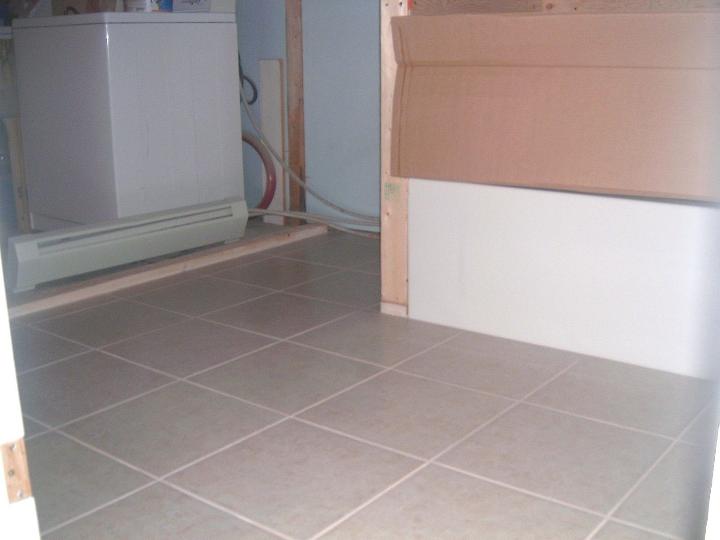
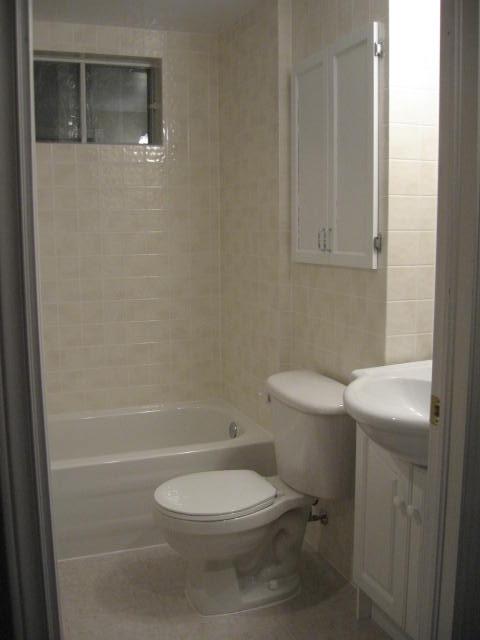
It begins to look like a finished project now.
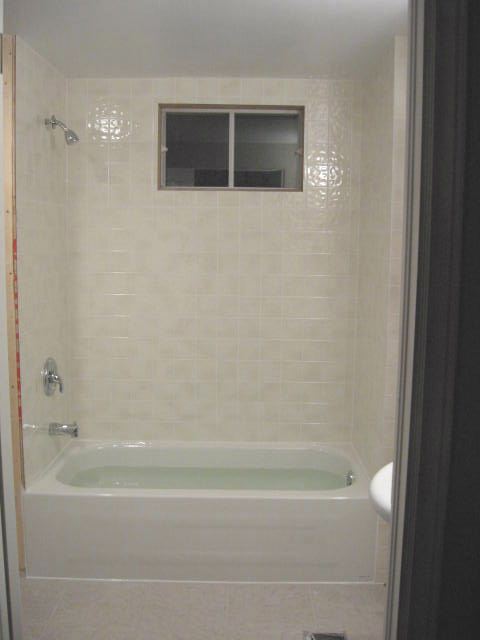
The final product looks like this:
Home Page | Winter
Photo's | Summer Photo's | Pets
Page | Leave a message
LINKS TO OTHER SITES
Friends & Lovers
Check out the Love Triangle! Use it to test your compatibility.
100% free online forum. Chat & meet others like you!
Lotus Car Club Of B.C.
A site for car enthusiasts, with tips, tricks, and links to more great stuff!
Show Me! B.C.
Tourist information about British Columbia, Canada. International currency conversion,
local weather conditions, Translator, and information about free and almost free attractions.