My 2001-2002 winter project
Ive been around streetrods and hotrods all my life, and Ive always wanted a pro-street rod. After I broke my little 10-bolt, I decided to go for it and do the job myself. The following photos show the project from start to finish. Enjoy!
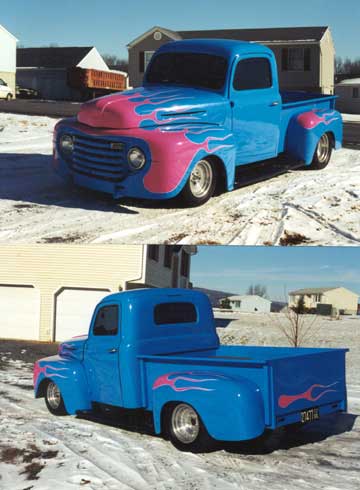
Here's what the ole '48 looked like before I decided to narrow the rear.
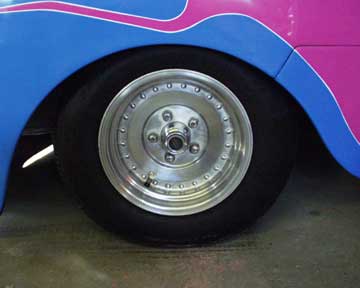
The front meats were 205/14's.
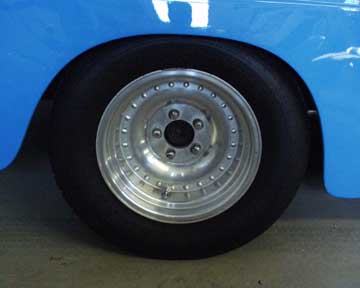
The rear meats were 295/50's.
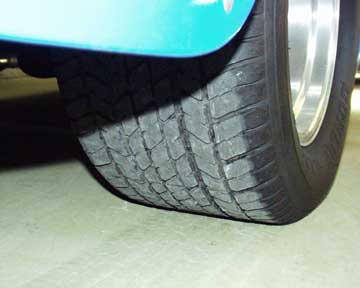
These tires held up well, through many a smokey burnout.
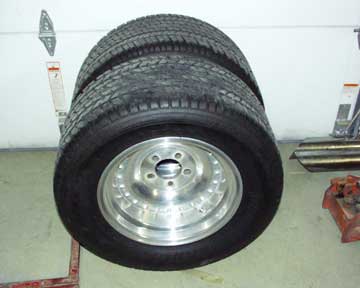
I sold the set of 4 on ebay to a guy in Jersey. The money will be put towards the project.
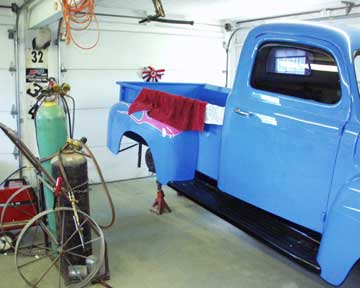
Here I have the truck on jack stands getting ready to remove the 10-bolt (which I broke showing my friend how much power my new 406 has).
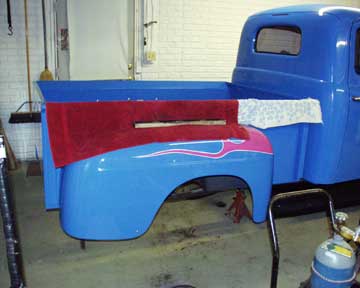
The GM 10-bolt has been plucked out and thrown on the scrap pile.
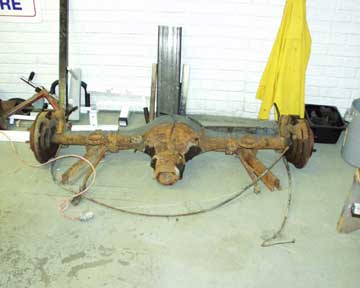
I bought this 9" Ford disc brake rear for $80, it's out of a 1975 Lincoln.
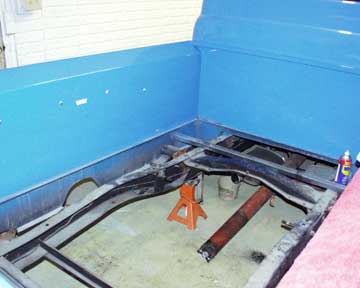
Inside the bed you can see the stock frame rails and the driveshaft (which got bent in that same incident in which the rear was broken). I�m getting ready to mark the new fender well and set the 33x21.5x15 Mickey�s in place.
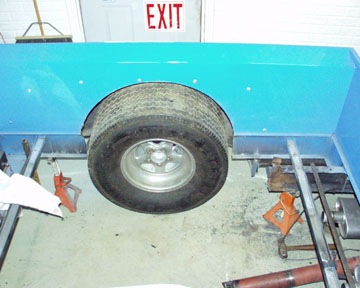
After I cut the fender wells and set the tires in, I determined that the stock frame would need to be narrowed (As I had already planned to do). The tires fit but did not have enough room to allow for flexing and would have rubbed. I had drawn the whole chassis up in AutoCAD, so I used that to determine were to cut the frame. I based all my measurements on a hole in each frame rail that Ford put there (just rear of the cab). I also determined the width for the new 9" rear at this point. The bed is on jack stands in this shot.
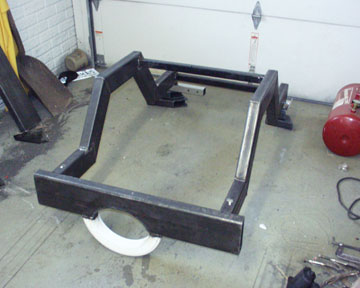
Based on my CAD drawing, I built this rear clip out of 2x3 3/16" tubing. The thickness is a little much, but this truck could use some weight in the rear anyway.
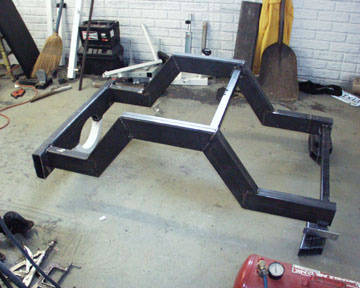
Another shot of the rear clip. Building it out on the floor made welding much easier (and prettier).
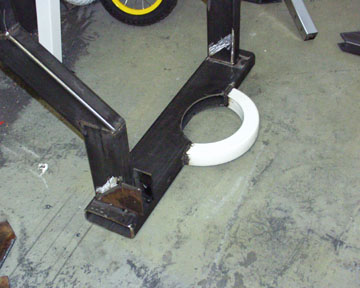
Since I will utilize the stock rear leaf springs, I designed the from spring mount to double as a rear frame rail support.
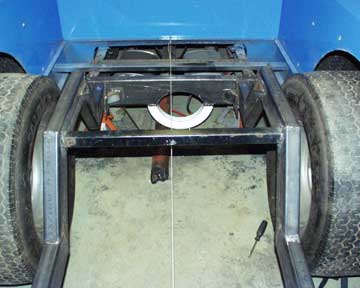
After I finished the rear sub frame, I slid it under the truck and used the ole floor jack to help set it in place. In this shot I have already lined up the rear sub frame and tack welded it in place. I put the big Mickey�s under there to get the full effect. So far everything fits just as I had planned!
11"x17" CAD drawing used to build the rear frame $5.00 (includes shipping)
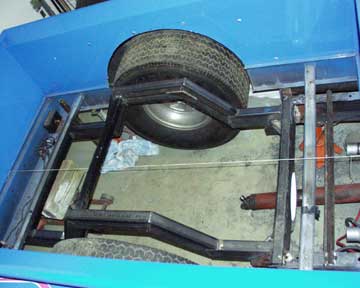
Another angle...
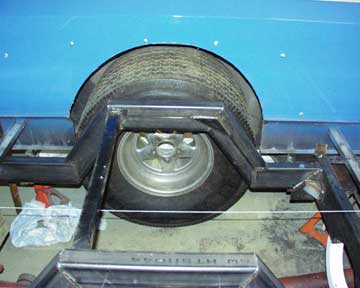
Another angle, note the bracing and How I notched the tubing.
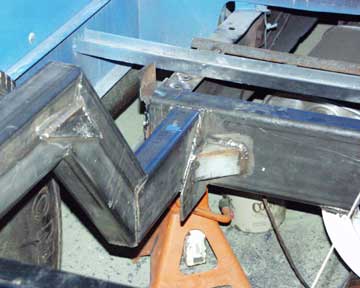
A close up of the new cross member.
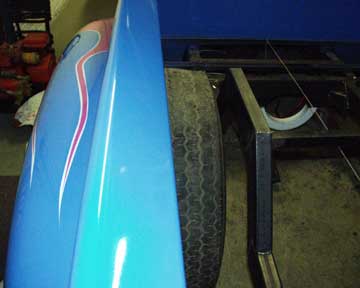
Plenty of room now, and even room for a set of 22.5 wide Hoosiers in the future.
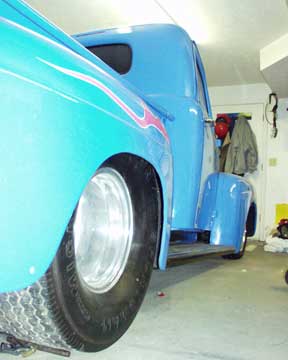
A hint of what it will look like.
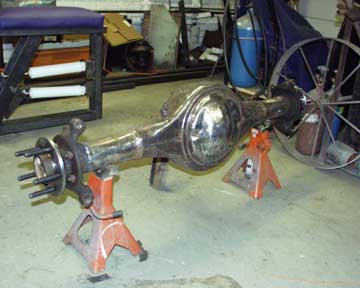
While I was doing all that chassis work. I sent the axles to Moser Engineering to have them cut down. The whacked 9 1/8" off each, resplined them to 31, re-drilled the bolt pattern to small Ford, installed the studs and installed the new bearings. I had already cut the housing down and when the axles came back I was ready to put it all back together. My friend set up my 4.56 third member and I bolted it in place. I then bolted the ends of the housing (that I previously chopped off) to the axles and slid them in. After truing up each side I welded them in place. I don't know how other guys true up there rears, but this seemed to work well for me.
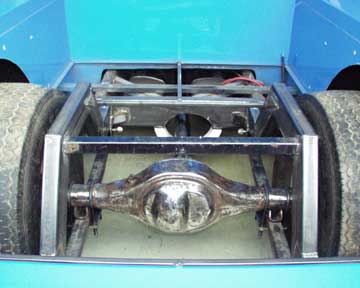
In this shot I have the leaf springs back in the truck and the rear bolted to them. I also have the wheels bolted in place and she's a roller again!
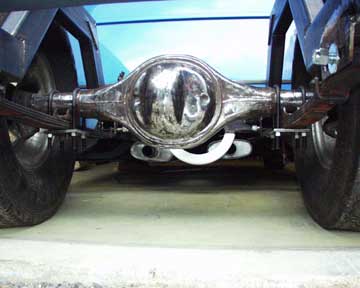
Another angle, pretty aint it? Note the spring plates that the u bolts go through, I have more plans for them soon.
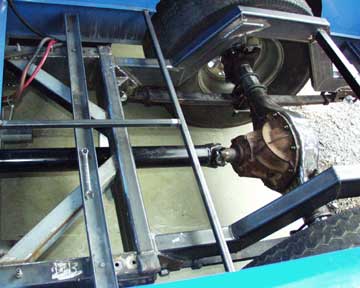
There is a lot going on in this shot. First you'll notice the new driveshaft that I had GL Dunn in Winchester Virginia make up. Second you can see that I have plated the inside of the stock frame and added some healthy supports to the cross member. You can also see the start of my new bed floor.
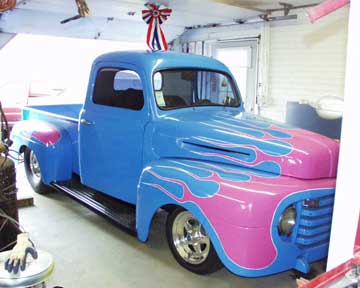
Its coming together nicely....
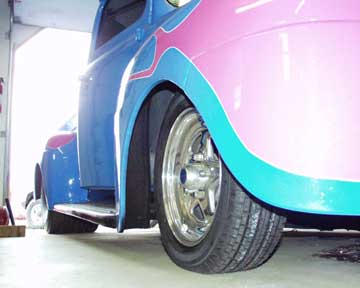
Here we can see the added girth.
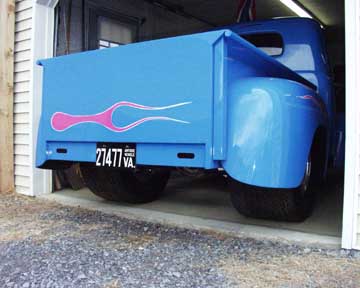
Little elvis is putting on weight!
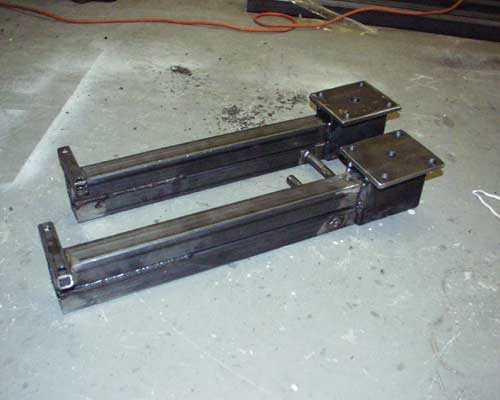
Remember those spring plates? Well I wanted to run a set of South Side Machine lift bars, but couldn�t get a set that would fit, so I made my own. I drew these up in CAD and they turned out awesome. The shafts you see sticking out the sides will be the lower shock mounts.
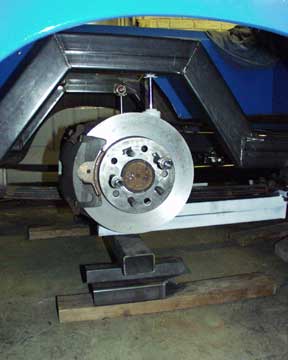
The lift bars and shocks are in place. In this pic the lift bars are primed with white rostoleum. You can also see my new calipers and turned disc. I re-drilled the bolt pattern in the original Lincoln disc to fit the newly reworked axles.
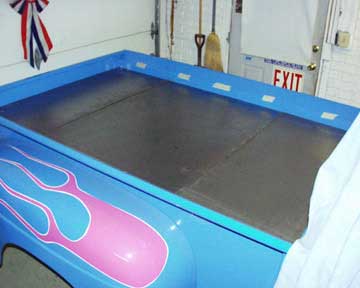
I decided to have a shallow bed floor instead of the usual wheel tubs.
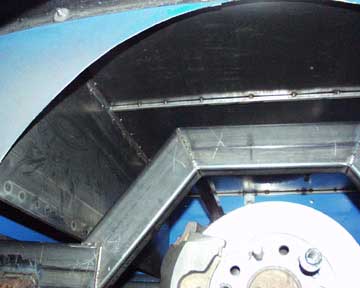
From underneath you can see the 1/2"x1/2" frame I built to support the permanent bed cover. This frame was carefuly fastened to the bed to prevent the need of a total repaint.
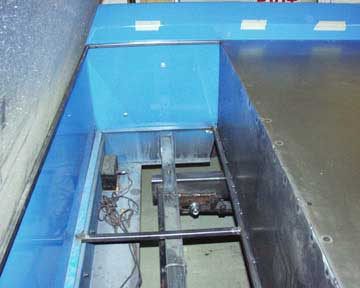
In this shot you can see the rear compartment before I welded the floor in.
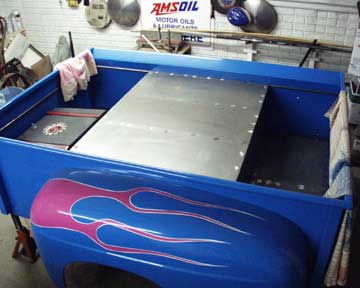
Here you can see the concept Im going for. The fuel cell and battery will ride in the front compartment, the rear compartment will be for storage.
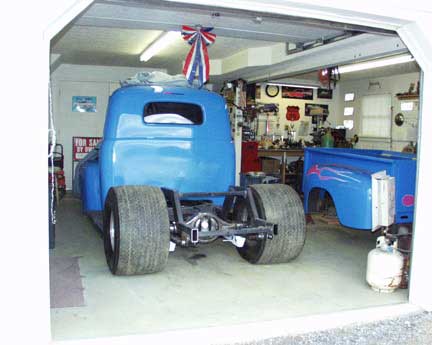
Here's the little garage where all the work on this truck has been done, from the paint job to the tub job. I have since moved to a different house which has a somewhat larger garage.
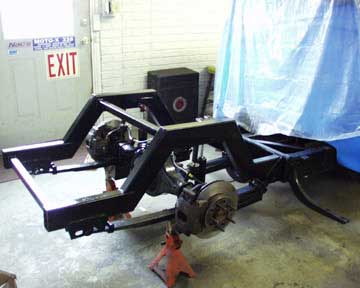
Rustoleum black is the color of choice for the new frame and rear. It prevents rust and is easy to touch up.
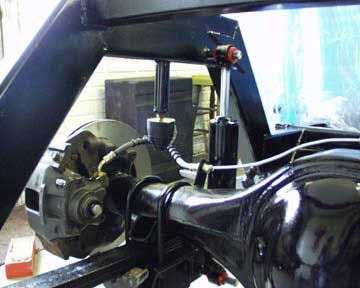
There is plenty of room in this design to go lower with the rear....or how about that 4 link I may want to install one day.
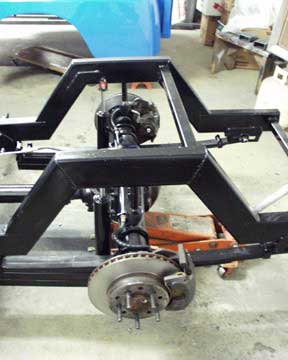
Getting ready to mount the tires.
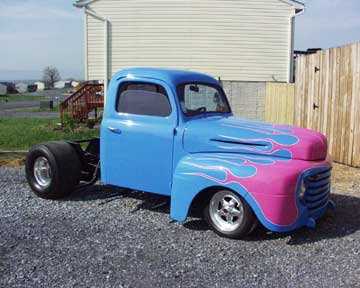
It felt good to back it out of the garage with the big Mikceys on. I did some traction testing right after this shot.
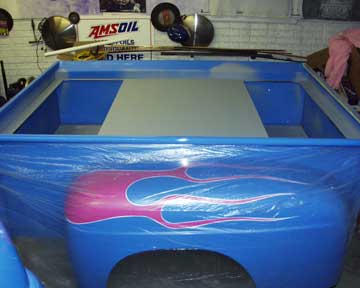
Before I set the bed back on I got it ready to paint.
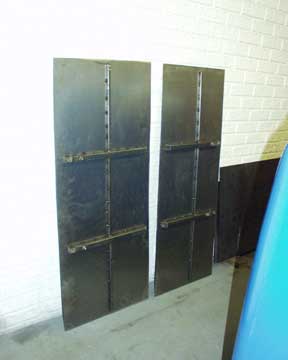
Here are the compartment lids I made up. These were pretty easy to make, but I wish I would have used a thicker gauge metal. They'll do for a while.
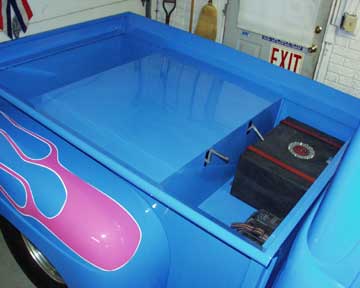
Everything is sprayed and the bed is mounted back on the truck. I made the lid hinges out of 1/2"x1/2" tubing, you can see them sticking out near the fuel cell.
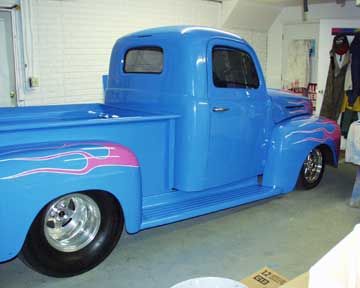
Here is the finished product, ready for a summer of cruising!
Be sure to check out my other pages for more work on the truck.
Last update 12-06-02
If you have found this information helpful, please help keep this website up, visit our sponsors.
