  |
|
Animated Seal
This is my very first tutorial. It was only made possible because
Char
I wrote this using PSP7. You can get a 30 day trial
here.
Now on with the animation. Oh first we have to make the seal.
This tutorial is for those of you who have enough experience
It is written by a simple person with simple instructions.
You can download my selections here.
You can make your own ball easy enough.
We will be attempting to make the seal above.
Oh did I say animated seal?
Open an image 500x500 transparent background.
We don't have that many selections to get confused.
Set the foreground to black and the background to null.
Flood fill the seal with black.
Add a new layer and download the eyes and nose.
Next will be the collar. Make a new layer and load from disk the collar.
Next download the whiskers. Flood fill with black. Deselect.
Now on with the markings on his feet and tail.
On a new layer and with the draw tool set at 2 apply two lines on each foot
Now you have the seal. Merge the layers visible on your layer
palette.
Make a new layer and with your shapes tool make a circle.
Shift D to duplicate until you have four copies.
On the first image place the ball close to his nose.
On the second image make a new layer and place the ball just a little
higher.
On the third image Place the ball just a little higher than the first two
On the last image put the ball up higher than the others but do not rotate
it.
Merge each image individually and save all four of your images.
What ever you choose to call them but remember where you saved them.
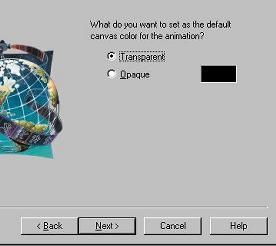
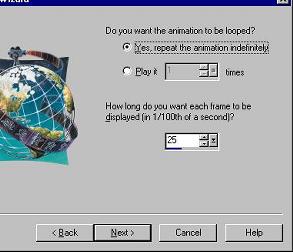
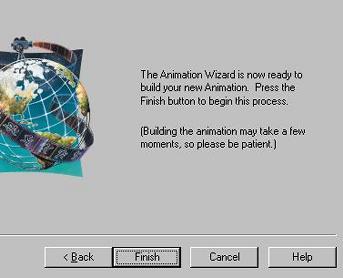
Now let's launch the animation wizard. 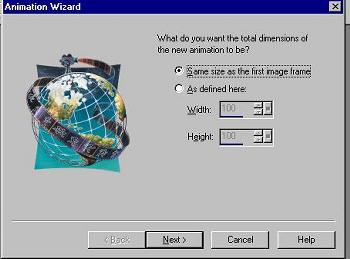


 |