SpeedStream 5660
Software Image Upgrade
So you can
configure the SpeedStream 5660 to do Net Meeting and other cool chatty stuff
Created and compiled by Ben Johnson Jr. [email protected]. Credit given to Efficient Networks /
SpeedStream, Alltel Internet, and the good doctor C2.
Any upgrade is
volatile. The SpeedStream 5660 image
upgrade is NOT fool proof.
If you do not feel comfortable doing this type of upgrade, have someone
that has experience assist. If
necessary, take it to a computer shop and have it done by a professional. Disclaimer, disclaimer, disclaimer!
<grin>
Have the following items ready to ensure this upgrade’s success:
· A computer with an available serial or communications port. This is a connection on the back of a computer that is similar to the shape of a “D” and has nine copper pins.
Pin side facing you.

· A SpeedStream 5660 ADSL modem/router.
· Power connections and cables for the computer and SpeedStream 5660.
· The serial, terminal, or console cable that came with the SpeedStream 5660. DB9 on one end and a mini-din \ps2 looking connector on the other end.
· An Uninterruptible Power Supply. Both units should receive electricity from the UPS.
· The software image to be used.
Images for the SpeedStream 5660 can usually be found at:
http://support.efficient.com/drivers/kernels/Speedstream/5660/5660.img
Be sure to get the CORRECT image, you may not recover from installing an incorrect image!
SpeedStream 5660 HyperTerminal Setup
HyperTerminal will be used to log in to your SpeedStream 5660. HyperTerminal is an application included with all versions of Microsoft Windows. Follow these steps:
1. Be sure your computer and the SpeedStream 5660 are off.
2.
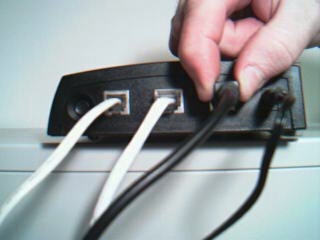
Connect the serial cable to the computer com 1 or
serial 1 port

3.
Connect the
“other end” to the SpeedStream 5660.

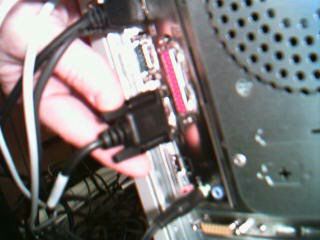
Note: The Back of the
SpeedStream looks like this:
![]()

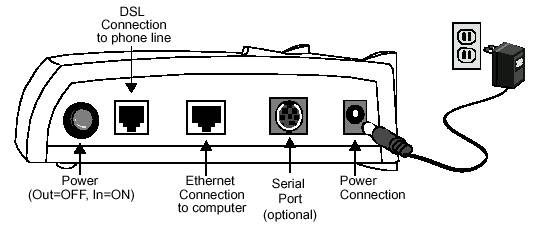
Serial / Terminal
Connector
4.
Turn the
computer and the Speed Stream 5660 on.
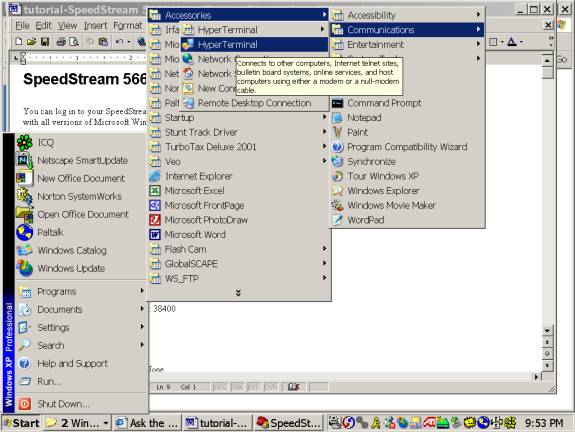
5. Start HyperTerminal. In most versions of Windows, this is done by selecting [Start > Programs > Accessories > Communications > HyperTerminal]. In the default Windows XP menu, the only difference is that “Programs” is called “All programs.”

6.
Enter a name and select an icon for the connection.
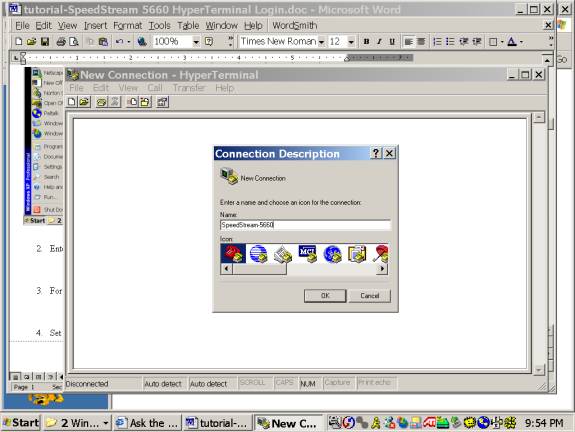
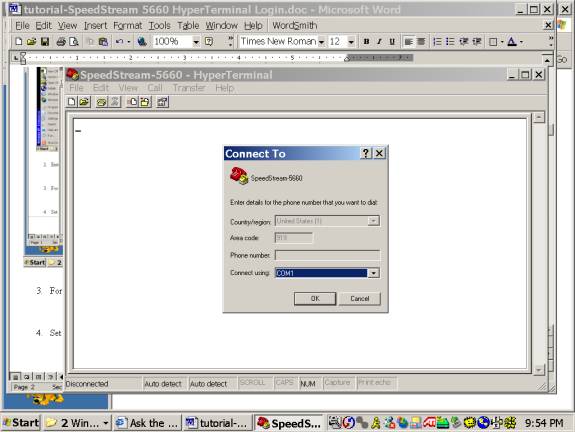
7.
For “Connect Using” leave the default selection [COM1]
and press [OK].

8.
Set the Port Settings as follows:
a. Bits per Second: 38400
b. Data Bits: 8
c. Parity: none
d. Stop Bits: 1
e. Flow Control: None
9.
Press [OK].
10.
Press Enter 5 times.
You should see a command prompt or a request for password (enter your
password).
Note: You should be connected.
Installing The New Kernel
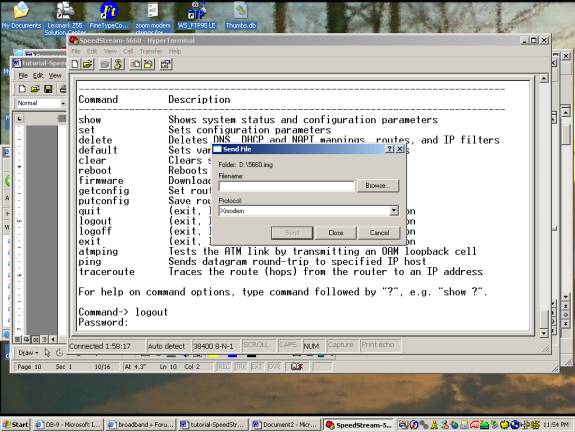
1.
At the
command prompt on the SpeedStream 5660 type “firmware xmodem”.
Like this
Command-> firmware xmodem
You will
see characters like the ones below appear on the screen.
§C§C
2.
On the
HyperTerminal tool bar select, select [Transfer]. [Send File], and [Protocol]
xmodem.
![]()

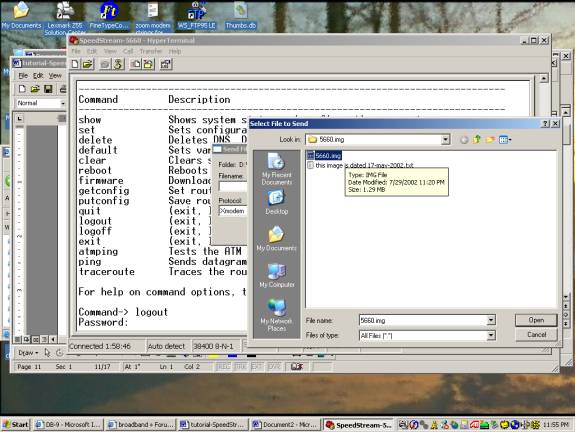
3.
Point
to the path where the image file [5660.img] is located (The file may not be
listed by the same name – but it will end in .img.
4.
Click
“Send”
![]()

A window like the one below will
appear and display status.
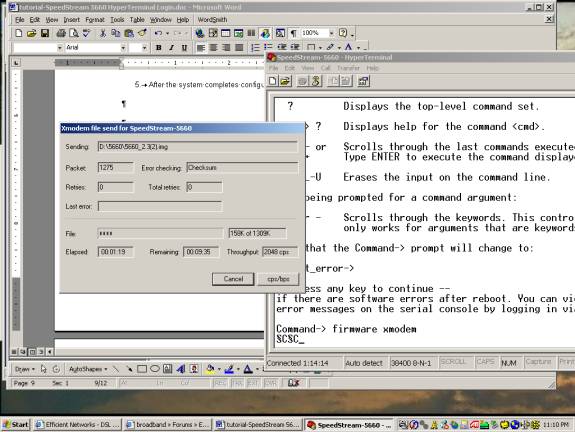
It may take
up to 12 minutes for the transfer.
5.
After
loading the image, follow the instructions on the console, and when
prompted to keep the new image select [Yes] by pressing “y” and then the
“Enter” key
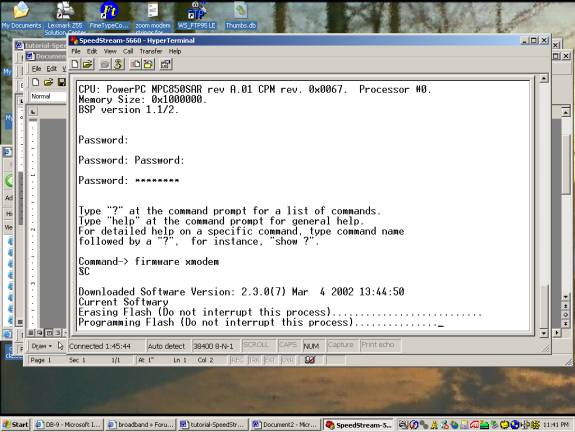
6.
After
the system completes configuration, the SpeedStream 5660 will reboot and your new image will be the
v2.3.0(7) kernel, it is dated at March 4 2002 and has a time stamp of 13:44:50

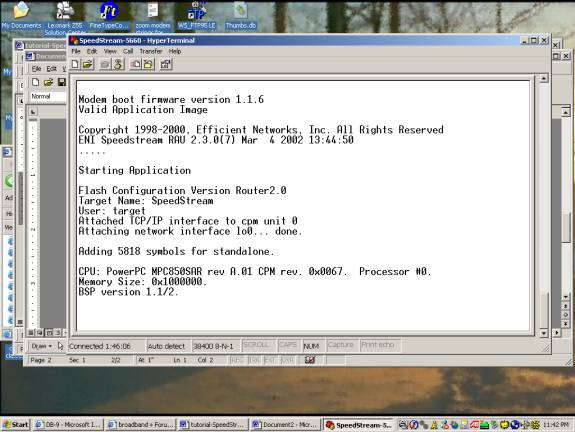
Congratulations! You have
finished the software image upgrade.