|
A Tag Art Tutorial- Project 3
This is the thrid tutorials about tag art. There is no right way to do this, but I hope that this will help you find the best way for YOU to make a tag. I am by no means an expert when it comes to making tags, rubber stamping, or anything else, as a matter of fact. These are the basic steps that I go through when I sit down to make a tag. I'm just trying to share my love for art and making tags! :-) (Yes, I'm saying this again!) The thrid project will feature a tag with an oil pastel background and decorated only with rubber stamps. If you have read my other tutorials, you will notice that the steps are basically the same, we are just using a different technique to decorate the tag. If you have any questions or comments, please e-mail me.
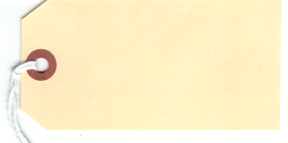
Step 2: Decide on Colors- Since my theme is "Love" I am going to use pink, lavander and burgandy oil pastels. Those colors remind me of things associated with love. Think about your theme and pick 3-4 colors of oil pastels that work well with the 'mood' you are trying to set. Here are the colors that I chose: 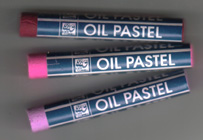 I am using oil pastels by Loew-Cornell. This just happens to be what I found (and could afford). There are many different brands, so look around and buy what's best for you. I'm sure that the quailty improves along with the price. Experiment and see how they work on different types of paper. Step 3: Assemble Supplies- Now that you have decided on a theme and your colors, get everything ready. Look at your stamps and decide what size of a tag you will need. Will you be using a mailing tag or cutting your own? We're going to use a mail tag that measures 4 1/4" X 2 1/2 ". If you don't have a tag, make you own. Get your oil pastels out and ready to use. I am going to use my fingers to rub the oil pastels, but you may use a tissue if you don't want to get dirty. (I like getting my fingers dirty and feeling the oil on the paper). Have a towel close by to clean your fingers on. You will also need some pigment or embossing ink and embossing powder (your color of choice). I am going to use embossing ink and gold embossing powder. Make sure that you have your heat gun handy. If you do't have embossing powder and/or aheat gun, you must seal the tag with some sort of spray sealant or the ink will smear. Remove the string from the tag before starting.
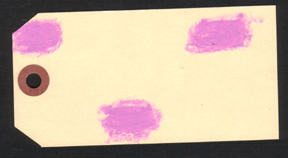
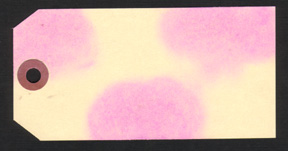
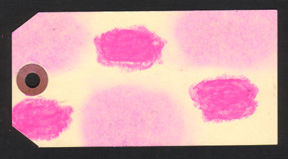
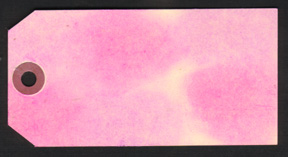
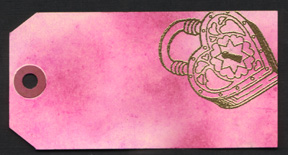
Step 4: Create a Background- Choose 3 or 4 colors of oil pastels. Lay the tag on top of a piece of scrap paper.
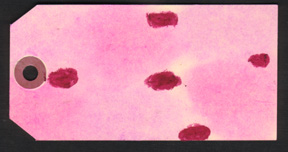
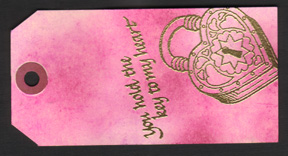
Step 5: Stamp the Images- Using pigment or embossing ink, randomly stamp the images on the tag. If you are going to emboss, do so after you stamp each image. If you're not going to emboss, then be very careful to not touch the stamped images. The ink will not dry on the oil pastel background and you will have to seal it with a spray fixative. Sometimes, I lay the stamps (un-inked) on top of the tag, so that I can kind of get a general idea of where I am going to place them. Here are the steps I took to stamp my tag:
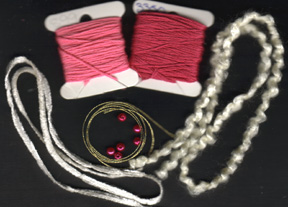
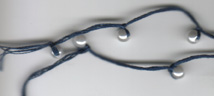
Step 6: Seal the Images- If you did not emboss the images, then you will need to seal them with some sort of spray fixative. If you do not do this, then the images will smear. (Trust me, I know!). Spray the tag with a fixative an let it dry well. Step 7: Add Fibers
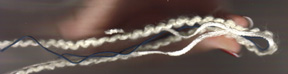
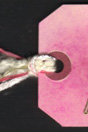
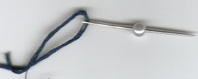
and Beads- Look at your tag and decide what colors of fibers, ribbons,
etc. would look nice on your tag. Stay with your theme.
Is your tag Victorian and needs pretty fibers or is it more rustic and
some raffia would work better? Pick beads in colors that coordinate
with the tag and fibers. Cut fibers in 8-12 inch lengths and have
each fiber a different length, so that the ends of them will not be even.
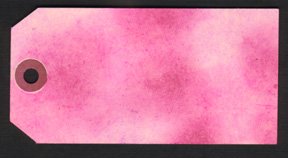
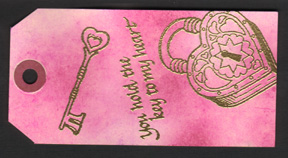
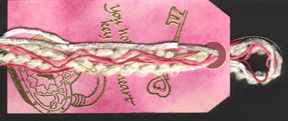
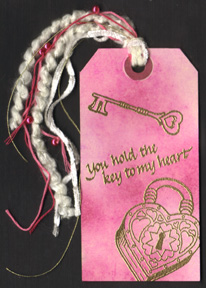
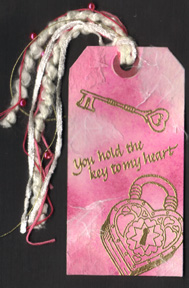
Step 8: Sign Your Artwork- Always remember to sign your artwork! Put your name and the date that you made it. You can also put a short note on the back, if the tag is a gift. Some people even have names for their tags. Step 9: The Finished Tag- Here it is! The finished rubber stamped tag with an oil pastel background:
Step 10: Other
Options-
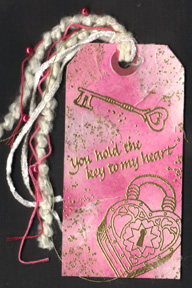
Still want some more? Well, I love to add more gold to my tags with my speckle (splatter) looking stamp. For my tag, I am going to use my speckle stamp and gold embossing powder to really give this tag some glitz.. Here is the tag after I used the stamp
and gold embossing powder:
I love this technique and I hope that this will show you how easy it is to use oil pastels to make a stunning background . If you have any questions, please e-mail me. I have had a few people ask me about the oil pastels and if they dry. I would say that they pretty much do. My tags are displayed and aren't handled. But, if your tag is going to be handled a lot and you are worried about the oil pastels smudging, then I would definately spray it with a clear coat to protect it. I am having a lot of fun doing these tutorials and I am planning on having some more about tag art, so be sure to check back often to see if there is anything new. Better yet, join my mailing list and you will receive an e-mail whenever I up-date my pages. Thanks so much for coming and I hope that you enjoyed your stay. :-) Di~
This set is courtesy
of:
This page was last updated
on:
|