 |
|
|
|
|
|
|
|
|
|
|
|
|
|
|
|
|
|
|
|
|
|
|
|
|
|
|
|
|
|
|
|
|
|
|
|
|
|
|
 |
|
|
|
 |
|
|
|
 |
|
|
|
|
|
|
|
|
|
The Vertical Stabilizer |
|
|
|
|
 |
|
|
|
|
|
|
The vertical stabilizer was the second piece I started on and was the first to be finished. Its construction required the use of a jig which, conveniently, already existed in the hangar. The jig is quite different than the one used for the rudder, but serves the same function - keeping any twist out of the part..
|
|
|
|
|
|
|
|
|
|
|
 |
|
|
|
|
|
|
|
|
|
|
|
|
|
|
|
|
|
 |
|
|
|
|
|
|
|
|
|
|
|
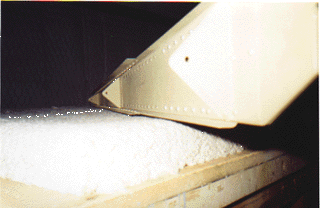
The finished vertical stabilizer. A fiberglass fairing will be attached at the top. |
|
|
|
|
|
|
|
|
|
 |
|
|
|
|
|
|
|
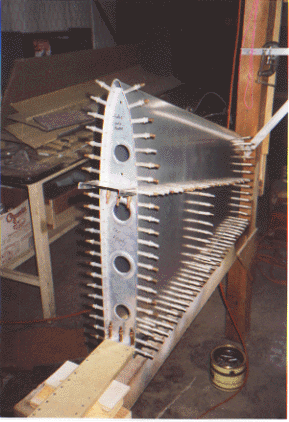
The vertical stabilizer is held together here with temporary fasteners. Each fastener represents a hole that had to be drilled, deburred and dimpled and a rivet that needs to be driven. |
|
|
|
|
|
|
|
|
|
 |
|
|
|
|
|
|
|
|
|
|
|
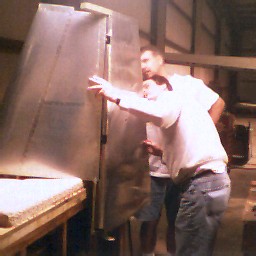
The rudder is fitted to the vertical stabilizer for the first time. Fortunately, it fit very well. There was some concern that the counterweight holder at the top of the rudder would not clear the stabilizer, but it actually fit just right. |
|
|
|
|
|
|
|
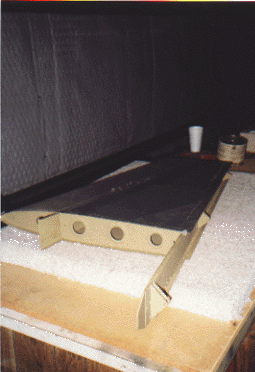
Looking down the spar of the vertical stabilizer. The rudder attaches to the three triangles with bolts. The jig also served to keep the holes in the three triangles lined up. Otherwise, the rudder would not be able to swing freely. |
|
|
|
|
|
|
|
|
|
|
|
|
|
back to main page |
|
|
|
|
|
|
|
|
|
|
|
|
|
|
|
|
|