I don't do much armor, a little to coincide with my WWII interest, but this appealed to me when I saw it in an ad in FSM, probably because of the machine gun cupolas. I'm a sucker for machine gun cupolas. The only reason I got a Tamiya M48 Patton was the kool machine gun cupola on the turret.
I decided to build this kit on a suggestion by the president of one of the clubs I belong to, Lakes Region Scale Modelers. The group project for the 2003 IPMS Nationals in Oklahoma City was The Zoo. I had originally planned to build the Revell 1/28th Sopwith Camel but lacking reference sources was frustrating so when Ned said during show and tell when I presented the kit for inspection, 'Hey an Alligator is an animal...' I changed my plans.
 .........
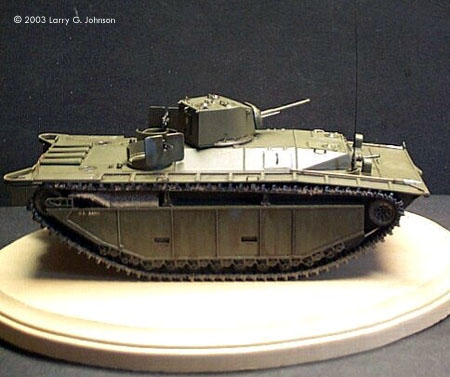
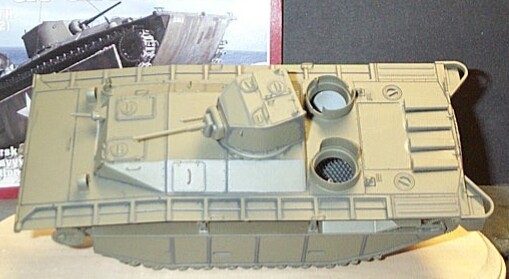
The kit was assembled all at once, straightforward simple build, leaving the tracks off until after painting. I used Tamiya cement and what little seam filling was required due to minor warping of the top hull, was done with Mister Surfacer.
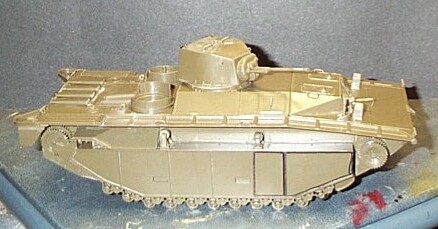
Painting was interesting, the original (there was a mishap and this is actually kit two with turret 1) being done in Tamiya Olive Drab but as I found out, Tamiya doesn't make an Olive Drab; just a very dark green in a bottle labeled Olive Drab. So on take two I switched to Testors Model Master Acryl which led to another problem below in weathering. First I preshaded with a black Sharpie marker and then sprayed two coats of O.D, through my Aztec 470.
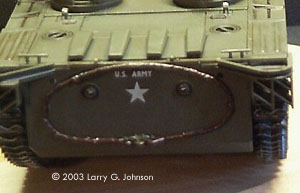
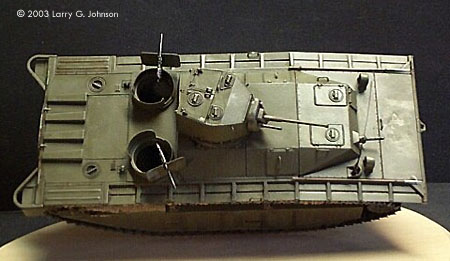
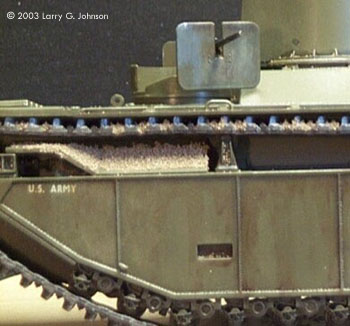
The tracks were assembled and painted gunmetal, drybrushed flat aluminum, all Tamiya paint. Adding them was a painn. They would not fit around the rear idler as the fit between it and the hull and fender was too tight. Stupid here thought to cram it in with a tool - an x-acto knife. You can't see it but the right track is nearly cut in half. The left track went on much easier with a paintbrush handle poker. The machine guns were painted Tamiya flat black and drybrushed flat aluminum. The boat hooks were brushed Testors flat tan and then masked and the metal hook sprayed Metalizer non-buffing aluminum. The mounting straps were painted O.D. and the whole thing weather with a burnt umber oil wash. A dab of black pastel dust accents the main gun muzzle. The tow cable (see above) on the back end was painted Tamiya gunmetal and then washed with Testors rust. The kit came with an antenna mount but no antenna so I whipped on up out of stretched sprue.
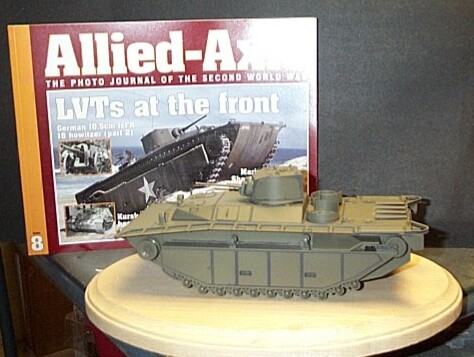
I had wanted a simple, relaxing build from this kit - no extensive research for super accurizing. Then after wondering about weathering patterns and whether or not the tracks would rust with so much sand abrasion constantly (actually found out they were Magnesium so no they would not rust) I wound up getting two reference sources. The second, less useful was some armor modeling magazine with an build article for the Revell (same?) kit. The better of the two was Allied-Axis: The Photo Journal of the Second World War, Vol 8. This book was enormously helpful, showing weathering patterns, chipped paint, muck buildup, etc.
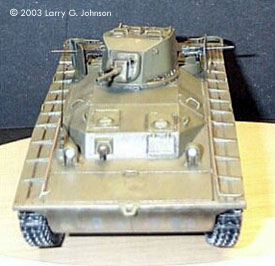
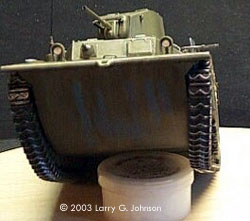
Using this reference, I decided to have a bit of primer showing through on the front hull where it hits the beach hard, and on the gun shields which seem to repel O.D. paint in the pics shown in the reference. At first, I undercoated with gray and then used tape to pull off the MM O.D. and here is where I had my interesting little problem. The Acryl wouldn't come off. I even tried duct tape on a suggestion and no go. So bad news, I couldn't weather the model like I wanted, but good news - Damn Good Paint!. I had to go back with a thin down mix of Tamiya acrylics (Haze grey - see their 1/350th New Jersey for the recipe - mixed with some Intermediate Blue) and paint on the primer. Then came an oil wash, black and burnt umber, followed by a whitened O.D. drybrush to both show highlights and sun bleach the paint. Finally, as the reference work shows, sand builds up on the tracks and fenders so I used model railroad sand. Its too course though and the pics I have show it to be more of a paste like substance so I plan to go back with thinned down white glue to tone down the effect.
 ..
..
This was a fun project. I plan to go back and weather it some more (some more drybrushing and the sand detail I mentioned) and build a beach base for it just like the picture on the cover and Allied-Axis 8, coming up on the beach off a mound of sand.