 |
|
|
|
|
|
|
|
|
|
|
|
 |
|
|
|
 |
|
|
|
Six frets done. The first one was the ugliest, after the third one I had a pattern that worked the rest of the way up the neck: 30 seconds of heat applied with a 40W soldering iron, then start pulling at one end with my special cutters. |
|
|
|
|
|
|
Project: Tobias Defret
March 3-5, 2006
When I got this bass in 2001, my first impression was, "This will make a great fretless!" I'm glad I was right - there's no turning back . This is my first defretting project. When I do it again I will change a couple steps, but I am very happy with these results.
Udate 3/08: After trying DR Black Beauties and D'Addario Chrome flatwounds, I grabbed an old set of Fender 7150Ms that were already used, but they sound great on this. I am now using 7150s on this bass and my G&L SB-2 Tribute. |
|
|
|
|
|
|
|
|
|
|
 |
|
|
|
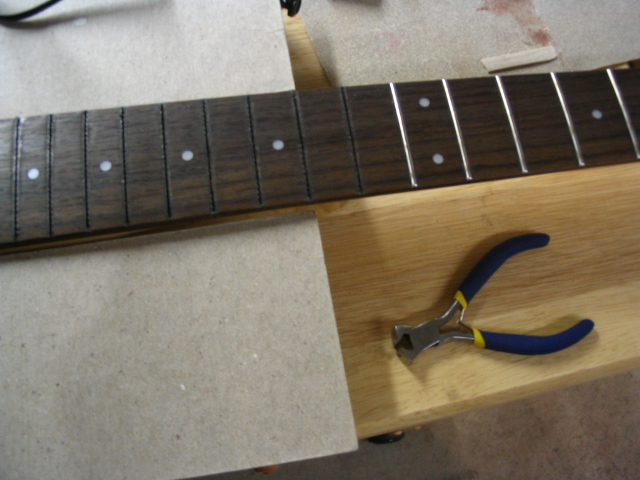
Speaking of special cutters, here you see my 99 cent end cutters. I used a file to smooth the front side so they can get under the fret.
I'll use the cutters again to trim the maple strips down before sanding. |
|
|
|
|
|
|
|
|
|
 |
|
|
|
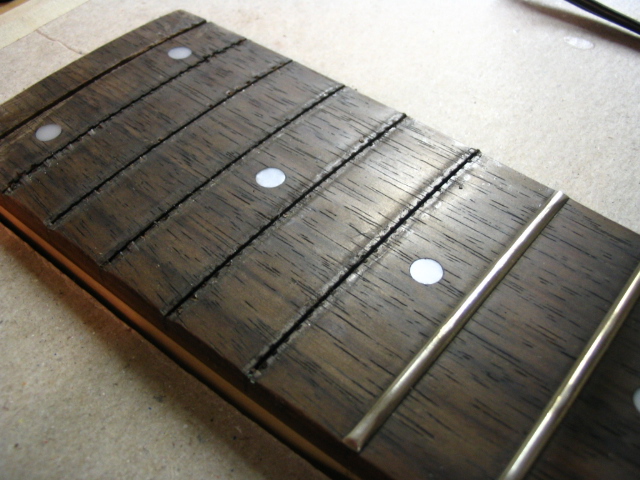
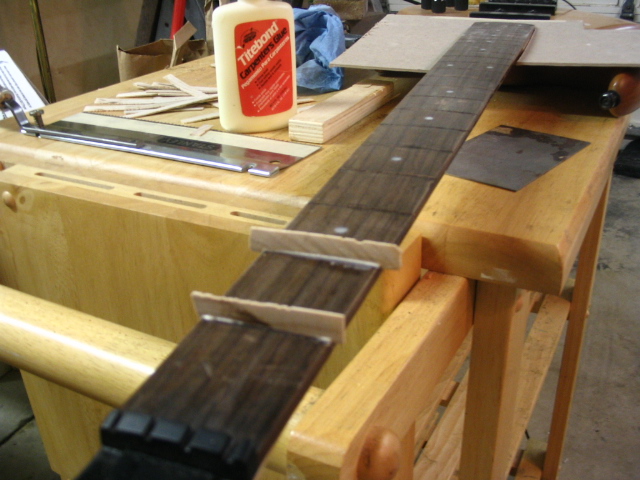
All done with the removing process, now it's time to widen the slots so I can fit maple strips into them. |
|
|
|
|
|
|
Finished! |
|
|
|
|
|
|
|
 |
|
|
|
|
|
|
|
|
|
|
 |
|
|
|
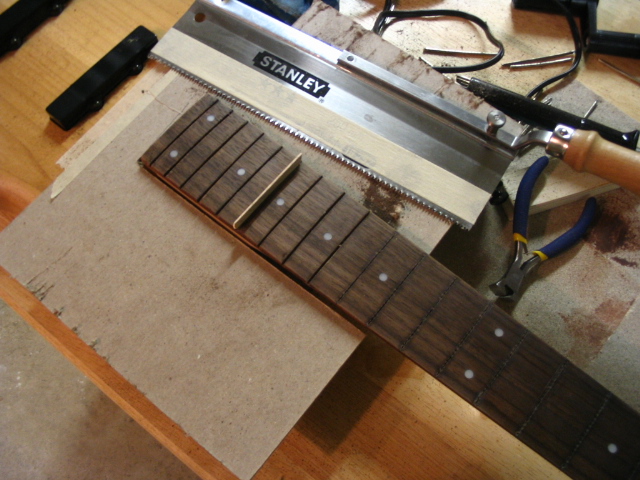
I used a dovetail saw to widen the slots. That gave me roughly 1/32" to fill with wood, rather than trying to stuff something into the narrow grooves. The cardboard took some damage during this step. |
|
|
|
|
|
|
|
|
|
 |
|
|
|
|
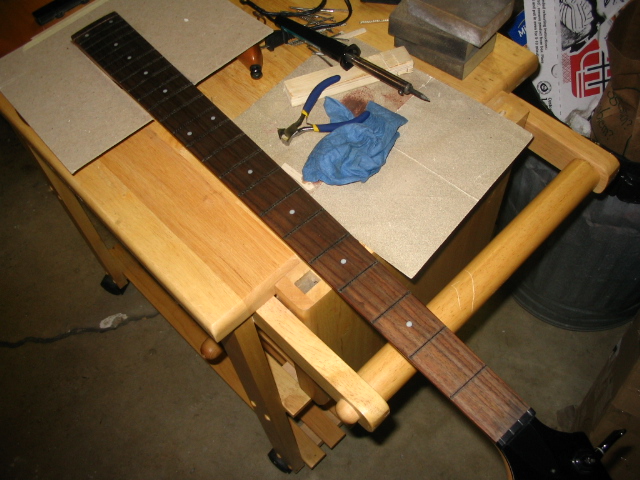
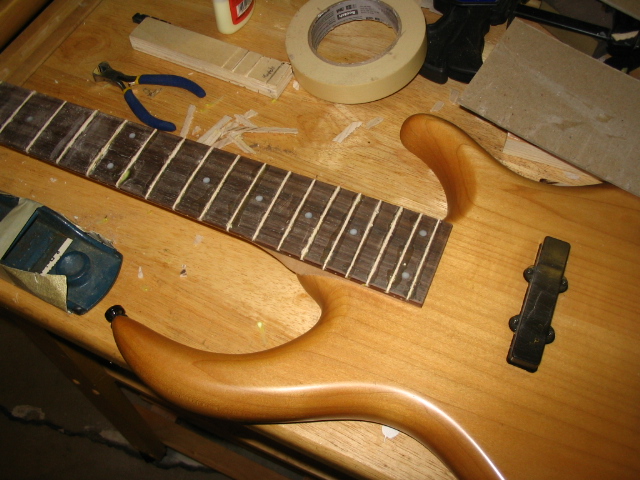
Cutting wood strips to fit has taken some trial and error, but once I get them just right they get glued in. 20 more strips to glue, then I'll let it sit overnight. |
|
|
|
 |
|
|
|
|
|
|
|
|
|
|
 |
|
|
|
Sanding started with the base of a block plane to hold the paper. After a few strokes I switched to a 1/3 sheet sanding block that came with a drywall tool kit. That gave me a spongy backer which conformed to the 16" radius of the neck. |
|
|
|
|
|
|
Things to learn from me:
Use a tool that will cut a clean, consistent kerf for every slot. Or fill the original slots with very thin veneer.
Three thin coats of polyurethane is a good start but it doesn't make a difference in the long run. Pros use many coats of polyurethane or epoxy for a durable, glossy finish.
Protect everything that you do not want to cut or sanded.
Unless you want to buy a new neck or replace the fretboard, there's no going back! |
|
|
|
|
|
|
|
|
|
|
 |
|
|
|
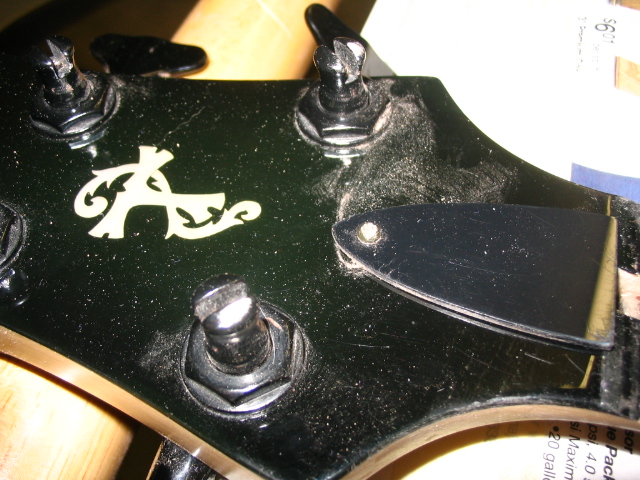
Long sanding strokes removed the black finish from theE and G tuners. the bridge pickup also took some minor damage before I put masking tape on it. That's why I did this on an inexpensive instrument! |
|
|
|
|
|
|
|
|
|
 |
|
|
|
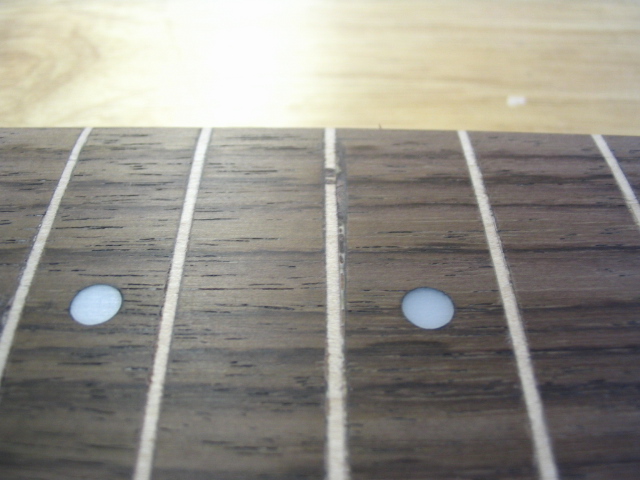
Sanded and ready for a polyurethane finish. This is the 19th fret. The saw got a bit out of kerf and the maple strip broke off below the surface. It gets the ugly fret award. I filled it with some glue and sawdust to get it mostly smooth. |
|
|
|
|
|
|
|