~SaN~ RS editor Tutorial
In this tutorial I will explain how to use the RS editor at the most basic level. I will cover how to navigate in the editor, how to open a map, and create a new MP mission . Let's get started.
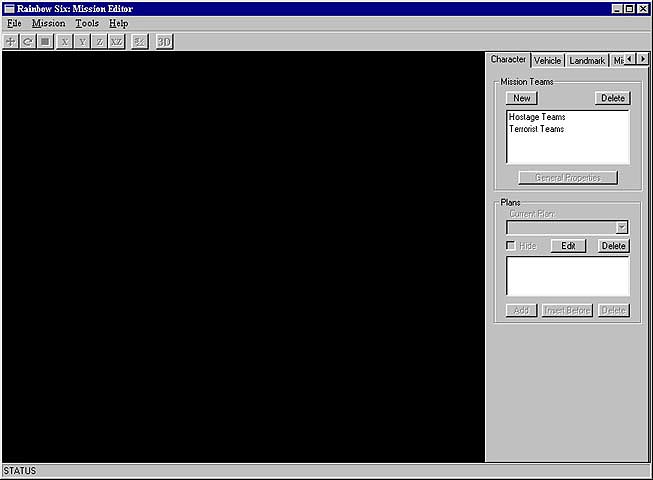
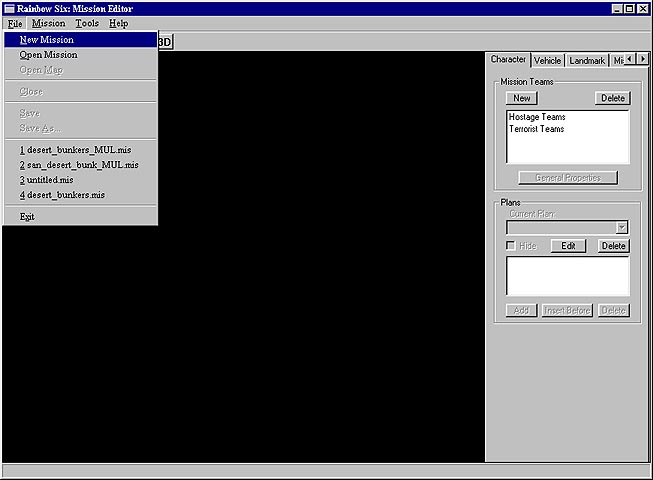
Open the RS editor.
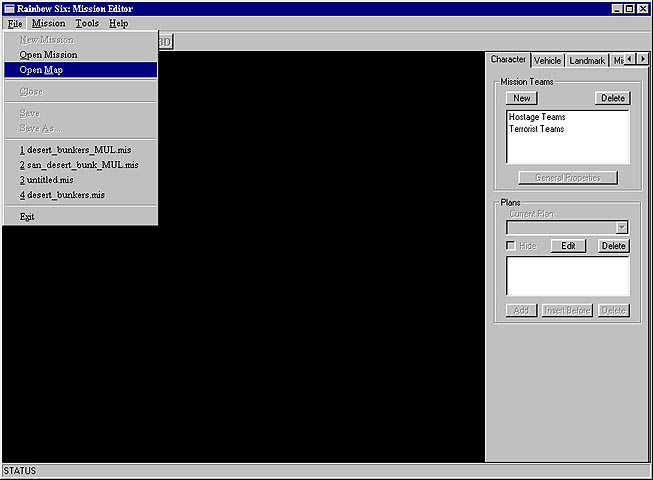
Select File, then open map.
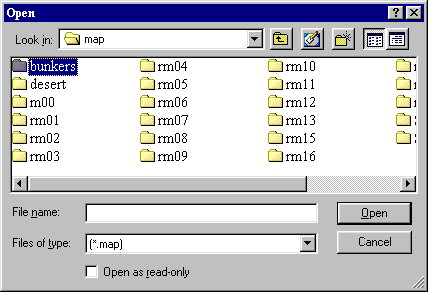
Now select the map you want to use. In this tutorial I will use the bunkers map. Open the bunkers folder. (Go here for a listing of what maps are in what folders)
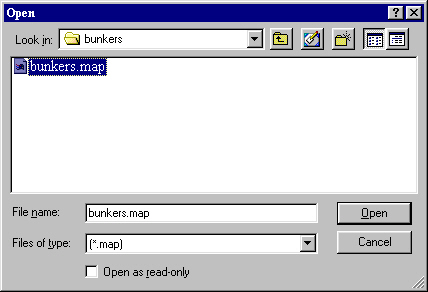
NOw click on the "bunkers.map" file.
Select file, New Missiion.
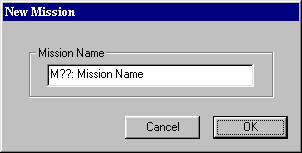
The new mission window will open up. Type the name for your new mission here. This is the name as it will appear in the map list during game play. You can type the name as you want it to appear.
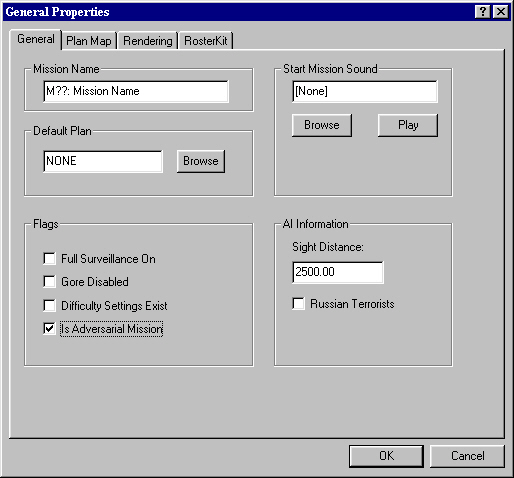
After hitting ok, the general Properties window will open. The mission name will appear here as you entered it in the step before. Leave the default plan blank for MP maps. (you will use this block only for single player missions.) In the "flags" block, insure you check "Is adversarial Mission". The "start mission Sound" block in my opinion should remain unchecked. But if you want an annoying sound to play at the start of the game, go for it. Now move to the Rendering tab.
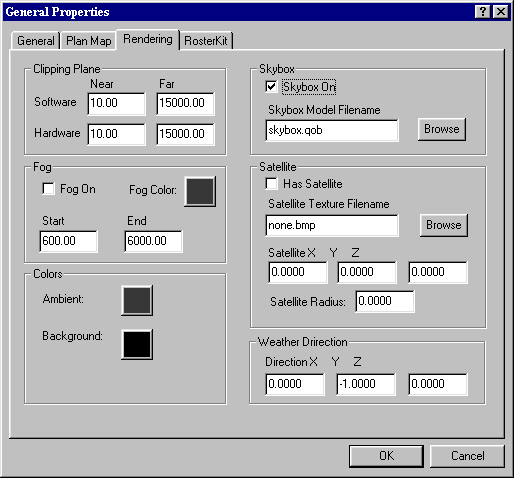
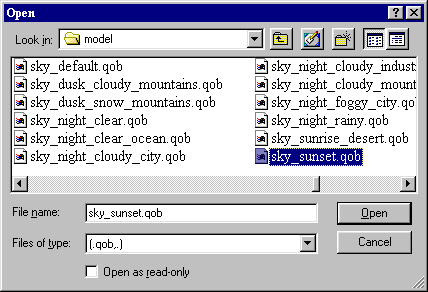
The only block you should mess with in this basic tutorial is the "skybox on" block. You can choose to turn on or off the skybox file. I prefer to have it off, because I feel it makes the online game run a bit quicker (hence the game does not have to render a sky) But if you would like to add a skybox to your map. select browse.
After selecting browse, this window will open. Scroll through untill you find the "sky_*.qob" files. Select the one you want to use, and click open. Then click ok on the general properties window and we will move on to the next step.
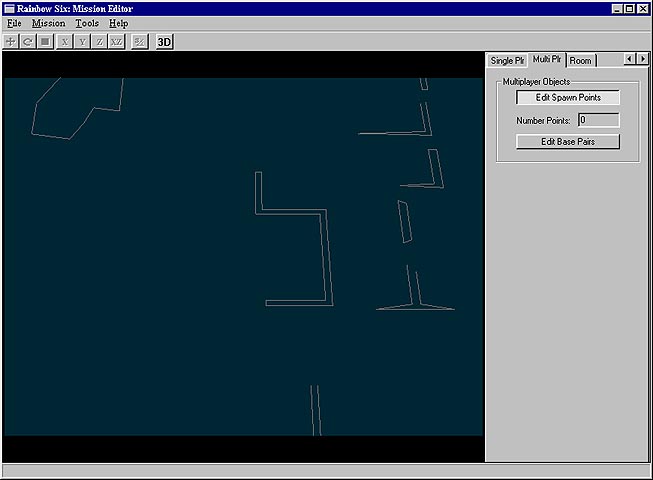
The next step I do in making a MP map is to add the "spawn points" (which are the points operatives will start during a survival game) and the "base pairs" (which are the start points for teams during all team games). To add these points, on the right side of the editor scroll to the "multi plr" tab. And the multiplayer objects tab will show to the right as below. Then Left click in the main editor window (the portion that is all black at this point) to activate the window. To navigate the main window in 2d mode (you have to be in 2d mode to edit/add spawn points and base pairs) you will use the the "A", "W", "D", and "S" keys to move the map left, up, right, and down respectively. The "-", and "+" keys to tilt the map, and the "[", and "]" keys to zoom in and out. (use the up and down ARROW keys to move the map from level to level, ie, in bunkers the 2d map starts on the inside bunker level, to move to the main level, hit the up arrow key. you should now be on the main level)

Click on edit spawn points.
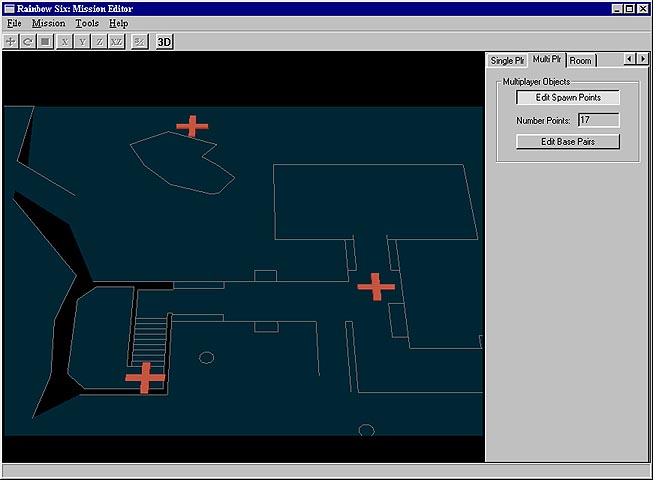
Now move around the map and add your spawn points by left clicking on the spot you want them. After you add the point it will be flashing. This is the active point. I f you don't like the placement of that point, just hit the delete key while it is flashing. (You have to have a minimum of 16 spawn points to have a working map). The editor will keep track of how many points you have added in the "number points" window (where you see i have 17). NOTE: when adding spawn points, try to space them out so someone has a fighting chance once the game starts. There is nothing worse than a map that starts everyone out on top of one another. not fun.......)
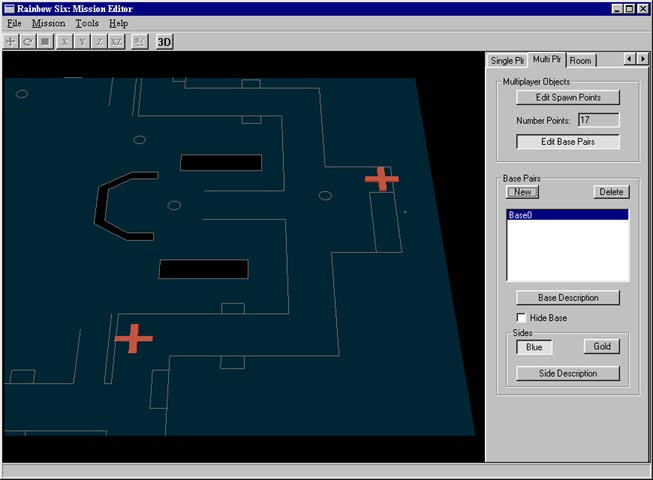
Now that you have your Spawn points, you need to add your base pairs. Click on the "edit base pairs" block, and the "base pairs" window will open. click on "new". Now click on the base description to add a description for the base pairs.
( example: If you want to make a really good map, that has multiple start points, give each pair a name, so that the host can select from the base pair names. These will show up to the host if he does not have random starts selected.) An easy way to name them is "Start 1", "start 2"...This is the window that will open after selecting base description. type start1 ect in here and click ok.
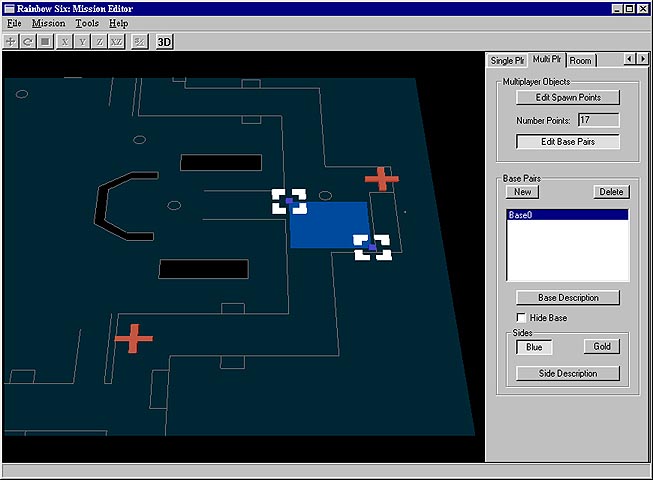
Now click on the "blue" tab in the "sides" block. Then click on "side description" Another description window will open up. Type the name of the blue start here. (This is the description the teams will see during the load screen in the game, like "outback" or "guardhouse upstairs") Now left click the main editor screen again to activate it. Then left click AND hold it down and drag open the block as below. Now your blue base is set.
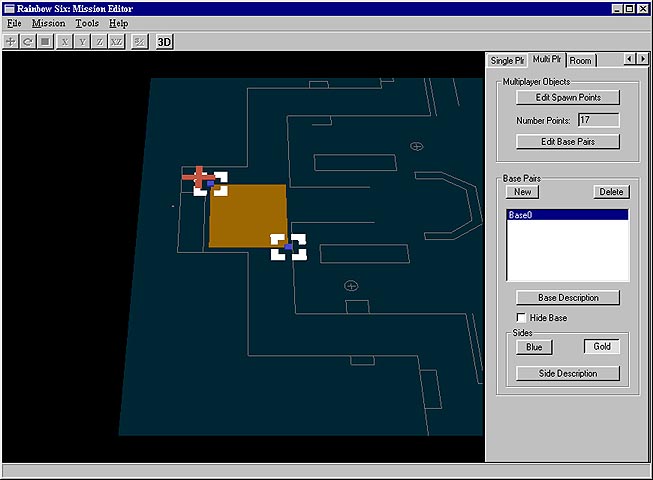
Click on the "Gold" tab in the "sides" block, and do the same as above for the gold team.
NOTE: Don't be scared to add more than one base pair on your map. I think a really good map will have multiple starts to keep the game from getting boring.
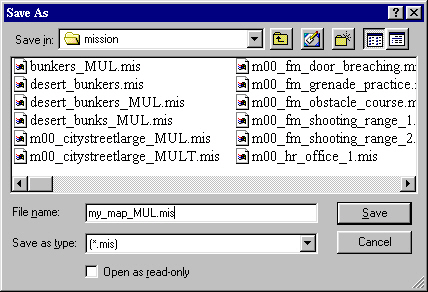
Now that you have set up all the spawn points and base pairs, you SHOULD have a map that is ready to go. Click on File, Save as.....
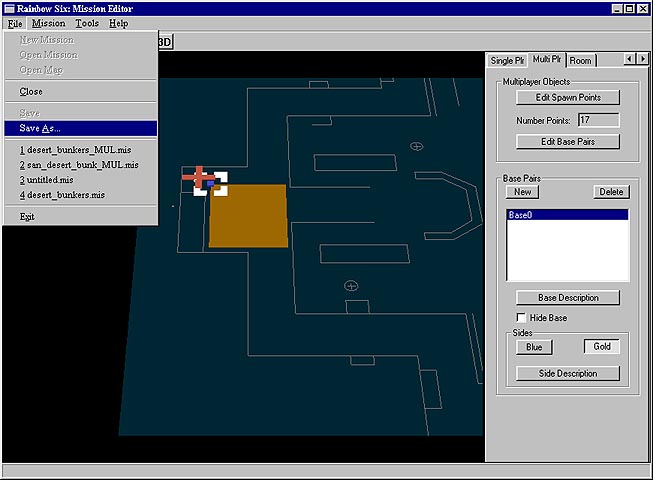
This step is extremely important! your map name must be in this format "*_MUL.mis". You can name it anything you want here as long as it has "_MUL.mis" at the end. This is just a file name for your map. (not to be confused with the map name you gave it at the begining). Click save. Now one of two things will happen here.
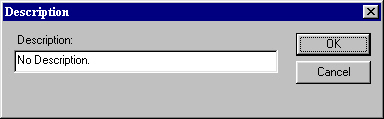
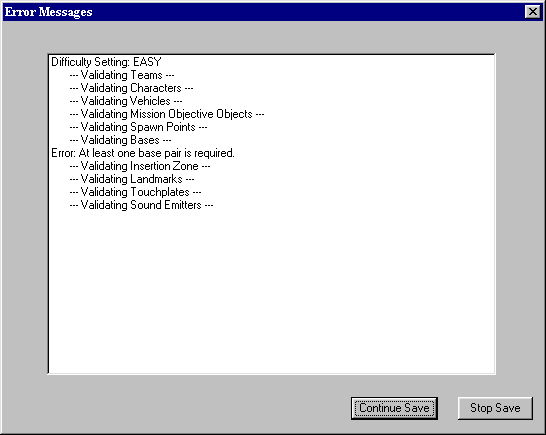
If you had a mistake somewhere in the map, this window will pop up and tell you so. You can see below the error is that a base pair is missing. Just click stop save and go back to the base pair step and retry to add at least one pair. Or if you only had 15 spawn points, it will tell you.
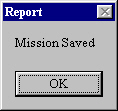
OR, if you did everything correctly, this is what you will see. This is a good thing. Now your map is ready to test and play online.
I tried to make this tutorial as easy as possible to follow and understand. If something doesn't add up for you or you still have problems getting a map to work.E-mail me or catch me on the zone, and I will be happy to help you out. My zone name is "SaN_wunderbread". The next tutorial will be on modding the map(adding things into the map such as barrels, walls etc..), and retexturing the map.