| Diary of a Civil War era Puffed Bodice |
 |
| This fashion plate is from Godey's Ladies Book; February, 1863. I saw the plate online somewhere and fell in love with the puffed bodice worn by the lady on the right. So I decided I wanted to recreate it! I posted an inquiry on a message board, and in reply Elizabeth Stewart Clark very kindly wrote up some directions for me on how to go about altering my darted bodice pattern into a puffed bodice pattern! This website will be outlining the process from beginning to end as I make my own puffed bodice from Elizabeth's instructions. I will also be attempting to make the corselet and cuffs. The first bodice I make will be from bleached muslin, and the corselet and cuffs will be made from acetate taffeta. If I like the finished product, I will be making another one from sheer cotton fabric and silk taffeta or satin. |
| Materials: ~*~ 5 yards of bleached white muslin 1 1/2 yards black taffeta 10 yards 1/4" black satin ribbon 1 pkg. size 2 hooks and eyes ~*~ |
| Okay, the first thing I did was to alter my Past Patterns Darted Bodice pattern into a pattern for my puffed blouse. How do you do that? Well, you trace your front and back lining (so you have a 1 piece back) pattern pieces onto a piece of paper. Then, you make horizontal cuts across the pattern 1 inch apart. Then you spread the cuts one inch apart and trace around your new, looonnnggg pattern piece. And you're finished! :) I don't have any pictures for that process though. Step 1: Cut out your fabric using the new patterns that you just made. Also, cut out your lining using the regular, unaltered pattern Step 2: Draw gathering lines on the fronts and backs with a disappearing marker, being sure that the lines match up at the shoulder. Step 3: Baste on the gathering lines. It will be easier to sew on the ribbon later if you do a double gathering line. (like about 1/4 inch apart, or slightly less) Step 4: Pull on the gathering threads until the puffed fabric is just as big as the lining. Baste to the lining pieces. Step 5: Sew fronts and back together at shoulder seams, making sure that the gathering lines match up. Step 6: Sew the ribbon onto the gathering lines, making 2 rows of stitches, one on each side of the ribbon. (This is ON the ribbon!) Step 7: Step 8: Step 9: |
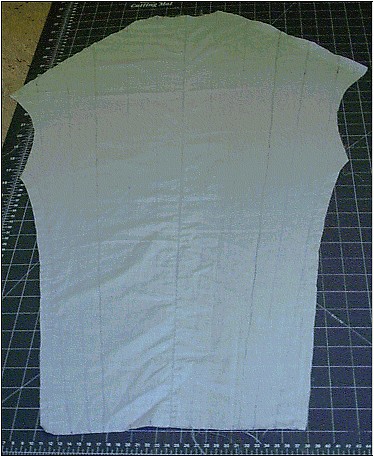 |
| This is the back, with the gathering lines marked on it. You can see them faintly if you look hard. |
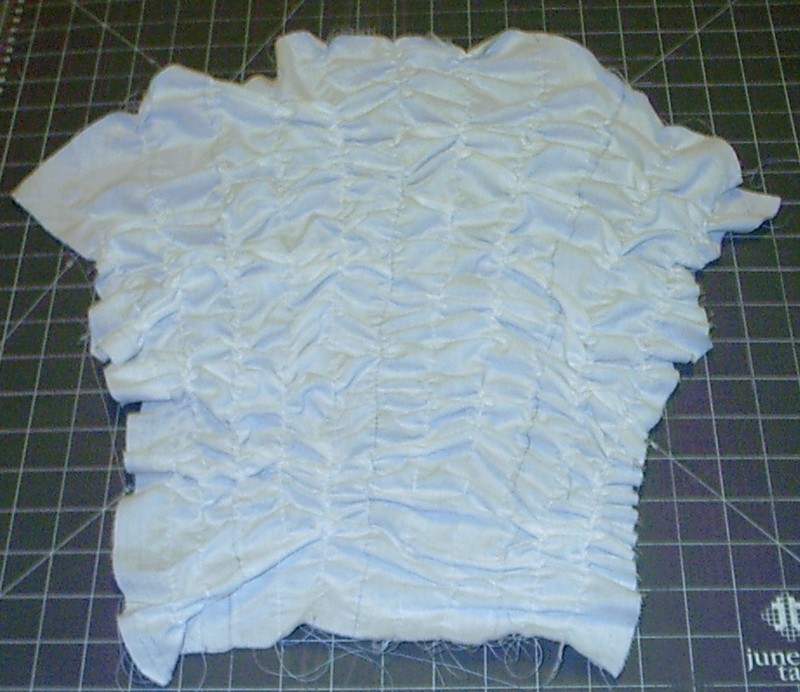 |
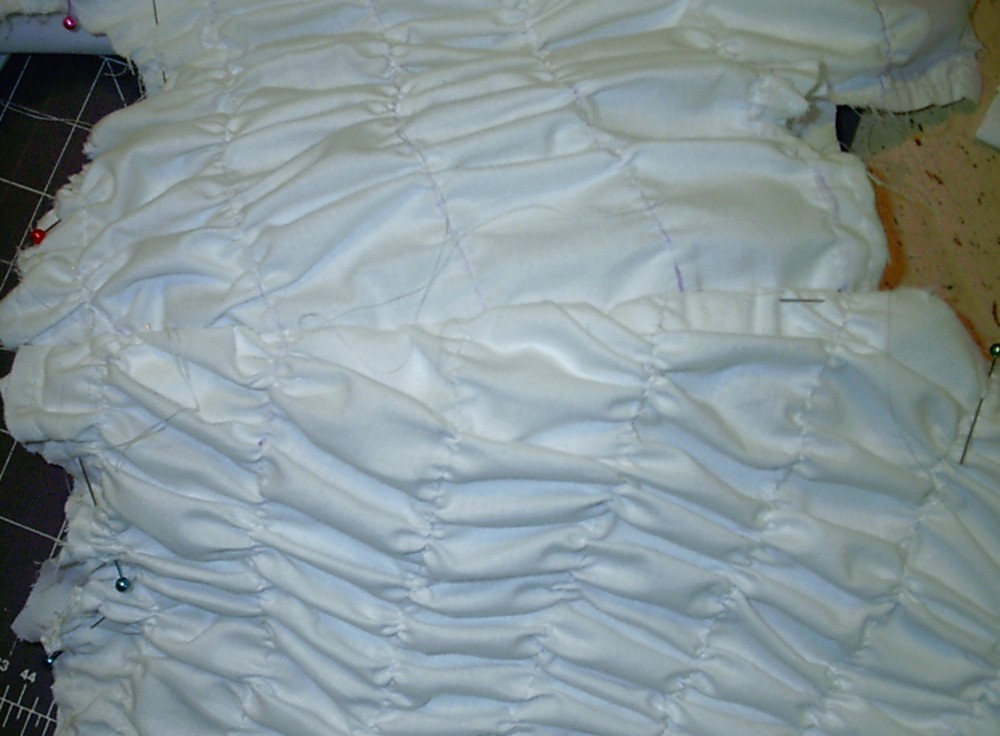
| This is the back, gathered up. The gathers aren't evened up yet though, but you can still get the general idea |
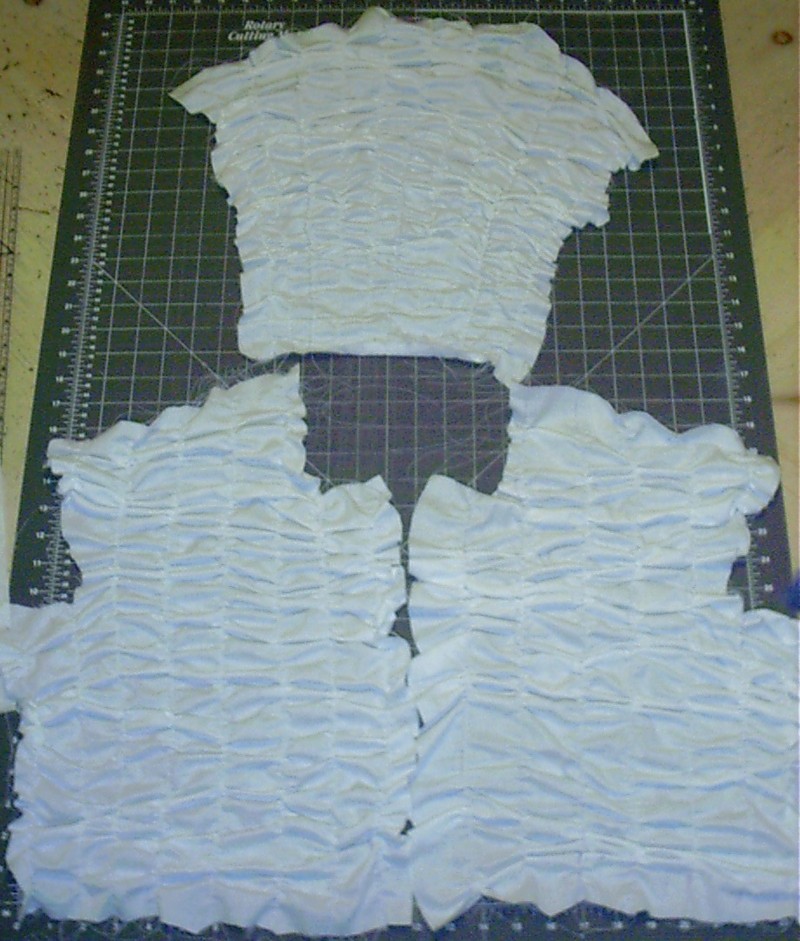 |
| The back, and fronts, gathered up. The back isn't really that small, it just looks that way because of the way I took the picture! :) |
 |
| Be sure the gathering lines match up at the shoulder! |
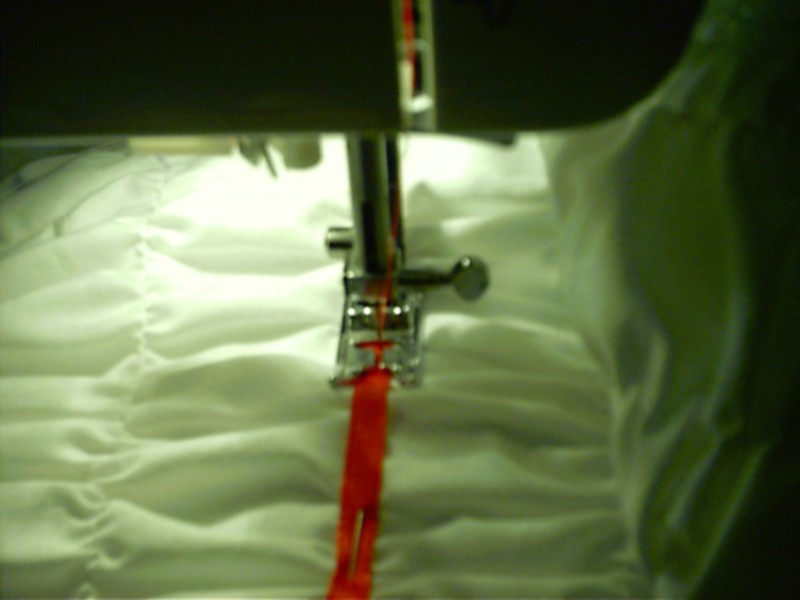 |
| Sewing on the ribbon. (Yes, I decided to use red instead of black!) |
| More pictures coming soon...this is all I have right now! :) |