
| Replacing your dash is pretty simple and
straight forward but requires some patience. Basic tools are required
to do the job. A must in every Saab owners tool kit is a hex and
torx driver set a metric ratchet set and of course Phillips and Flathead
screwdrivers.. If you are removing your dash for the first time
I would advise you to remove the steering wheel , things will get a little
tight if you're green. Click Here for the procedure. I also
recommend buying about a dozen C178 or 179 bulbs to replace those tired
ones in the fascia. A word of caution PLEASE
READ INSTRUCTIONS AT LEAST ONCE BEFORE TAKING YOUR CAR APART!. |
 |
|
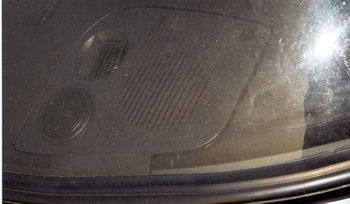
Step1 Remove the Speaker grills |
 |
| Step2
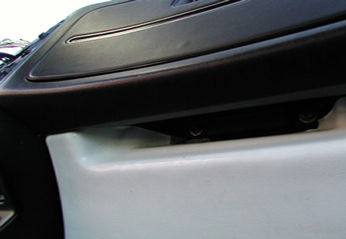
Locating the Dash Screws When you remove the grills this will expose two of the screws holding the dash down. The other 2 screws are located under the glove box, and there's 4 long screws below the fascia. Depending on if you have a center console or not you got one more step to go. Take out the ashtray, and remove the screw located one the inside retaining the center console and another holding the lower dash. If the center console is in the way you will have to take it out. |
 |
| Step3 Removing
the center console Remove the rubber bracket located between the shifter and the console. Remove those two screws and slide the console out. You don't have to take out the console unless you plan to replace the lower dash too. If this is the case you need to remove the screws located inside the fender well near the firewall also. |
 |
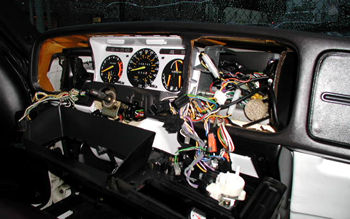
| Step5 Pulling
out the fascia Pull out the fascia slightly, just enough to get your hands through to unplug and remove the buttons and wiring for the ac, mirror switch, radio harness etc.., including the heater control rod. These are easy to locate but if you are cautious use masking tape and mark the location of the wires ESPECIALLY THOSE FEMALE PLUGS LOCATED CLOSE TO ONE ANOTHER. Be careful when pulling the fascia the rings that hold the straws to guide the screws are delicate and easy to snap off. A trick that I use with the buttons is to put them on as soon as I take them take them off the harness so I won't confuse myself. |
 |
|
Step4 Pulling the Dash |
|
|
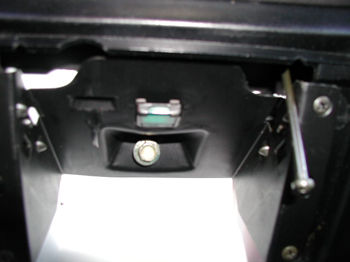
1. wire terminals for glove box light
switch |