| The South-African Bush War: |
| Weapons of the Bush War - Mirage III series aircraft |
 |
| Weapons of the Bushwar |
| 1. In the Air |
| The SAAF was severely hampered by economic sanctions imposed against SA due to its apartheid policy, and had to rely on outdated and a limited number of planes, while the ANTI-SA forces has access to modern Eastern Bloc weapons. The SAAF limited its exposure to aircraft losses by operating very clandictinely, such as flying very low and fast, and only gaining altitude while engaging the target. It avoided pre-empted air-to-air battles for the same reason, but did engage enemy aircraft when confronted successfully on many occations. Ground forces often had to operate and fight without air support, and proved that land battles can be won without air support in a terrain offering sufficient cover, and by applying tactics of surprise, aggression, deception, and couter-insurgency doctrine. |
|
|
 |
|
| Submit your photos and experiences by clicking on this email linkOR the above pictures and these might be used on this page and the planned future book on the SOUTH-AFRICAN BUSH WAR. Help to tell the story of this very controversial and clandestine conflict. |
|
|
|
|

|
|
|
| More to be added soon! |
| More to be added soon! |
| Mirage III series |
 |
 |
 |
 |
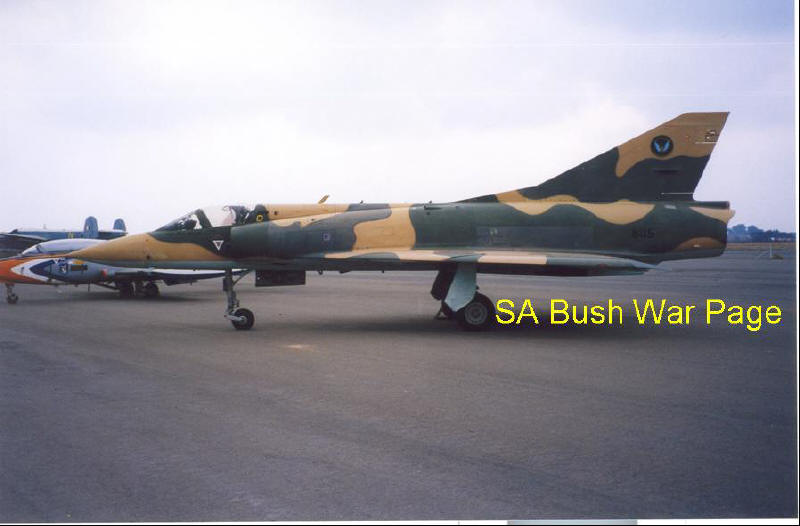
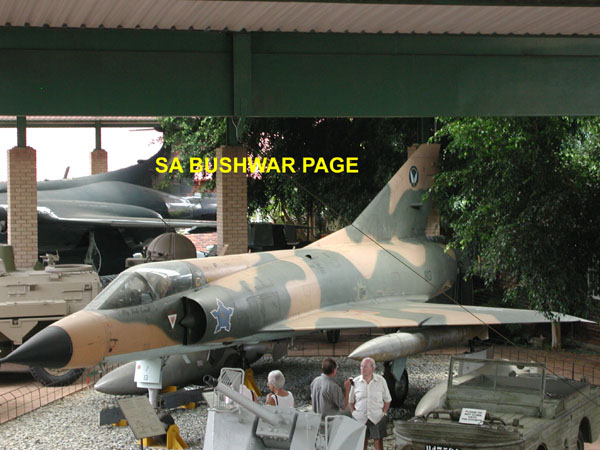
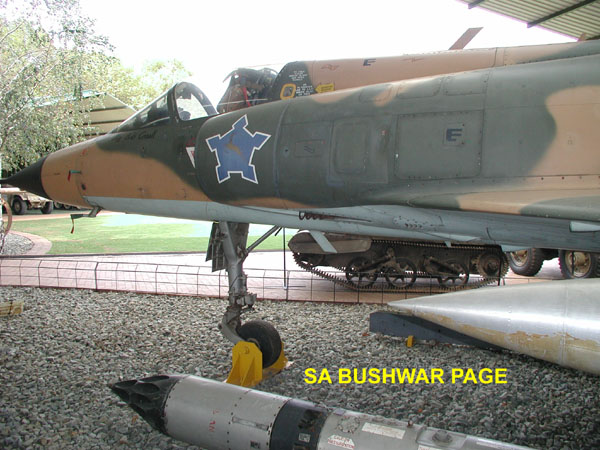
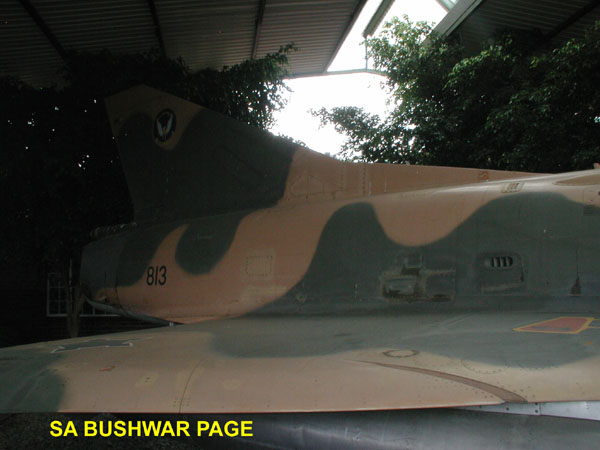
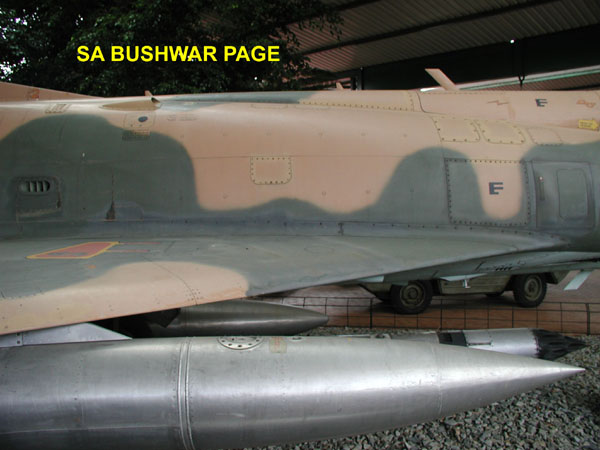
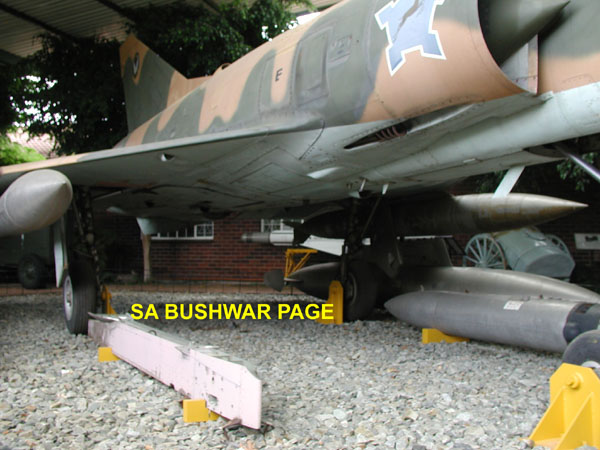
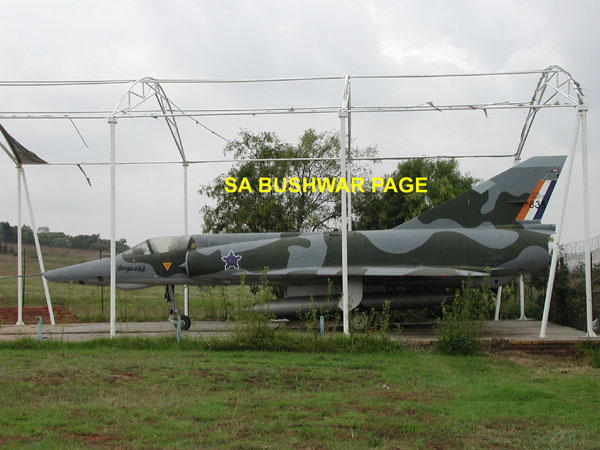
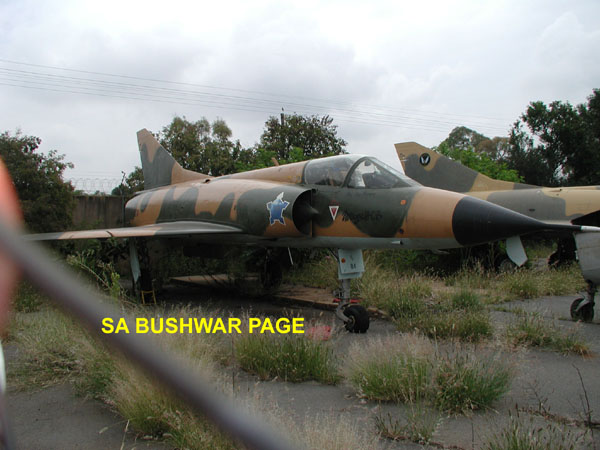
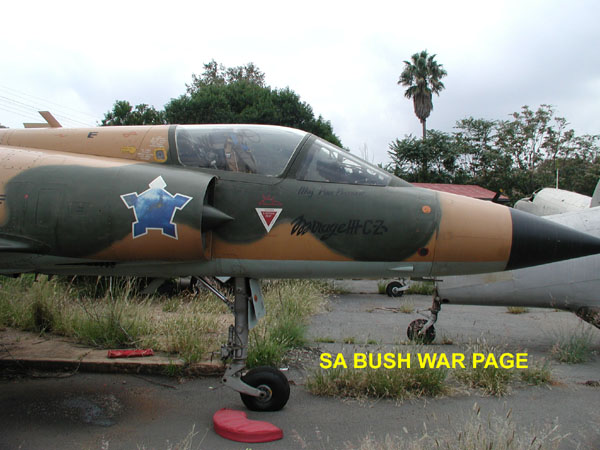
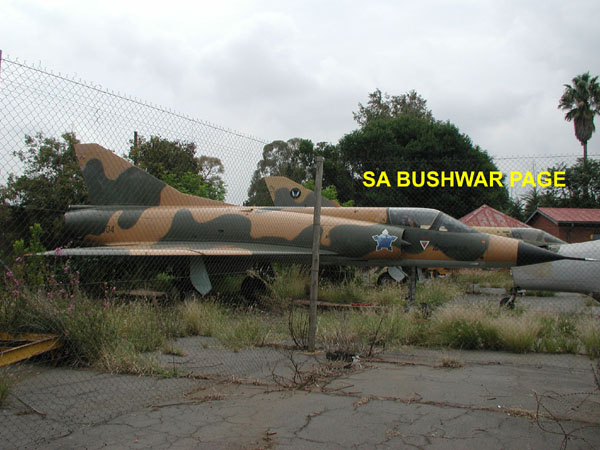
| Mirage IIICZ 813 of no. 2 Sqn in standard Bushwar camouflage scheme on display at the Military History museum, JHB, 2004. Used extensively in the Bushwar for air support, and air superiority missions. Fuel tanks and 68mm rocket launcher on display underneath the plane. |
| Mirage III's in standard Bushwar camouflage scheme, lined up on the readiness line at AFB Ondangwa, during the Bushwar. Used extensively in the Bushwar for bombing, air support, and air superiority missions. |
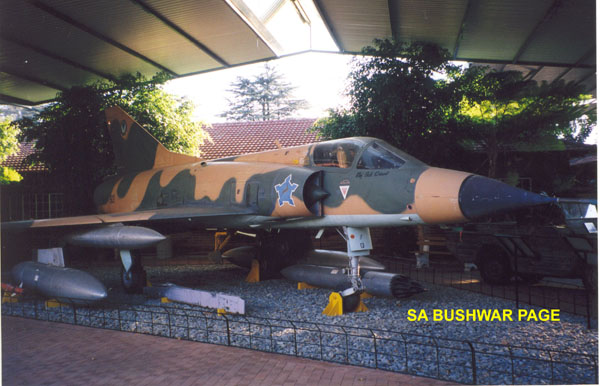
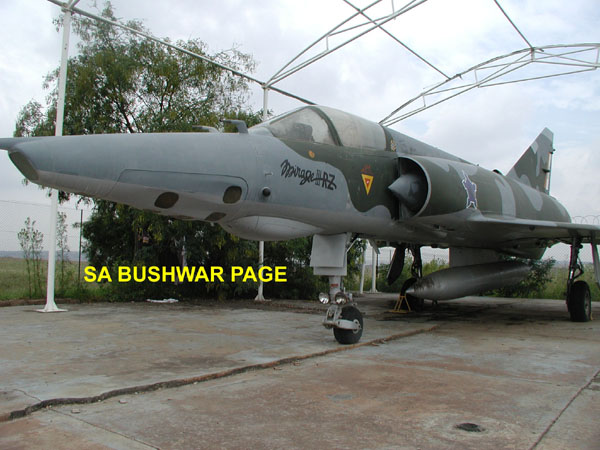
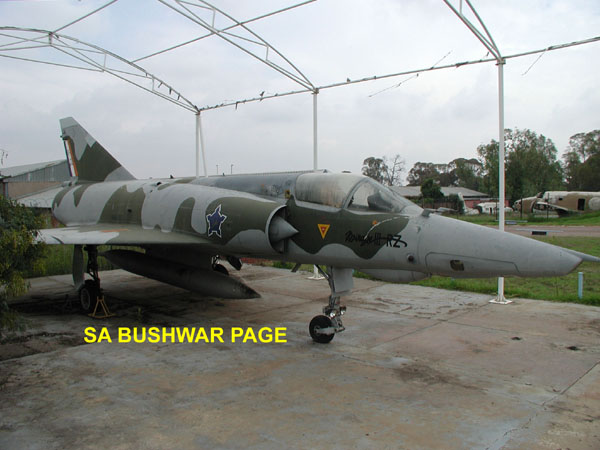
| Mirage IIIRZ 835 of no. 2 Sqn in standard Nato camouflage scheme as operated by SAAF, on display at the SAAF museum, Zwartkops AFB, Pretoria. This reconnissance version had 5 Omera cameras in the nose for aerial photography. Used extensively in the Bushwar for reconnissance missions. |
 |
 |
 |
 |
 |
 |
 |
 |
 |
 |
 |
 |
 |
 |
 |
 |
 |
 |
 |
 |
 |
 |
 |
 |
 |
 |
 |
 |
 |
 |
 |
 |
 |
 |
 |
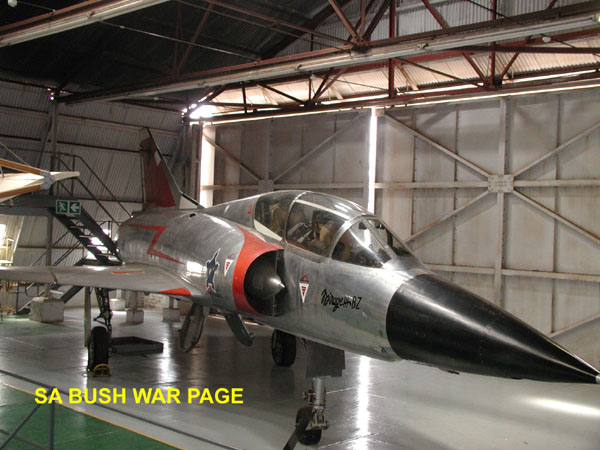
| Mirage IIICZ 813 of no 2 Sqn in standard Bushwar camouflage scheme on display at the Military History museum, JHB, 2004. |
| Mirage IIICZ 813 of no. 2 Sqn in standard Bushwar camouflage scheme on display at the Military History museum, JHB, 2004. Cockpit detail with last pilot's name. |
| Mirage IIICZ 813 of no 2 Sqn in standard Bushwar camouflage scheme on display at the Military History museum, JHB, 2004. Close-up of camouflage scheme. |
| Mirage IIICZ in standard Bushwar camouflage scheme on display at the Military History museum, JHB, 2004. Close-up of camouflage scheme. |
| Mirage IIICZ 813 of no. 2 Sqn in standard Bushwar camouflage scheme on display at the Military History museum, JHB, 2004. Nose detail. |
| Mirage IIICZ 813 of no. 2 Sqn in standard Bushwar camouflage scheme on display at the Military History museum, JHB, 2004. Close-up of camouflage scheme. |
| Mirage IIICZ 813 of no. 2 Sqn in standard Bushwar camouflage scheme on display at the Military History museum, JHB, 2004. Close-up of camouflage scheme. |
| Mirage IIICZ 813 of no. 2 Sqn in standard Bushwar camouflage scheme on display at the Military History museum, JHB, 2004. Close-up of camouflage scheme. |
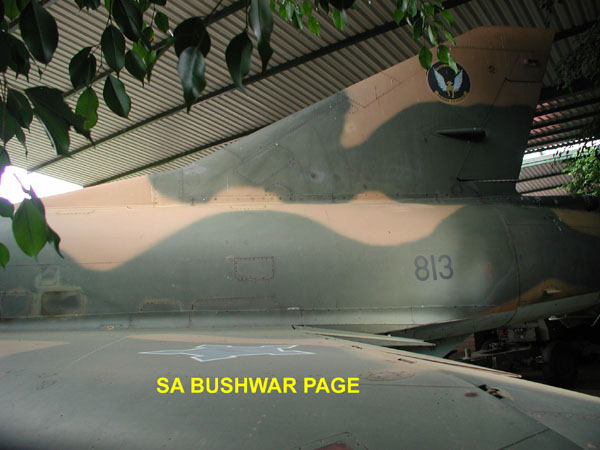
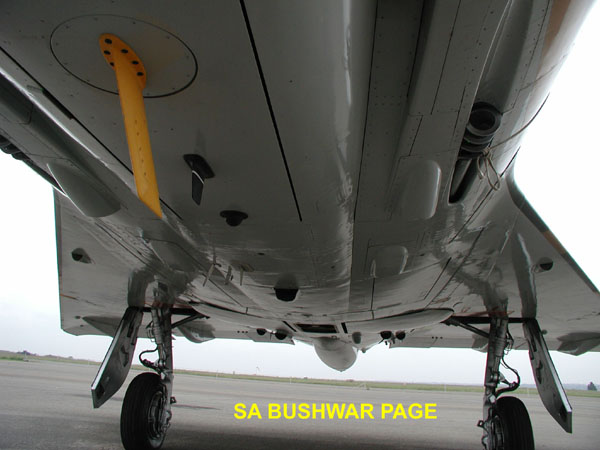
| Mirage IIICZ 813 of no. 2 Sqn in standard Bushwar camouflage scheme on display at the Military History museum, JHB, 2004. Underside detail. |
| Mirage IIICZ plaque on display at the Military History museum, JHB, 2004. |
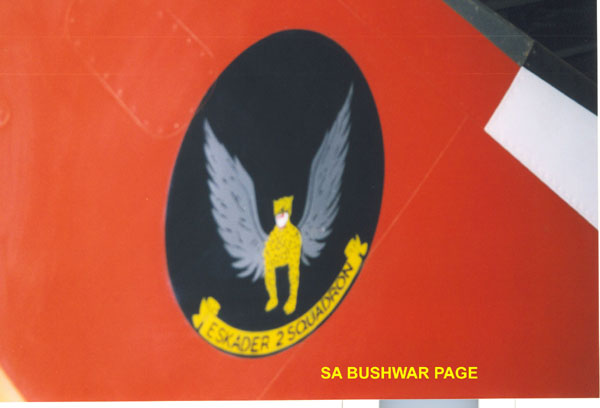
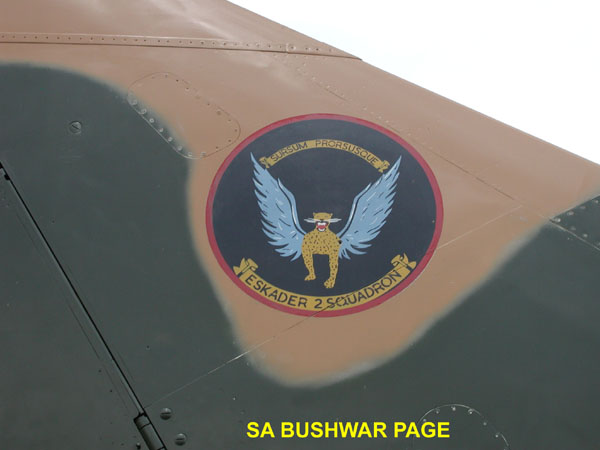
| Mirage IIIBZ no. 2 Squadron badge detail, on display at the SAAF museum, Zwartkops AFB, 2004. |
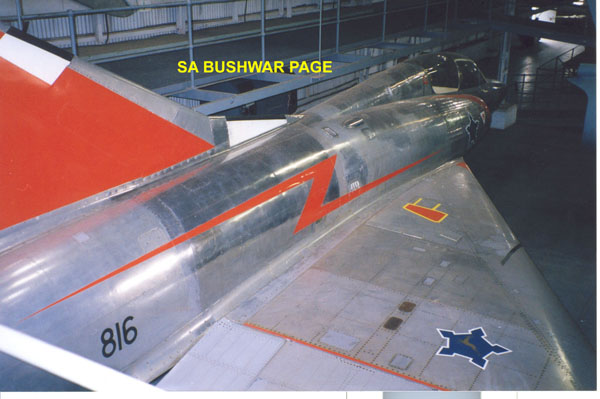
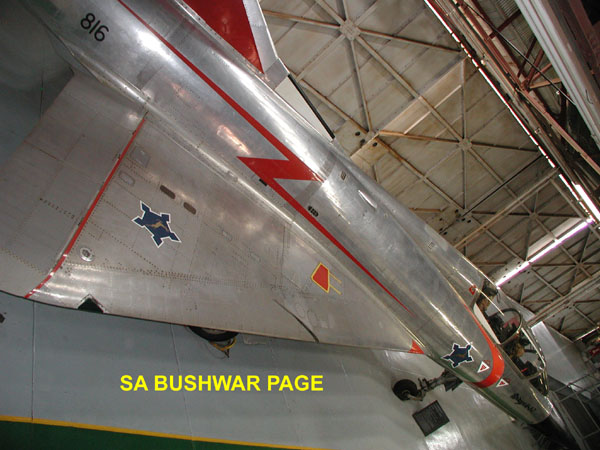
| Older Mirage IIIBZ 816 of no 2 Sqn in 1960's livery, on display at the SAAF museum, Zwartkops AFB, 2004. |
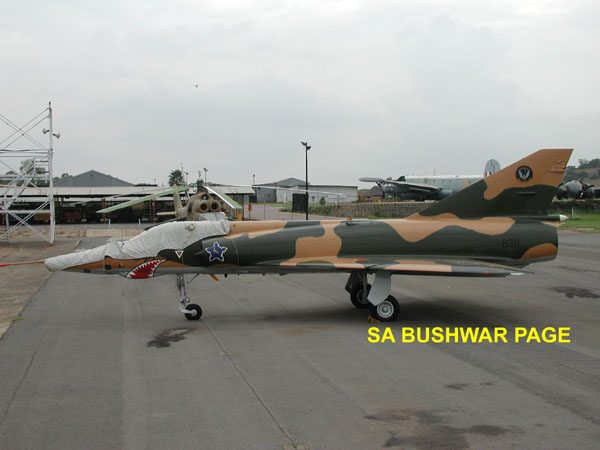
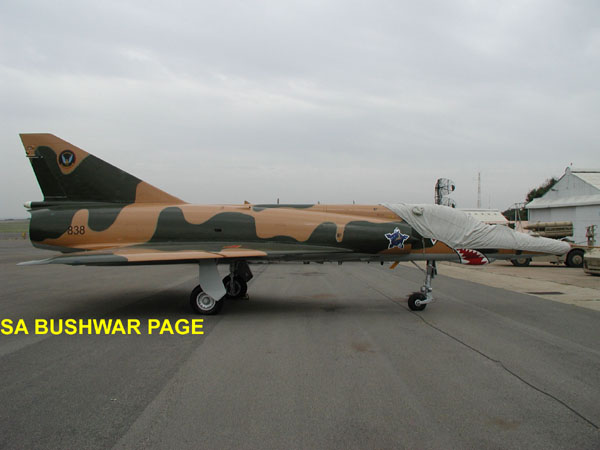
| Mirage IIIDZ 838 reconnissance version of no. 2 Squadron on display at the SAAF museum, Zwartkops AFB, 2004. Note the sharkmouth livery. Left view |
| Mirage IIIDZ 838 reconnissance version of no. 2 Squadron on display at the SAAF museum, Zwartkops AFB, 2004. Note the sharkmouth livery. |
| Mirage IIIDZ 838 reconnissance version of no. 2 Squadron on display at the SAAF museum, Zwartkops AFB, 2004. Note the sharkmouth livery. |
| Mirage IIICZ 813 of no. 2 Sqn in standard Bushwar camouflage scheme on display at the Military History museum, JHB, 2004. Nose detail. |
| Older Mirage IIIBZ 816 of no 2 Sqn in 1960's livery, on display at the SAAF museum, Zwartkops AFB, 2004. |
| Older Mirage IIIBZ 816 of no 2 Sqn in 1960's livery, on display at the SAAF museum, Zwartkops AFB, 2004. |
| Older Mirage IIIBZ 816 of no 2 Sqn in 1960's livery, on display at the SAAF museum, Zwartkops AFB, 2004. |
| Mirage IIIRZ 835 of no. 2 Sqn in standard Nato camouflage scheme as operated by SAAF, on display at the SAAF museum, Zwartkops AFB, Pretoria. This reconnissance version had 5 Omera cameras in the nose for aerial photography. Used extensively in the Bushwar for reconnissance missions. |
| Mirage IIIRZ 835 of no. 2 Sqn in standard Nato camouflage scheme as operated by SAAF, on display at the SAAF museum, Zwartkops AFB, Pretoria. This reconnissance version had 5 Omera cameras in the nose for aerial photography. Used extensively in the Bushwar for reconnissance missions. |
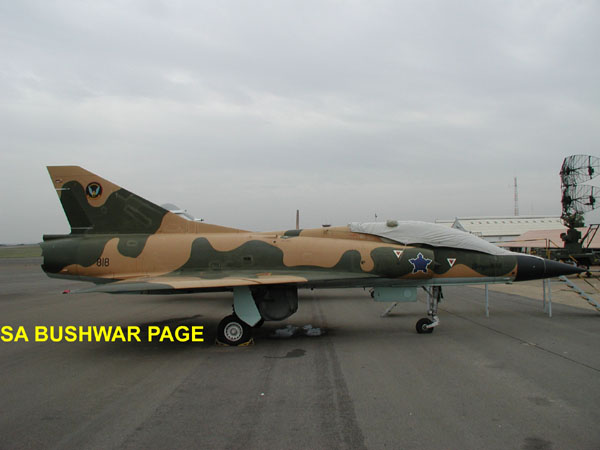
| Mirage IIIBZ 818 2-seat trainer version of no. 2 Squadron on display at the SAAF museum, Zwartkops AFB, 2004. |
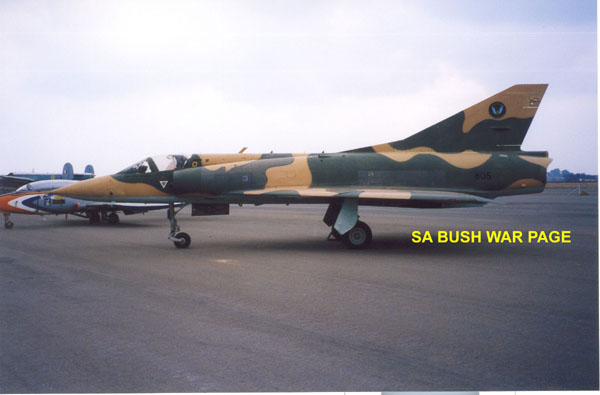
| Mirage IIICZ? 805 of no. 2 Squadron on display at the SAAF museum, Zwartkops AFB, 2004. Paint faded due to outdoor display. |
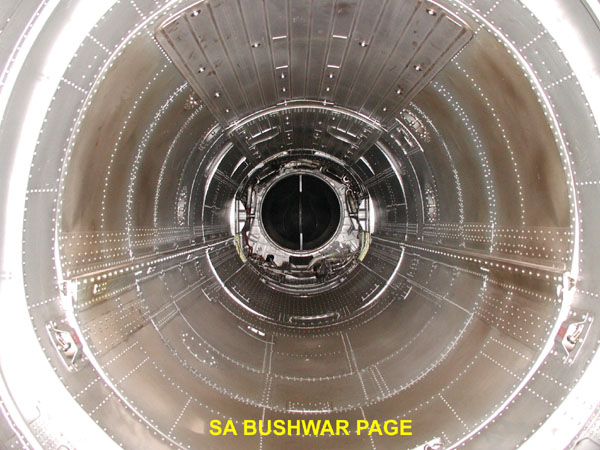
| Mirage III inside looking forward, with engine removed; on display at the SAAF museum, Zwartkops AFB, 2004. |
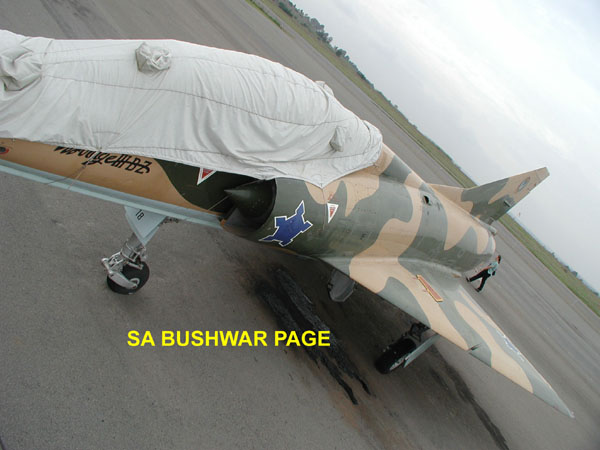
| Mirage IIIRZ 838 underside looking backwards, on display at the SAAF museum, Zwartkops AFB, 2004. |
| Mirage IIIDZ 838 reconnissance version of no. 2 Squadron on display at the SAAF museum, Zwartkops AFB, 2004. Note the sharkmouth livery. Right view. |
| No 2 Sqn logo, "The flying cheetas", on a Mirage III tail, on display at the SAAF museum, Zwartkops AFB, 2004. |
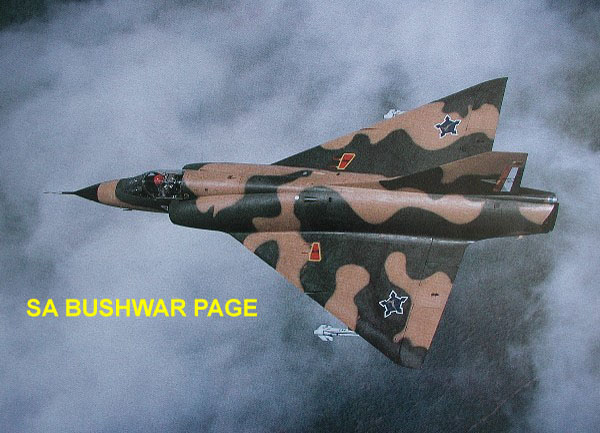
| Aerial shot of Mirage IIICZ, armed with Armscor V3B Kukri locally developed AA missiles, the 1st helmet slaved missiles in the world. (photo Herman Potgieter). |
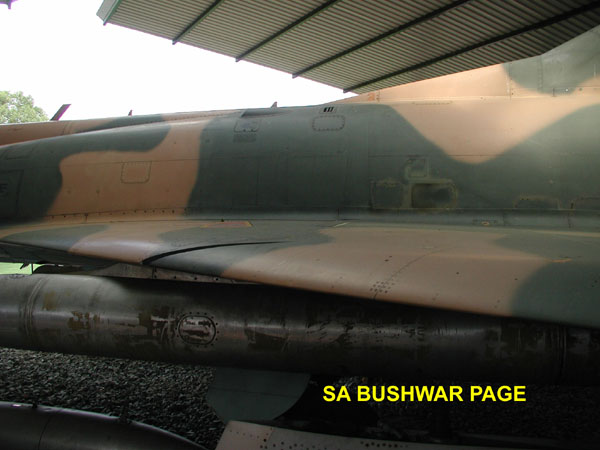
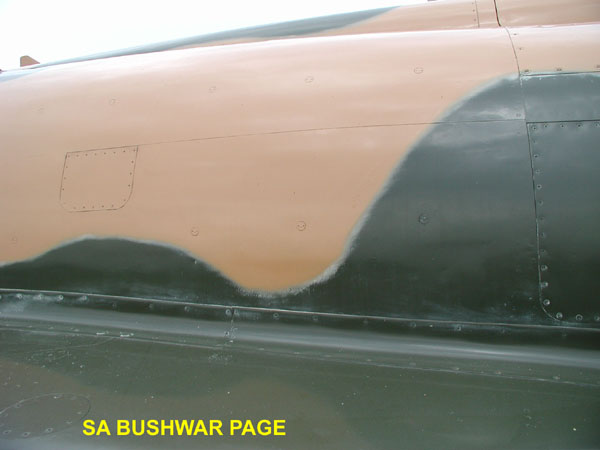
| For the modelers!, close-up of Mirage III camouflage scheme, on display at the SAAF museum, Zwartkops AFB, 2004. |
| Mirage IIICZ? 805 of no. 2 Squadron on display at the SAAF museum, Zwartkops AFB, 2004. Last pilot Capt Mark Edwards. Paint faded due to outdoor display |
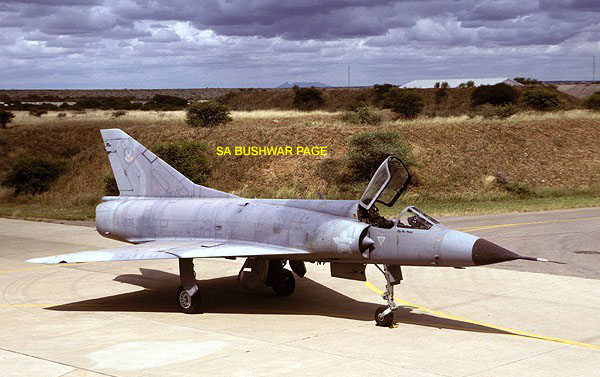
| Mirage IIIR2Z without any National markings, on display at the SAAF open day, Zwartkops AFB, 1998?. Paint faded due to outdoor display. Note faded sharkmouth and eye. As photo recce's had to be undertaken in clear weather for clear photos, and without a nose radar (replaced by cameras), thr absence on national markings might have bought a few extra seconds of time during an encounter with an enemy plane trying to ID the plane. The SAAF often operated without national markings during the bushwar. |
| Mirage IIICZ 806 of no. 2 Squadron on the apron at Pietersburg AFB?, painted in a late courlor scheme. |
| Mirage IIICZ graveyard at SAAF museum Zwartkops AFB, 2004. 804 of Maj Pine Pienaar in the foreground. No unit markings. Another IIICZ of no. 2 Sqn in the background. |
| Mirage IIICZ graveyard at SAAF museum Zwartkops AFB, 2004. 804 of Maj Pine Pienaar in the foreground. No unit markings. Another IIICZ of no. 2 Sqn in the background. |
| Mirage IIICZ graveyard at SAAF museum Zwartkops AFB, 2004. 804 of Maj Pine Pienaar in the foreground. No unit markings. Another IIICZ of no. 2 Sqn in the background. |
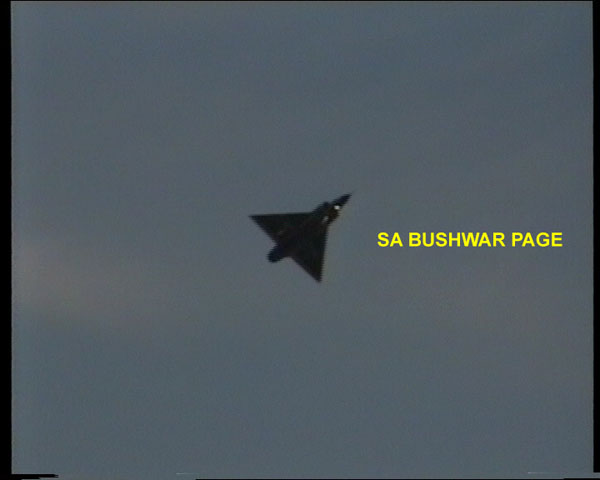
| Mirage III typical deltawing shape in flight. Video capture at AFB Waterkloof airshow. |
| The SAAF operated the following versions of the Mirage III fighter/bomber: IIICZ = Fighter; IIIBZ = 2 seat conversion trainer/fighter; IIIEZ = fast strike fighter with secondary air-to-air role; IIIDZ = 2 seat conversion trainer for the IIIEZ; IIID2Z = IIIDZ with more powerful Mirage F1 SNECMA - Atar 09K-50 engine, purchased with F1's to give experience to trainees of the F1's greater power; IIIRZ = reconnaisance fighter; and IIIR2Z = IIIRZ with more powerful Mirage F1 SNECMA - Atar 09K-50 engine. The SAAF started to equip with Mirage III's from April 1963, and with various updates through its lifetime, such as equiping with the V3B helmet slaved AA missile, and eventual conversion of most of the Mirage III's to the Cheetah C, D and E versions still in service with the SAAF today (2006!) - 43 years later! The Mirage III's played a cenrtal role in combat operations during the Bushwar, such as attacking an armoured column of T34's and BTR's during Operation Reindeer (1978), flying vitally important aerial photography missions, and many strike missions against SWAPO/PLAN and FAPLA ground targets. |
| MIRAGE IIICZ and BZ: Dimensions: L = 13.85m, Span = 8.22, H = 4.2m. Mass: 6.37 tons, 11.8 tons max. Powerplant: SNECMA - Atar 09B, 6000kg with afterburner. Performance: Mach 2.1 (2230 km/h) at 11000m, Mach 1.22 at sea level. Service ceiling 16500m (IIICZ), Radius: 290 - 700 km. Type: Fighter. Delivered to SAAF from April 1963, 2nd Sqn AFB Hoedspruit. Armament: 2x30mm cannons, Air to Air: 2 x V3B IR homing missiles and 1 x Matra 530 radar guided missile. Air to Surface: various bombs androckets up to 1800kg. |
| MIRAGE IIIEZ, DZ and D2Z: Dimensions: L = 15.03m, Span = 8.22, H = 4.2m. Mass: 7.05tons, 13.5 tons max. Powerplant: SNECMA - Atar 09C, 6200kg with afterburner. Performance: Mach 2.2 (23360 km/h) at 12000m, Mach 1.1 at sea level. Service ceiling 17000m (IIIEZ), Radius: 290 - 1200 km. Type: Fighter/Fighter-bomber. Delivered to SAAF from July 1965, 89th Combat Flying School AFB Pietersburg. Armament: 2x30mm cannons, Air to Air: 2 x V3B IR homing missiles. Air to Surface: various bombs and rockets up to 1800kg. |
| MIRAGE IIIRZ and R2Z: Dimensions: L = 15.5m, Span = 8.22, H = 4.2m. Mass: 6.6 tons, 13.5 tons max. Powerplant: SNECMA - Atar 09C, 6200kg with afterburner (IIIRZ) SNECMA Atar 09K-50, 7166kg with afterburner (IIIR2Z). Performance: Mach 2.2 (23360 km/h) at 12000m, Mach 1.1 at sea level. Service ceiling 17000m (IIIRZ), Radius: 290 - 1200 km. Type: Reconnaisance fighter. Delivered to SAAF in 1967 (IIIRZ), 1974 (IIIR2Z), 2nd Sqn AFB Hoedspruit. Armament: 2x30mm cannons, Air to Air: 2 x V3B IR homing missiles. 5 x OMERA 31 cameras in the nose. |