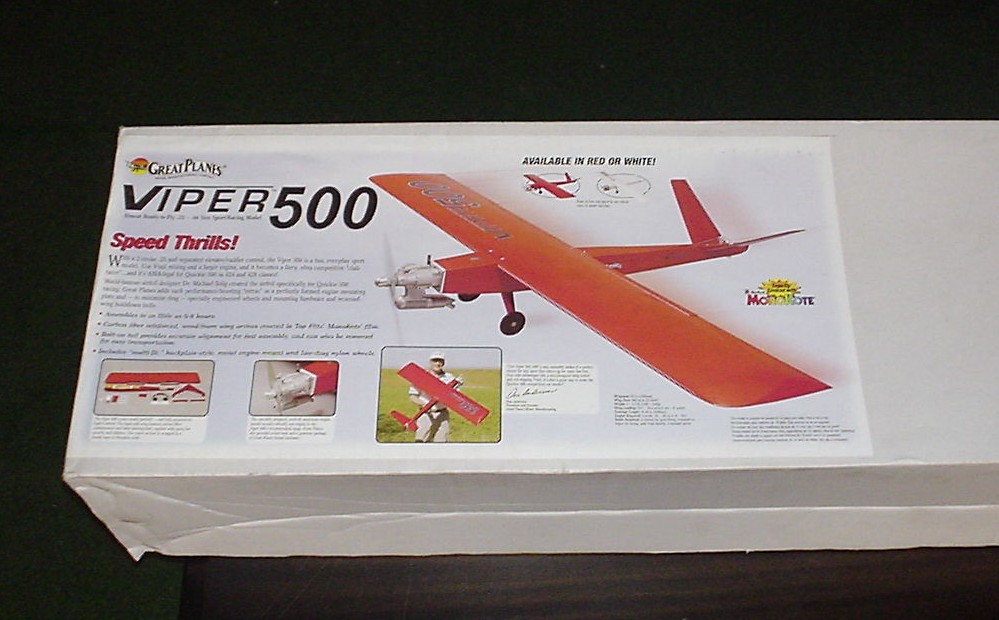
The Kit
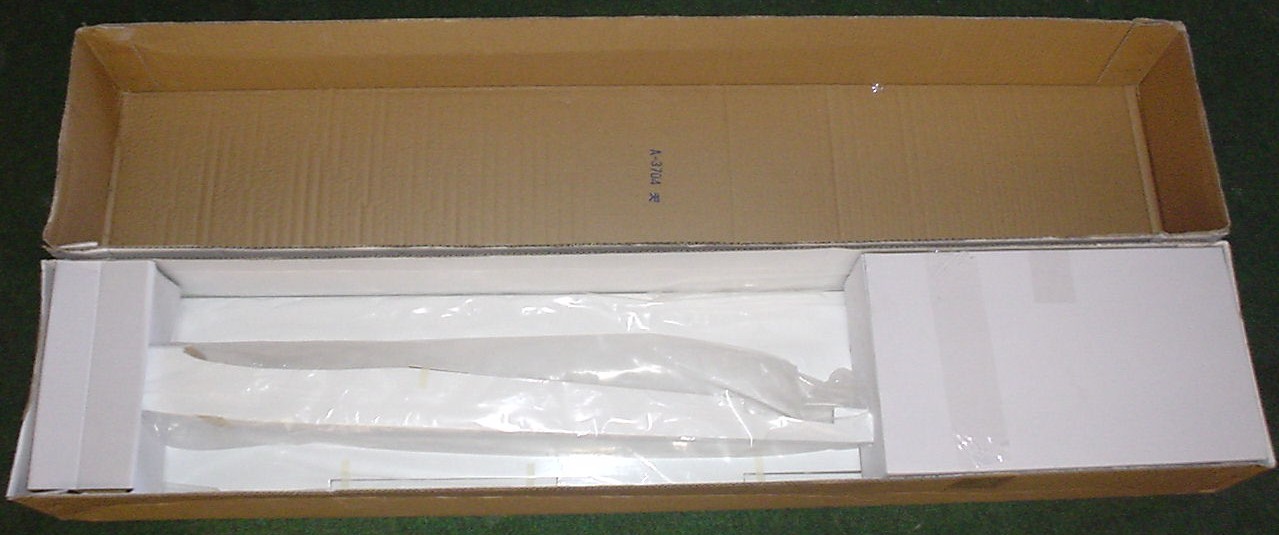
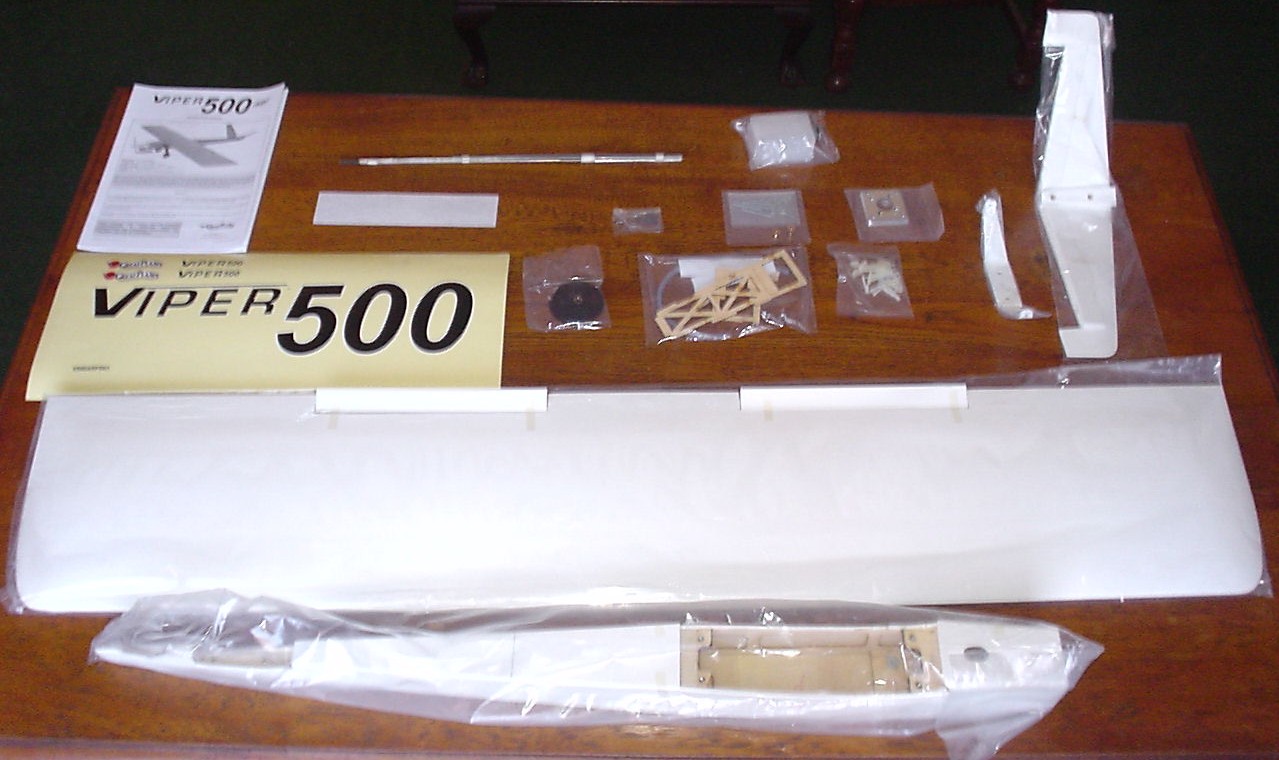
The kit comes well packaged to avoid any damage during
shipping, with the wing on the bottom of the box, the fuselage fitted into
two formers in the box to keep it from moving and all the hardware and
the V-tail in a smaller box.
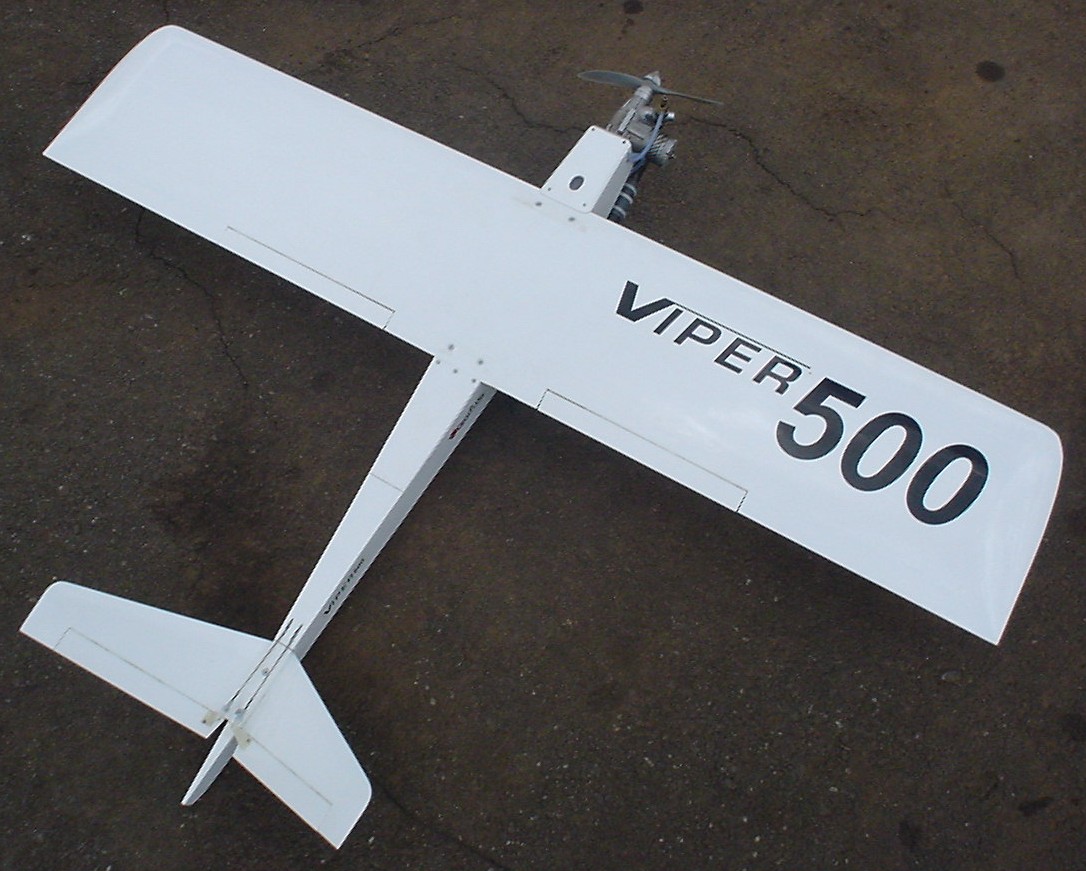
Building the VIPER.
I started building the Viper by shrinking all the covering
that had come loose during shipping, the corners where still stuck down
but the Monocote had wrinkles in it, the instruction book did say this
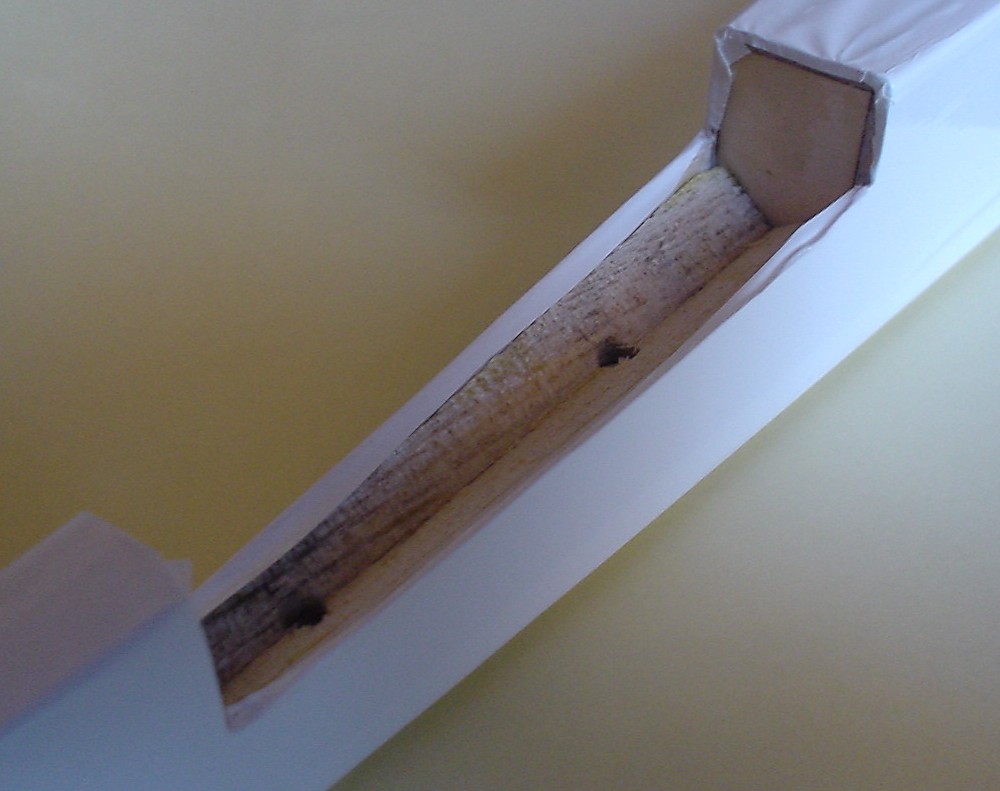
happens. the fuselage was easy to do but the wing takes a bit of time as
it has been glassed under the covering so the air cannot escape, I overcame
this by making small pin-prick holes in the covering to let the air escape.
The whole process of taking out the wrinkles took me
about an hour to do and the covering has not wrinkled after a month so
I don't think it will wrinkle again.
I then started the "proper" building by hinging all the
control surfaces using the supplied CA hinges as per instructions, after
checking for correct movement I also checked for slop in the ailerons,
which is a cause for flutter, there was none.
I installed the aileron servo with push rods and the
V-tails control horns.
The V-tail on the Viper gets screwed on using the supplied
machine screws.
NOTE: Please put tape over the screws to avoid
the screws coming lose and falling out in flight!
The V-tail push rods are then installed and connected
to the control horns.
The motor is then installed, I used the supplied radial
mount that came in the kit, be sure that the back plate screws on your
motor are long enough to go through both the radial mouth and the back
plate of the motor and still have enough thread to secure the motor to
the radial mount. The screws on the Rossi .40 I am using are long enough
as there has been no problem with them yet.
Note: The radial mount supplied in the kit has the same
pattern as the Nelson .40 Q500 radial mount.
Throttle push rod and tank installation are next with
major problems encountered.
The supplied landing gear and wheels are installed next
with the supplied machine screws.
The wing was mounted into place to check that the V-tail
and wing line up, if not sand the high side of the wing saddle a little
to achieve this.
On the one I built it was all straight.
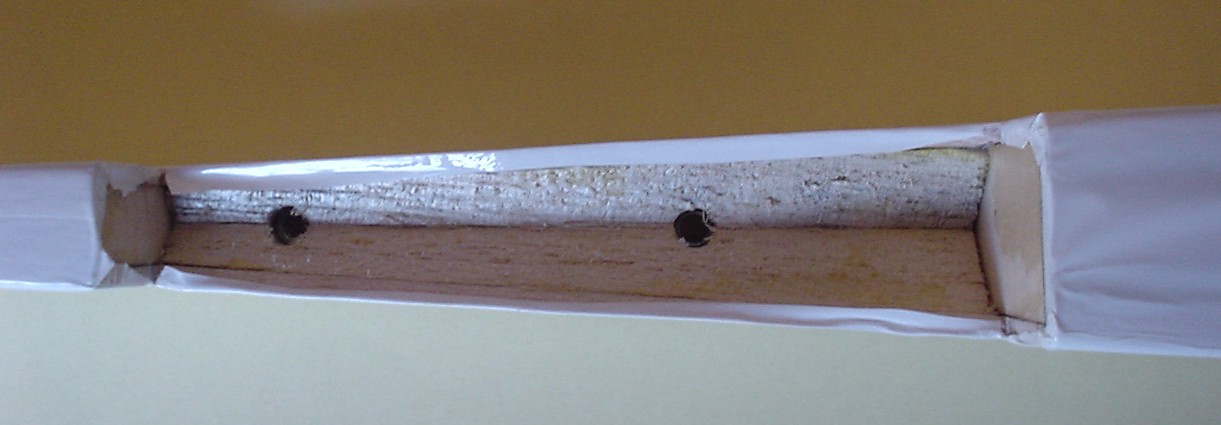
V-tail mount where blind nuts and machine screws are used to secure
the V-tail to the fuselage
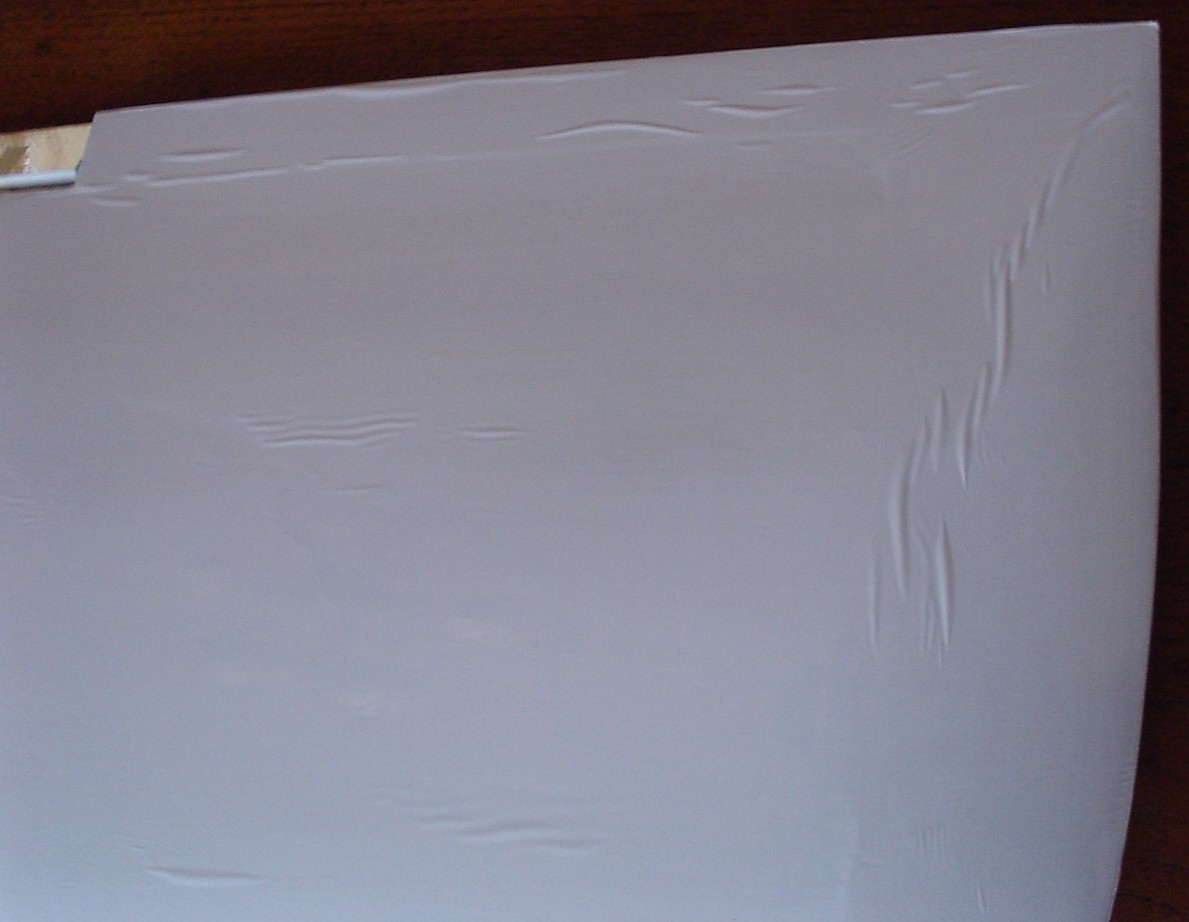
The wrinkles in the Monokote.
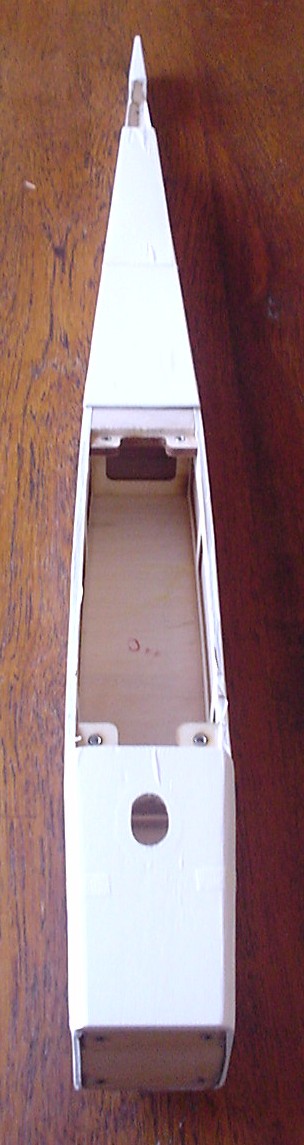

Fuselage
Firewall
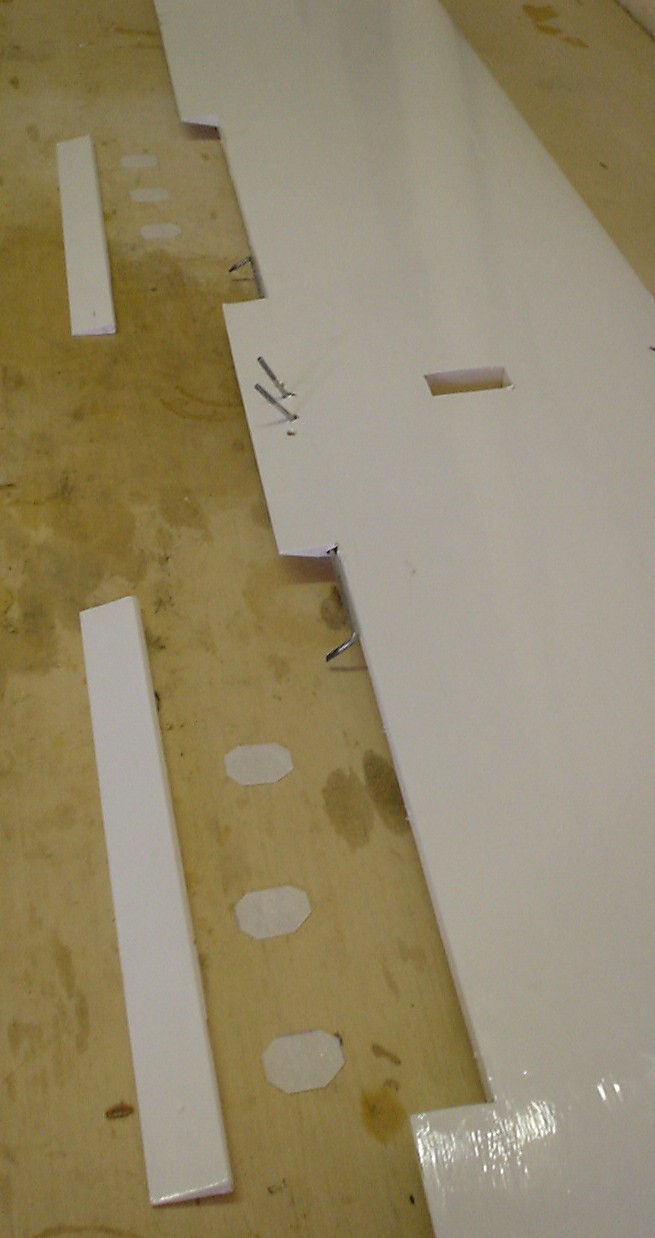
Aileron hinging
Radio installation
The radio installation is next, I put standard size servos
in for the the aileron and V-tail and a mini servo for the throttle.
The area where the radio gear fits is small so a 1/2
penlight size battery pack is need. These size cells are obtainable in
700mAh.
The V-tail servos are first mounted in the tray while
the tray is outside the airframe. the tray is then slid in and glued in
place.
The receiver and battery are also mounted on the servo
tray, wrapped in foam and held in place by velcro.
The V-tail push rods are then connected and all the control
surfaces are then checked for correct "throws"
The throttle servo is mounted in the supplied tray.
Because of the distance between the throttle servo and
the receiver an extension lead needs to be used, an extension lead also
is needed for the aileron.
Note: I used the high rate "throws" for the whole flight.
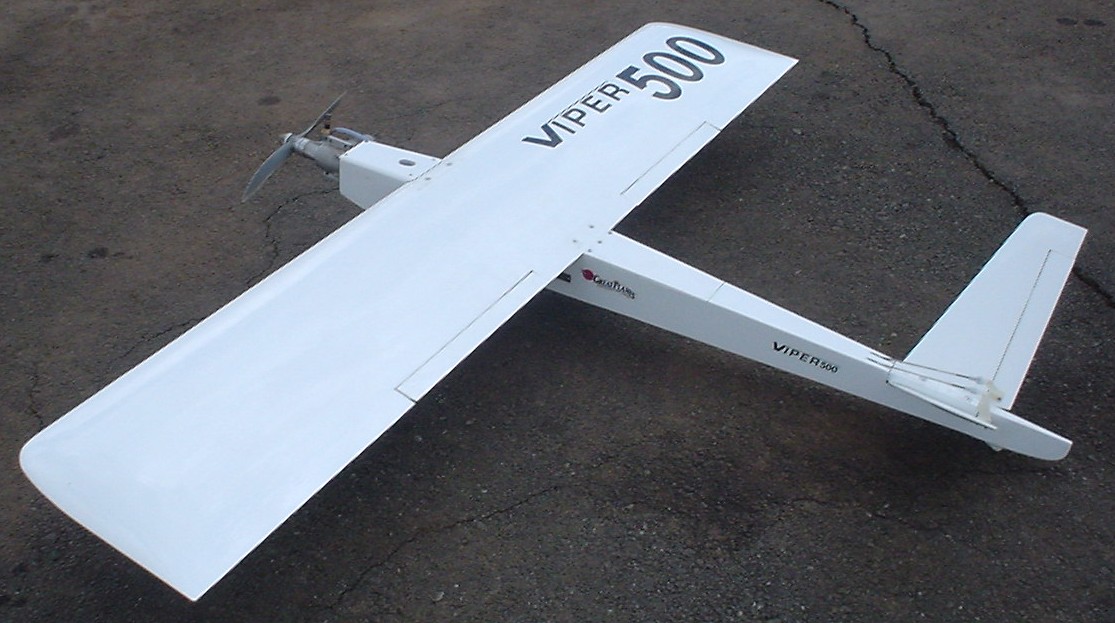
Flying the VIPER
The Viper was first checked for correct C.G. and then
everything was rechecked again.
I headed for the flying field.
After screwing on the wing I also put tape over the screws,
as per V-tail, to stop them vibrating loose.
I test ran the motor and did a range check with the motor
running.
The test flight was easy, Charmaine pushed the plane
as per pylon practice and with 3 clicks up trim and one click right trim
the plane was flying hands off.
The Viper flies just like any other V-tailed Q500 I have
flown and no surprises where encountered
I have checked the wing for strength during flight tests
and no problem was found, this is a wing which will survive pylon racing!
The only problem I have encountered is the wheels have come of the hubs, I have since glued them back on with steel epoxy and have had no further problems.
For more information on where to get the Viper Q500 ARF
please contact Russell Van Der Westhuizen at 083 629 7589
All kits are order only and come in white or red.