
Your result should be similar to the one given below.
Suggested steps:
1. Capture the two pictures and save them to a file, merely click on the pictures with the right mouse button.
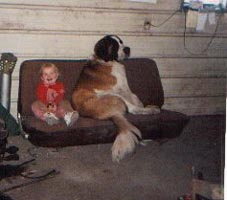
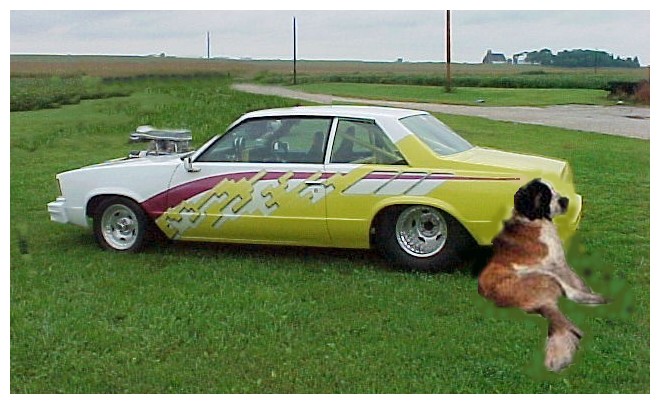
2. Start Photo Studio, and open the picture of the car and the dog. Use the window command to tile them.
3. Using the clone brush paint out the suburban by replacing it with grass.
4. Transform and resample the dog to about 50% of his size. Be sure to keep the aspect ratio.
5. Close the original dog picture and tile the smaller on with the car.
6. Transform the car by flipping it horizontally.
7. Use the magic wand tool to select the dog. Hold down the shift key if you select various shades of color. You may have to adjust the tolerance setting.
8. Select the edit copy tool to place the dog on the clip board.
9. Go to the picture of the car and paste the dog in there.
10. Use the area move tool to position the dog by the rear panel of the car.
11. If you need to you can use the clone tool to touch up around the dog.
12. Crop a rectangular shape to include the dog and car.
13. Add your inside burgandy border.
14. Add a wide yellow border.
15. Add the outer burgandy border.
16. Add the text "A new Christmas toy". Select a text size of 24, color of green and place it inside the wide yellow border.
18. Save the result to your folder.