Here are the steps that I took to install the vinyl top on my Coronet R/T. Luckily, Mopar Muscle Magazine has these same steps in their November, 2002 issue, so I followed their directions and everything turned out pefect. According to Mopar Muscle Magazine, the first step is to get as many wrinkles as possible out of the vinyl top. Since it was around 55 degrees outside, I had to use the iron to get the wrinkles out.
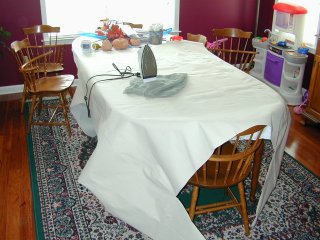
This seemed to work well. At first, I was scared to put the iron directly on the inside of the vinyl top, and used a towel between the iron and vinyl. After a few minutes I quite using the towel and placed the iron directly on the top to iron.(Image A.)
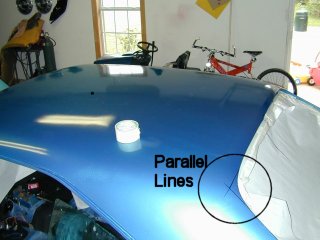
Next, I need to mark the center lines on the vinyl top and the car. I simply folded the top in half to mark the center line on the vinyl top. I marked the bottom of the top with a pencil. I put a piece of masking tape on the top of the vinyl top so I could see the mark when I layed the top on the car. To mark the center line on the car, I continuted the straight lines of the sides of the glass panel and measured from point to point where the lines intersected.
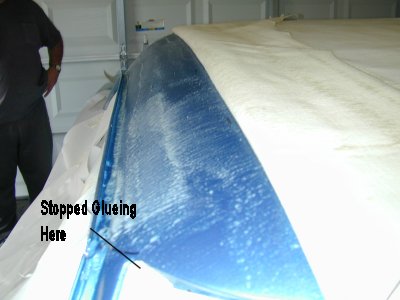
Next, we glued from the seam to the water channel and about 4 inches from the bottom on the C-pillar. The white lines in the glue is the overlap.
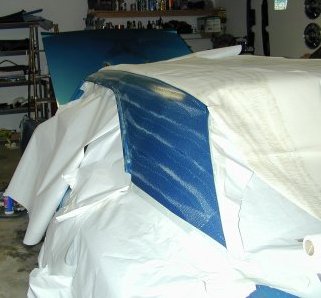
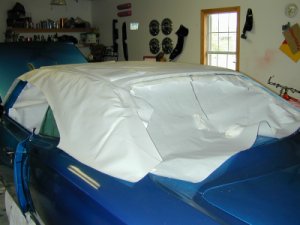
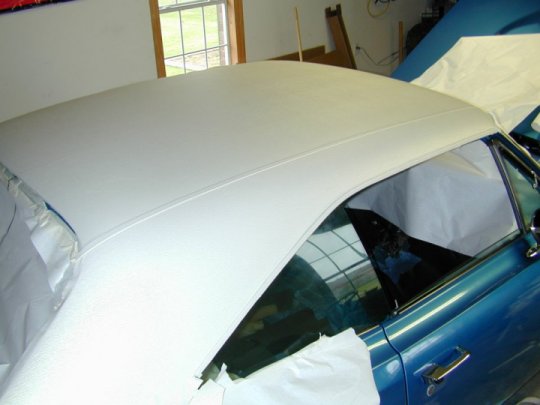
This picture shows the contrast between the glued down section of the top and the section yet to be glued and trimmed.
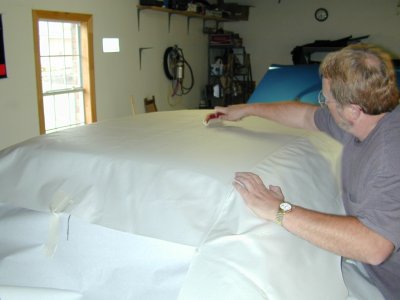
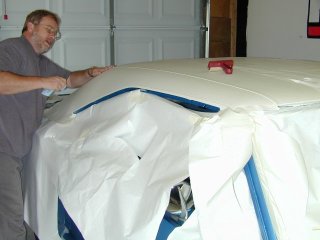
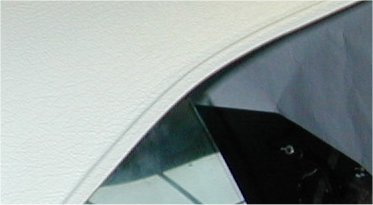
This picture shows the almost completed side of the vinyl top. Again, we were able to rub out ALL wrinkles and bubbles with out fingers.
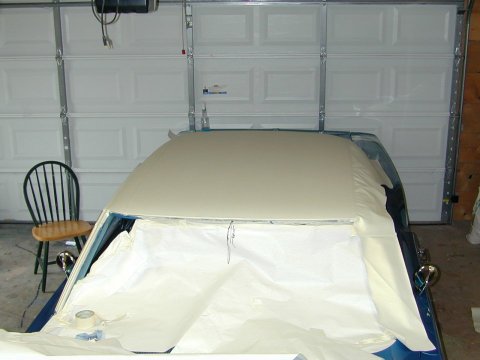
These are the steps I followed to get a perfect intallation of my vinyl top. I had to wait on glueing the bottom of the C-Pillars because I am missing the stainless steel pieces that cover the seam.
The main reason for putting this page together is because I was unable to find any information on installing a vinyl top. If you have any specific questions, email me and I'll try to answer them. Lastly, thanks to Mopar Muscle Magazine for a great article on installing a vinyl top.
Back to the Coronet R/T Restoration Page
email Ray Sweeney