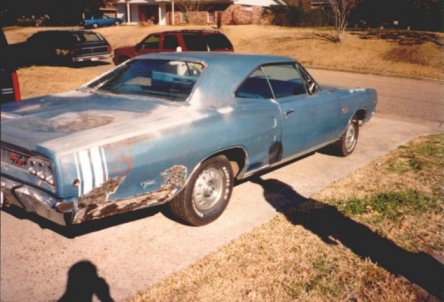
Here is what the car looked like in 1999.
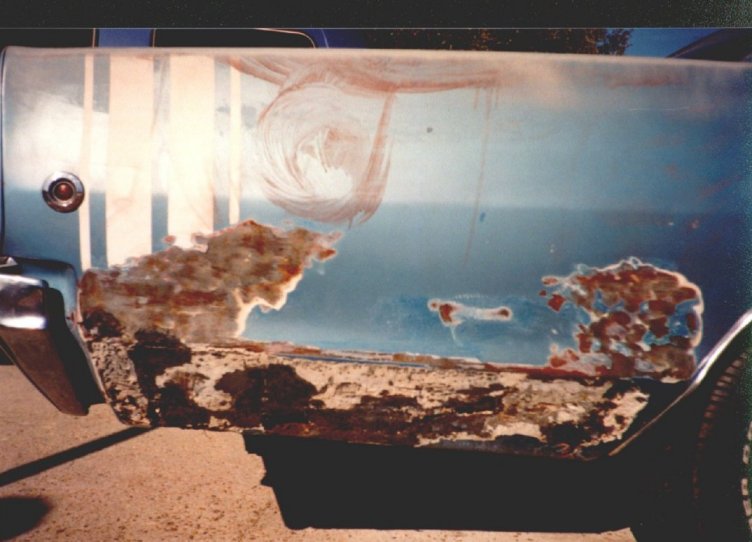
Another Shot of the Rear Qtr Panel's Condition. The white stuf is body filler. It had been 'repaired' once before.
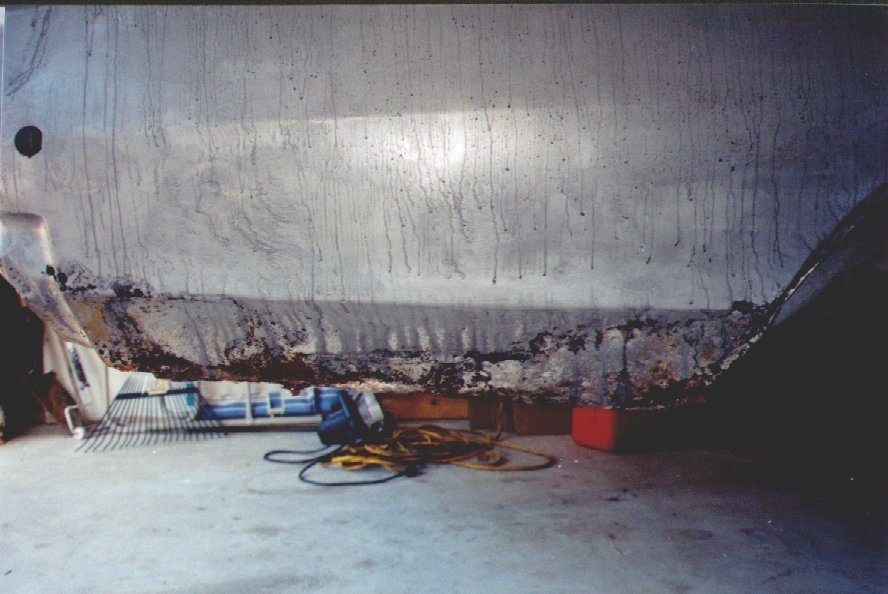
Here is the same qtr panel section after being stripped at ready-strip.
Here's a picture of the other rear quarter panel after going throught the redi-strip process.

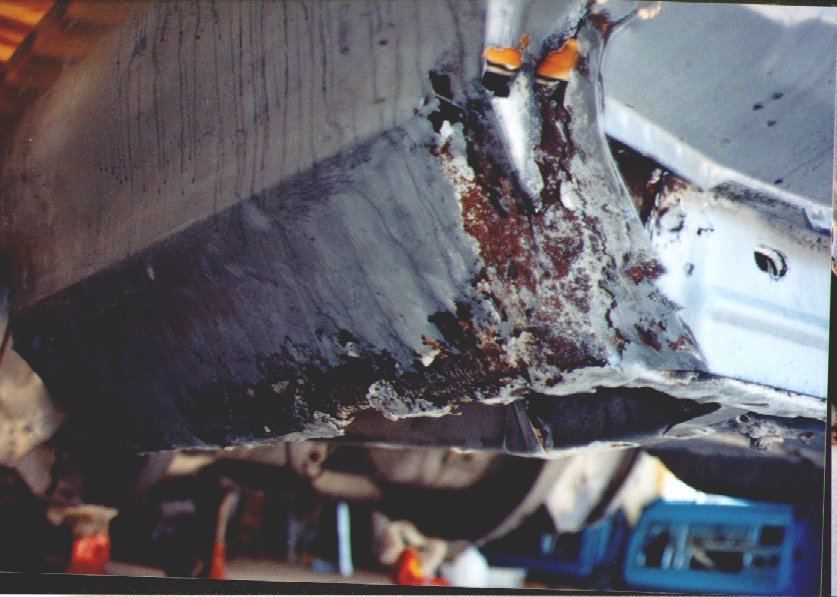
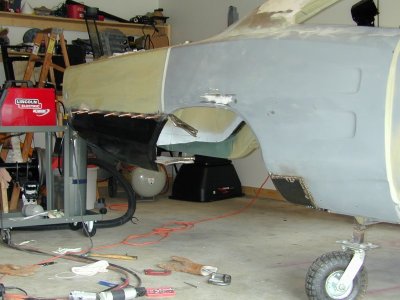
Here is passenger's side quarter after trimming away all of the rotten metal.

The quarter panel has been flanged and is ready for the patch to be installed.
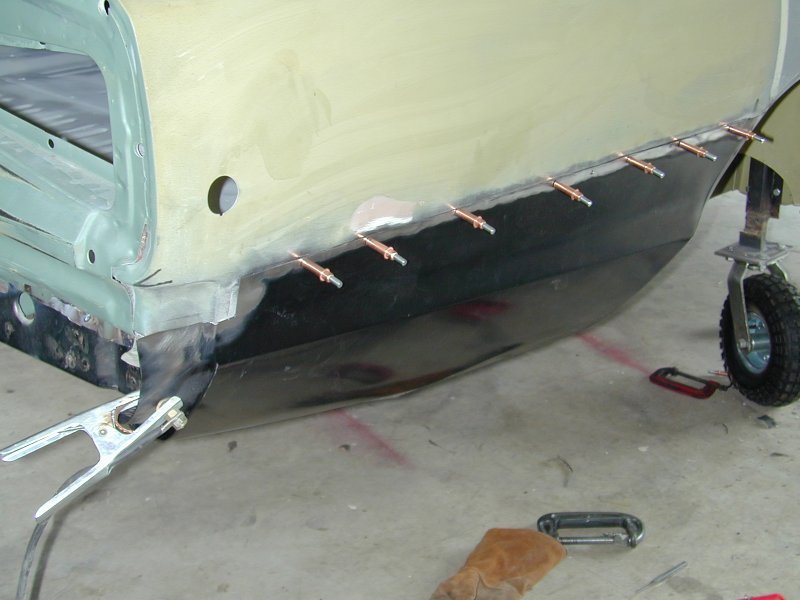
The quarter panel patch is now installed and held in place with temporary fastener's from Eastwood Co.
Here is another shot of the quarter patch fitted to the original quarter panel. Notice the patch in front of the wheel well.
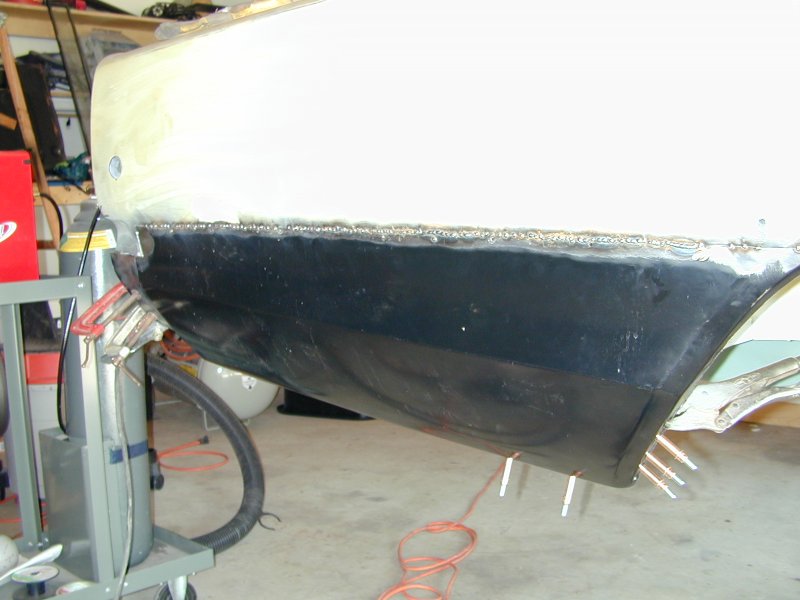
Finally! Welded in place...
Here's a closeup of the rear section of the quarter panel.
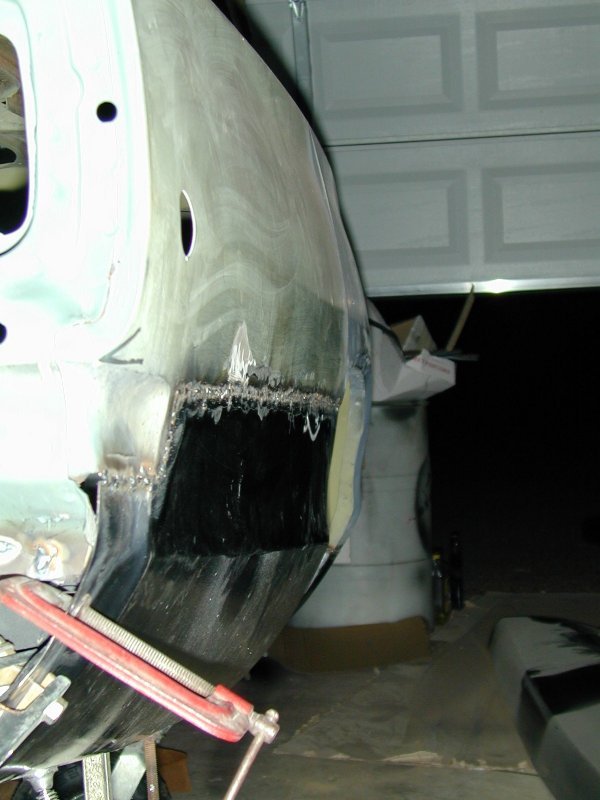
The contour looks good. A little grinding and some glazing compound and it should look as good as new.

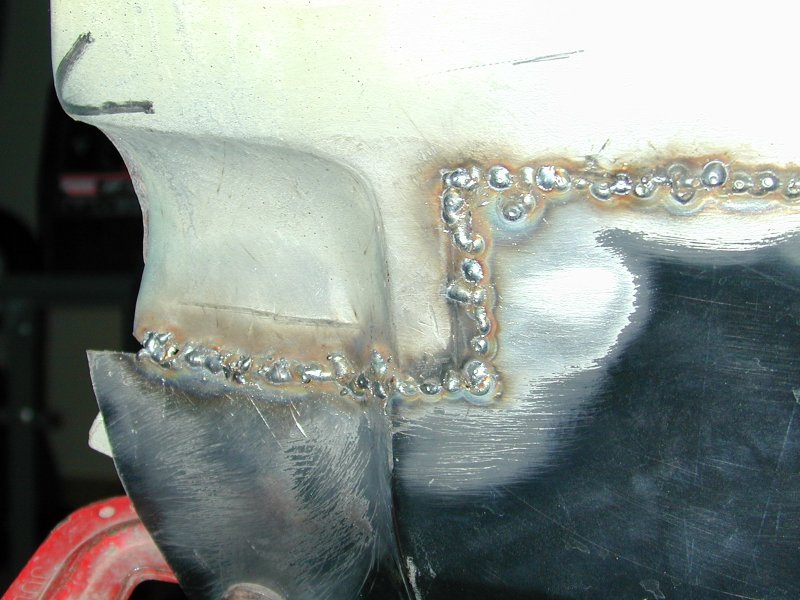
Here's a shot of the trunk extension and the quarter patch panel. It took a little work with a hammer to get the to match correctly.

Last, a view from the inside of the trunk. Once I get the rubberized undercoating spray on the inside of the quarter panel, the seam will barely be noticable.