To get full credit (higher than a C) for the following assingments you must go beyond the basic requirements listed below. The assignments should take you at the minimum of 30 minutes. Assingments will be checked on screen.
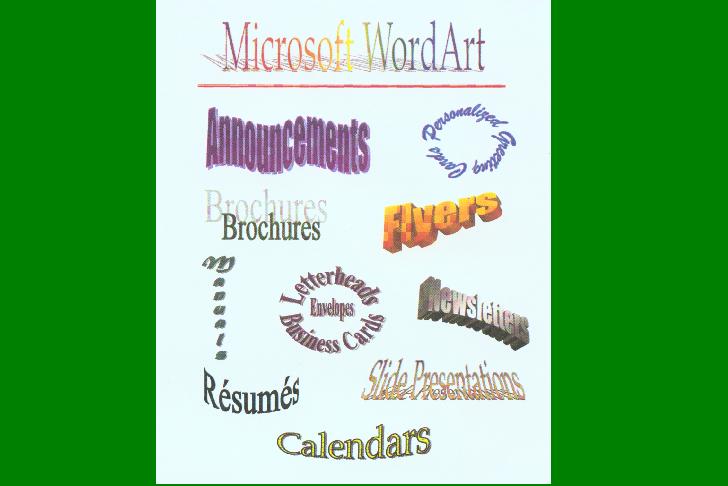
Create the WordArt on the page below using the procedures found in the following paragraphs. Add five different wordart styles of your own.
Creating a WordArt Object
To create a WordArt object, click the Insert WordArt button on the Drawing Toolbar; or click Insert, point to Picture, and then click WordArt; or click the Insert WordArt button on the WordArt toolbar. At the WordArt Gallery dialog Box, double-click the desired WordArt style. At the Edit WordArt Text dialog box with the words Your Text Here selected, key the text to be included in your WordArt object in the Text box. Press the Enter key if your WordArt object is to include more than one line of text.
The WordArt toolbar appears automatically whenever you select a WordArt object. You may also display the WordArt toolbar by right-clicking any toolbar displayed on the screen and then clicking WordArt. The WordArt toolbar enables you to edit text; change the WordArt style and/or shape; and change alignment, color, color effects, size, position, wrapping style, rotation, vertical text position, letter height, and character spacing (kerning and tracking).
Changing the Shape of a WordArt Object
If you decide you want a different shape for your WordArt object, click the WordArt Shape button (fifth button from the left) on the WordArt toolbar. The WordArt Shape button opens up a palette of approximately fort. Some shapes produce different results depending on how many lines of text and spaces you key into the text entry box in WordArt. When you are deciding on which shape to use, experiment with several to find the right effect. You may want to experiment with various fonts, font sizes, colors, and color effects to find the right combination for your text. As a cautionary note, make sure your WordArt object is readable.
Adding Enhancements
As with any other objects such as text boxes, lines, Autoshapes and pictures, you can size, move, copy, add fill shading or color, add or remove a border, and add shadow or 3-D effects to a WordArt object by using options from the Drawing toolbar or the Format WordArt dialog box. The Format WordArt button on the WordArt toolbar opens the Format WordArt dialog box where you can change the fill color of the letters or add gradient, texture, pattern or picture fill. You can change the color, style, and weight of the borders surrounding the letters depending on the options selected. Additionally, you can change the height, width, and rotation of the object depending on the options you select at the Format WordArt dialog box.
Create a flyer for PHS back to school night. The theme is �Welcome to Coach Prinz�s Computer Class�. Be sure to use appropriate clip art. Also, include at least two wordart selections. Don�t forget your formatting principles.
Part 3
Create a flyer for this computer lab. The theme is �no food or drink allowed�. Be sure to use appropriate clip art. Also, include at least two wordart selections. Don�t forget your formatting principles.
Part 4
Create a flyer for this computer lab. The theme should center around computer lab rules (not the no eating rule). Be sure to use appropriate clip art. Also, include at least two wordart selections. Don�t forget your formatting principles.
Part 5
Create a flyer for a concert. You chose the band. Be sure to use appropriate clip art. Also, include at least two wordart selections. Don�t forget your formatting principles.