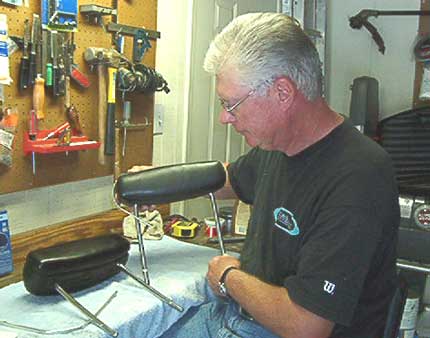
As performed by RHM Jr.
1) Purchased reproduction headrest chrome strips and bottom gaskets from Krusin' Moons.
2) Purchased vinyl / leather repair kit and vinyl/fabric paint from O'Reilly Auto Parts store.
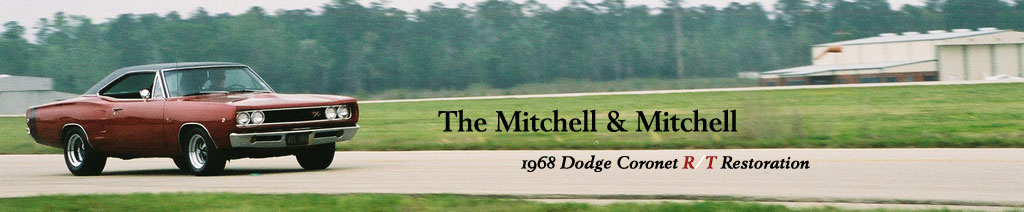
3) Cut and notched the arms of the bench seat headrest to match those of the bucket seat headrest. (Our bucket seats came with two different types of headrest. One from a bucket seat and one from a bench. As a result, we had headrests with two different length attachment arms.
4) Carefully removed existing chrome bands. WARNING - this is not easy and requires attention to not tear and/or rip the existing vinyl. Krusin' Moons provides detailed instructions with their replacement headrest chrome for completing this process.
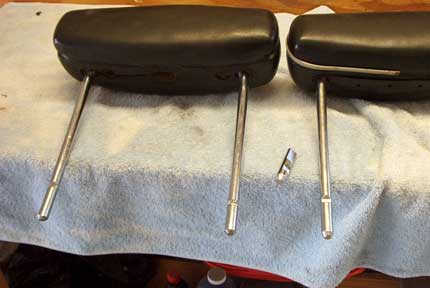
5) Used instant glue to hold and reshape deformed areas Also, used small gauge metal wire and instant glue to secure width of opening in vinyl covering at base of headrest. (area covered by bottom gasket)
6) Used vinyl / leather repair kit to repair cracks in headrest vinyl covering. Kit comes with multiple pre-mixed colors and a table for mixing custom colors. WARNING - Do not overheat repair material and allow material once applied / heated to cool completely before removing "grain"template cover.
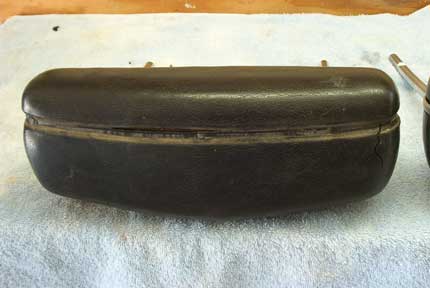
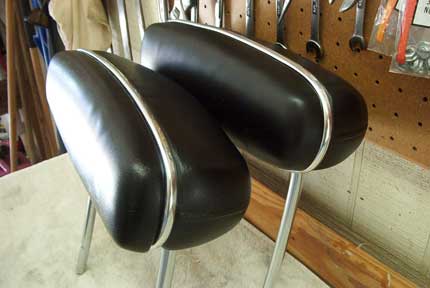
7) Affixed bottom gaskets using instant glue.
8) Cleaned headrests with mild solvent. Taped off area where headrest chrome is to be attached.
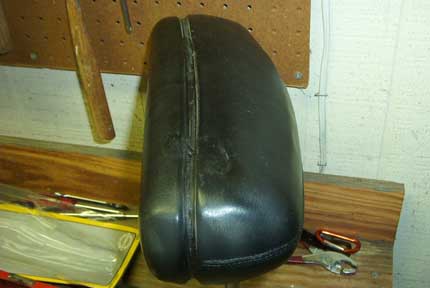
9) Taped off headrest arms then used two coats of vinyl / fabric paint to cover headrests. Allow to dry for 24 hours.
10) Removed tape covering arms and the area where headrest chrome is to be attached.
11) Applied chrome strips following instructions provided by Krusin' Moons. Strips come with attached adhesive tape.
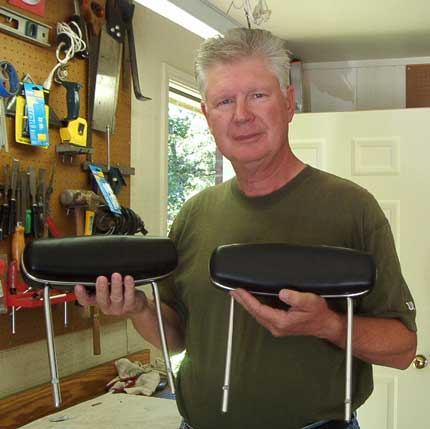
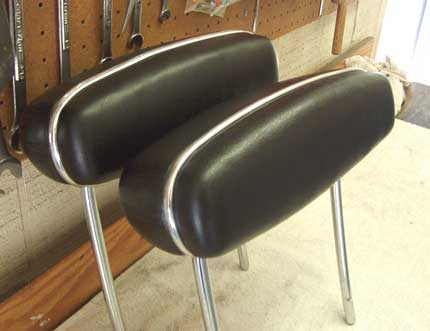
12) Finished.
|