- Open Adobe Photoshop and start a new canvas
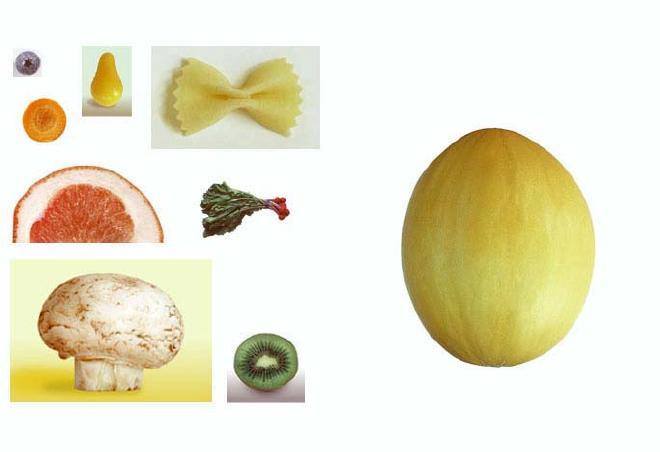
- Open the Image that will serve as your guide and will serve as your starting images (Save the images at the top of this tutorial)
- Make a new workspace to put your image (Type ctrl+N on your keyboard and use the bottom image as your guide)
- Use the rectangular marquee tool for your images that you want to select (pick the image that will serve as the whole face)
- Use the magnetic lasso tool to select the images that will serve as the face details (e.g. mushroom=hat, orange=ear etc.)
- The purpose of the move tool is to move the images selcted at right spot where you want to put them
- Duplicate layers that is needed as pairs (hint: At your right you will see your layers, right click on the image that need pairs, example the ears, then click on "Duplicate Layer" the place your image)(Rotate it by clicking ctrl+T on your keyboard)
- Merge layers that you need to stick with the base image(the face)(right click the layer you want to merge and then click on "Merge Layer")
- Do these steps over and over until every detail for the face is complete
- Arrange the layers, and finally
- Save as ".psd" if you want to continue your work and ".jpeg" for finished project
|