Well, the tanks were finished but the question still remained whether they would hold fuel. Van's recommendation is to pressurize the tank to about 1 psi of air. Instead of buying a gage just for testing the tank, I built a manometer out of some clear vinyl tubing and some fittings. One psi is about 27 inches of water so you just add air gently until the water level rises by that amount. As it turned out I had pinhole leaks in both tanks but luckily they were in the end ribs and were easy to find with soapy water and fix with a little more Proseal. The second test had no leaks.
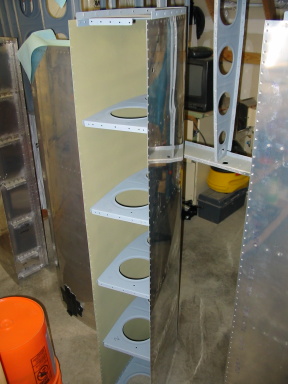

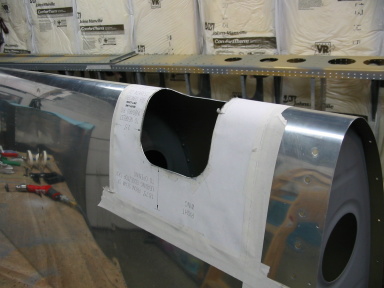
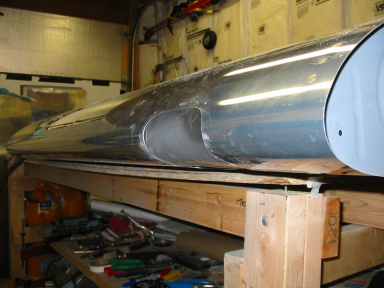
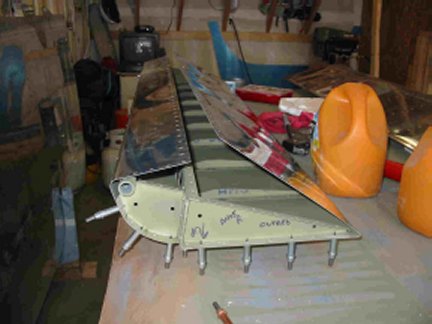
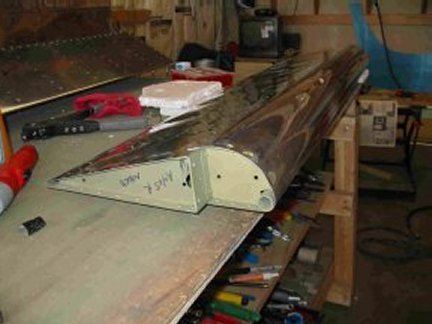
After wrestling with sealing the tanks, the leading edges were a pleasure to build. The first picture above shows the leading edge standing on end. The second picture is the leading edge and tank together.
Back in June, I was a bit optomistic and ordered my fuselage kit. Van's was exactly on time - a 9 week leadtime - but I wasn't. The wings were months from being finished.

Probably the scariest operation so far was cutting the holes for the landing lights in the wings. Measure twice, cut once has new meaning here. You begin by cutting with a hacksaw and finish up with various Dremel tool attachments.
Just cut along the paper template...
A piece of plexiglass finishes the installation.
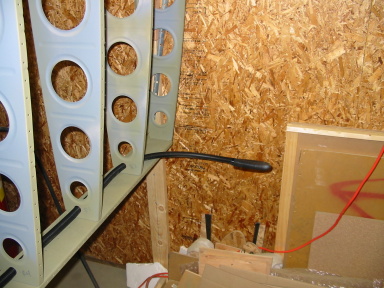
A piece of platic tubing is used to route the wiring out to the wingtip lights and landing lights. I had procrastinated cutting the holes in the ribs and I ended up cutting them after the wing skeleton was assembled. It would have been easier to do on the separate ribs.

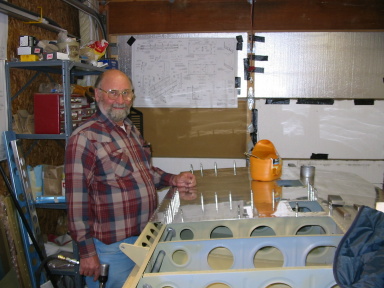
My parents took a break from roaming the country and settled into Boulder for a month. I promptly got spoiled by Mom's cooking and Dad's help with the riveting. My friends, Steve, Paul, and Graham pitched in on the riveting as well. Each skin had about 300 rivets so all together each wing used about 1200 rivets to get the skins on.
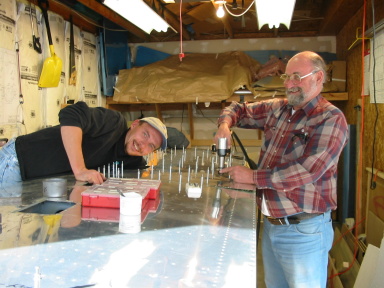
The leading edge and tank are installed on the spar first. Then the top skins are rivet on. These go quickly because it's easy to access the rivets. The bottom skins go slower as you have to figure out how to get your hand through the access holes to buck each rivet. To make things worse, on the first wing we bucked 200 rivets on the outboard bottom skin only to find that the skin had crept and the last 30 rivets wouldn't go in. We drilled out all the rivets, aligned the skin, and re-riveted, keeping more clecos in to hold the skin.

One of the finished wings. Both wings were built simultaneously, starting in January and finished in October. Off to the storage unit!
The ailerons only took a couple of days of work to build. The top is riveted by reaching in through the bottom. Then the bottom is closed with pop rivets.
Back to main page