
The first step of tank construction is to roughen the smooth surface of the aluminum of all the parts with a Scotchbrite pad. This gives the sealant a better surface to attach to. Next, numerous cleanings of the parts are made with methyl ethyl ketone (MEK) until the surfaces are as clean as humanly possible. After the first riveting session, I spent an hour cleaning the Pro-seal from my hands and forearms. It makes you wonder about the necessity to be so clean, but that's what the directions say and no one wants to pull the tank apart to re-seal it.
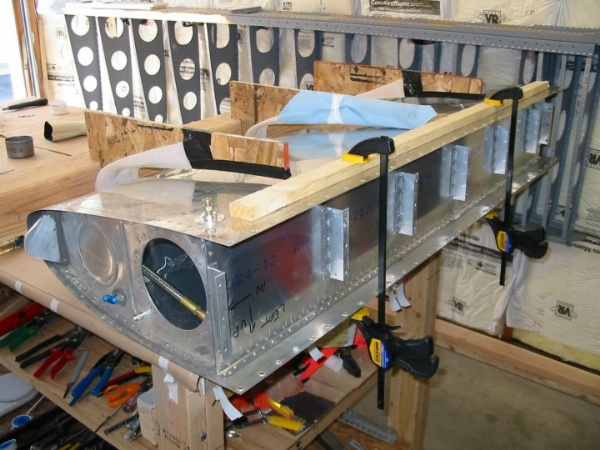
The next step is sealing and riveting the stiffners to the bottom of the tank skins. These prevent the skin from sagging when a full load of fuel is in the tank. There are 7 or 8 rivets in each stiffner. They go quickly because you back rivet them instead of bucking them. Still, it's messy. The sealant starts getting stringy a couple hours after mixing it and sticks to everything. It takes a few days (in the 100 degree weather) before it feels solid.
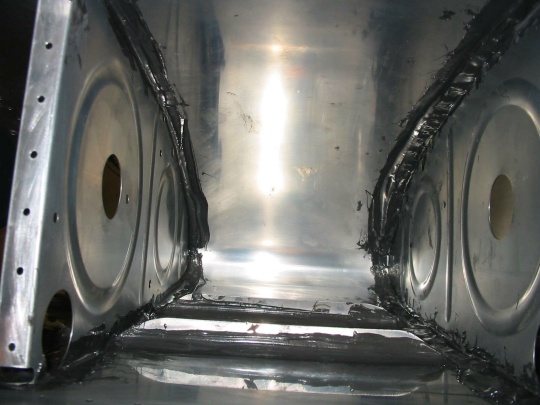
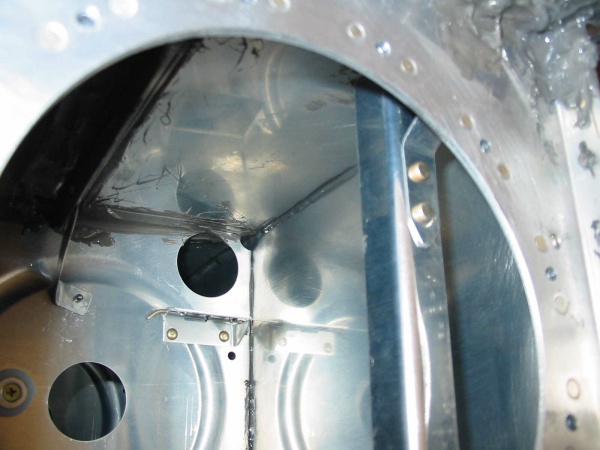
You can also see the sealed filler neck flange in the upper right of the picture.
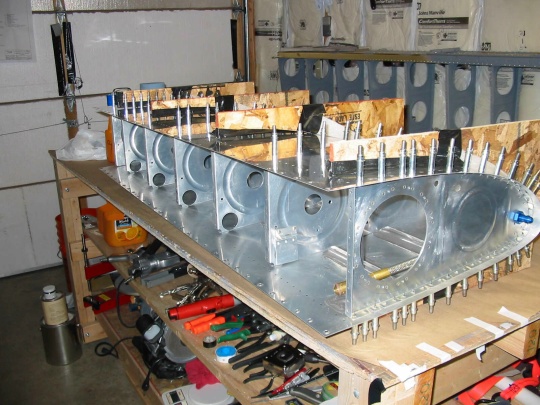
Next, the ribs are clecoed into the skin to get the right shape. The cradle makes it easier to handle. By dumb luck, I designed a cradle out of a 4x4 and plywood that could tilt 45 degrees each way without tipping over. I originally intended it to only stand straight up but the tipping feature made it a lot easier to work on. (I didn't even use a CAD system to design it!)
When everything looks good, each rib is removed one by one, sealant is smeared on both the skin and rib, and then the rib is riveted to the skins with flush rivets. There are about 35 rivets in each rib. After riveting, the rivets are covered with another layer of sealant. Each rib took about two hours initially. As I got better at it, I got it down to 1 hour per rib. I credit this to getting used to wearing the repirator and finding a new bucking bar at the Oshkosh fly market. It's only the size of an ice cube but it was great for the small rivets in tight places. You don't really need the humongous bucking bars that the tool company includes in the kit for the 3/32" rivets. I bet you could even use the small bar for the 1/8" rivets as well.
The wing plans call out a small modification that can be made to make inverted flight possible. There are other requirements for inverted flight like fuel injection (~$3500) and an inverted oil system (~$700), not to mention parachutes and really good seatbelts but I figured I would do the tank mod anyway because it is nearly impossible later. Essentially, it consists of a flop tube that falls to the top of the tank during inverted flight to pick up fuel and a trap door that prevents fuel slosh to the outside wings during the roll to inverted or knife-edge manuevers. I'll most likely stick to positive g maneuvers in the RV (loops, rolls, hammerheads) as I consider hanging from the straps only a momentary condition to another attitude. The RV7 is designed to take flight loads of +6g and -3g. I've seen pictures of Van's Aircraft statically testing their wings to 9g's (about 10,000 lbs!) and they still didn't fail.
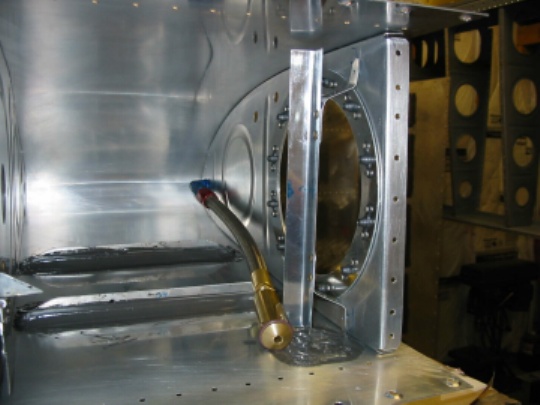
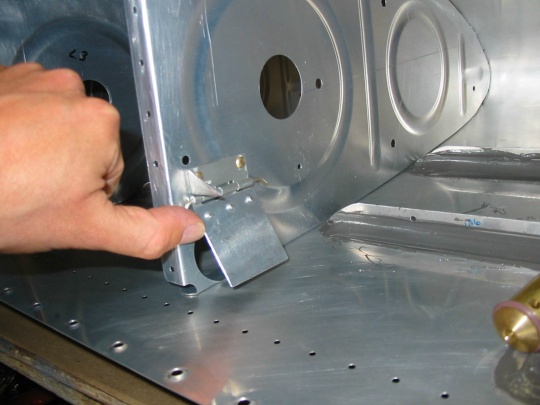
After the seven ribs go in, the 1/4" aluminum vent line is run from the filler neck to the inboard rib and the fuel quantity senders are installed. I chose the capacitive fuel sender units which are basically just two plates offset from ribs in the tanks by insulators. There are no moving parts, just a wire running between them and the inboard rib. The quantity of the fuel changes the electrical capacitance between the plates. The only drawback (besides having an electrical wire in your 100 octane gas) is that only one specific electronic fuel guage will work with this set up and it costs $345. A small price to pay for elegance I supposed. Anyway, it's got neat LEDs.
The final step is to install the back baffle to close the tank. A bit nerve wrenching because you don't get to fix anything after this point. Blind pop rivets attach the baffle to the back ends of the ribs and the z-brackets. Countersunk flush rivets are squeezed on the top and bottom of the skin-to-baffle connection. You're looking at the inboard rib of the upsidedown tank.
You are depending on the sealant making a bead between the baffle flange and the tank skin. From what I could see through the inboard access hole, it looked good. I will know for sure this week when I pressure test the tank. Basically, you attach the tank to a water manometer (read: piece of clear nylon tube), put in 1 psi, and see if the water level drops in the manometer over a couple of days. By the way, 1 psi is about 27 inches of water. See, my ME degree didn't totally go to waste!
Tips for Other Builders 1) The tanks are not hard to build, just messy. 2) Use a small (1x1x2") bucking bar for the 3/32" rivets. 3) Use the Invisible Gloves stuff from Aircraft Spruce. It works! Spread liberally up to your biceps. 4) Ditch the latex gloves (ala tip #3) and wipe you hands frequently on paper towels. 5) Place the rivets with tweezers, needlenose pliers, or forceps to keep your skin oil/Invisible gloves off them. 6) The el cheapo pop rivet puller that Van's says to buy and modify might not work after you grind it down. Mine didn't. I had to grind my good one as I had sealant already spread all over the back baffle.
So what's next? The fuselage kit is coming in two weeks from tomorrow (Aug 19). I've got to rivet the other 5 skins to each wing and build the flaps and ailerons. I don't want to rush anything so the fuselage will go in storage until the fall. I ordered it in June thinking I'd have more done on the wings by now, but the soaring weather has been wonderful here in Colorado, so you know...
Back to Main Project Page