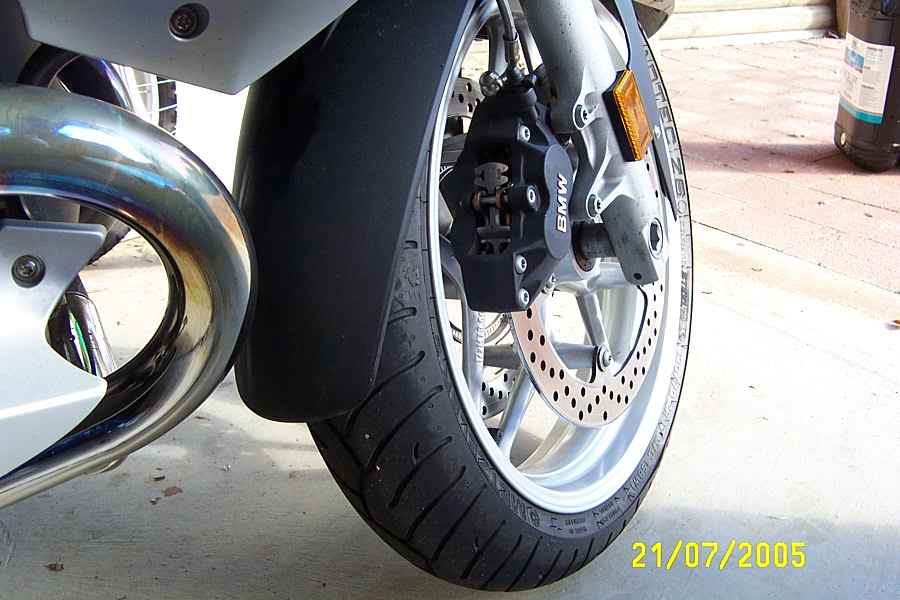
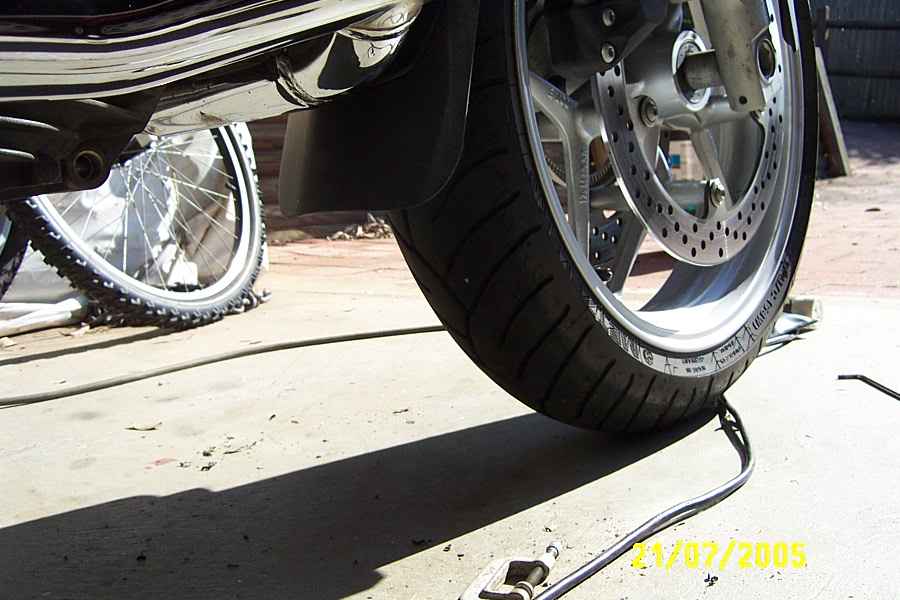
The mud and crap was going all over my new bike which was/is a bugger to clean off, not to mention the tar that�s sticking to the exhaust pipes.
Nothing around to buy so it was Farkle time.
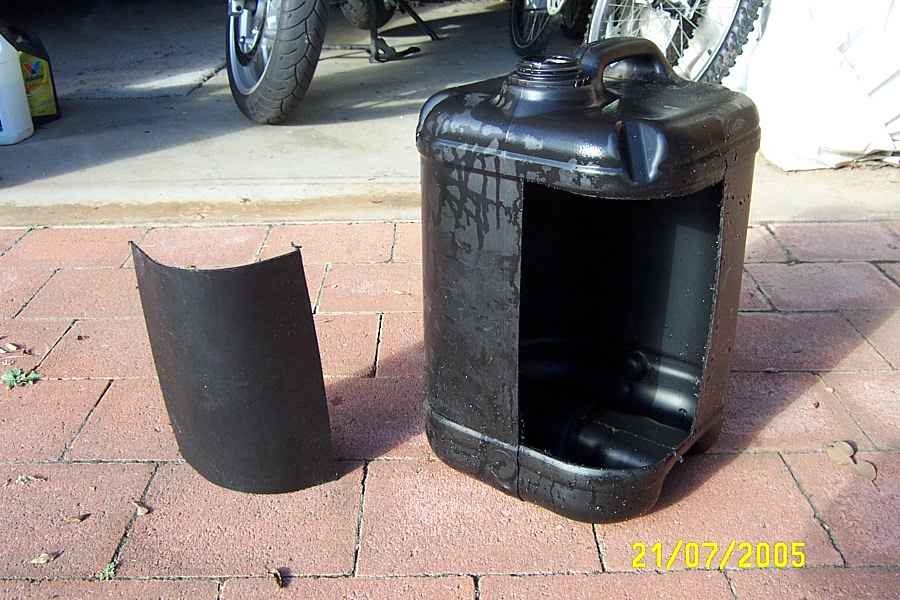
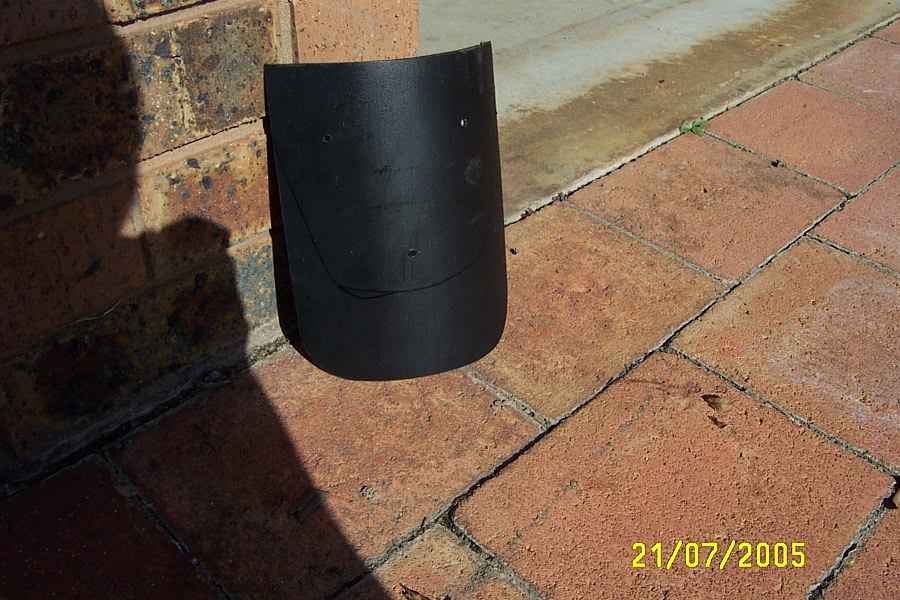
I looked around the garage and finally decided to have a go with a 25 litre plastic chemical drum.
The bend on the corner looked fairly close and the plastic seemed the right thickness.
Using a hand wood saw I just cut a corner section out (find three friends and it�s the ultimate in re-cycling).
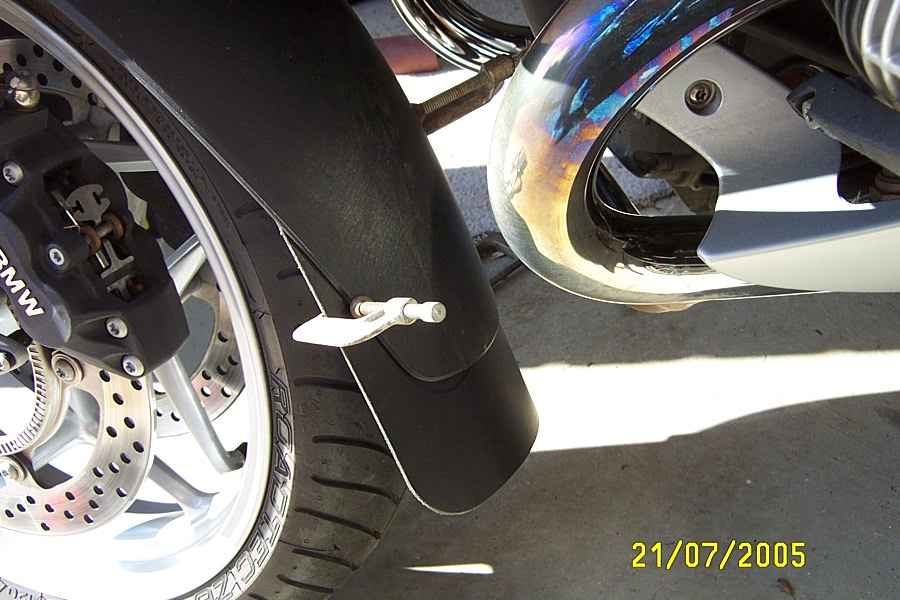
Next I poked this section under the front fender and decided how long I would make it and also how wide.
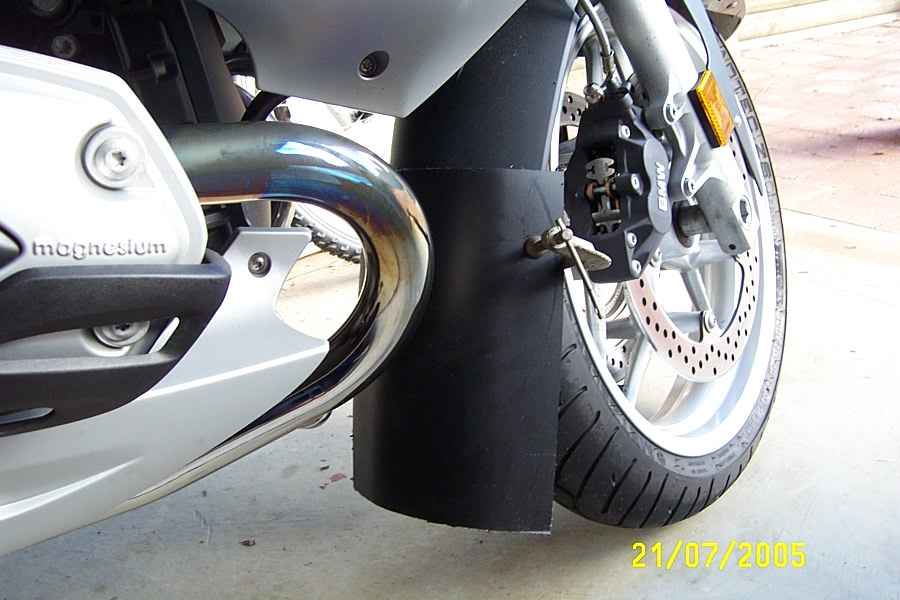
The fender tapers as it comes to the bottom, opening up the sides of the tyre to send crap flying back. I didn�t want this so made the extension come straight down.
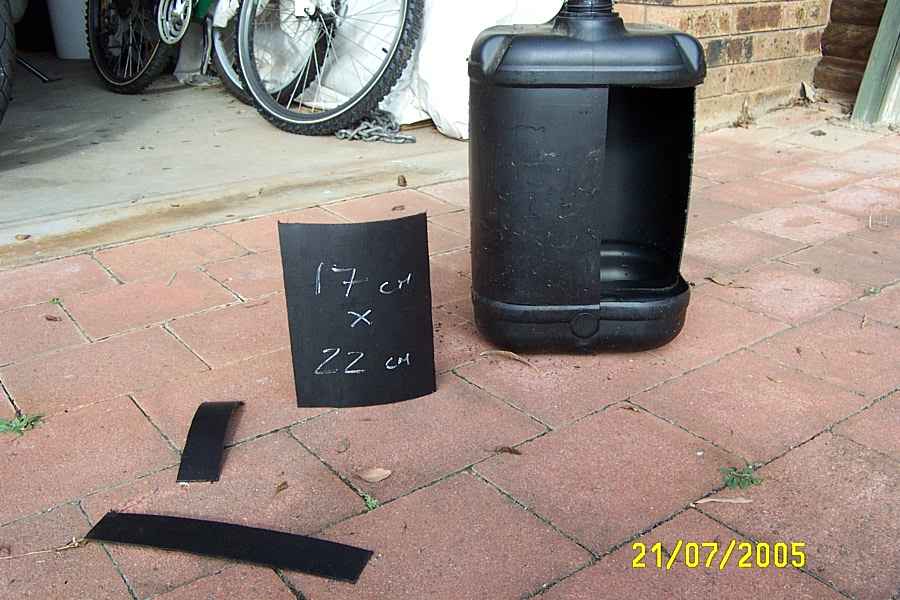
The size I finally decided on and cut it to was:- 17 cm wide X 22 cm long.
The 17cm wide allowed it to hide behind the original fender keeping the lines smoother.
I clamped the plastic to a bench and marked out the size using a scriber. Then still clamped to the bench with the waste overhanging, I cut it out using a hack saw (turn the blade at 90 Deg. to the saw, its easier).
Next I ran chalk along the plastic edge of the two long sides and one short side. Running a wood rasp flat and straight along the edge I straightened it out (rasp away until all the chalk has gone).
I cleaned up the edges with a fine file and then some sand paper to smooth it out.
Using a G-Clamp (small) I clamped it in place and jiggled it about until it looked even, and the right length. With a permanent black marker pen I then drew round the existing fender onto the plastic (so I�d know where it went when I took it off).
Using a lid off a container placed in the corners as a marker, I drew round that with the pen and then rounded off the corners with my rasp, file and paper. Fitting it back onto the bike with the G-Clamp and lining up my pen marks I marked three holes with the pen. I found three bolts (3/16" X 25mm) and cut them down as they were too long.
The technical reason that I used these size bolts was that they were the first to hand in my nuts and bolts box!!!
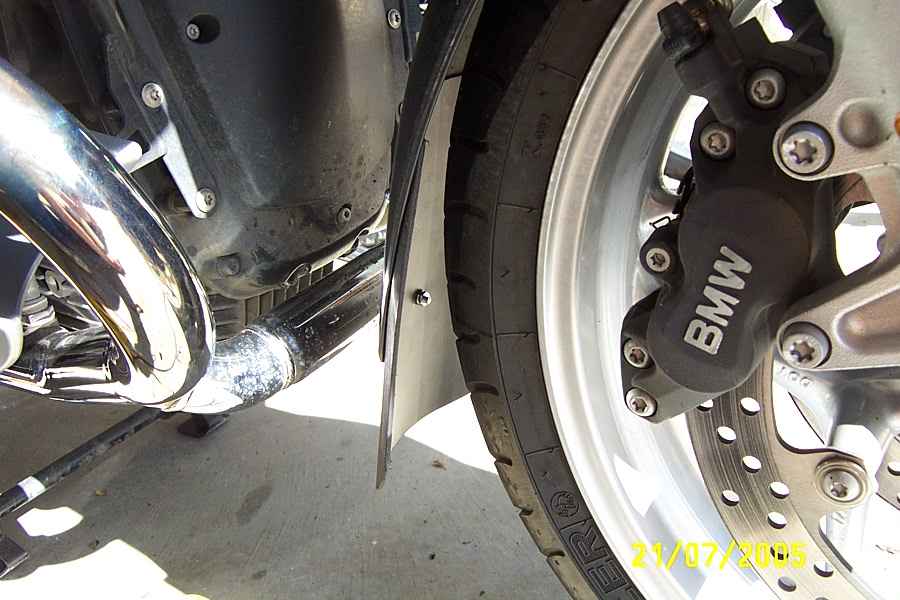
Make sure that you can actually get a drill in to where you marked, without the drill hitting the exhaust pipe and scratching that. I went in about 3cm. If you take the two bolts off just in front of the forks, that holds the guard on, it allows it to flex a bit more at the back.
I put one bolt in temporarily and then checked my positioning again. I then drilled the second one, put a bolt through that, and finally drilled the third hole.
I then cleaned the plastic with some meths, then sprayed it black with matt paint to take the sheen off it and fill the minor scratches.
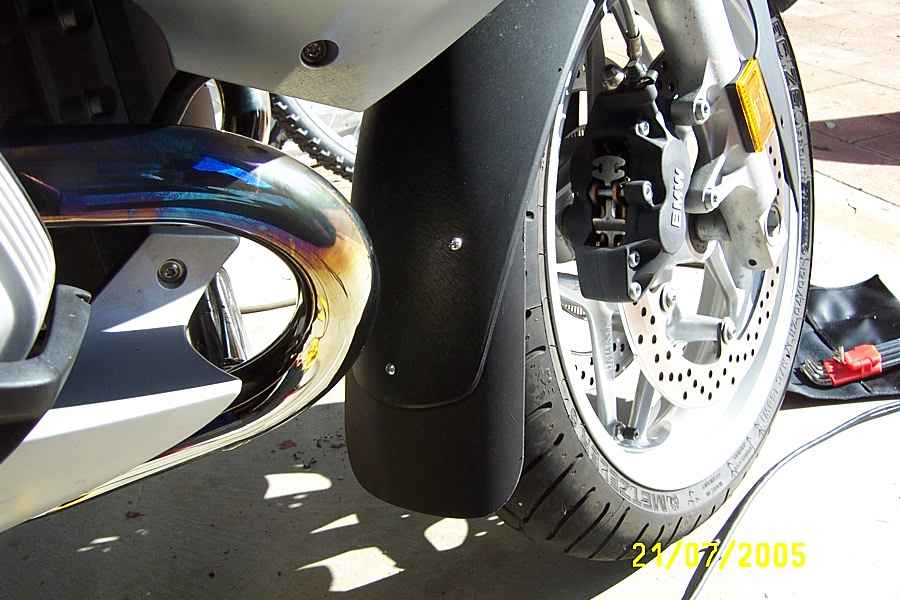
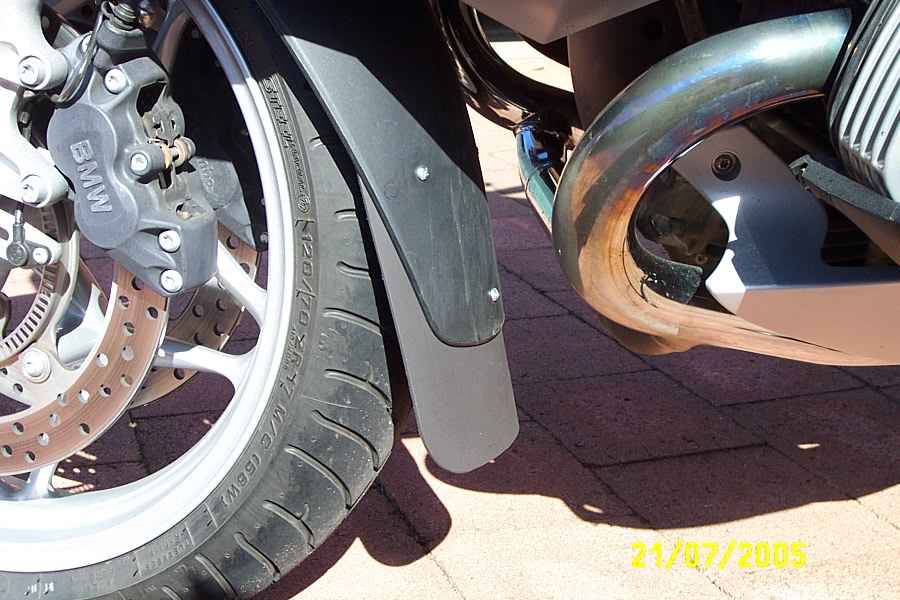
I then cut the bolts down smaller (while the paint dried) found three small spring washers in my washer box and bolted it on.
I placed the bolts lower down on the mudguard, in case I made a mistake and wanted to lower it later on. It looks about the right length though and extends from the bottom of the original guard a whisker under 7 cm. . |