Motorola
Model: VT71M-A
Chassis: TS-4J
Date on Chassis: May 13 1949
I have restored a few of these over the last couple of years. The first one I restored was for me and I also have done a couple for family and friends. The first one I restored has been a daily driver. I have used it a 4-6 hours a day for over a year now. I have had two parts sets in storage just in case something went south on it I couldn't replace. I wasn't going to touch them other than for parts if needed. That was until after much begging and pleading and most of all waving of ca$h in my face I sold my daily driver to a friend from work making a fair profit and also having got a years service from it first.
After a couple of days I was already missing having the old set around. I pulled out the best one from my last 2 parts sets. Armed with my soldering iron, 2 new Diodes, a fist-full of 630 volt caps, 5 new 6000 volt bypass caps, 7 electrolytic, and my now well worn schematic. I set out to restore another television to replace the old daily driver.
In about 10 hours I was able to bring the TV chassis back to life and watch some I Love Lucy. I still need to replace a couple of resistors that have drifted a little bit on the high side and finished the cabinet. The chassis has been playing for about 20 hours give or take an hour over the last 3 days with no problems (so far knock on wood).
Here are some pictures of the my latest project back from the dead.
Another Motorola VT-71M-A is alive with clear bright picture and sound at 54 almost 55 years old!
**WARNING SAFETY HAZZARD** Remember to use an isolation transformer and ALWAYS keep one hand away from chassis due to SHOCK HAZZARD 5000+ volts present in chassis!!
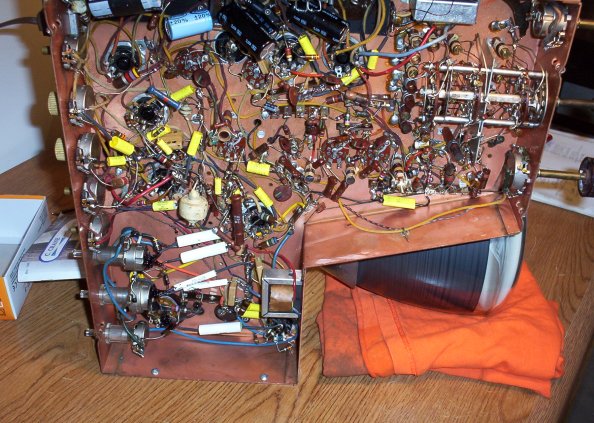 Here is the set after being recapped. The last few sets I recapped I used big 'ol orange drops. This time I used yellow Metalized Polyester Film Capacitors rated at 630 Volts purchased from Just Radios. The 5 longer White Caps are rated at 6000 volts and were purchased from Allied Electronics. I also replaced the 2 original Selenium Rectifiers with (2) 1N004 Diodes. **Note the chassis is attached to my workbench (ok so it's really my desk) with 2 screws at the bottom. This is to keep the chassis from falling over and shattering the CRT that is under vacuum and sending glass shards flying! The Speaker is also secured to the old "now out of circuit" Filter Caps using a couple zip-ties for same concern of falling objects! |
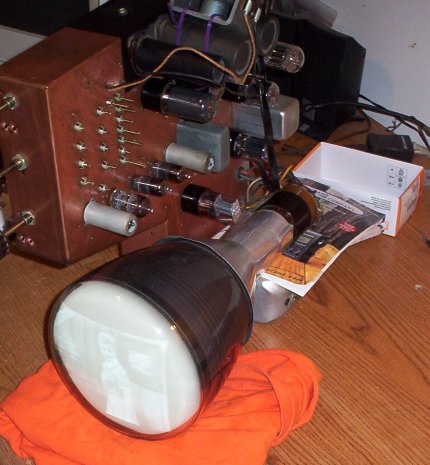 Here is the top side of the chassis. If you look close you can see the first Images from November 1 2003. That's Lucy on the screen. The picture looks very sharp with good brightness and contrast in person. The Flash washes out the picture. It's not easy to take a still picture of a moving picture!! Tubes Used Are: (2) 25L6 -POWER OUTPUT AND HIGH VOLTAGE OSC. (1) 12AT7 -CONVERTER. (3) 12SN7 -AUDIO AMP/VERT OSC, CLIPPER AND AFC/HOR OSC. (1) 7JP4 -CATHODE RAY TUBE (4) 6AG5 -RF AMP, 1ST IF, 2ND IF AND 3RD IF. (1) 6AL5 -RATIO DETECTOR (2) 6AU6 -VIDEO AMP AND LIMITER (1) 6SL6 -VERT OUTPUT (1) 1B3 -HIGH VOLTAGE RECTIFIER (1) 17A485459 BALLAST RESISTOR |
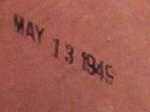 Date Stamped on Chassis |
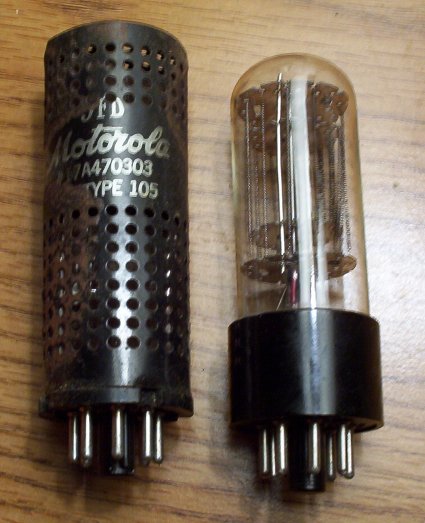 On the right is a close-up of the glass 17A485459 Ballast Resistor tube. It's the last good one I had. I like that it is encased in glass unlike the original vented metal can one shown on the left. I had to build a replacement for the one VT71 I just sold using resistors and a heatsink. An example of this procedure can be found on another collecters Webpage. Be sure to check out his homepage located at "PHIL'S OLD RADIOS." While you are there be sure to check out all of the great pictures, information, ideas, advice and links for restoring vintage radios and televisions. |
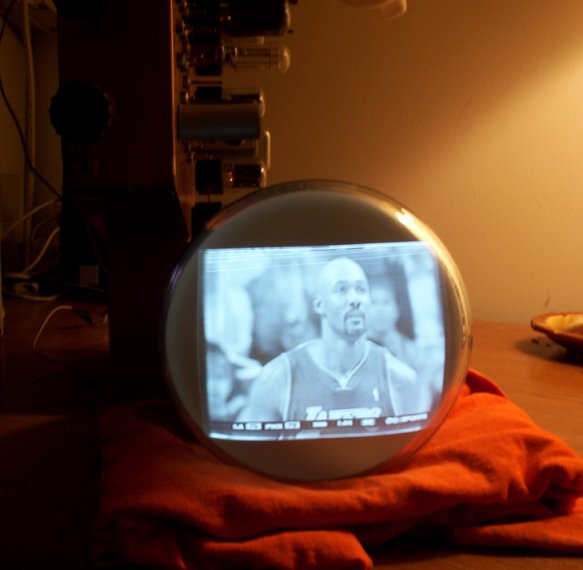 Basketball Games Look Good on Old Tv's Also! |
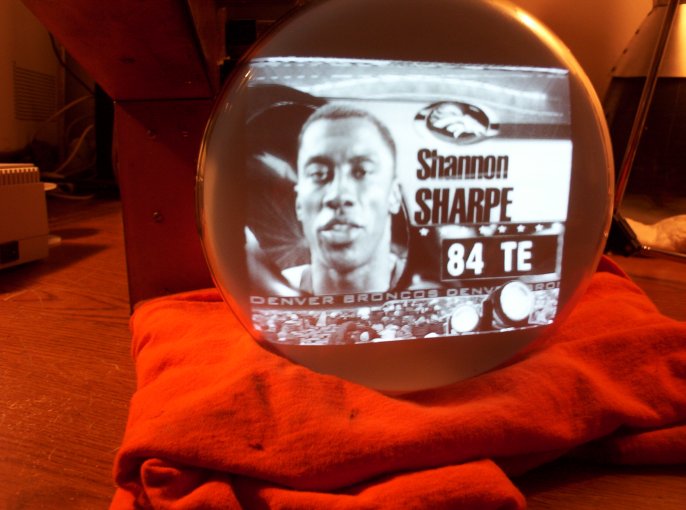 ABC Monday Night Football November 03 2003 This Shot Shows Pretty Good Contrast and is Closest to it's True Picture. |
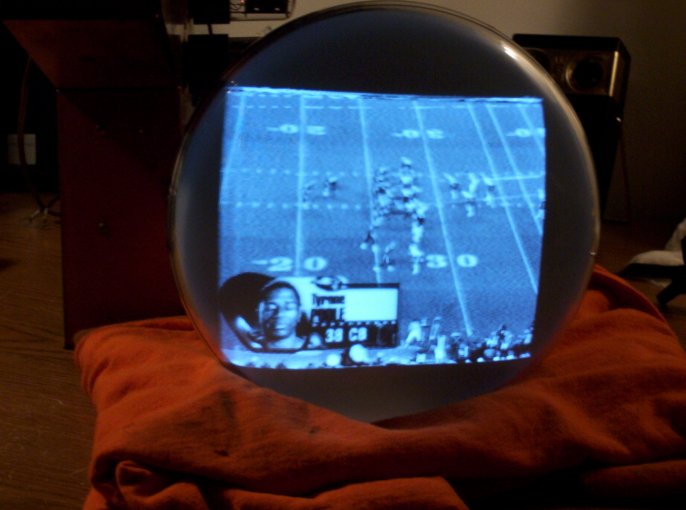 Another ABC Monday Night Football Picture From November 03 2003 |
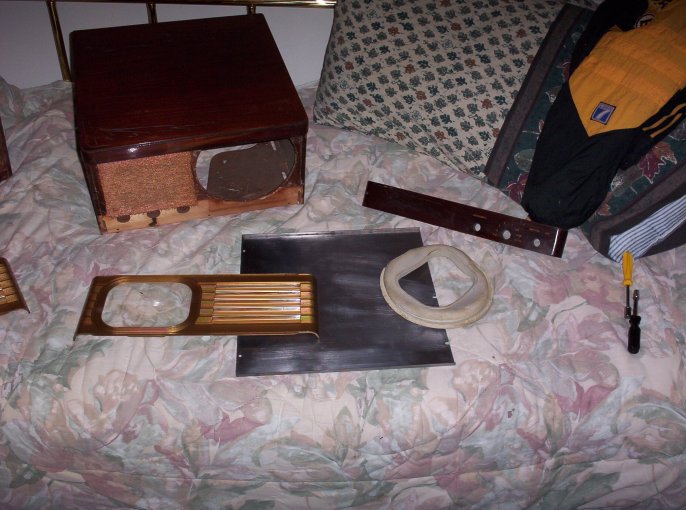 Here is the Cabinet and parts left to be assembled weather permiting tomorrow. Will post Finished Pictures then. |
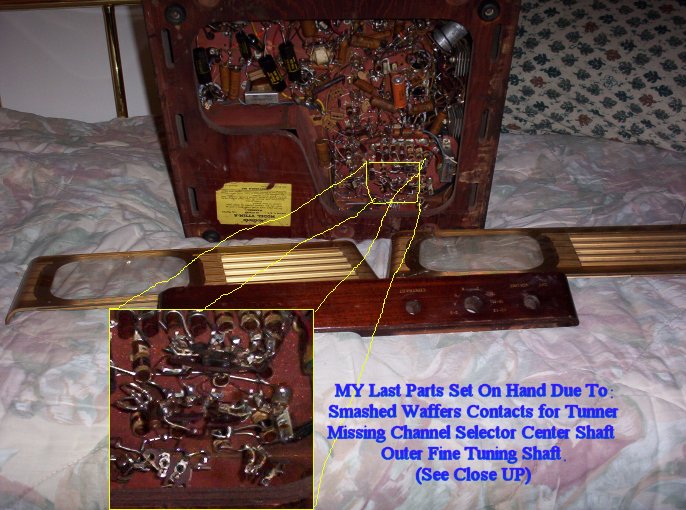 The last of my spare parts tv of this model. The tuner is smashed and missing pieces. I also have though not pictured a spare 7JP4 (sorry it's not for sale). But if your in the market for a new 7JP4 I'd buy this model television. I have had about a 90% rate of good CRT's on this model. The one bad CRT still produced a picture though it was washed out and fuzzy. The reasons for so many good CRT'S could have been (and folks I'm only guessing here) due to: (1.) This models 6000v wax paper caps may have failed early. (2.) Some smaller models were put aside for televisions with larger screens that were available and affordable soon after this model was introduced? (3.) I have been just really lucky so far and the next 12 will all be duds ;-0 |
Contact Information
©2003 Steven W Reeves
All content copyrighted and may NOT be used without permission.