- Fiberglass sheets
- Fiberglass Resin
- Patience
- Gun w/ bullets (so u can shoot yourself ) (j/k)
- Cheap paintbrushes
- Tin Foil
- Sand paper (100, 400, 600, 900)
Step one prep and fiberglass
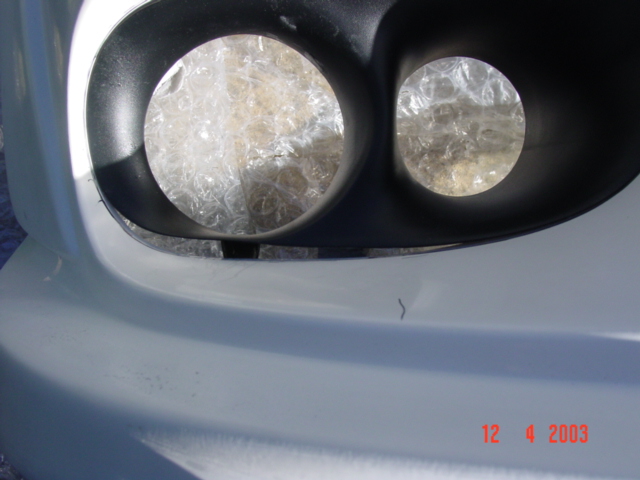
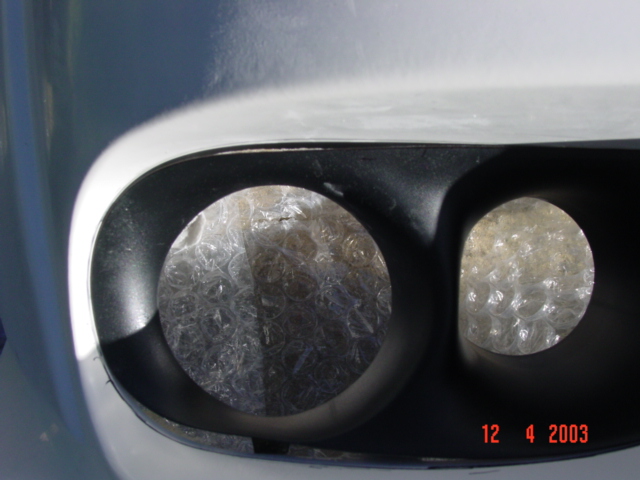
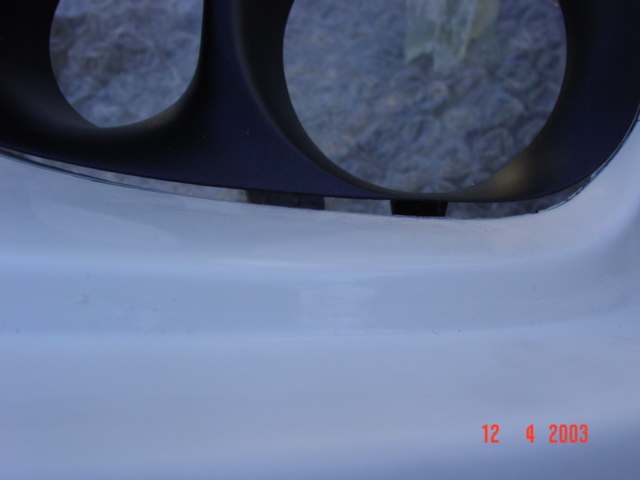
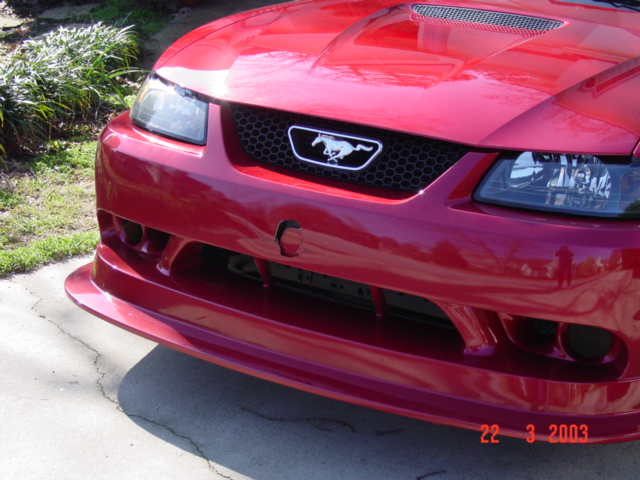
As you can see there is a nice gap where the stock oem cobra foglight bezels fit into the holes which you would assume would fit considering that is what it is made for. This gap is on both sides of the front end. This is when you realize that you get to play with fiberglass.
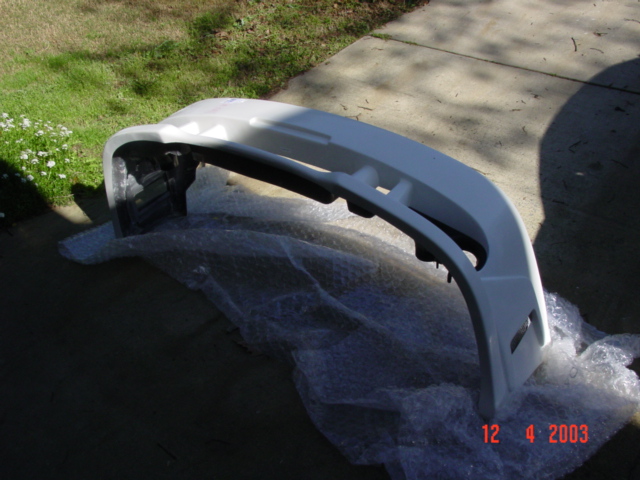
The first thing i did to the front end was take a sharpie and makr the front end where the extent of the fiber glass needed to go.(for the top right picture where the gap stops on the left and right i made a mark w/ the sharpie and drew a curve from one point to the other where i thought the fiber glass needed to come out to) Then i took the wire brush and ruffed uf the surface where i made the outline so the fiber glass had something to stick to. I also drilled a few holes in the ruffened up area and laid tinfoil on the back side. (the resin will seep through the holes spread out and act almost like a rivit when it drys.) After this i started out w/ the fiberglass. Every layer i took the sharpie and makrd where the gap had come to and made a gentle cure then cut out the shape in the fiberglass sheet. I then layed the layers until i got to the point where all gaps where filled and no lite could bee seen around the bezel. After this comes the fun part
Step 2 Sanding
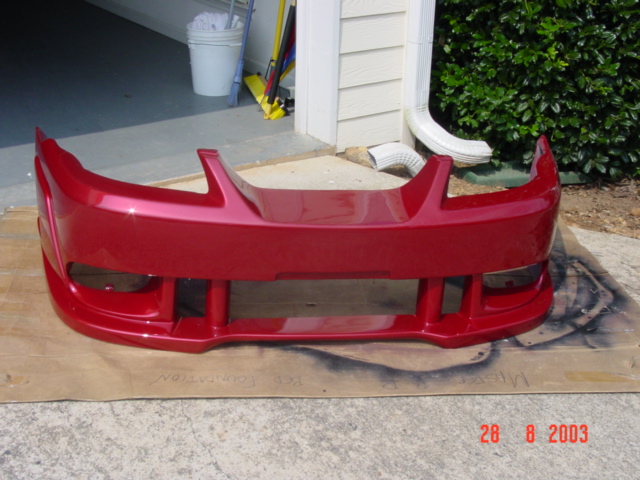
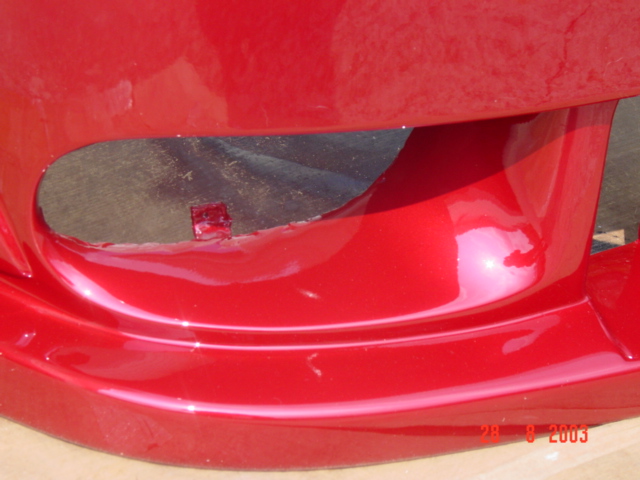
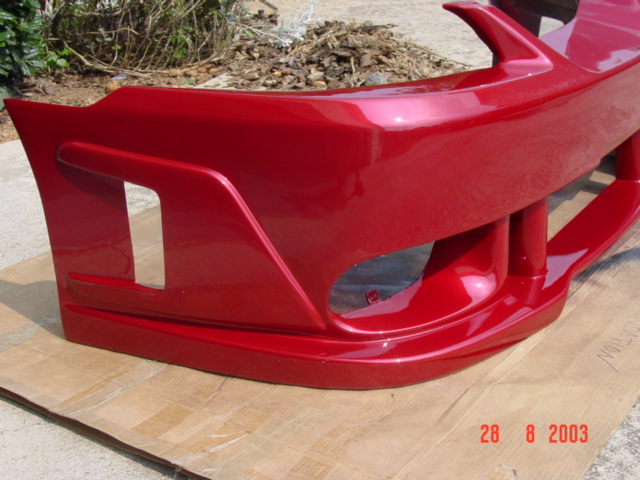
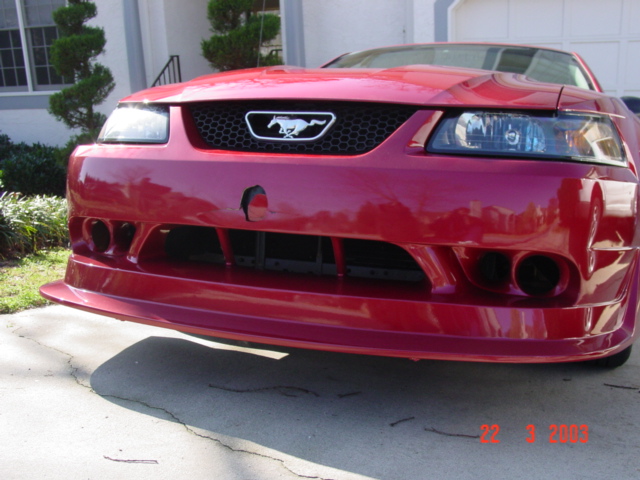
This is where patience and alot of time come in handy. I laid a couple more layers of just fiberglass resin on top of the last layers of fiberglass so i go a nice smooth surface, and it also helps fill in some air bubbles. When this dried for a full day i went back with 100 grit sandpaper to get the high and ruff spots out. make sure that u also put the bezel in every once in a while to make sure that it stillfits. After getting the general shape of the curve and ruff spots out i went and got the 400 gritt. The 400 grit was emory cloth(wet sand) so i began with the wet sanding on the front end. Now i finally got all the higher spots out w/ the 400 and went on toe the 600 and did the same as w/ the 400. Then with the 900 i made sure that all the edges where tapered and that it was as smooth as glass. Now you have to make sure that everythign is exactly right or the finished product will not look right. As you can see on your right where it went from start w/ big gap to finish w/ almost 12 to 14 layers of fiberglass on the passenger side. As you can see i spent alot of time on it to make it a smooth curve you can even tell when it was painted where the fiberglass i put on was. Of course this was the whole point. Also repeat steps w/ sand paper to whole bumper so you have a smooth finish all the way around. Also while sanding fill in the big air pockets in the fiberglass that the company covered up w/ gelcoat. You can do this w/ body filler or you can also do it w/ resin.
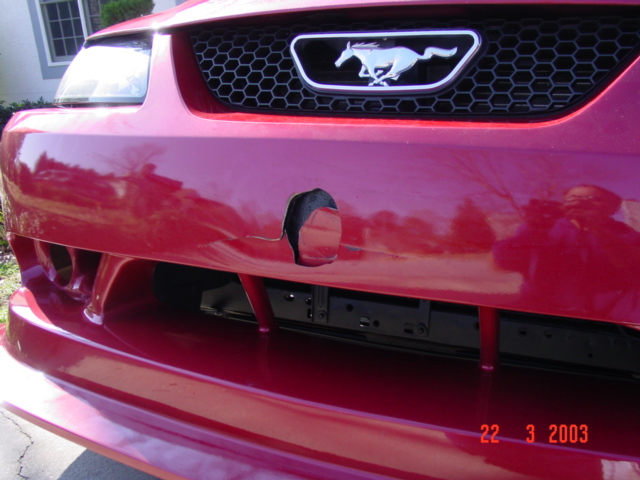
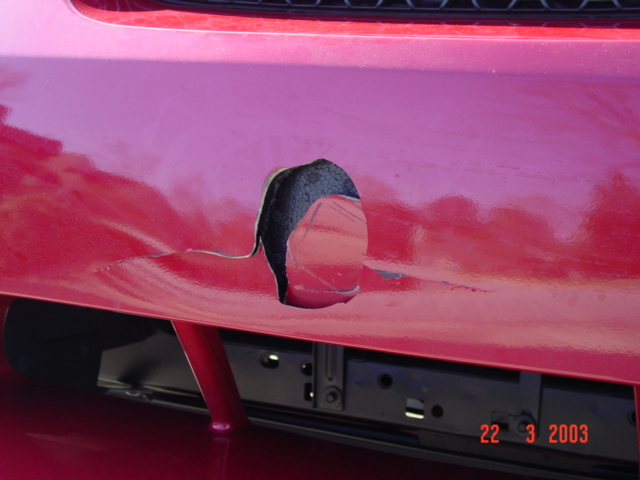
In this mod i will show you how to take a brand new 2 week old front end and put a custom intake in the front of the bumper.
StepI The only step to it
- Park in the parking lot behind a SUV
- Let 5' blond girl get in her suv
- While you sit in the car w/ out your keys in the ignition and make sure you have a passanger w/ you so u have witness.
- Sit there and let 5' Blond girl that cant see out of her rearwindow hit your car w/ her towing package.
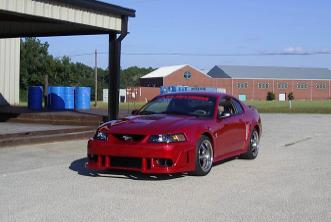
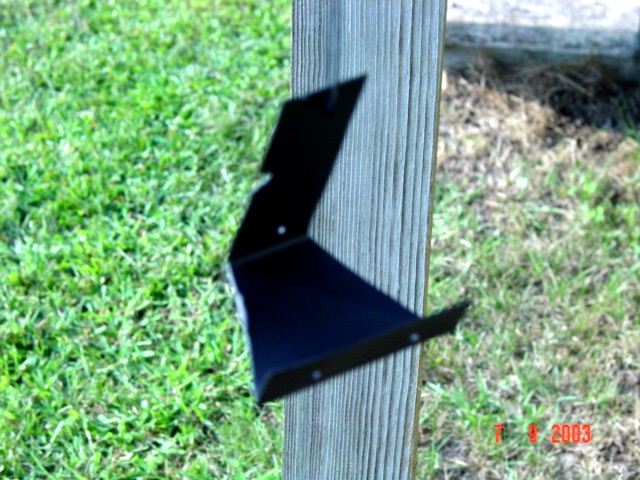
This Mod was a pretty simple one as long as you can measre and have sheet metal. If you look in the pics right above this mod the poney in the front has the poney another little chrome ring around it and the whole honey comb mess grill stuff. Me personally i didnt want all of that on my Black widow frontend so i of course decide to change it.
If you look under the hood of your mustang you will see that in the front where the mustang is right infront of the radiator there are two little holes where screw for "something" go not sure what goes there but yeah. I measured the distance b/w them then i measure how far out i wanted the poney to stick under the hood. I then subtracted the thickness of the poney and the metal for the bracet.
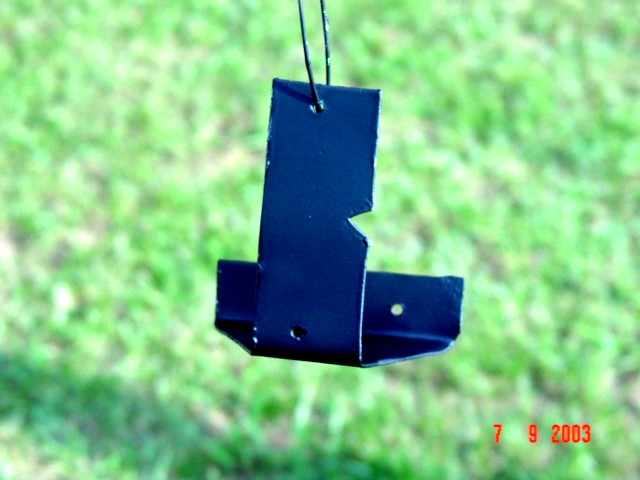
Step2 Bending
Thiis is pretty self explanitory where there needs to be a bend bend the sheet meal which i did not to hard really
Step3 Drilling
After taking the poney from the stock bracet you have to hold it onto your new one some hos so i drilled holes in the bracket so that he speed nuts could hold the poney on. I also drilled the holes in the bracket where it screws into the car. Then i painted it.