First your gonna need a base skin, these can be downloaded in a pack from the downloads section on my website. You're also gonna need a photo package like Photo Express (which i use) or Paint Shop Pro or even Microsoft Picture It! But really something better than Microsoft Paint!
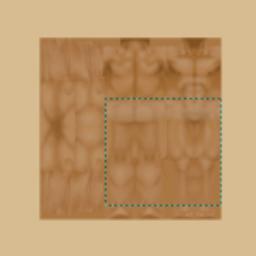
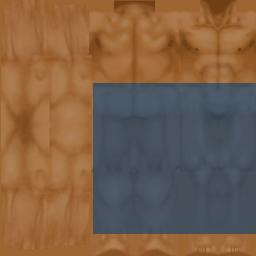
So go into the program you're gonna use and open one of the base skins. Then select a area you want to put your clothes (1). For example a rectangle over the legs to make trousers. Then layer over some colour filters (2) until you can only see the highlights coming through (3).
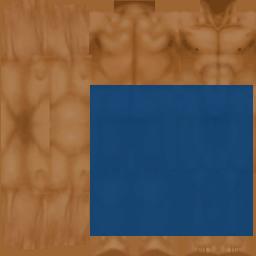
Then select an area for a top like in picture (4). Then fill it in the same way, I used a textured pattern for mine (5). You can then add on with a paint brush the extra details like buttons and so on...
Then you need to save it. When you save it, give it a file name starting with B. The number which
follows must have a body shape with the matching number. If you've downloaded any of my male
skins then the numbers for the bodys are:
Size 1 = 973
Size 2 = 974
Size 3 = 975
Size 4 = 976
You must have these files inside the game folders. So now you have the first part of the file
name. Eg. B973
The game now needs to know whether your skin is Male or Female. Here are the codes to add on:
Male = Ma
Female = Fa
So your file name should now be something like B973ma.
Next the game needs to know how fit fat or skinny the sims are. Here are the codes:
Fit = Fit
Fat = Fat
Skinny = Skn
So your file is now B973Mafit
Next is the skin tone:
Light = Lgt
Medium = Med
Dark = Drk
and then finally you need to add a name to make it easier for you so heres my finished file name:
B973Mafitmed_jeans
Then you just need to put this into the skins folder:
Program Files -> Maxis -> The Sims -> Game Data -> Skins
END
Eggy
[email protected]
get your base skins here