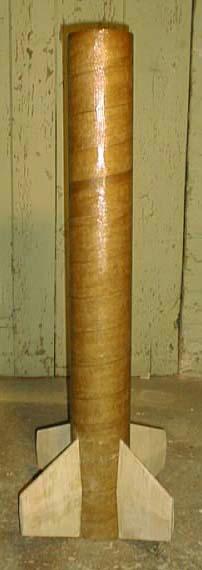
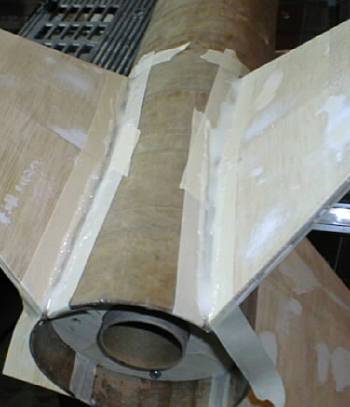
I just had to fit test it so here are some pictures of it pieced together(No glue yet).
|
|
I tacked the fins onto the MMT using 12 minuite epoxy.
I did this with the
centering rings and body tube in place.
I used a plumb line to line up the
fins, one at a time.
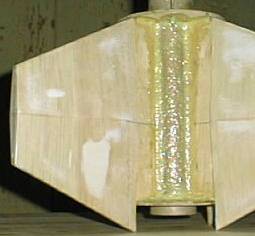
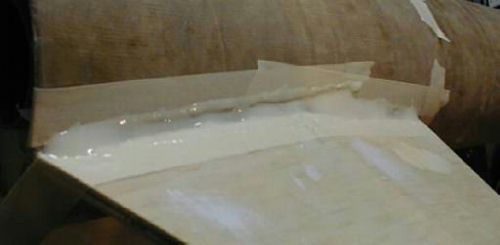
I then removed the body tube and put a fillet on all the fin MMT joints.
I
used kevlar pulp as the filler for the West systems epoxy so the fillets would
be strong. Here are some pictures of the fillets.
 |
 |
 |
Body Tube
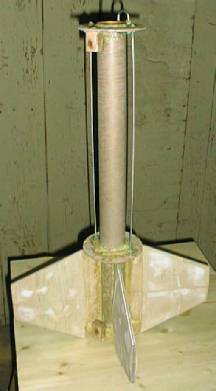
The body tube was attached using the kevlar pulp laden epoxy. This stuff is nice because its so thick that it doesnt go anywhere.
I put a bead up inside the tube for the upper CR and slid it in part way. I
then added another bead for the second CR and slid it in almost all the
way then added still another bead for the bottom CR.
Slid it in all the way
and stood it up on the back end so the epoxy would make 3 nice internal fillets
on the centering rings.
The next day I put external fillets at the BT/fin joint.
First I applied
masking tape to keep the epoxy off where it doesn't need to be.
Then I applied some West systems
epoxy that was not thinned out so that it could wick into the BT/fin joint. Then
I added some milled fibers to the epoxy and I poured a generous amount on.
 |
 |
This was smoothed out with a popsickle stick.
I gave it some time for any bubbles
to work their way out.
As they would form I would pop them with a broken
piece of stick and maybe add some more epoxy and smooth out again.
Before the epoxy started
to thicken I removed the tape for a professional looking fillet.
 |
 |
I actually had to repeat this procedure for 2 of the fillets. I think a good amount of the epoxy found its way into the BT so the fillet had voids in it. This could have been because it wasn't thick enough. I didn't use the kevlar on the external fillets because it's hard to make smooth.
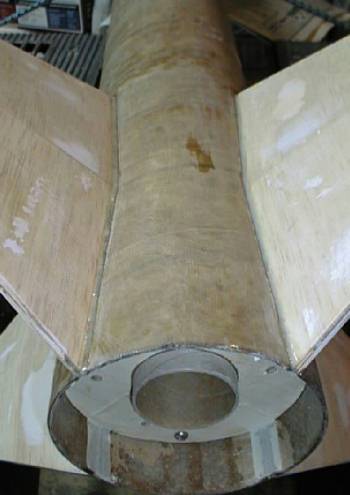
Motor Retainer
I decided to use an Aeropac motor retainer and one of their 38/54
adaptors.
This installed pretty well and the adaptor looks great being all
aluminum.
I think I will engrave my name and number on both the retainer cap
and the adaptor, just in case.
Finishing
Now that the fins were attached it was time for finishing.
The fins were quite smooth because I decided to finish sand them before
mounting.
The fiberglassed BT was a different story. Of course it was quite
smooth because I used the rotissorie to apply a coating of epoxy to smooth it
out. But the surface was bumpy.
Heres the steps to making it smooth:
1) Using wood filler fill any obvious gaps or voids.
2) Sand smooth
3)
Brush on a coat or two of Rustoleum clean-metal-primer(white)
4) Sand smooth,
back down to the body tube(150grit)
5) Spray on Rustoleum
clean-metal-primer(white) using rattle cans
6) Sand smooth, if goes through
the primer spray on more and repeat(220grit)
7) Spray on Krylon primer(white)
using rattle cans
8) Sand smooth(220grit)
9) Spray on final coats of
Krylon paint
10) If any runs, sand off with 400grit dipped in water and maybe
recoat.
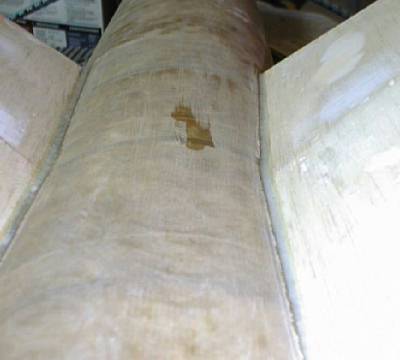
Well I filled the obvious voids with filler and sanded smooth.
I then brushed on 3 thick coats of Rustoleum and
sanded back down to the BT.
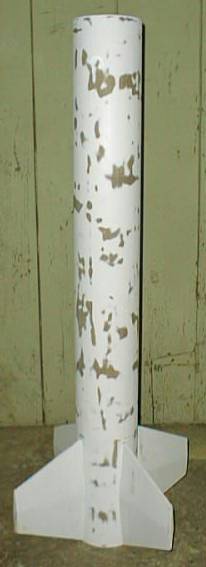
In the picture you can see how the primer filled the low spots and made the
tube almost perfectly smooth.
Then I sprayed on more Rustoleum(2 coats) and
sanded smooth.
And then I sprayed
on 1 coat of Krylon primer.
I decided to use flat paint so I painted the whole rocket flat white using Krylon paint.
I then masked the fins and painted them flat black.
For the Terrier Nose cone I painted it silver.
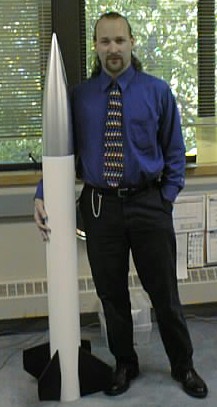
And me with my finished rocket.