Rocket Riley- This is a scratch built RocketBoy(Miss Riley) rocket from the
movie October Sky.
Stats:
Diameter- 4in
Length- ~7foot
Weight- TBD(~5 lb)
Motor- TBD
MMT-38mm
Motor retention-
Tee nuts
Launcher- Rail
I got the dementions from the article in HPR. Measured them as best I could off of the picture.
I plan to make a nozzle out of Fiberglass but dont have my lathe in yet. I
will make a 'mold' out of wood then glass over it then remove the mold.
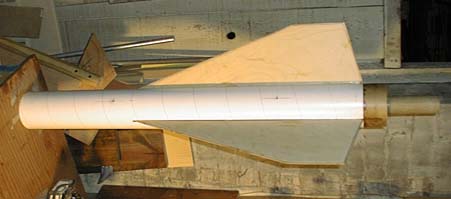
Until then I will use a short length of tube painted silver. PIC
The
MMT actually sticks out the back of the rocket to accomidate the nozzle. PIC
I reinforced the lower half of the MMT with fiberglass.
I mounted Tee nuts in the coupler thats sticking out so I can remove the
short tube and add the nozzle when its done. Also visible in the picture is the 2
holes in the BT where I mounted tee nuts for mounting rail guides.
I
kind of over built it(heavy) so it will be interesting what kind of motor I have
to stick in it.
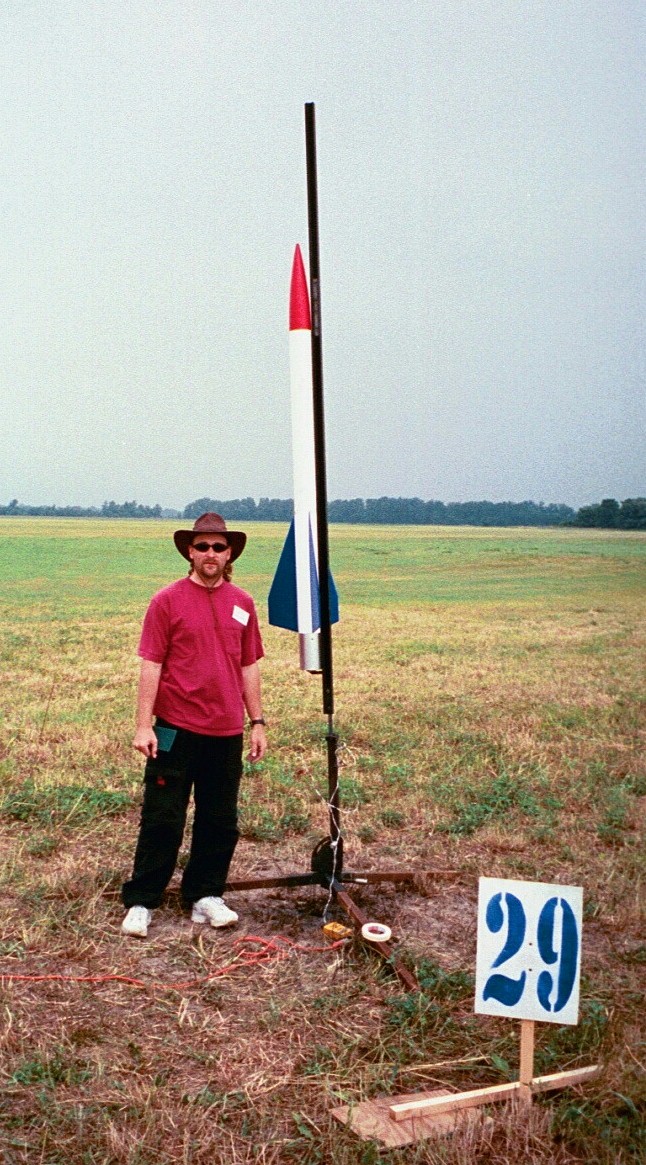
Here is it pieced together before finishing. Cool. PIC
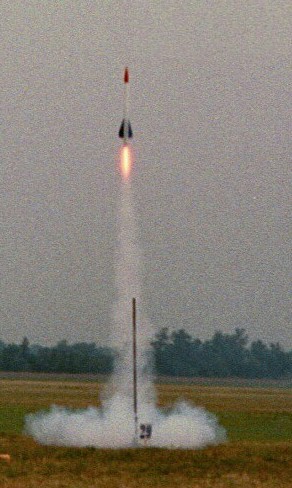
Here is a picture of the first flight before I had the nozzle done. Its on a I218 Redline motor. PIC , PIC
NOZZLE
I decided to make the nozzle out of foam on a lathe then glass it.
Problem
is I didn't have a lathe or access to one.
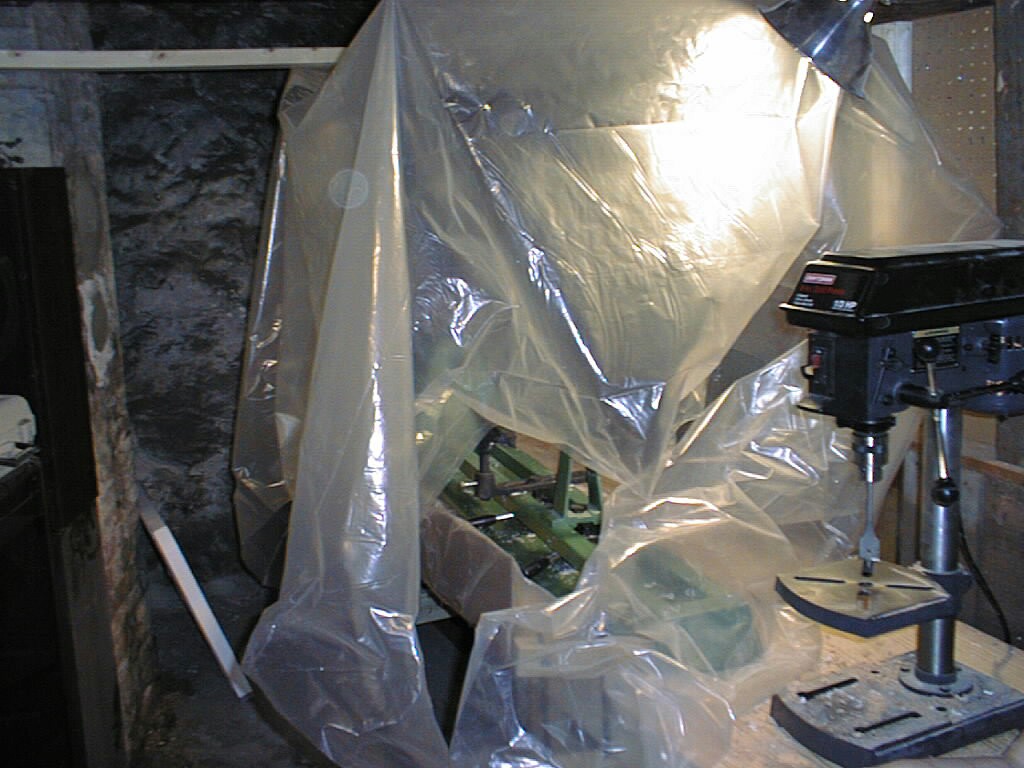
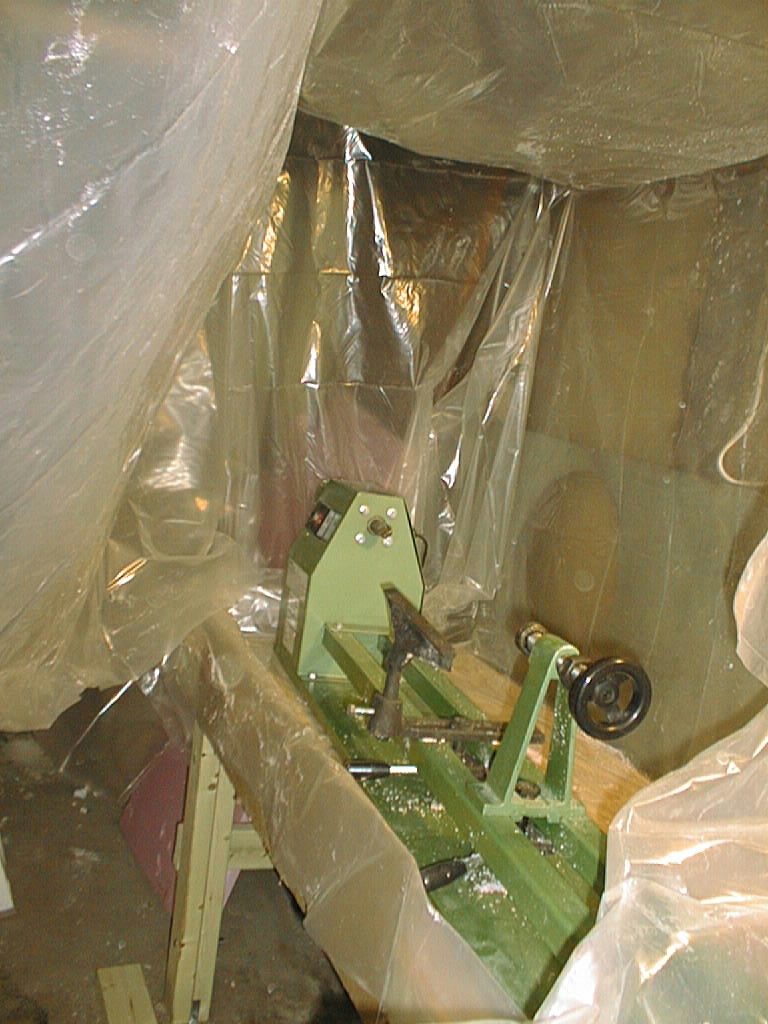
Well thanks to Harbor Freight I am
now the proud owner of the worlds cheapest lathe.
Here are some pictures of
the plastic enclosure I placed around the lathe. PIC, PIC
I used 2in thick pink foam I got at Home Depot. I cut it
into ~6in squares using a hand saw.
I then glued these together with hot melt
glue to make it long enough plus extra for the nozzle.
Using a 1in wood bit I
drilled a hole through the center and epoxied a 1in dowel in the center of the
block.
In the future I will just drill each piece seperate then just glue
them to the dowel with epoxy. There was no reason to glue each piece
together.
Also the hot melt glue made it hard to shape because it didn't cut
and I would have to stop and tear off spinning bits.
Using lathe tools and a
sanding block I shaped the foam.
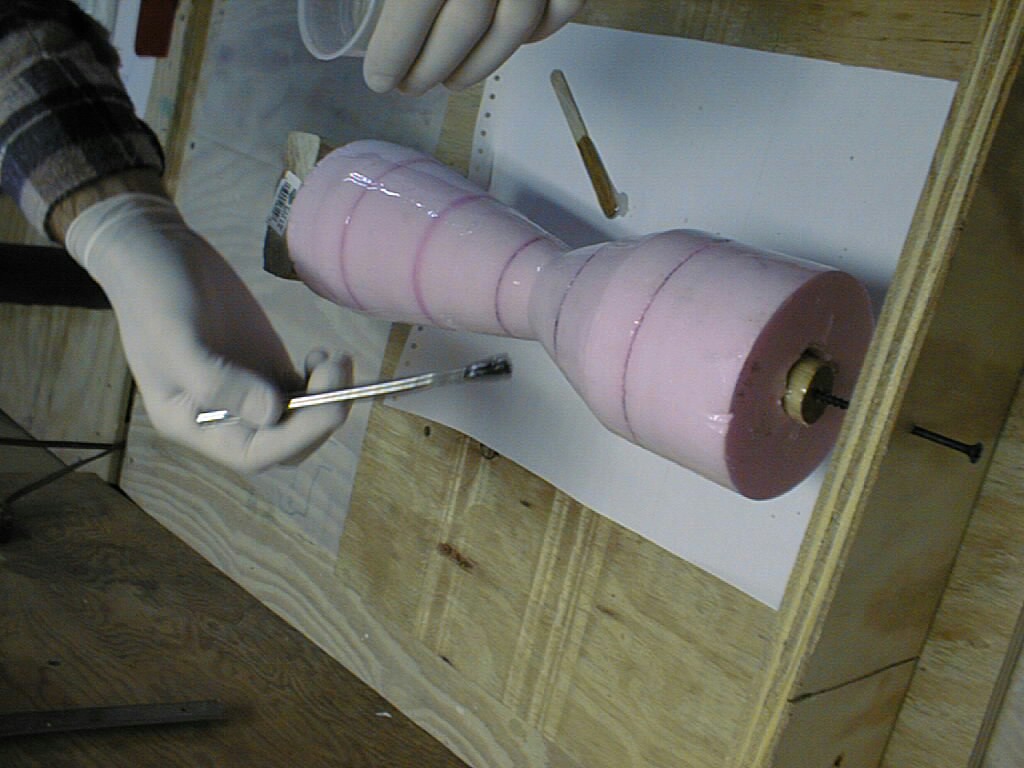
Glassing
I made a quick jig to hold the foam while glassing and brushed on
a coat of West systems epoxy(slow). PIC
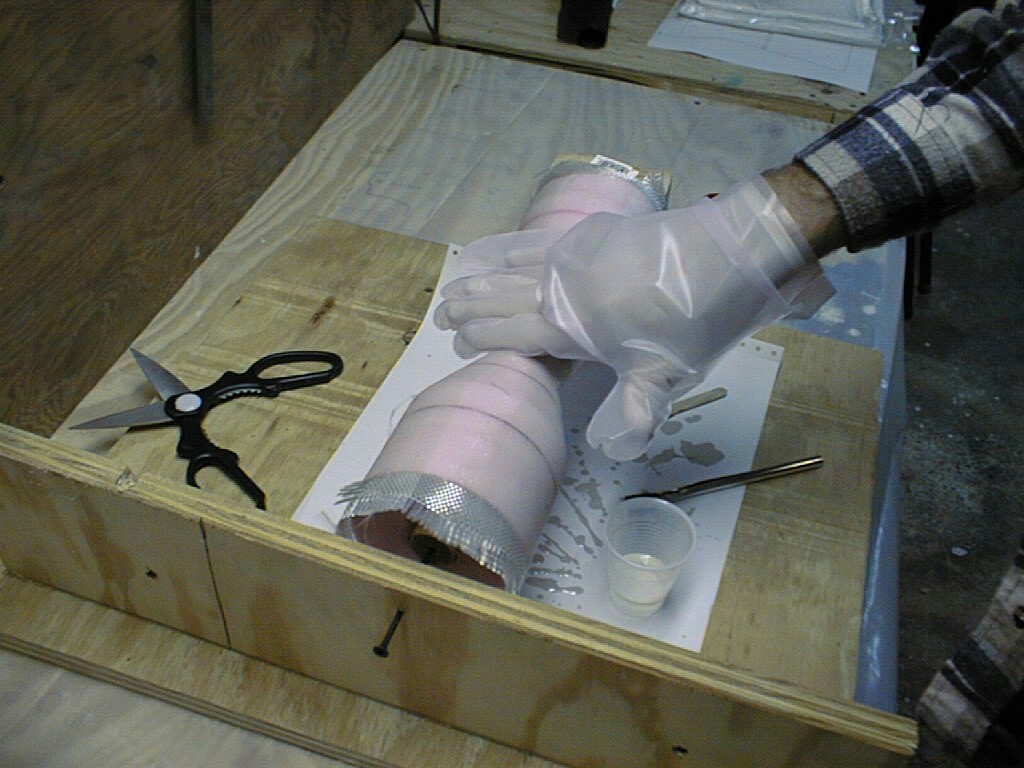
I had to cut the glass so it looked
like an outline of the nozzle. I was not sure how well the glass would lay
down.
It took 3 pieces of this shape to make one layer of glass. PIC
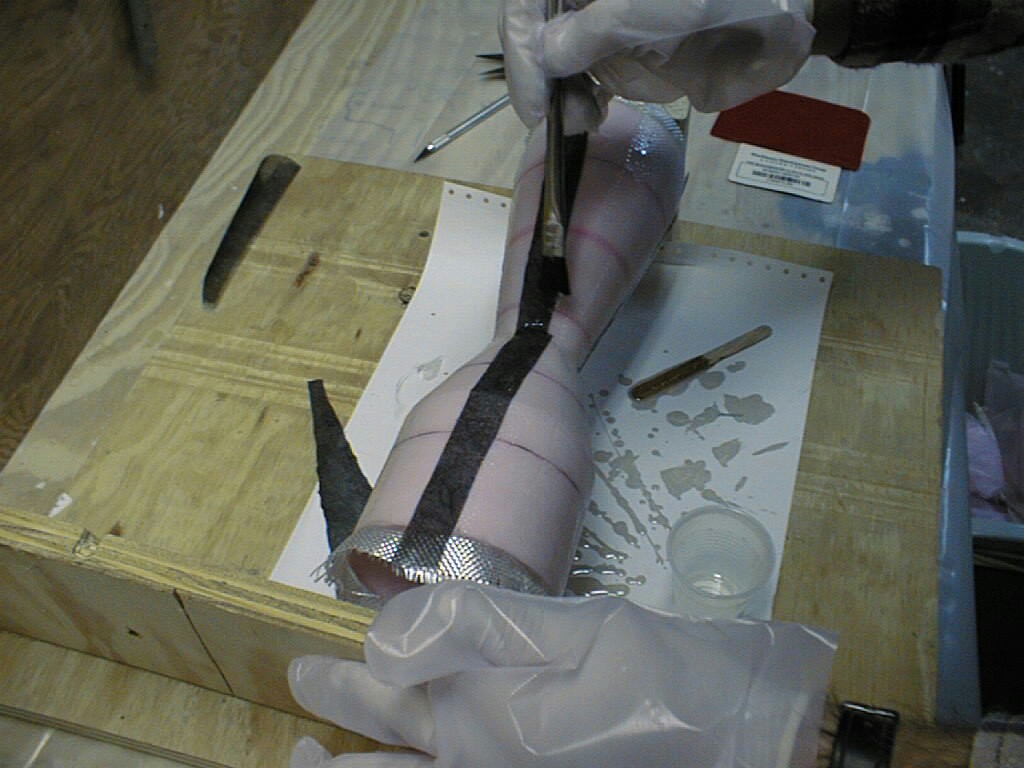
I thought it would be a good idea to
put down some carbon fiber mat after the first layer of glass. Wrong.
The
carbon would not lay down on the complex shape. I gave up on that but not
wanting to waste carbon I cut it in 1/2in strips and applied it. PIC
I then put another layer of glass
down. After I had this layer on I decided to let the whole thing dry because it
was getting harder to lay the glass down. PIC
The next day when it was dry I decided
not to add any glass to the outside since it looked good. I figured I could add
reinforcement to the inside. Where if I make a mistake its not visible.
I
mounted the nozzle back on the lathe and sanded and filled it. I also trimmed the
extra from the ends on the lathe.
Then I put the nozzle in my paint booth and
poured acetone in one end and it melted the foam right out.
Here is the test
fit on a 4in tube PIC.
And here is a picture down the aft end PIC.
Reinforcing
I happend to have some 2in kevlar tape so I decided that would
be used to reinforce the inside.
I put 4 strips down the lenght inside,
except on the coupler maiting part.
Then I cut 4 more pieces that would fill
in the sections that were not covered at the aft end. PIC
On the forward end I wanted to make a dam
that would butt up against the coupler that sticks out the back of the
airframe.
I covered this coupler with plastic wrap so the epoxy wouldn't
stick.
I mixed up some West and kevlar pulp. I smeared this on the inside of
the forward end of the nozzle.
Crossed my fingers that the plastic wrap
wouldn't tear, since it was a tight fit, and shoved the nozzle onto the
rocket.
Let it sit till it dried then pulled the nozzle off. Worked great. PIC
Here is a side view showing the dam. PIC
If you noticed in the pictures, there were
parts in the forward end that I didn't cover with kevlar. I decided to reinforce
this area with foam.
I
looked through my tube stash and found one tube with an ID that was slightly
bigger than my MMT OD. I cut this to fit in the forward end of the nozzle and
placed it in. I then poured expanding foam into the space between this tube and
the dam I made. Once hard I trimmed the foam back so it was even with the top of
the dam. PIC
Finishing
I started with Red devel spackel to fill the large voids. I then
painted on, yes with a brush, Rustoleum clean metal primer.
I sanded this and sprayed on several
coats of Rustoleum clean metal primer. Once sanded smooth I sprayed on Rustoleum
Aluminum(PN7715) paint.
Here are some
pictures of the completed nozzle. PIC, PIC
Motor retention and liner
I decided to use tee nuts
for motor retention so I installed a centering ring with trimmed tee nuts
mounted to it. PIC
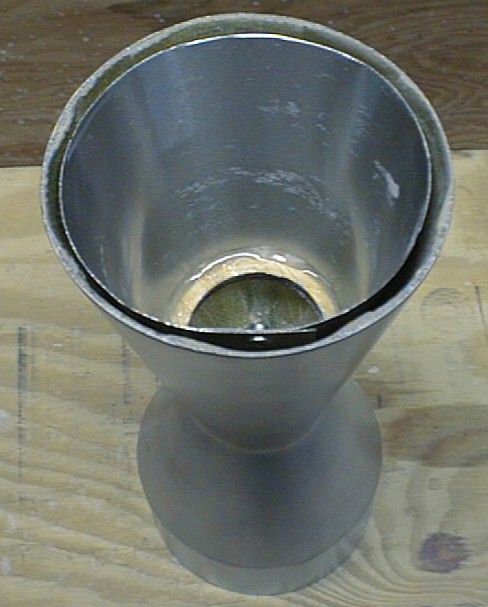
I was concerned
about the exhaust from the motor damaging the nozzle so I made a liner that I
glued inside the nozzle aft end.
I made this out of thin guage sheet
metal(actually a piece of metal dryer hose). I made a template using VCP and cut
the metal with scissors.
This I riveted together. PIC, PIC