
Fillet/glass
Rising out of the ashes of Big Girtha is the Patriot.
Big Girtha was a 16in dia rocket I built. On it's first flight it sustained landing damage.
Because it was built so light(50#) the damage was more severe.
Instead of rebuilding her my buddy Joel wanted to follow his dream of a full scale Patriot.
The original Patriot is 16in dia so we could transform the beast into a bigger beast.
Not very easily as the Girtha had 3 fins where the Patriot had 4.
The airframe of Girtha along with one fin mount was damaged so this wasn't a major show stopper.
We would just need to remove the damage fin mount, remove a second and install 3 new fin mounts.
I call them fin mounts because the fins are removable as I don't think I could even get a 4foot fin span out of the basement.
The Girtha was a coaxial tube rocket.
It is composed of a strong 8in inside tube centered in the 16in tube.
The 16in tube is really only for show to get the desired OD w/o adding too much wasted weight.
The 8in structure takes all the thrust.
The Patriot will take this one step further. It will be flown on a 6in motor so we need a 6in to 8in adaptor.
This 6in motor mount will extend 8feet from the aft end of the rocket to the forward end of the second airframe tube.
It will act as a thrust transfer tube to directly push on the upper 10 feet of airframe/nosecone.
It will also couple the two lower tubes which will be recovered as one 8foot section.
Of course we wont be making a 8foot long motor mount!! It will be broken into 3 pieces two of which are 3ft long.
The nose will be made of foam shaped with a belt sander then glassed.
We decided to 1 1/2 X upscale the Patriot fin span for stability.
The Girtha used 1/2in foam vacuum bagged with carbon. These fins were not the same scale as the Patriot.
We decided to trim them a bit to have the same taper as the leading edge of the Patriot fins.
Then use them as the core for the new fins. To this core we would glue 1/4in ply forward skins
and use foam to build up the aft fin. This would allow us to closely match the Patriot fins.
Fincan
We decided to start with the fincan.
Using a jigsaw we cut the damaged 16in tube off the centering rings that made up the old airframe.
It is very interesting to disect a rocket and see how your internal fillet's worked out.
With the tube off we used a grinder to remove the existing fin tab fillet's and take them out.
A little cleanup with a chissle and sanding drum and we were ready to install the 3 new fins
Here is a shot after the fillet was installed and glassed over. See where the old fin was?
Fillet/glass
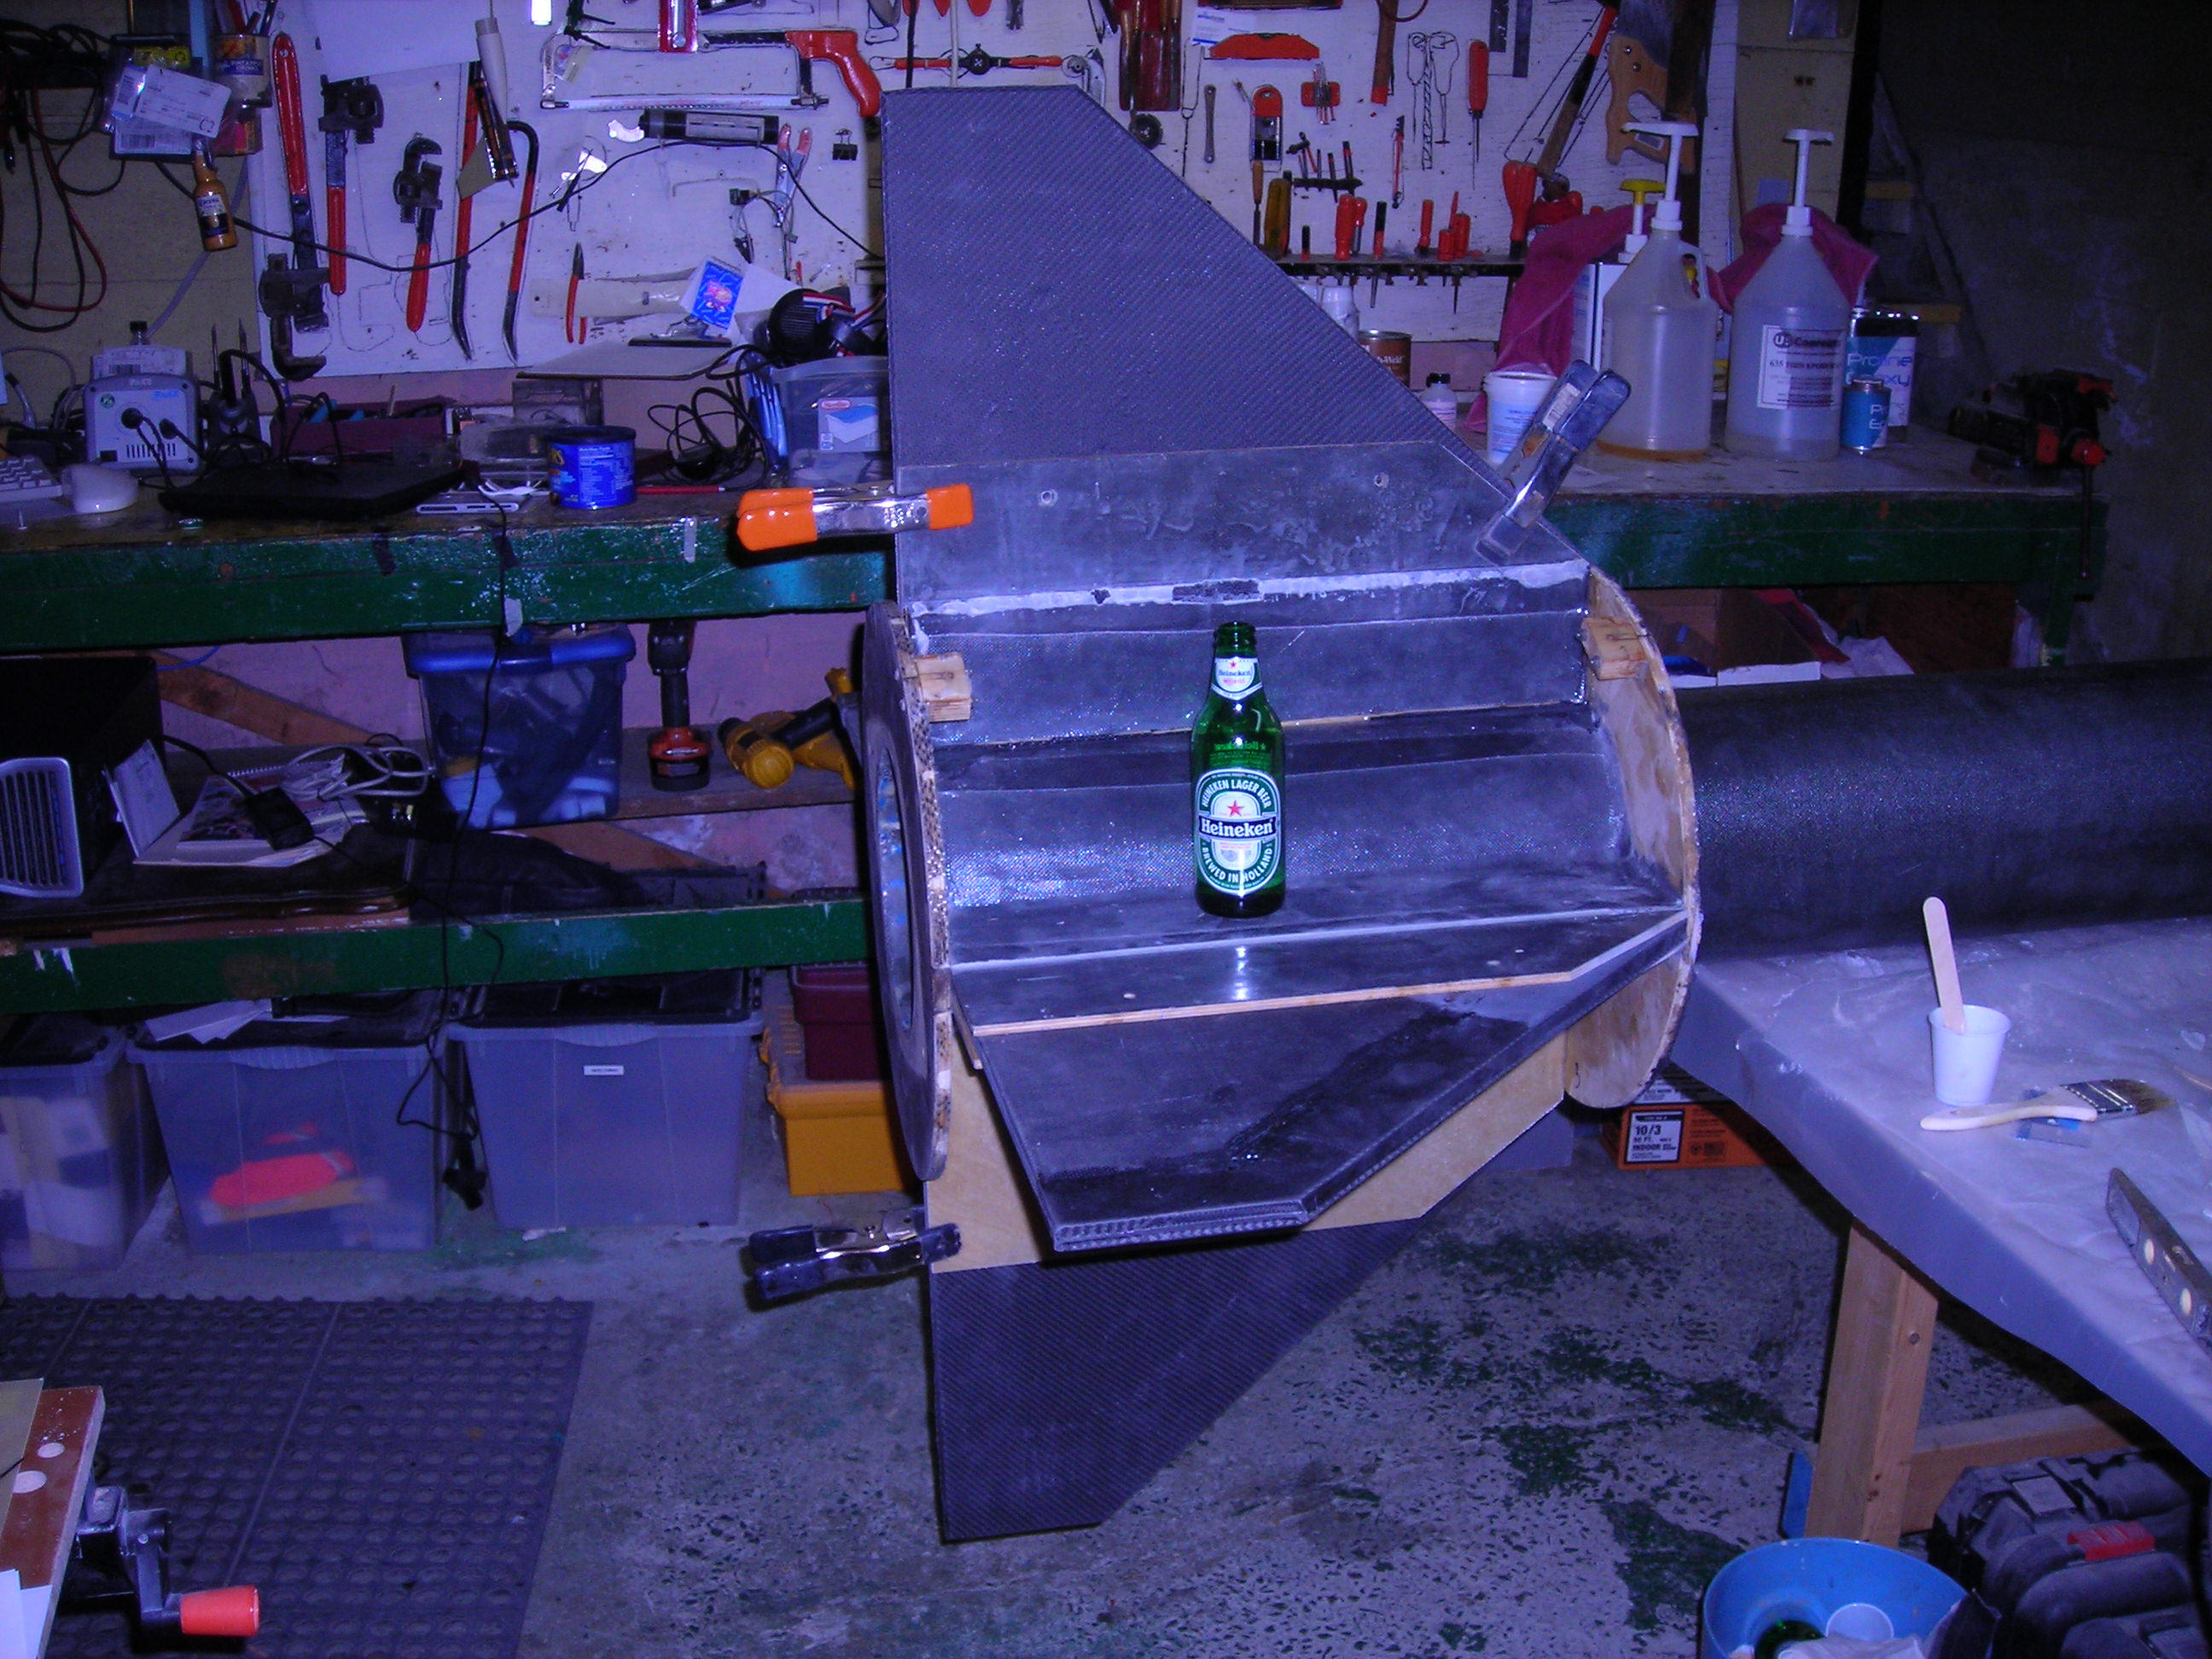
Core test fit

Aft end showing 8in mount
Fins
We attached 1/4in ply to the fins from the central ridge forward.
This would give us a hard point to run the hotwire against when we trimmed the aft foam
and also created the forward taper.
The notch cutout in the plywood allows it to clear the tabs. This will not be visible when the fins get glassed.
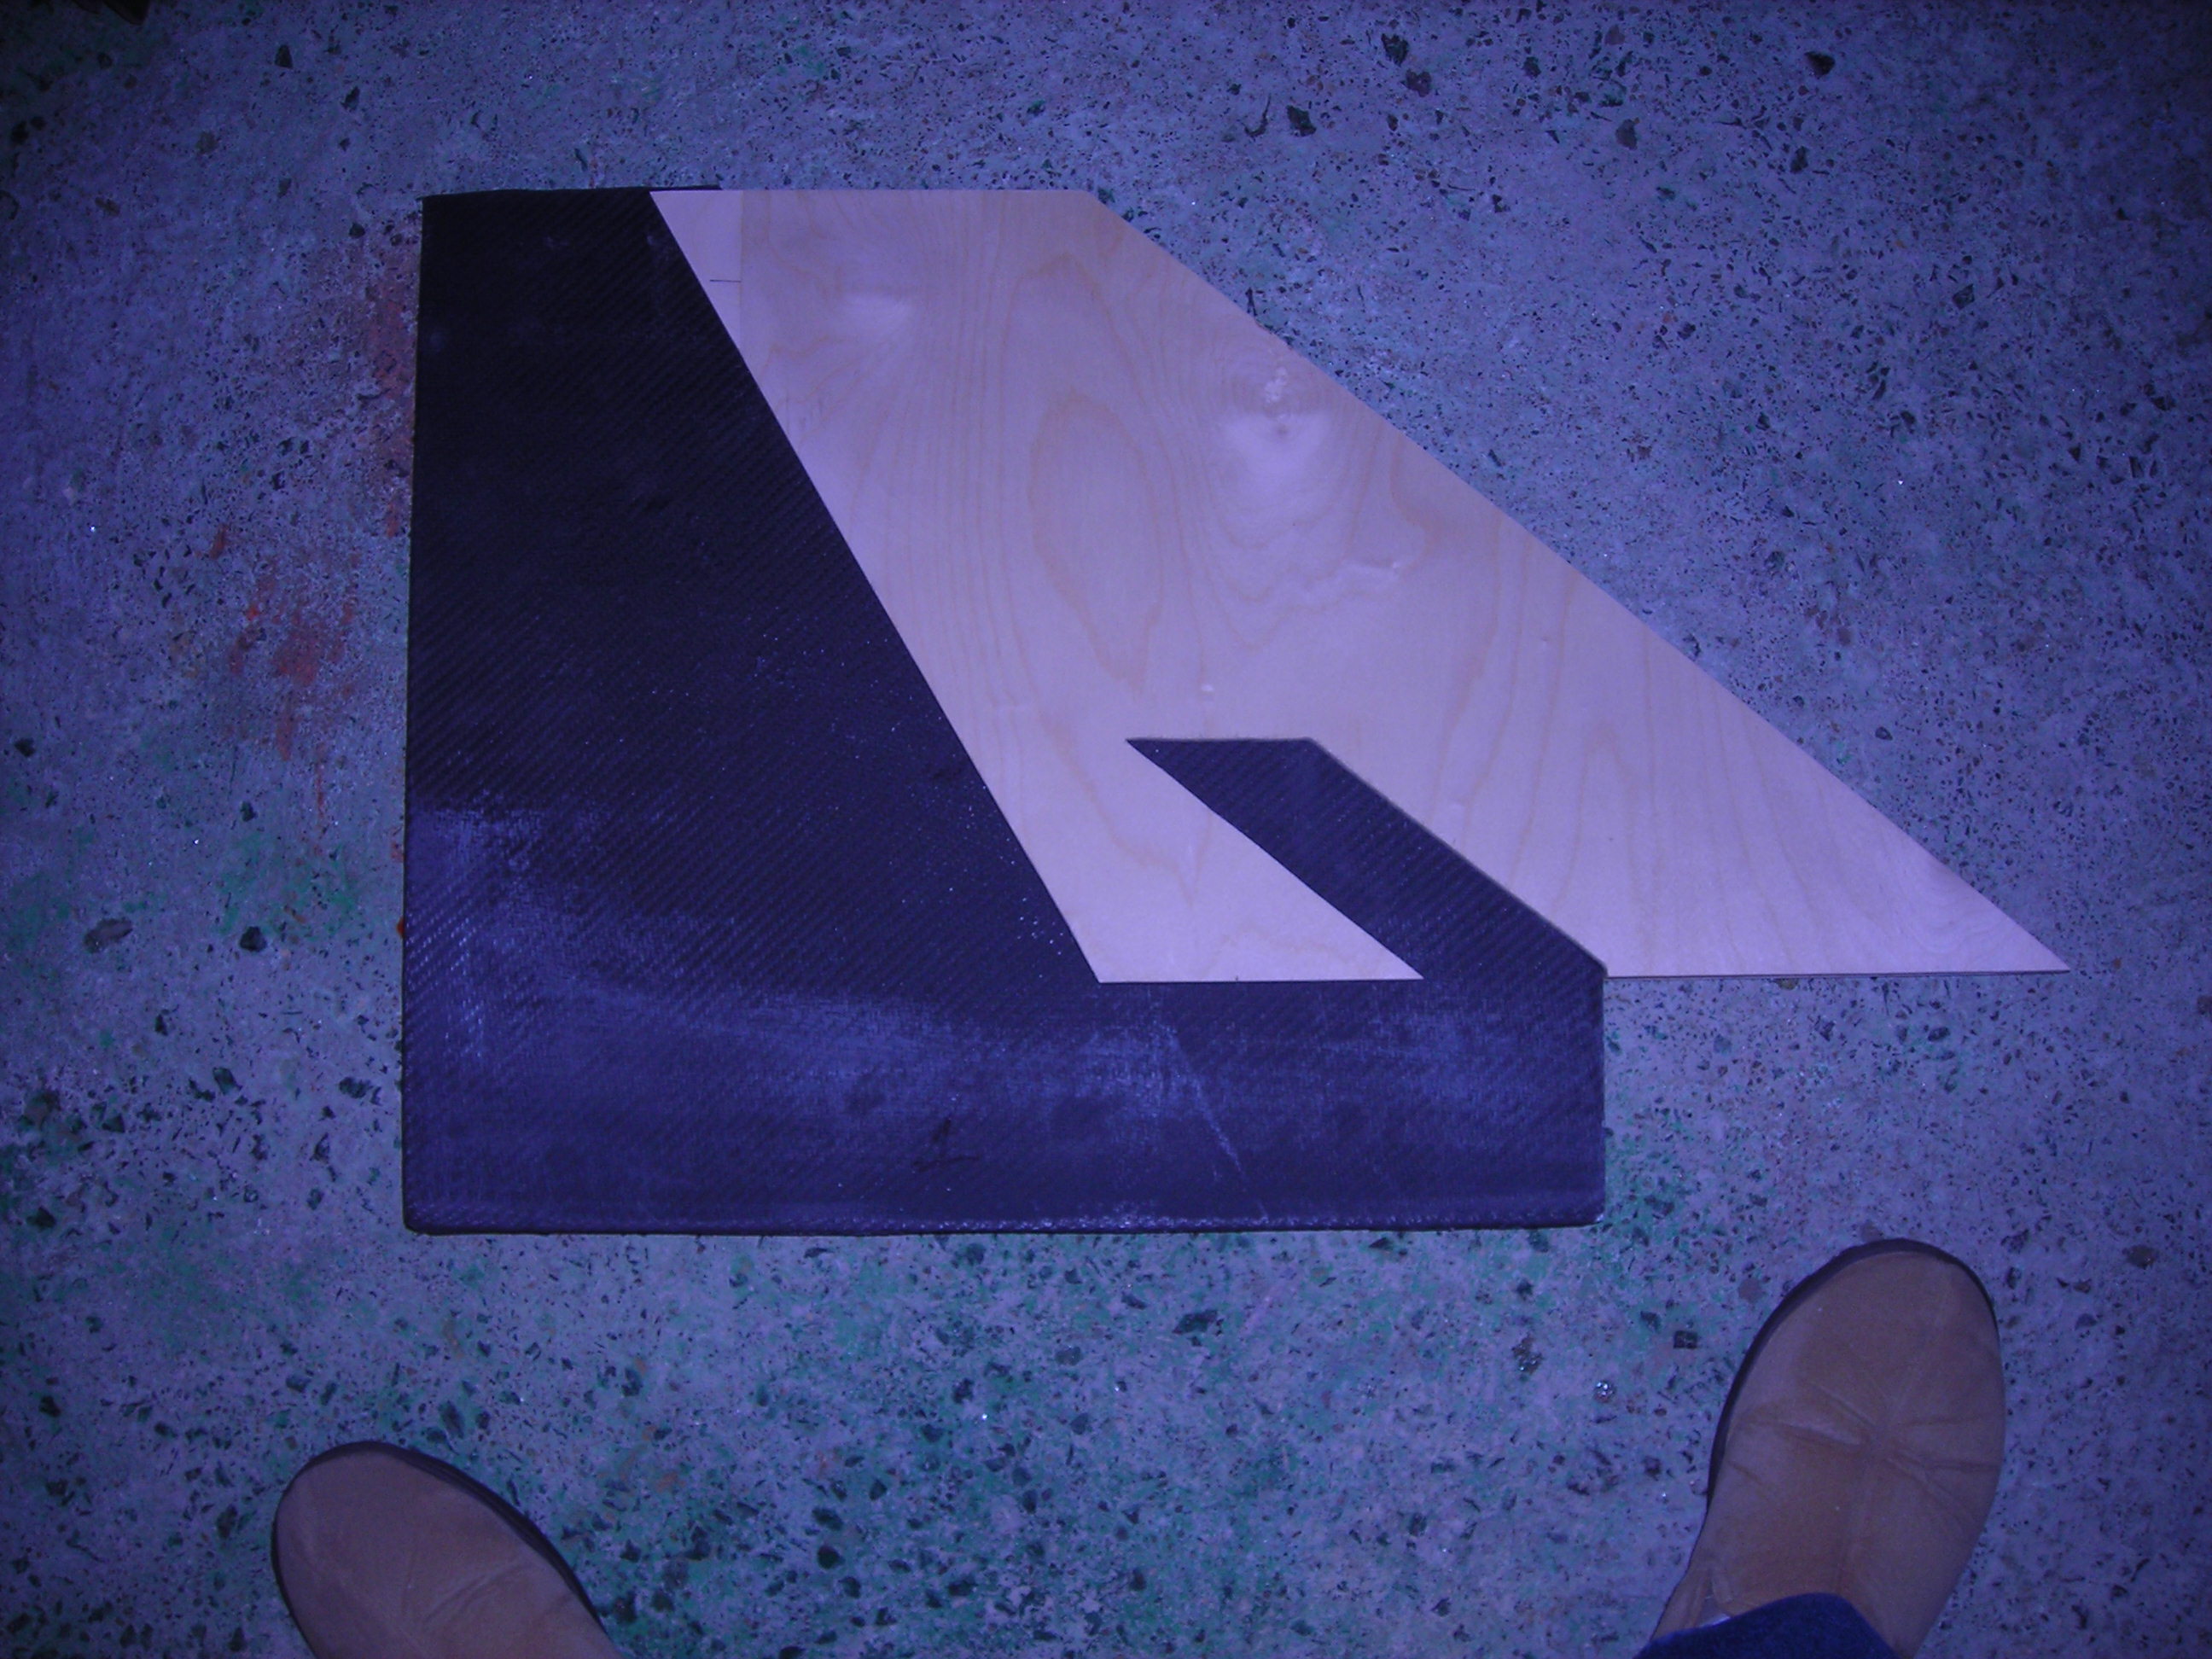
Forward section added

Foam created a nice aft taper
Fincan body tube
We could not reuse the BT we cut off the fincan so we rolled a new one with the 16in sonotube mandrel that was used for the Girtha.
This is 1 wrap of 5.7oz carbon and 3 wraps 8oz fiberglass.

16in BT waiting to pull mandrel

Foam CR and conduit shaft

Marking the fin slots

Test fit

Shows the 1/2in leading edge
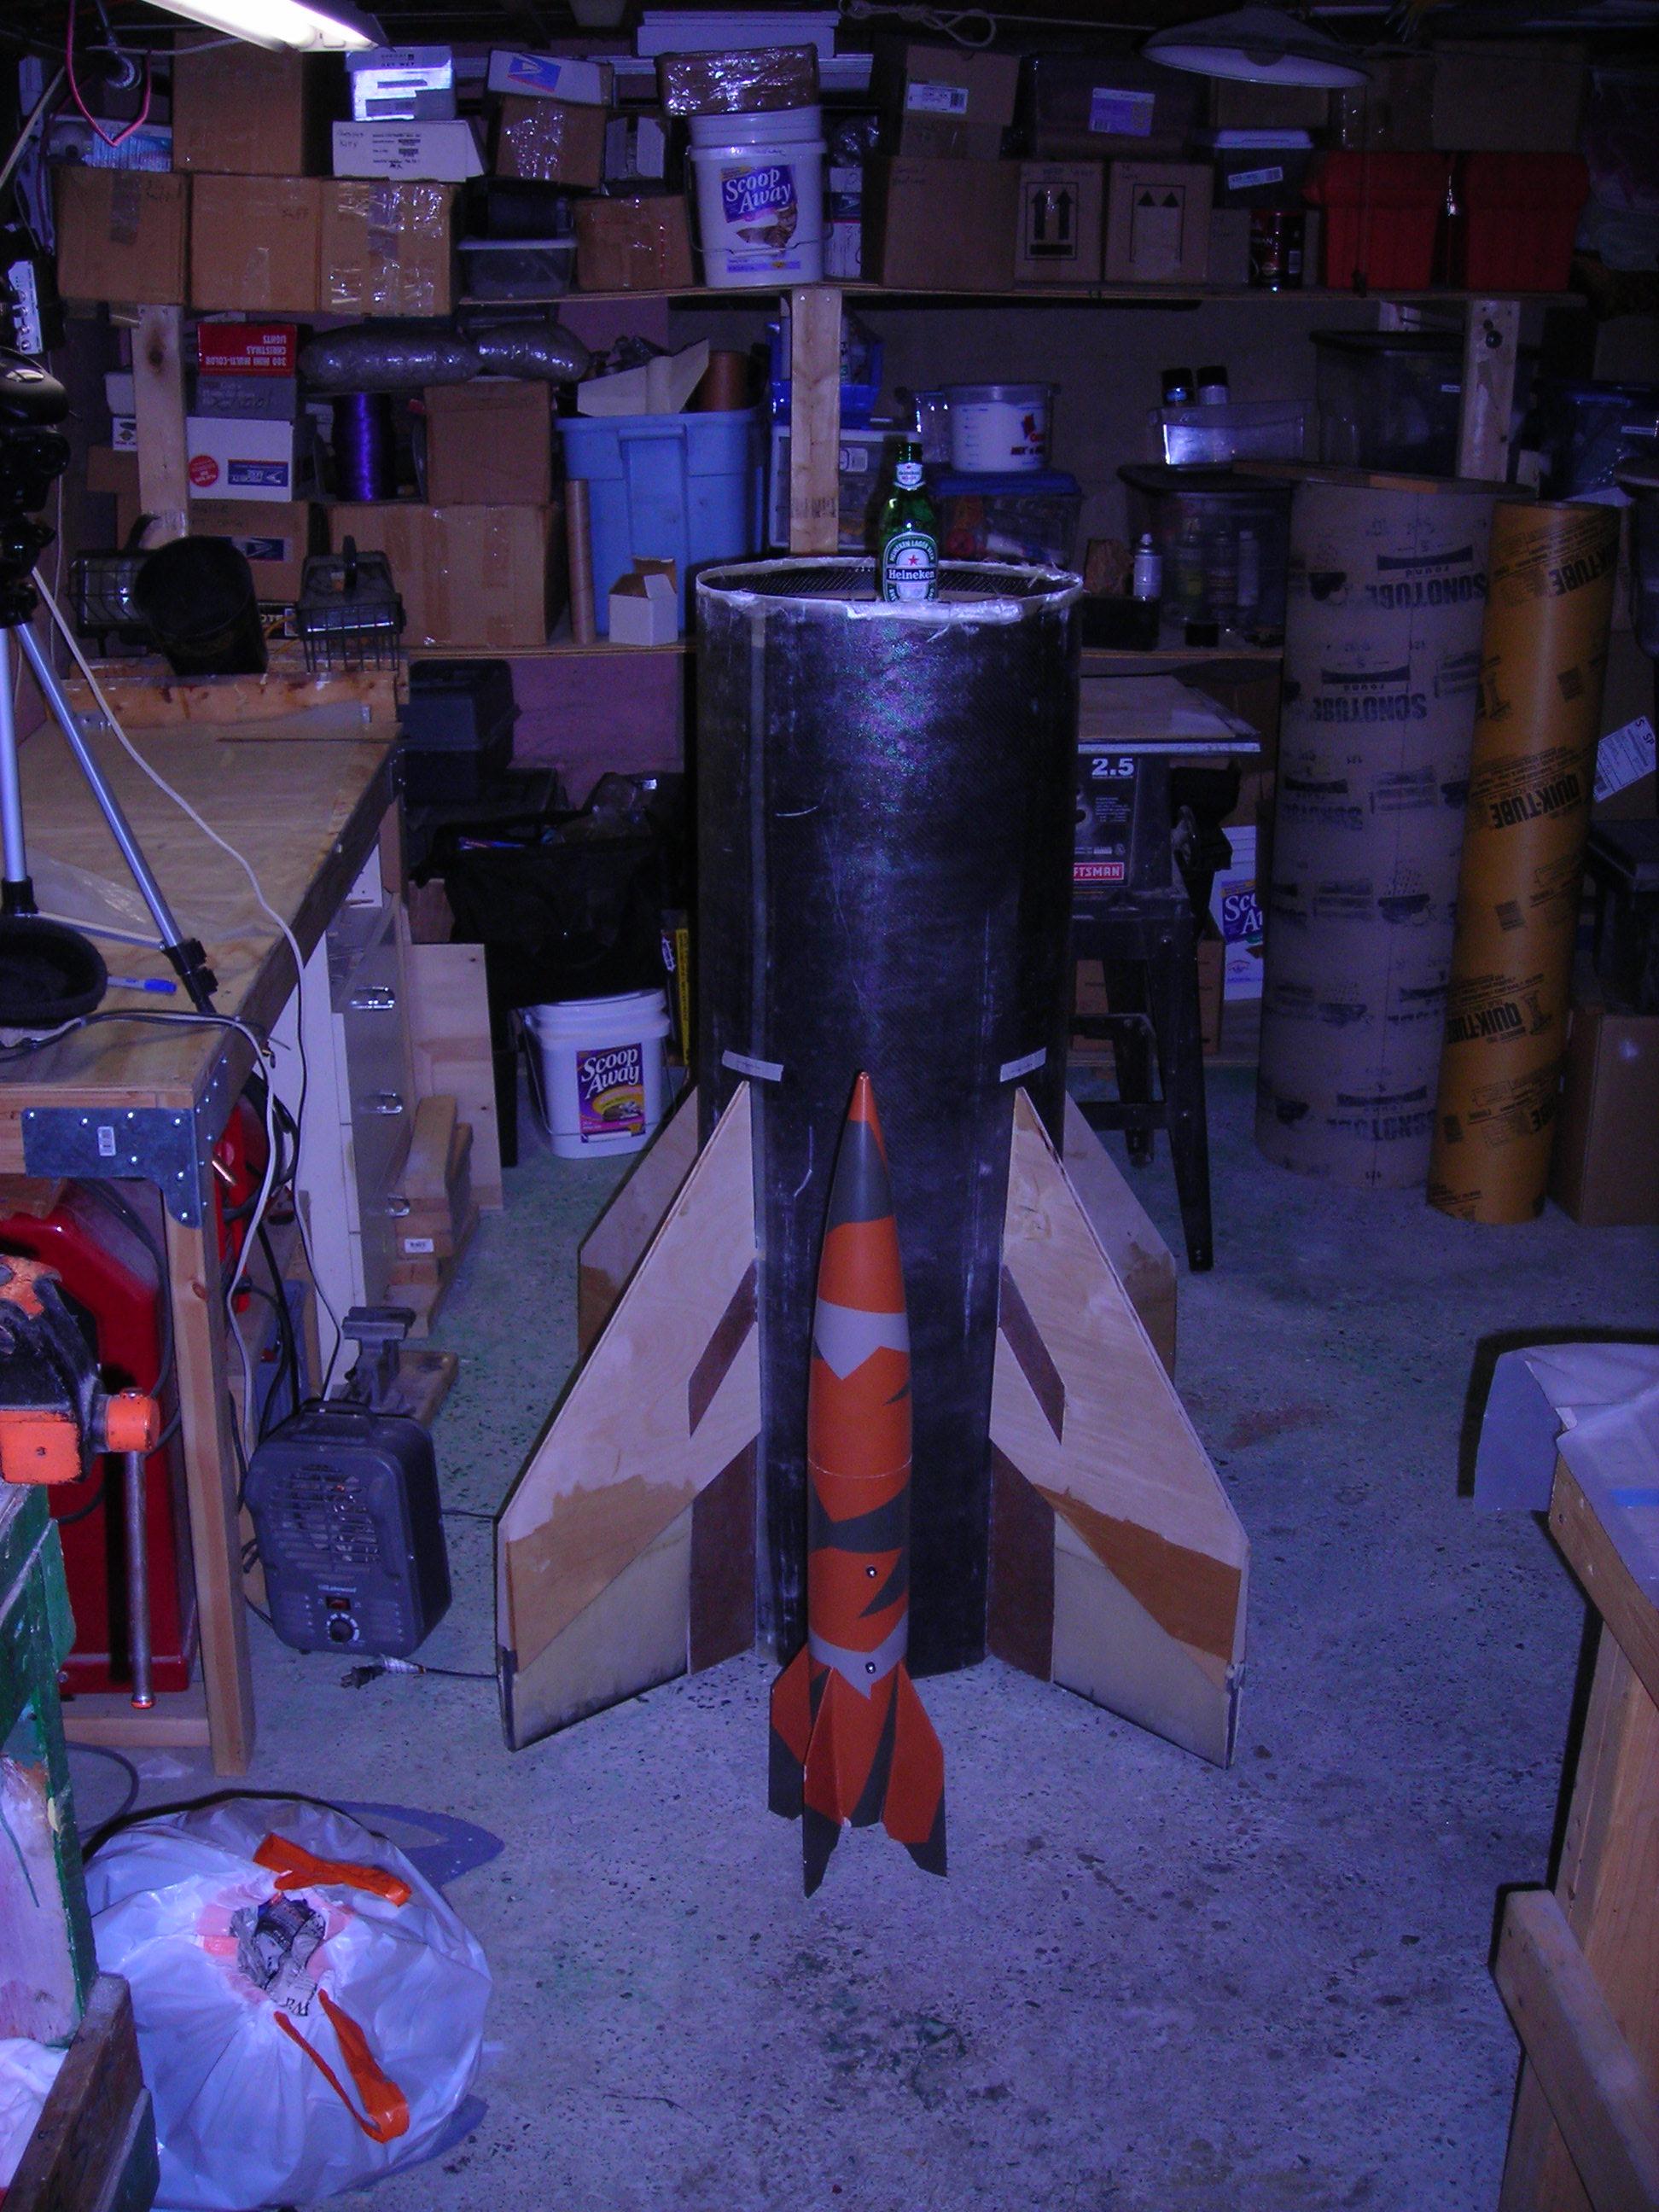
Next to a 4in V2

Half the 6in to 8in adapter

Using a 10in sonotube mandrel

Yet another 16in tube

CR's mounted on 10in tube
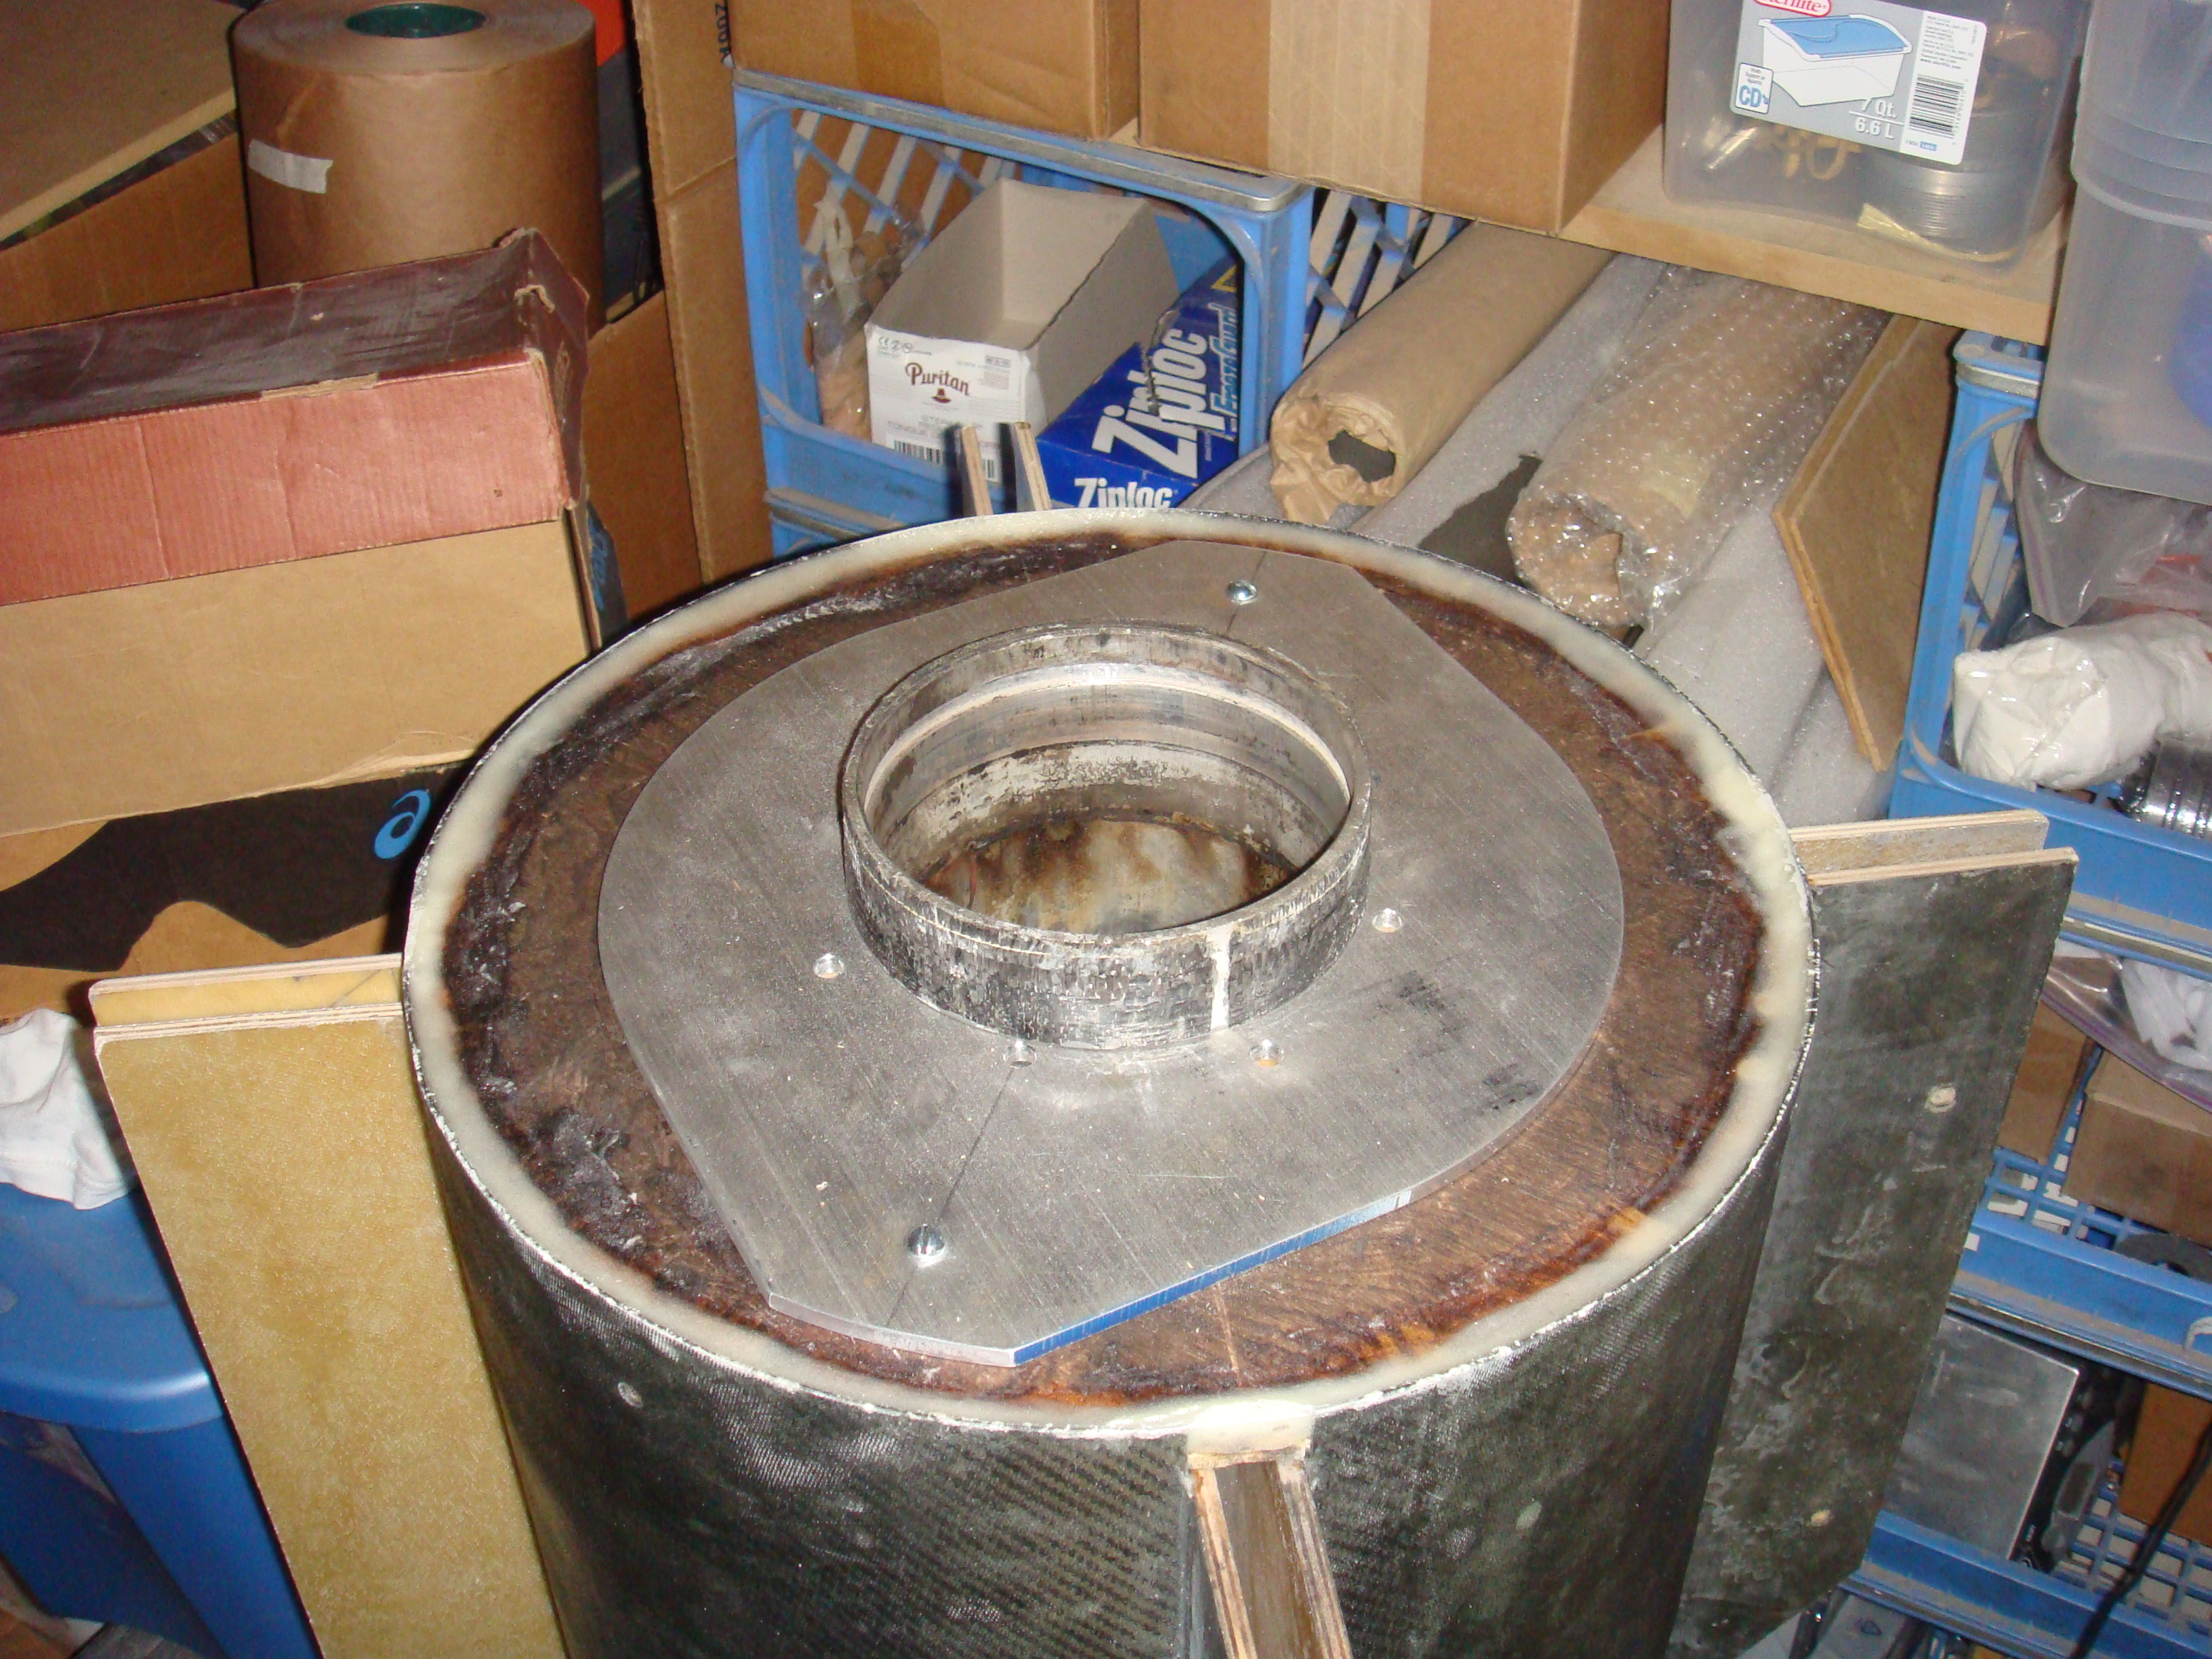
Thrust plate with 6in motor

Side view of fincan
Nose Cone
To make the 16in nosecone we decided to use 2in pink foam glued together with gorilla glue.
We cut rings using a hotwire cutter. We built it with a pin in the center that the foam turned on to give us a perfect circle. The pin was sized to match the hole my hole saw cut at 1 1/4in.

Cutting foam ring

Rings glued to shaft

Walls half installed

Nice looking cone

'Empty' beer bottle for reference only

Test fit is good

First layer of glass