Circuit-Dead bug style
The flight in 2008 gave me a chance to rebuild the bird.
I will build it the same as the last time since it worked good then.
I am going to clarify some of the methods used with more photos.
Nosecone electronics:
The new nosecone electronics package will be all new so it deserved it's own page.
Nosecone details
I wanted to put a temperature logger inside the fin when I built the first fincan.
But since it was my first high performance bird I didn't want to complicate matters.
I used this rebuild as a chance to add the logger.
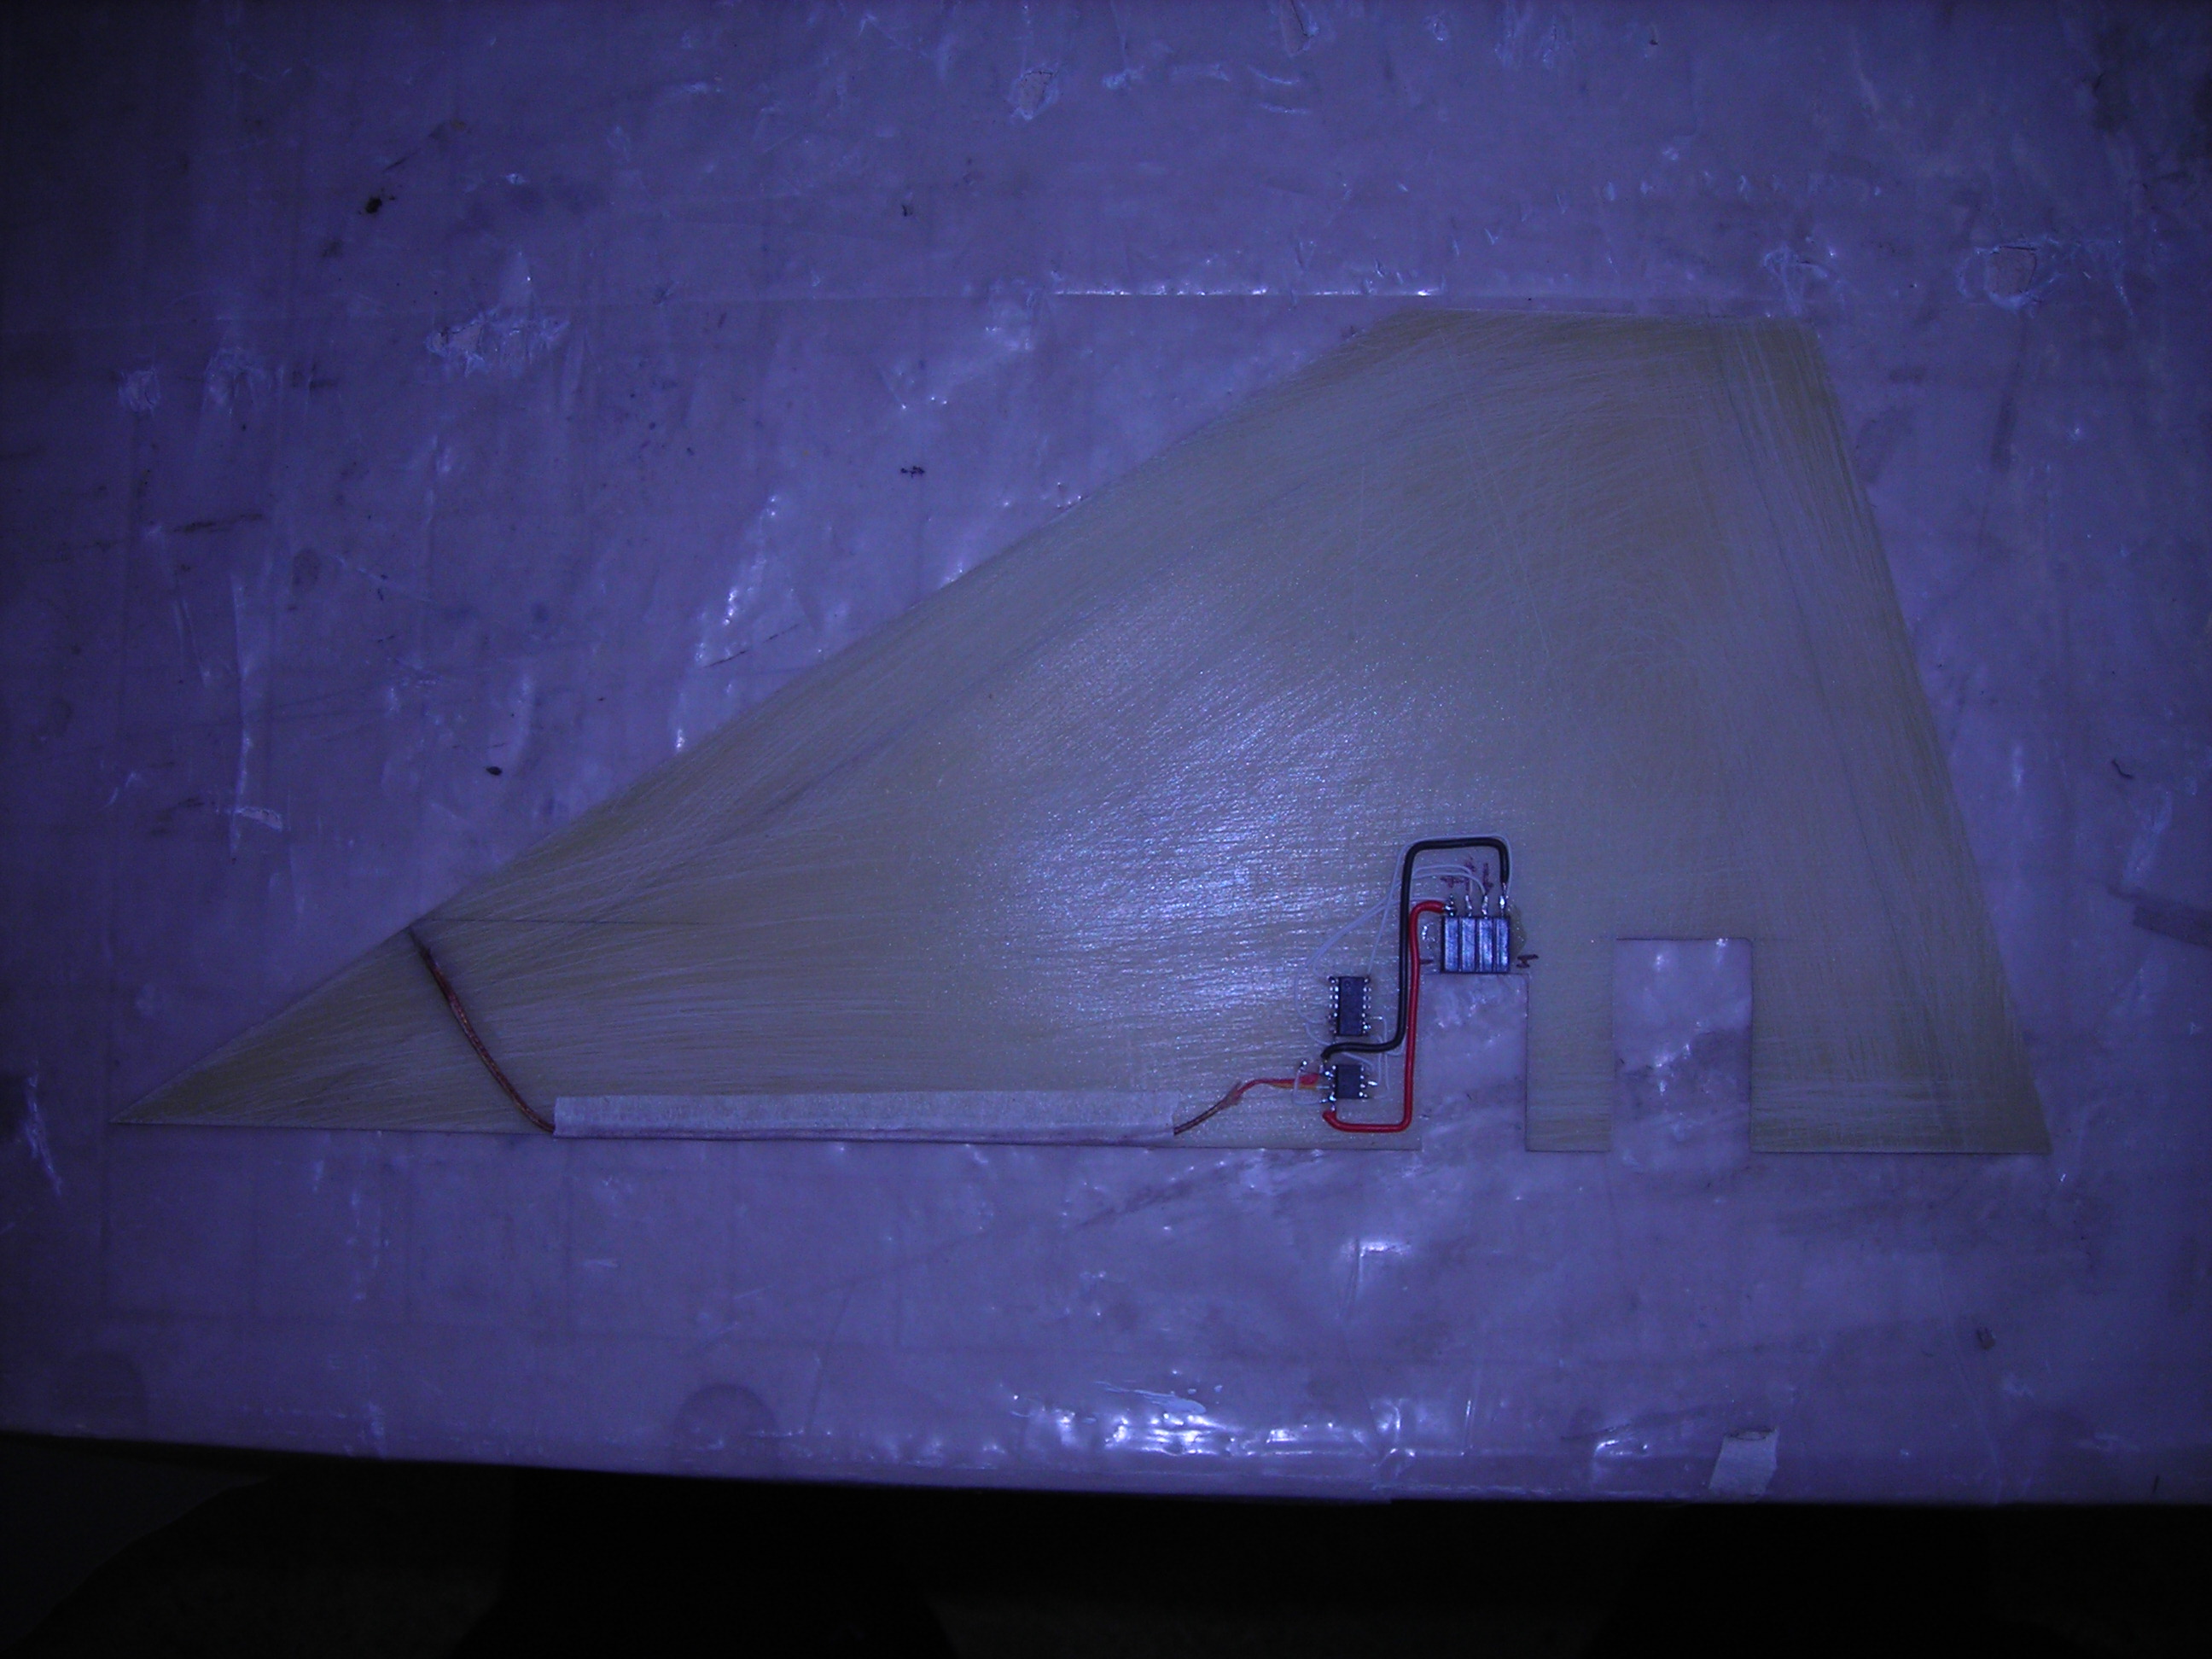
The core of this is the MAX6674 Thermocouple-to-digital converter and a thermocouple sensor.
The data would be stored in an RS232 data logger I built that has 16Meg of data storage.
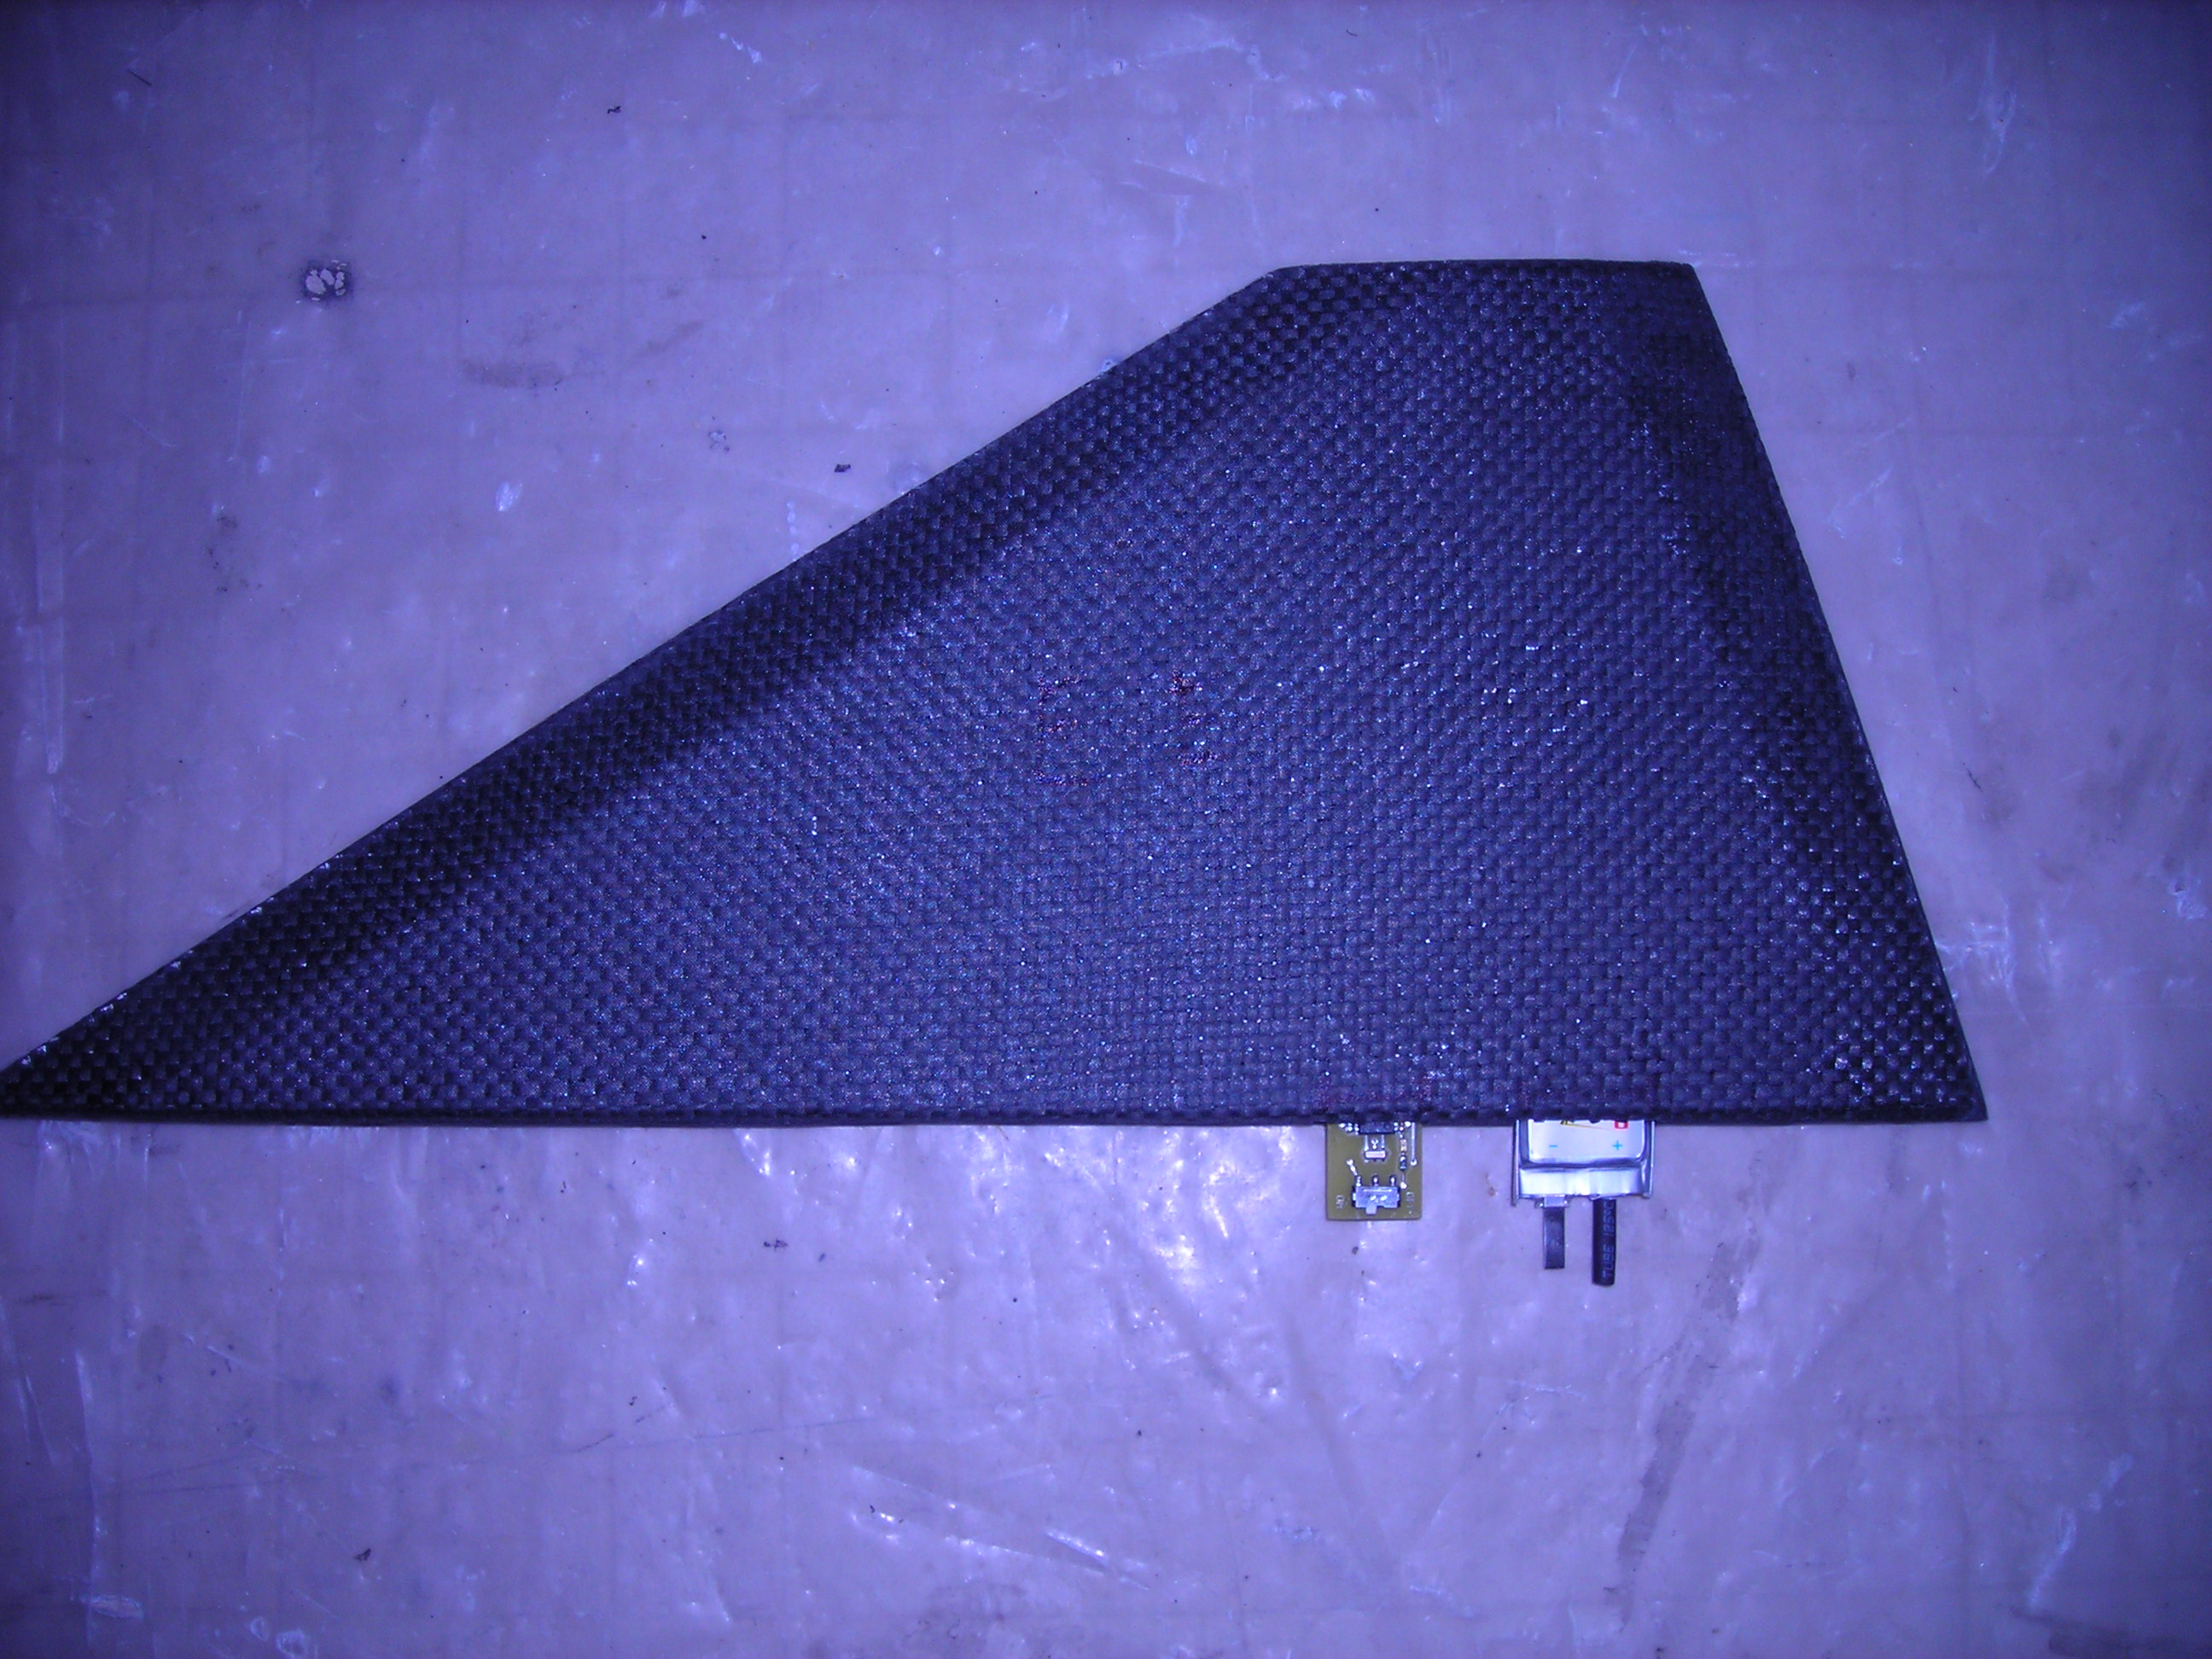
So the plan is to trim the nomex honeycomb to accomodate the circuitry and battery.
I will 'dead bug' style mount the MAX6674 and a PIC to convert the data to RS232 data my logger is happy with.
The battery and logger will be removable and get inserted from the inside of the airframe before flight then removed after flight to download the data.
Circuit-Dead bug style
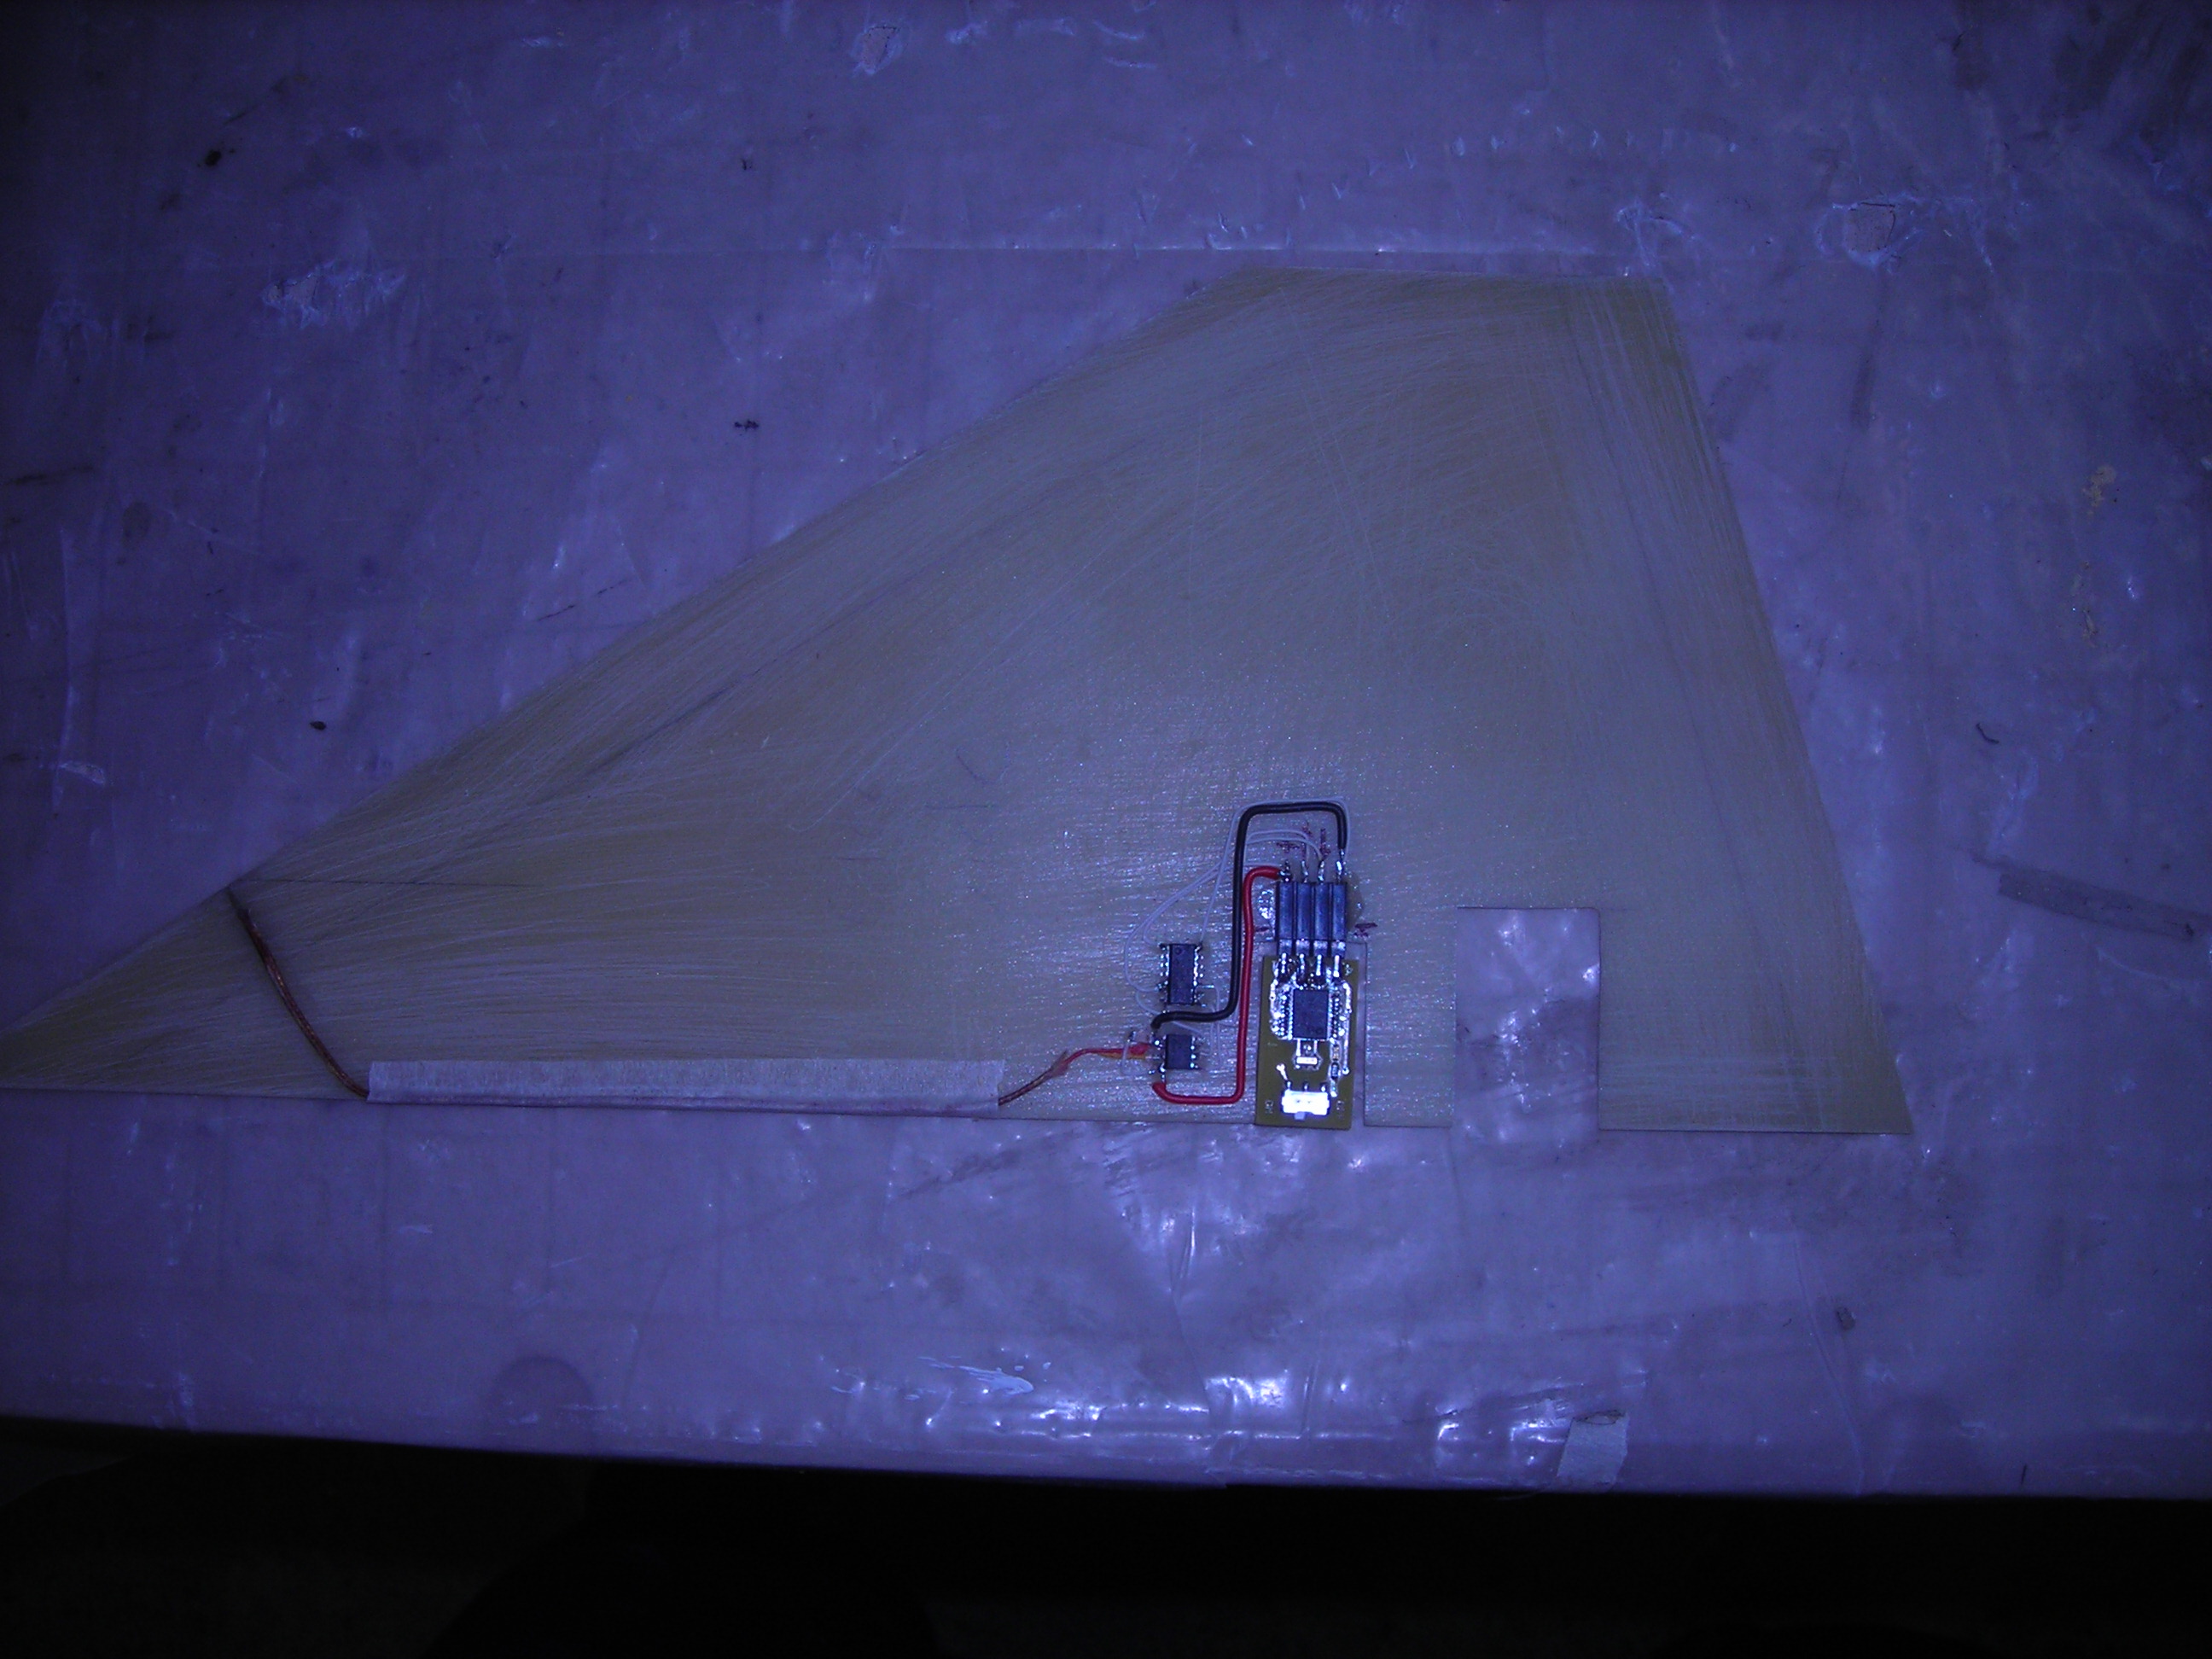
Logger installed
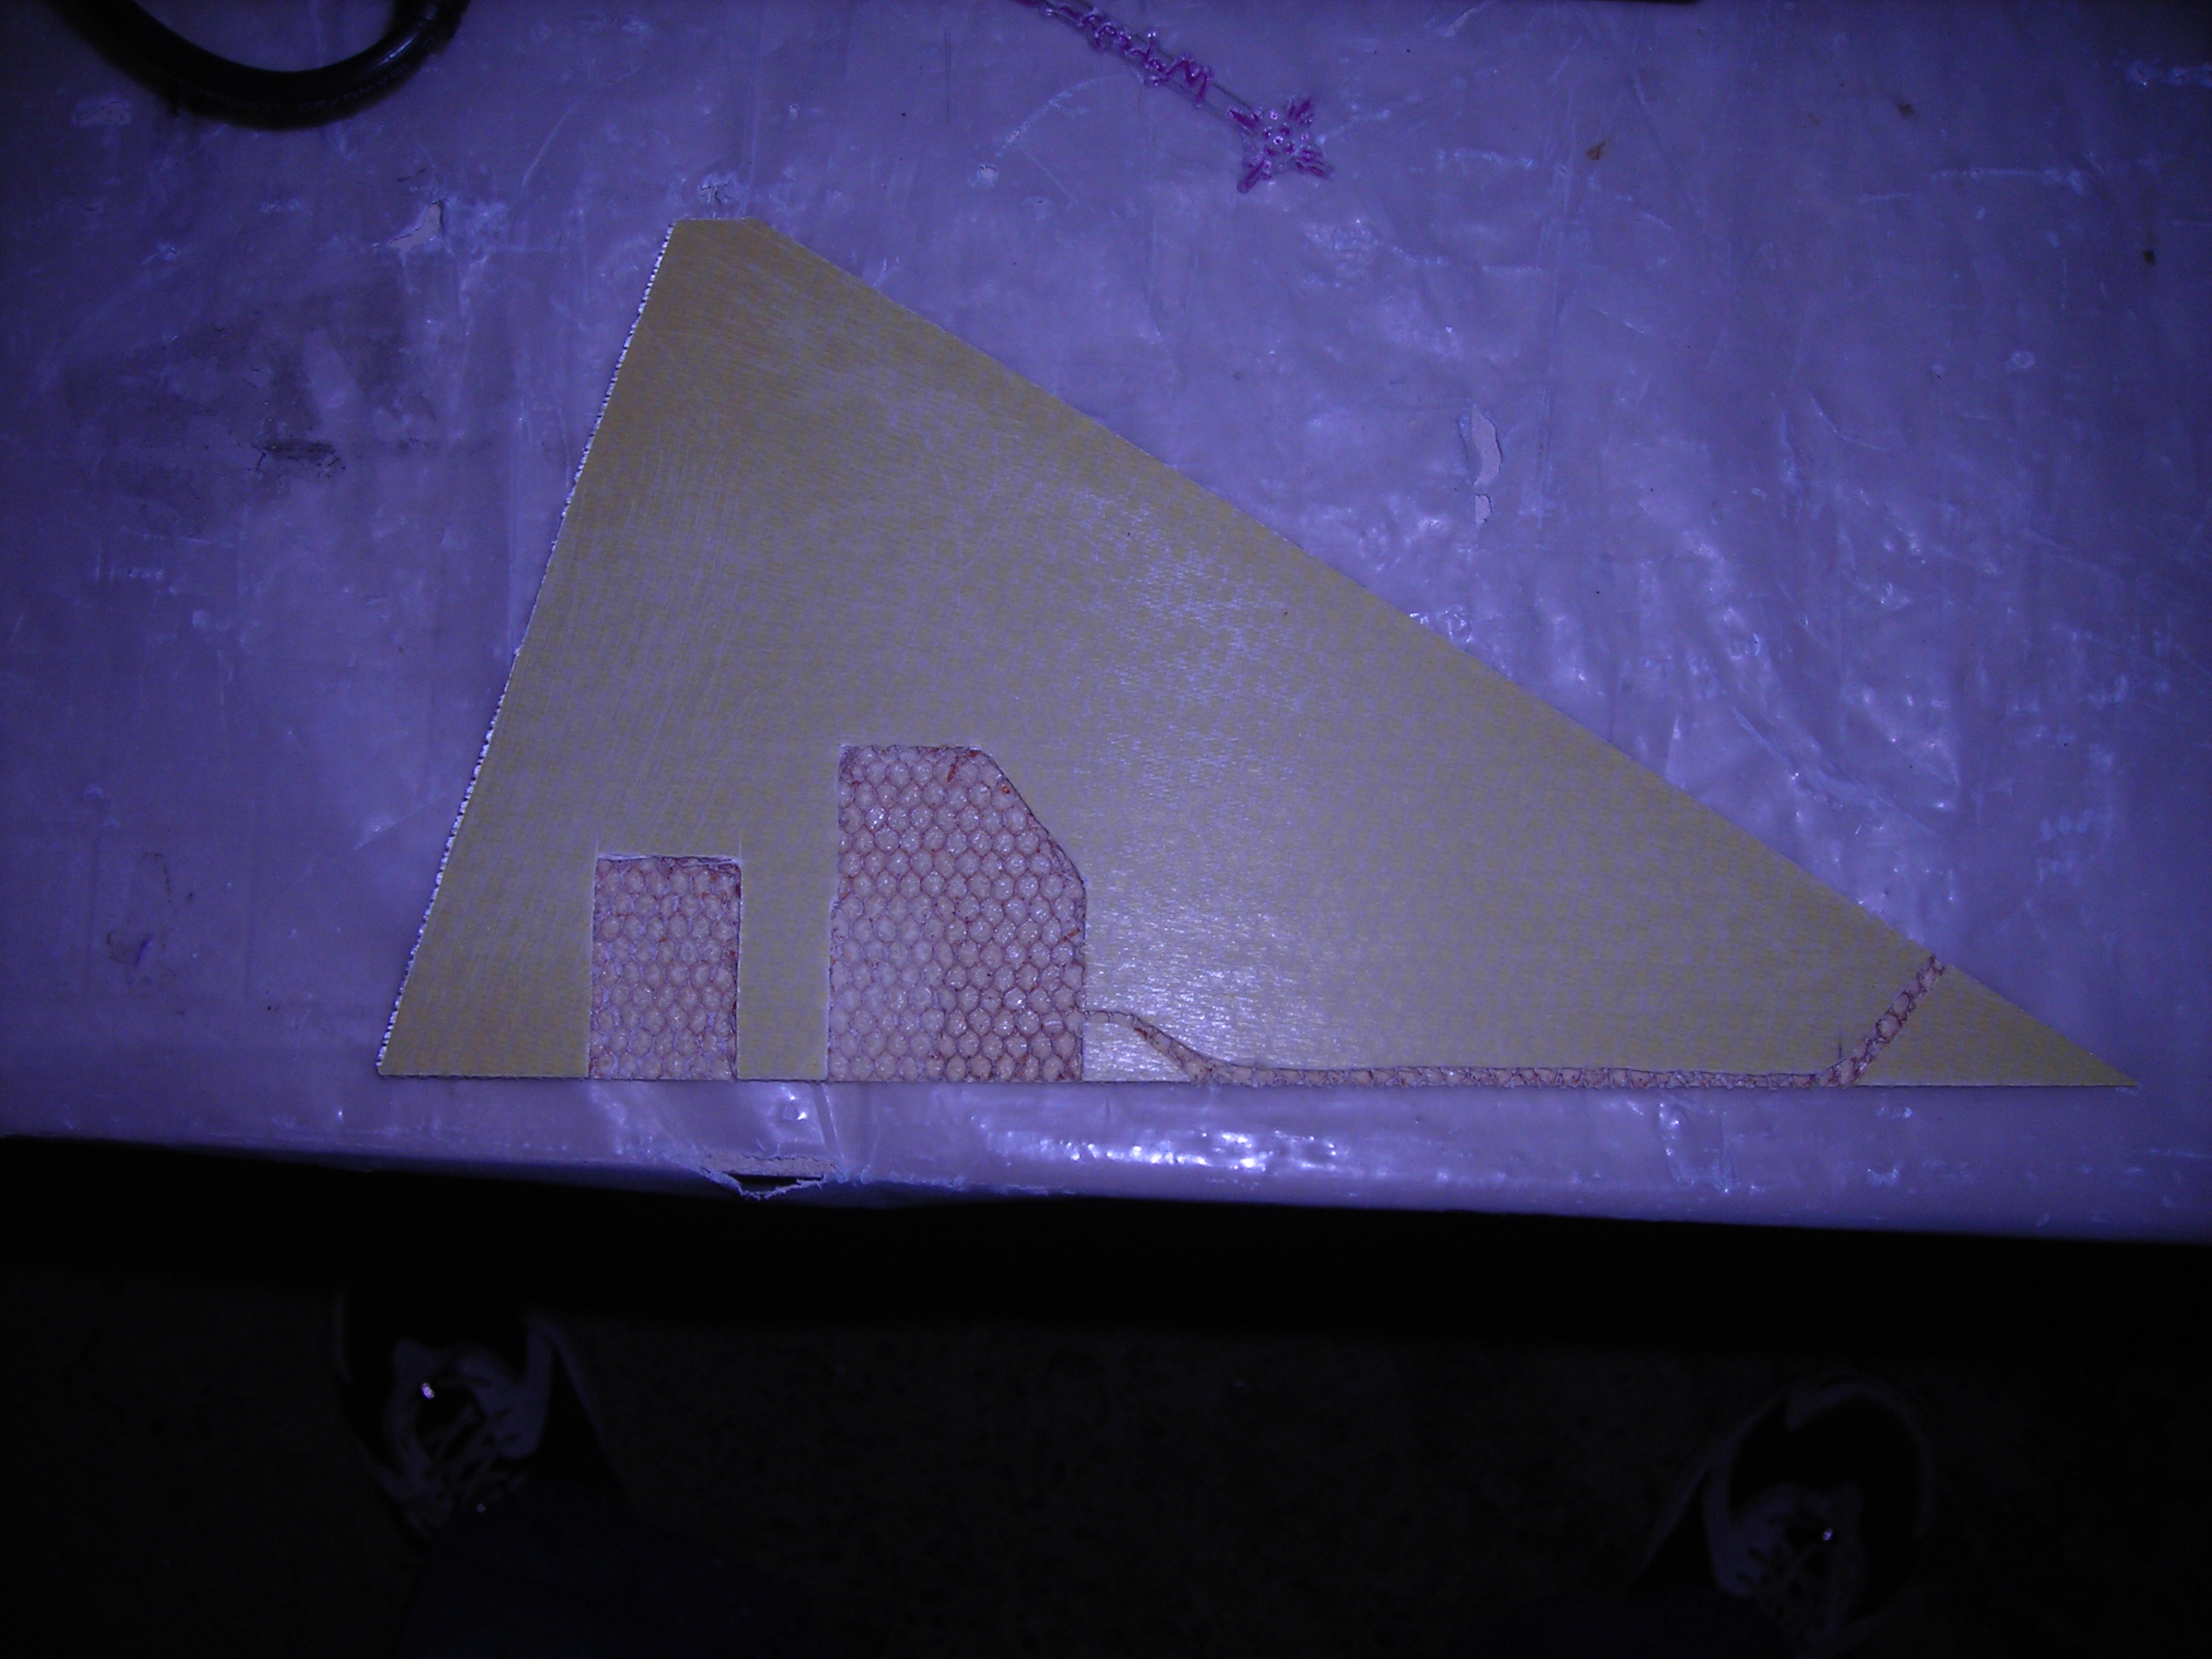
Honeycomb trimmed
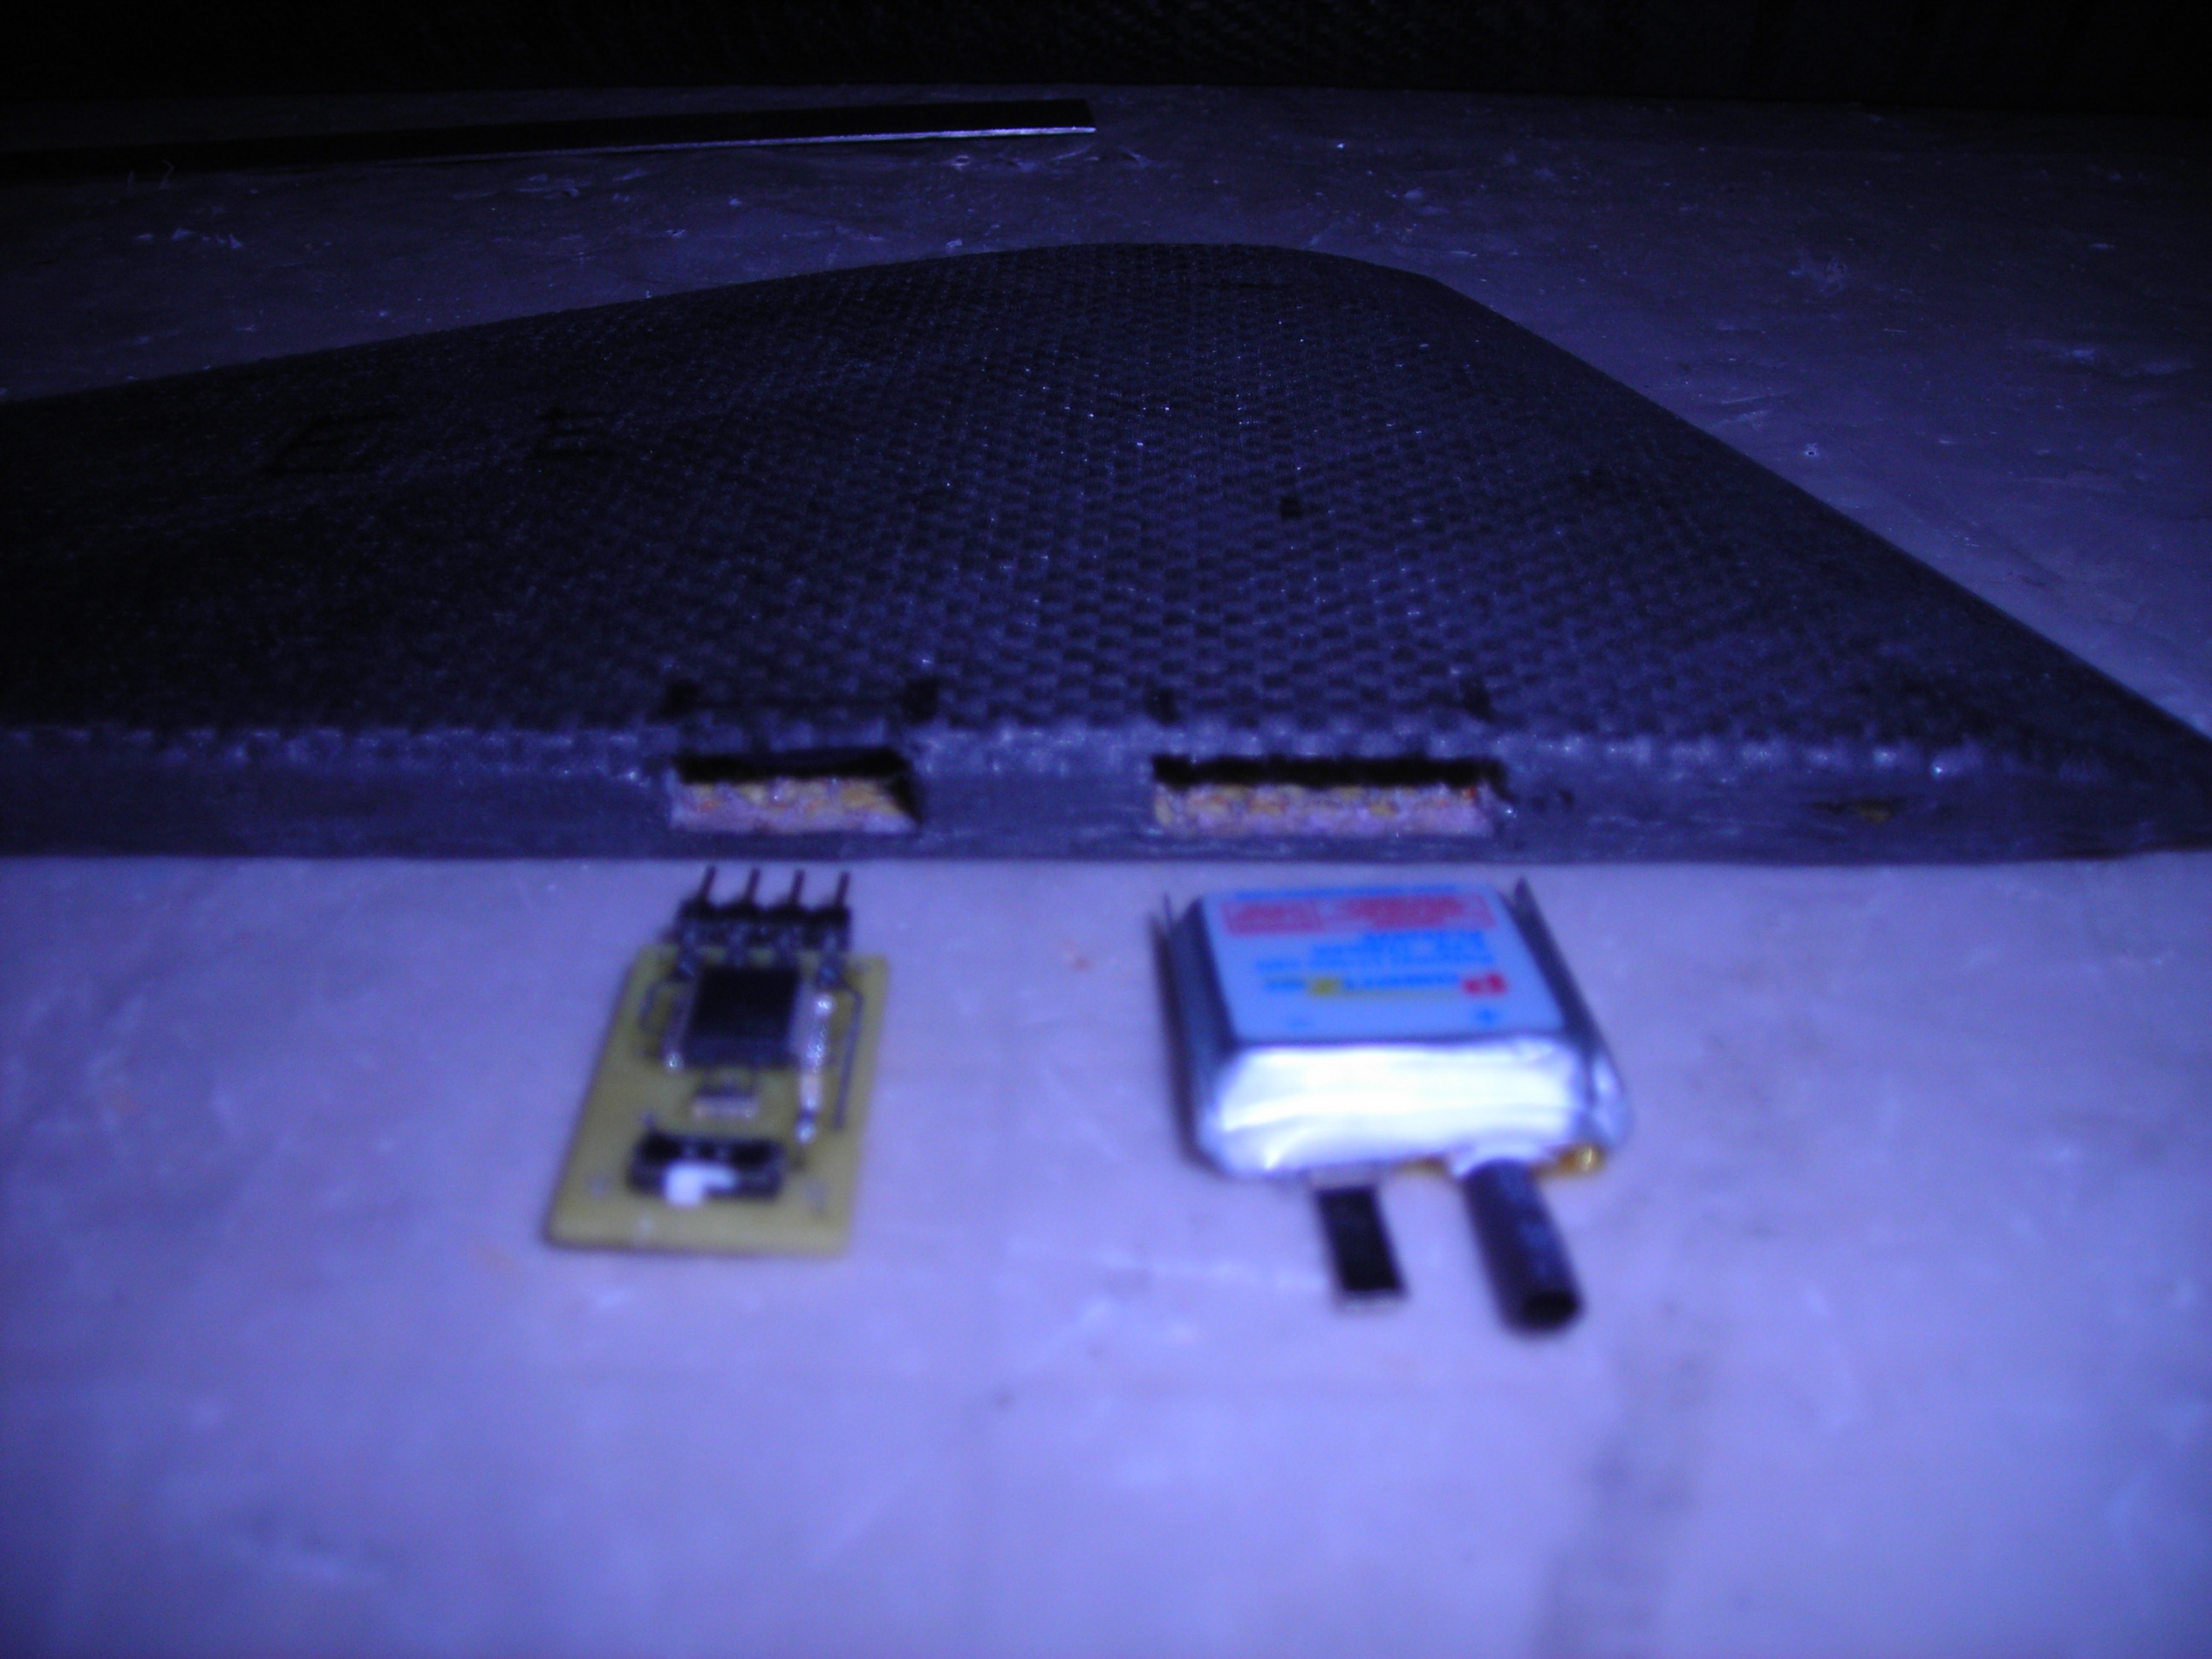
Openings trimmed
Half way in
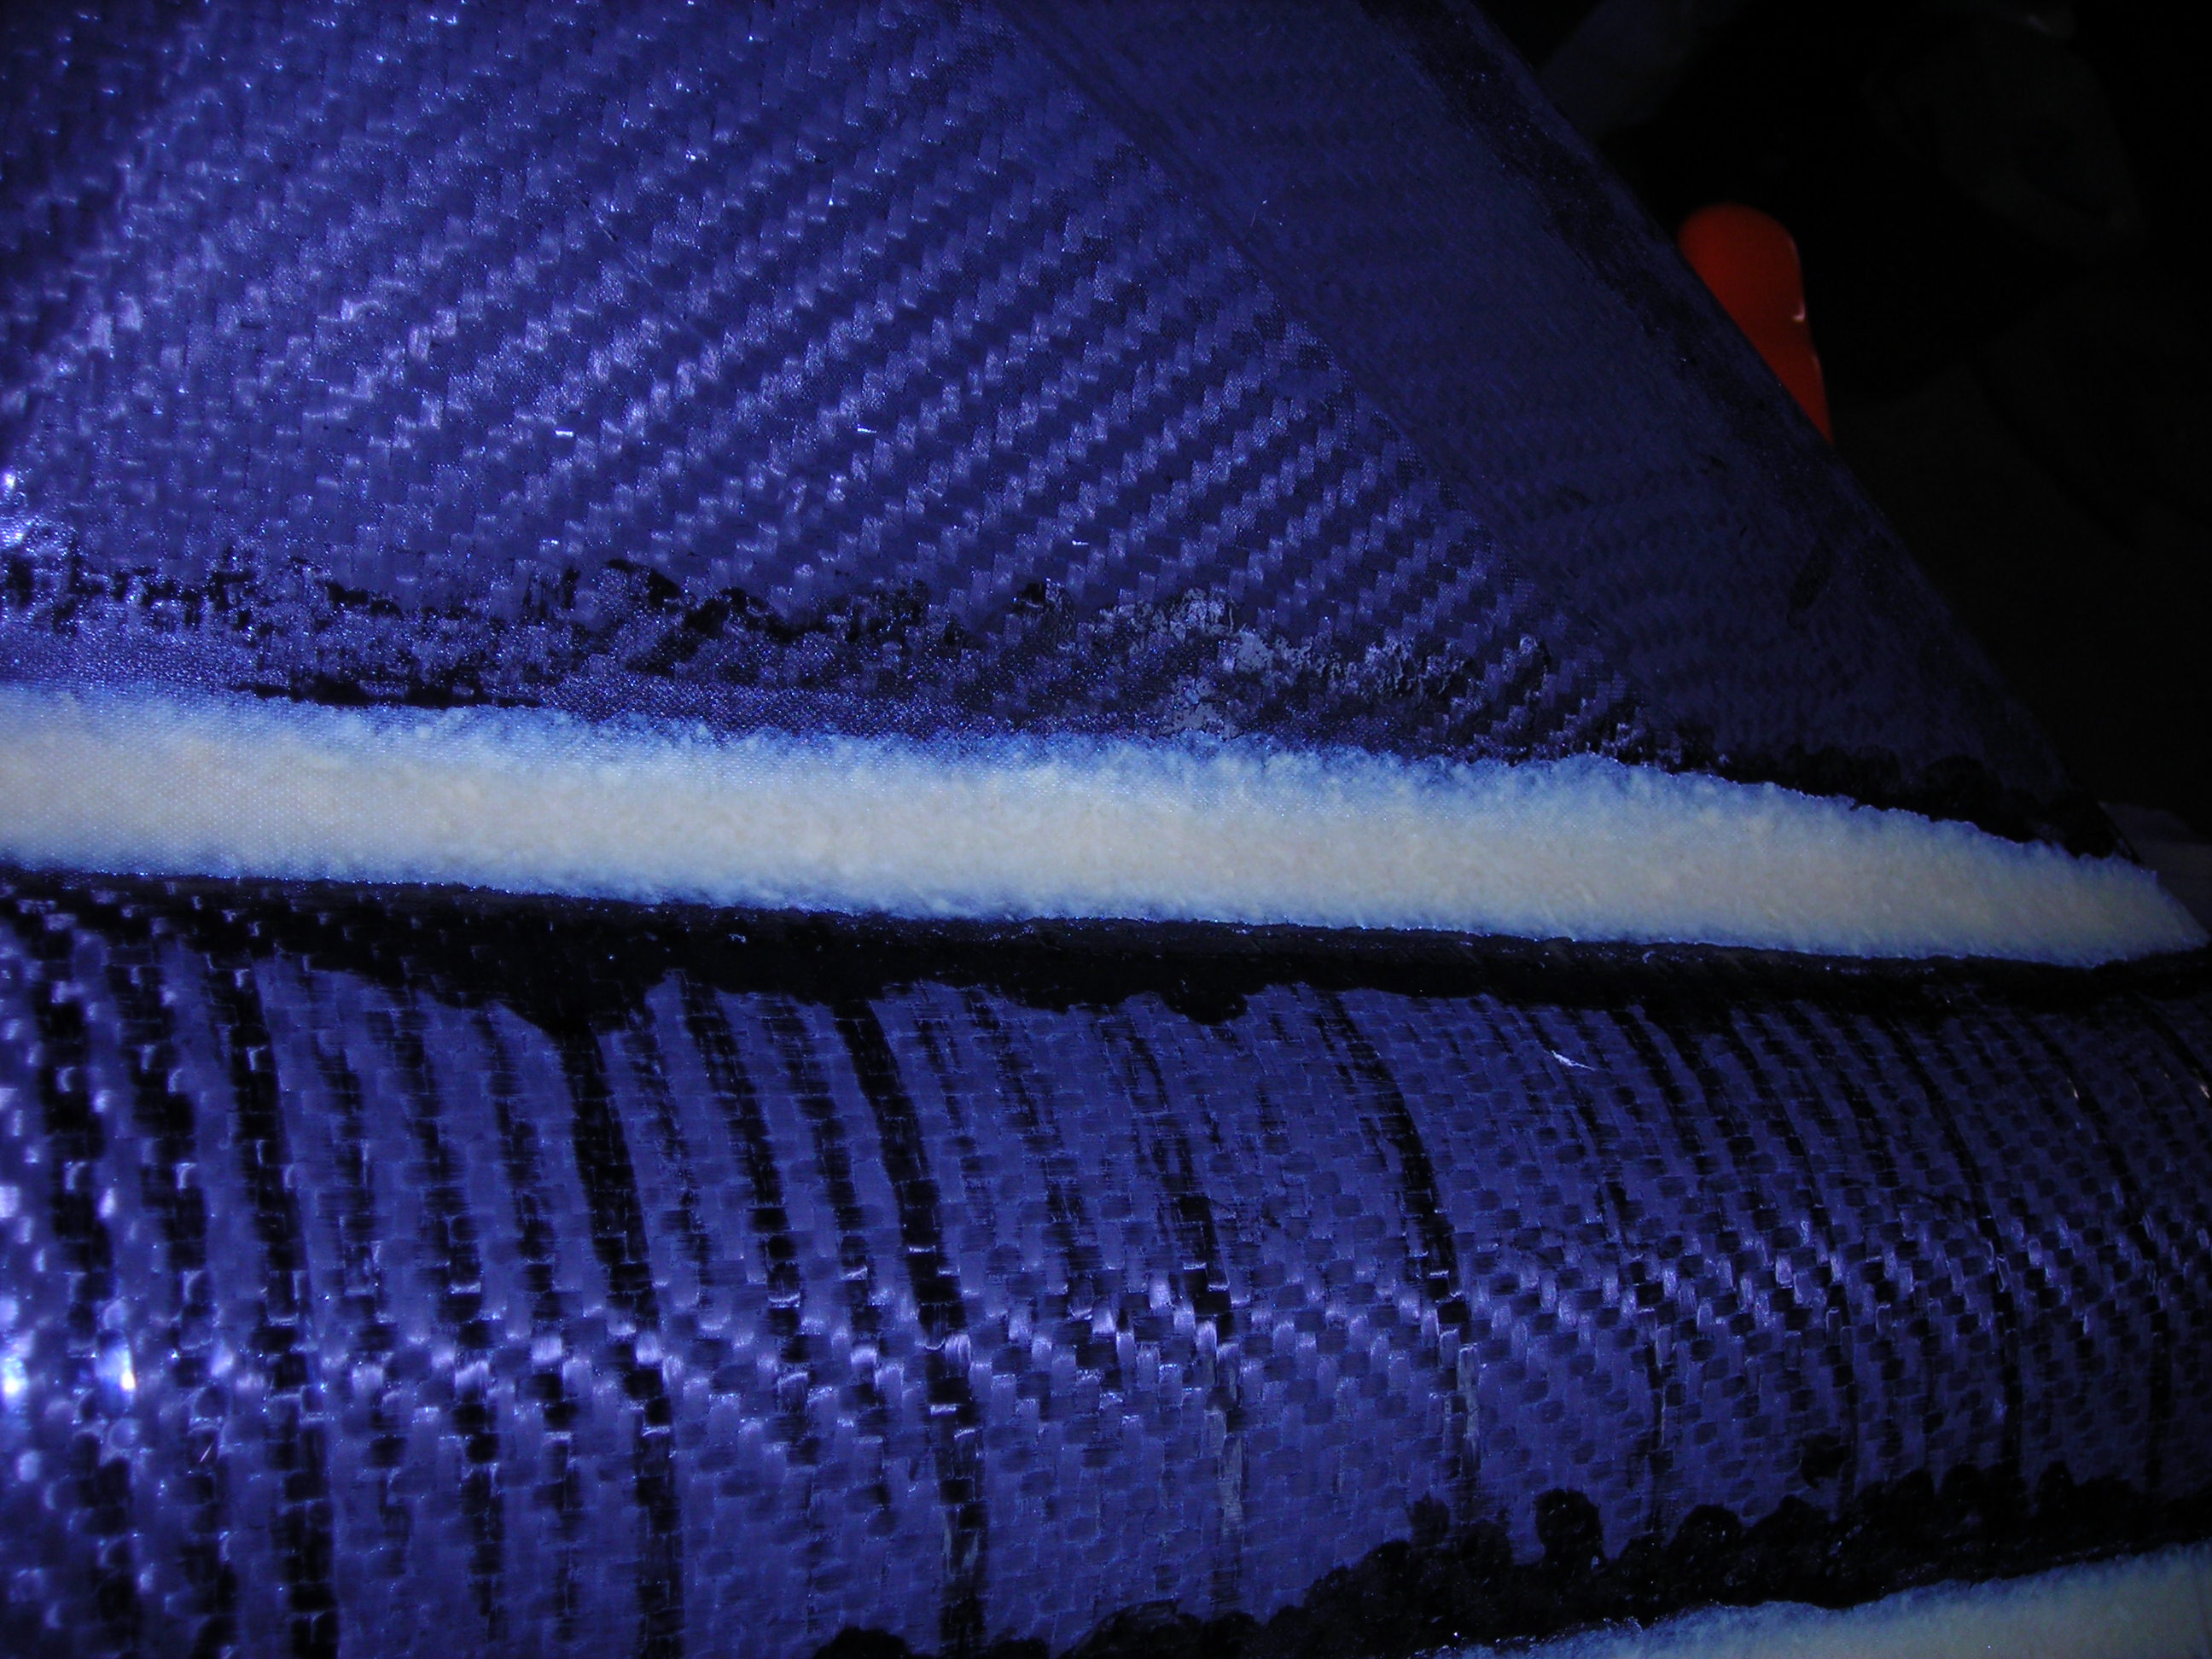
I added 4 layers of 5.7oz carbon fiber to the leading edge of the fins before attaching them.
Here is one in the vacuum bag.
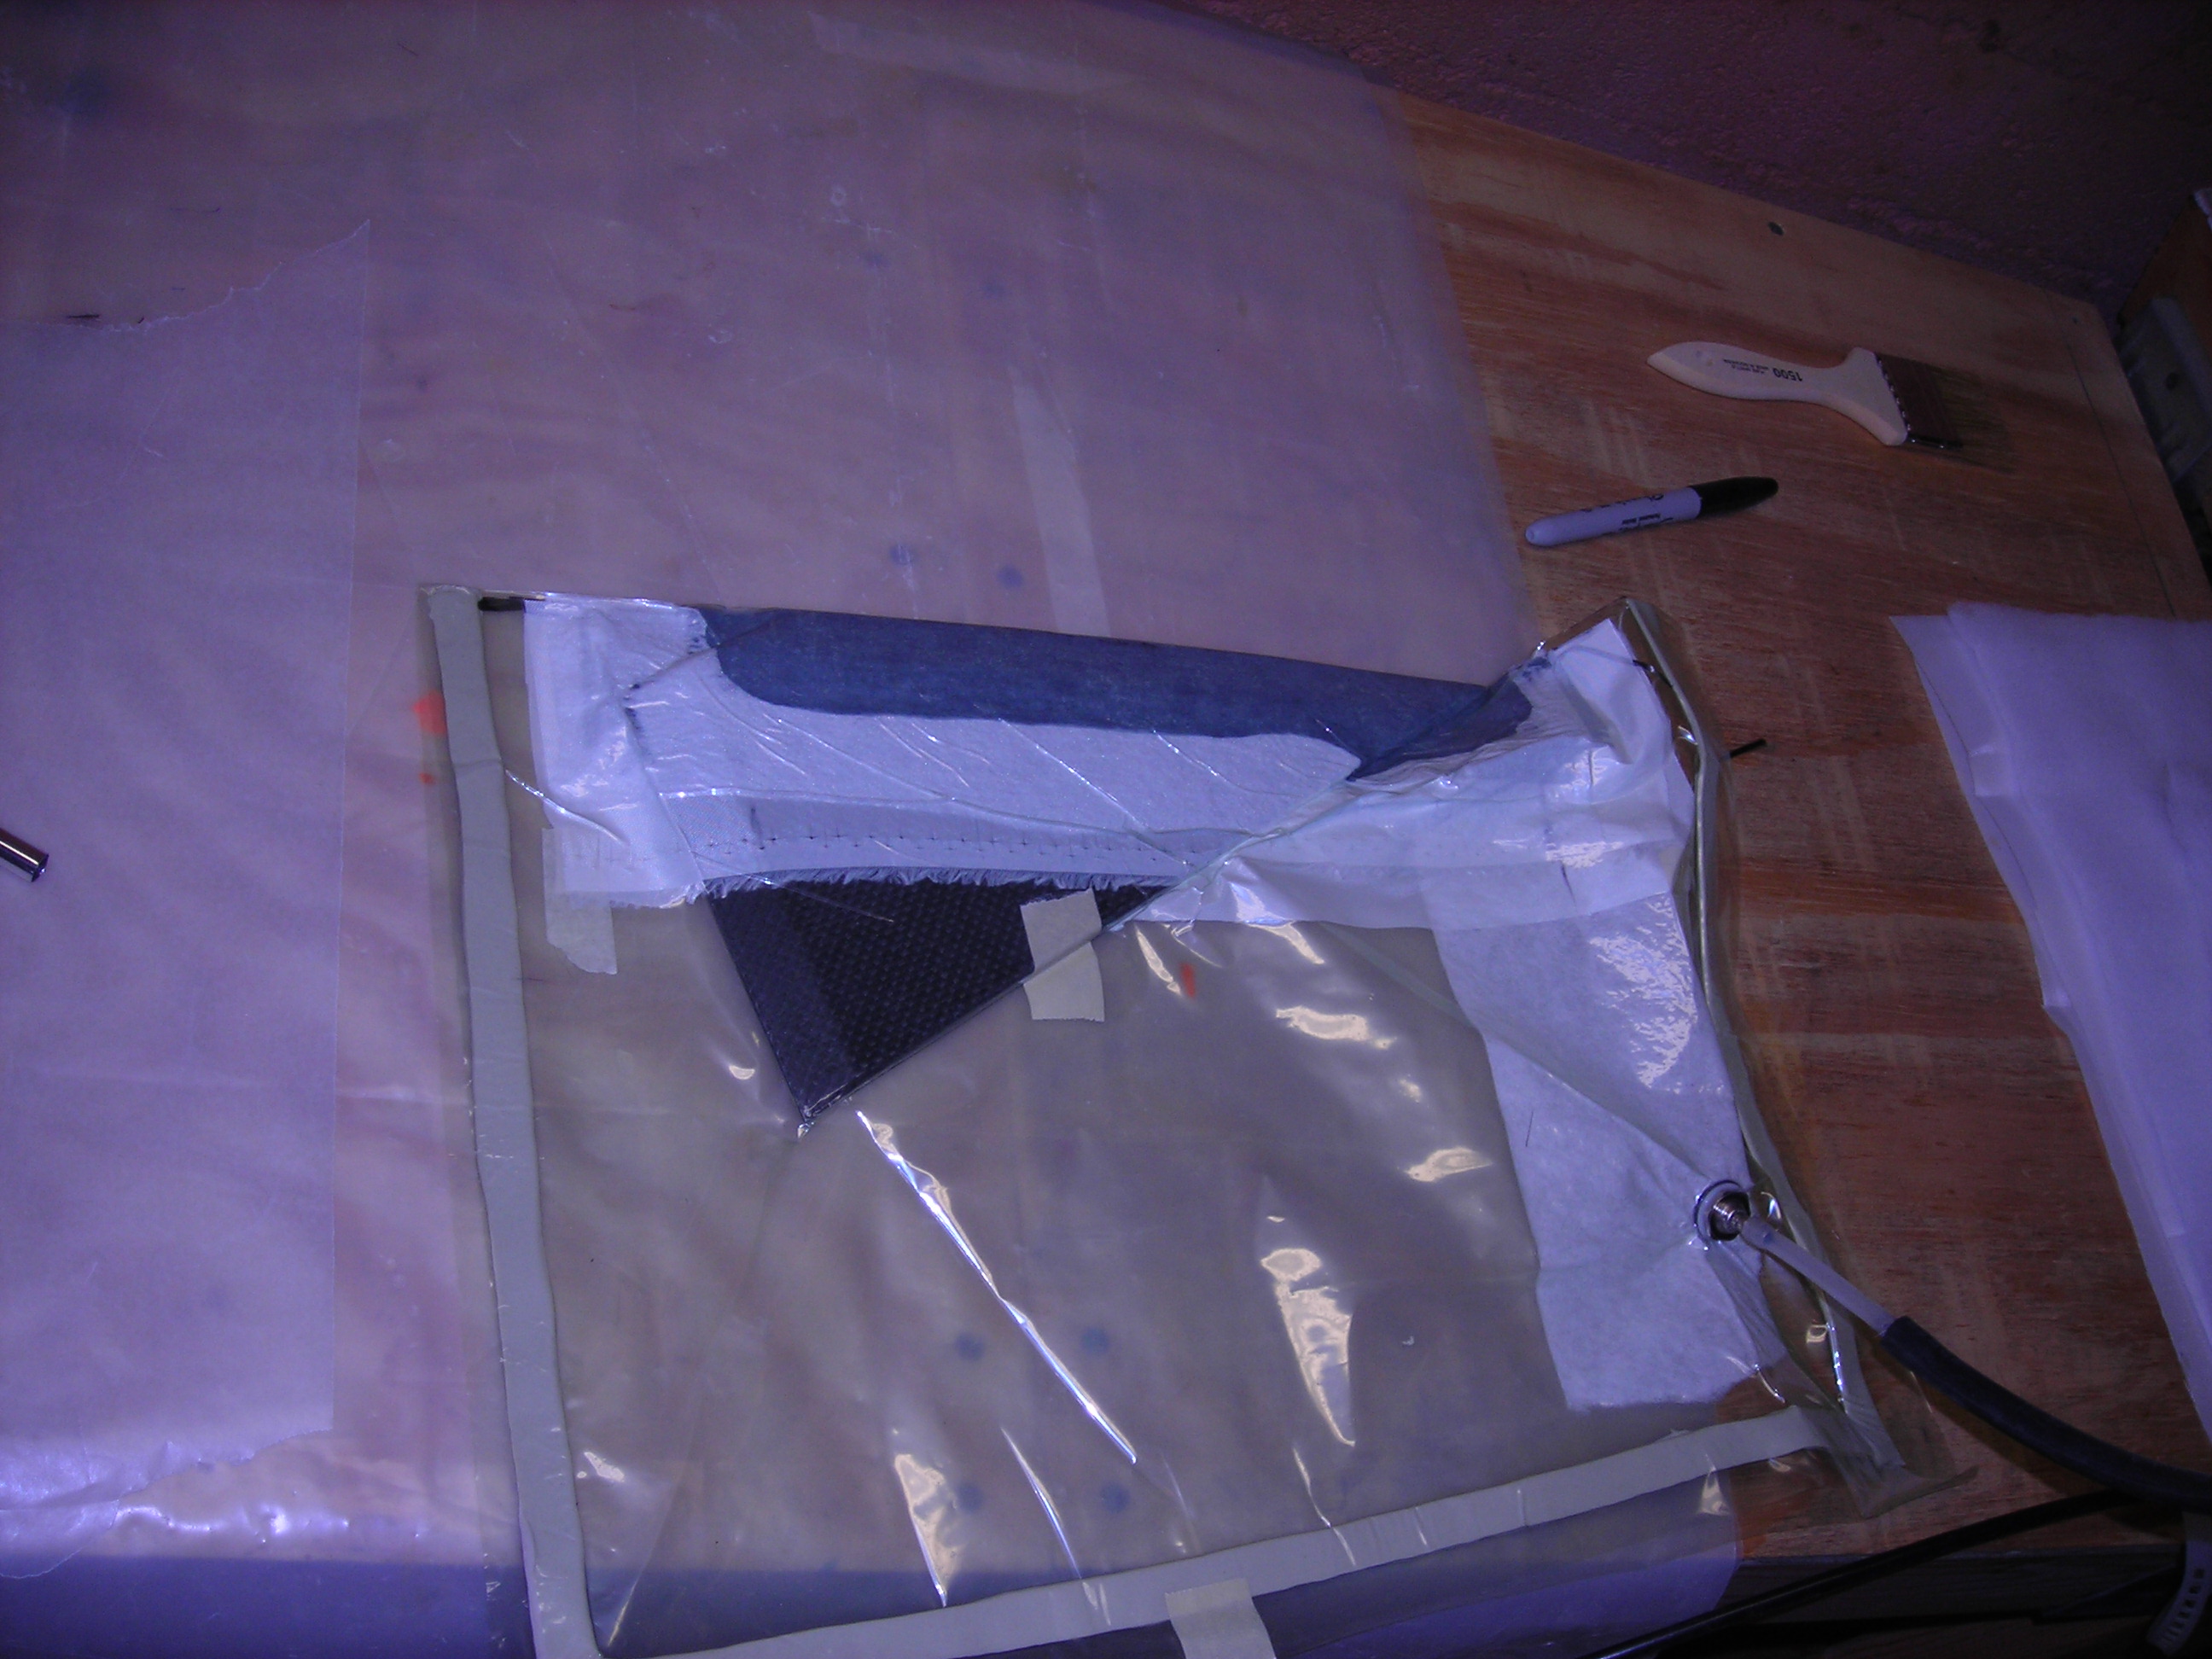
Bagged fin
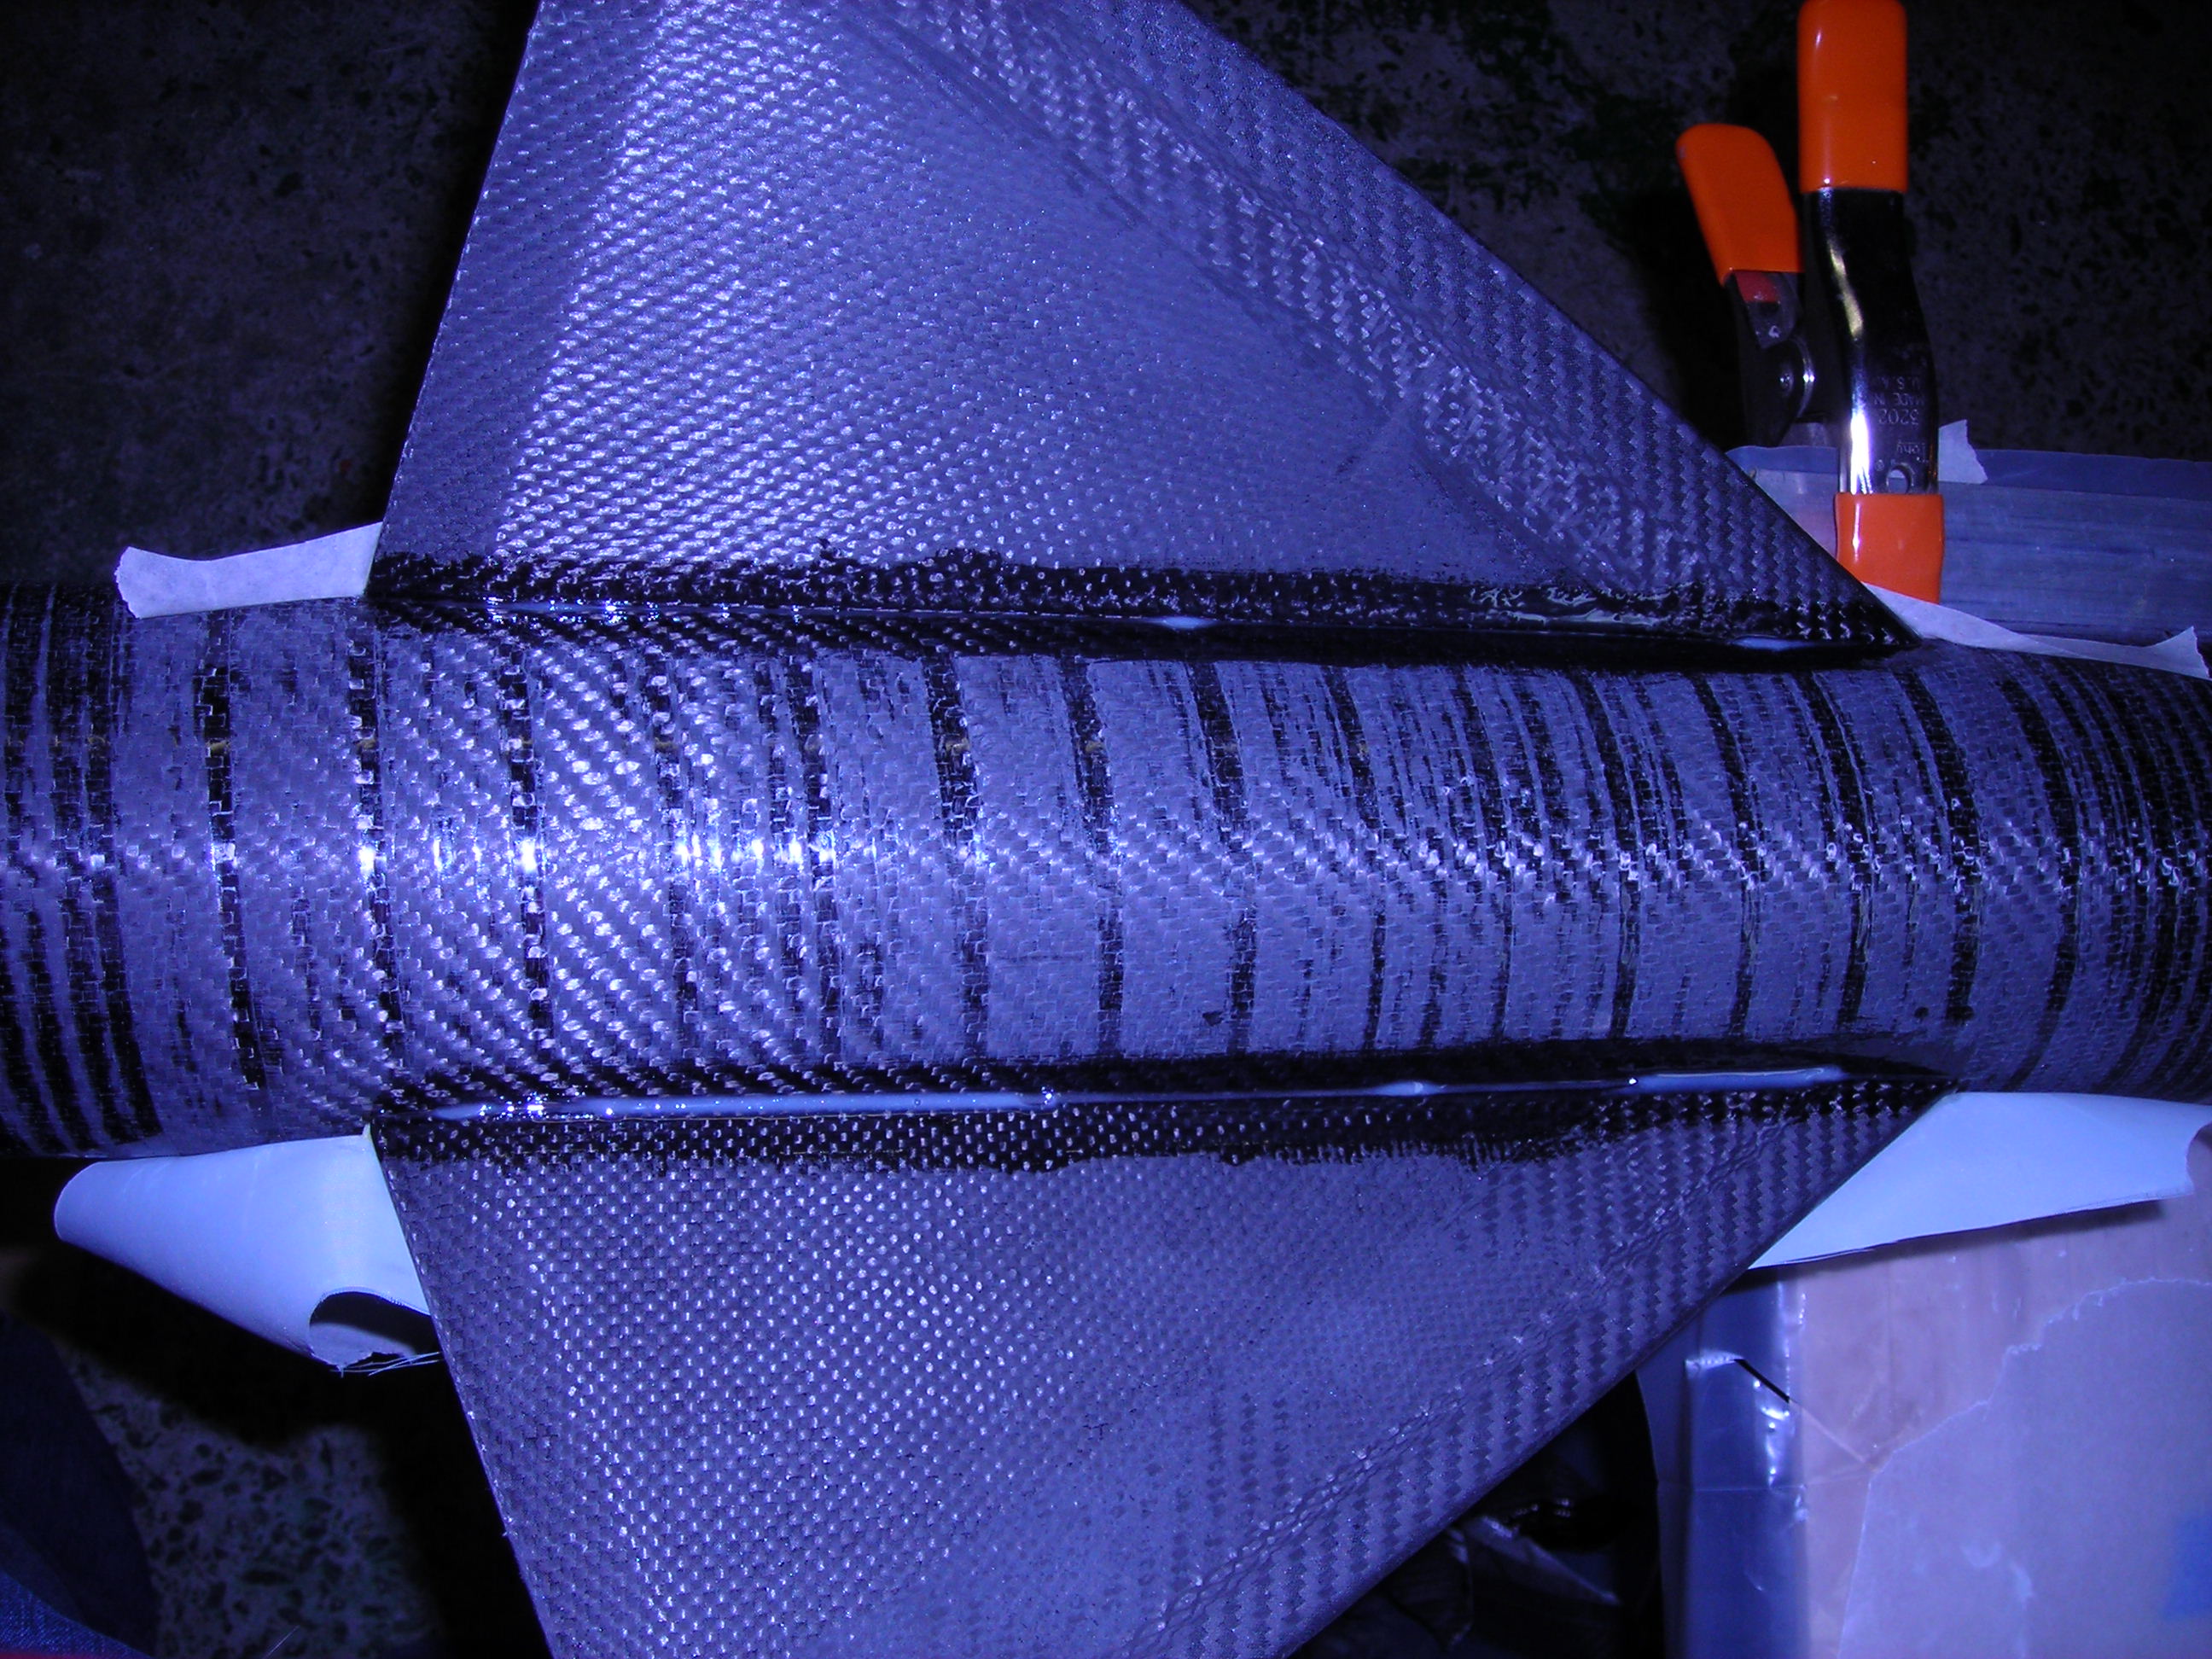
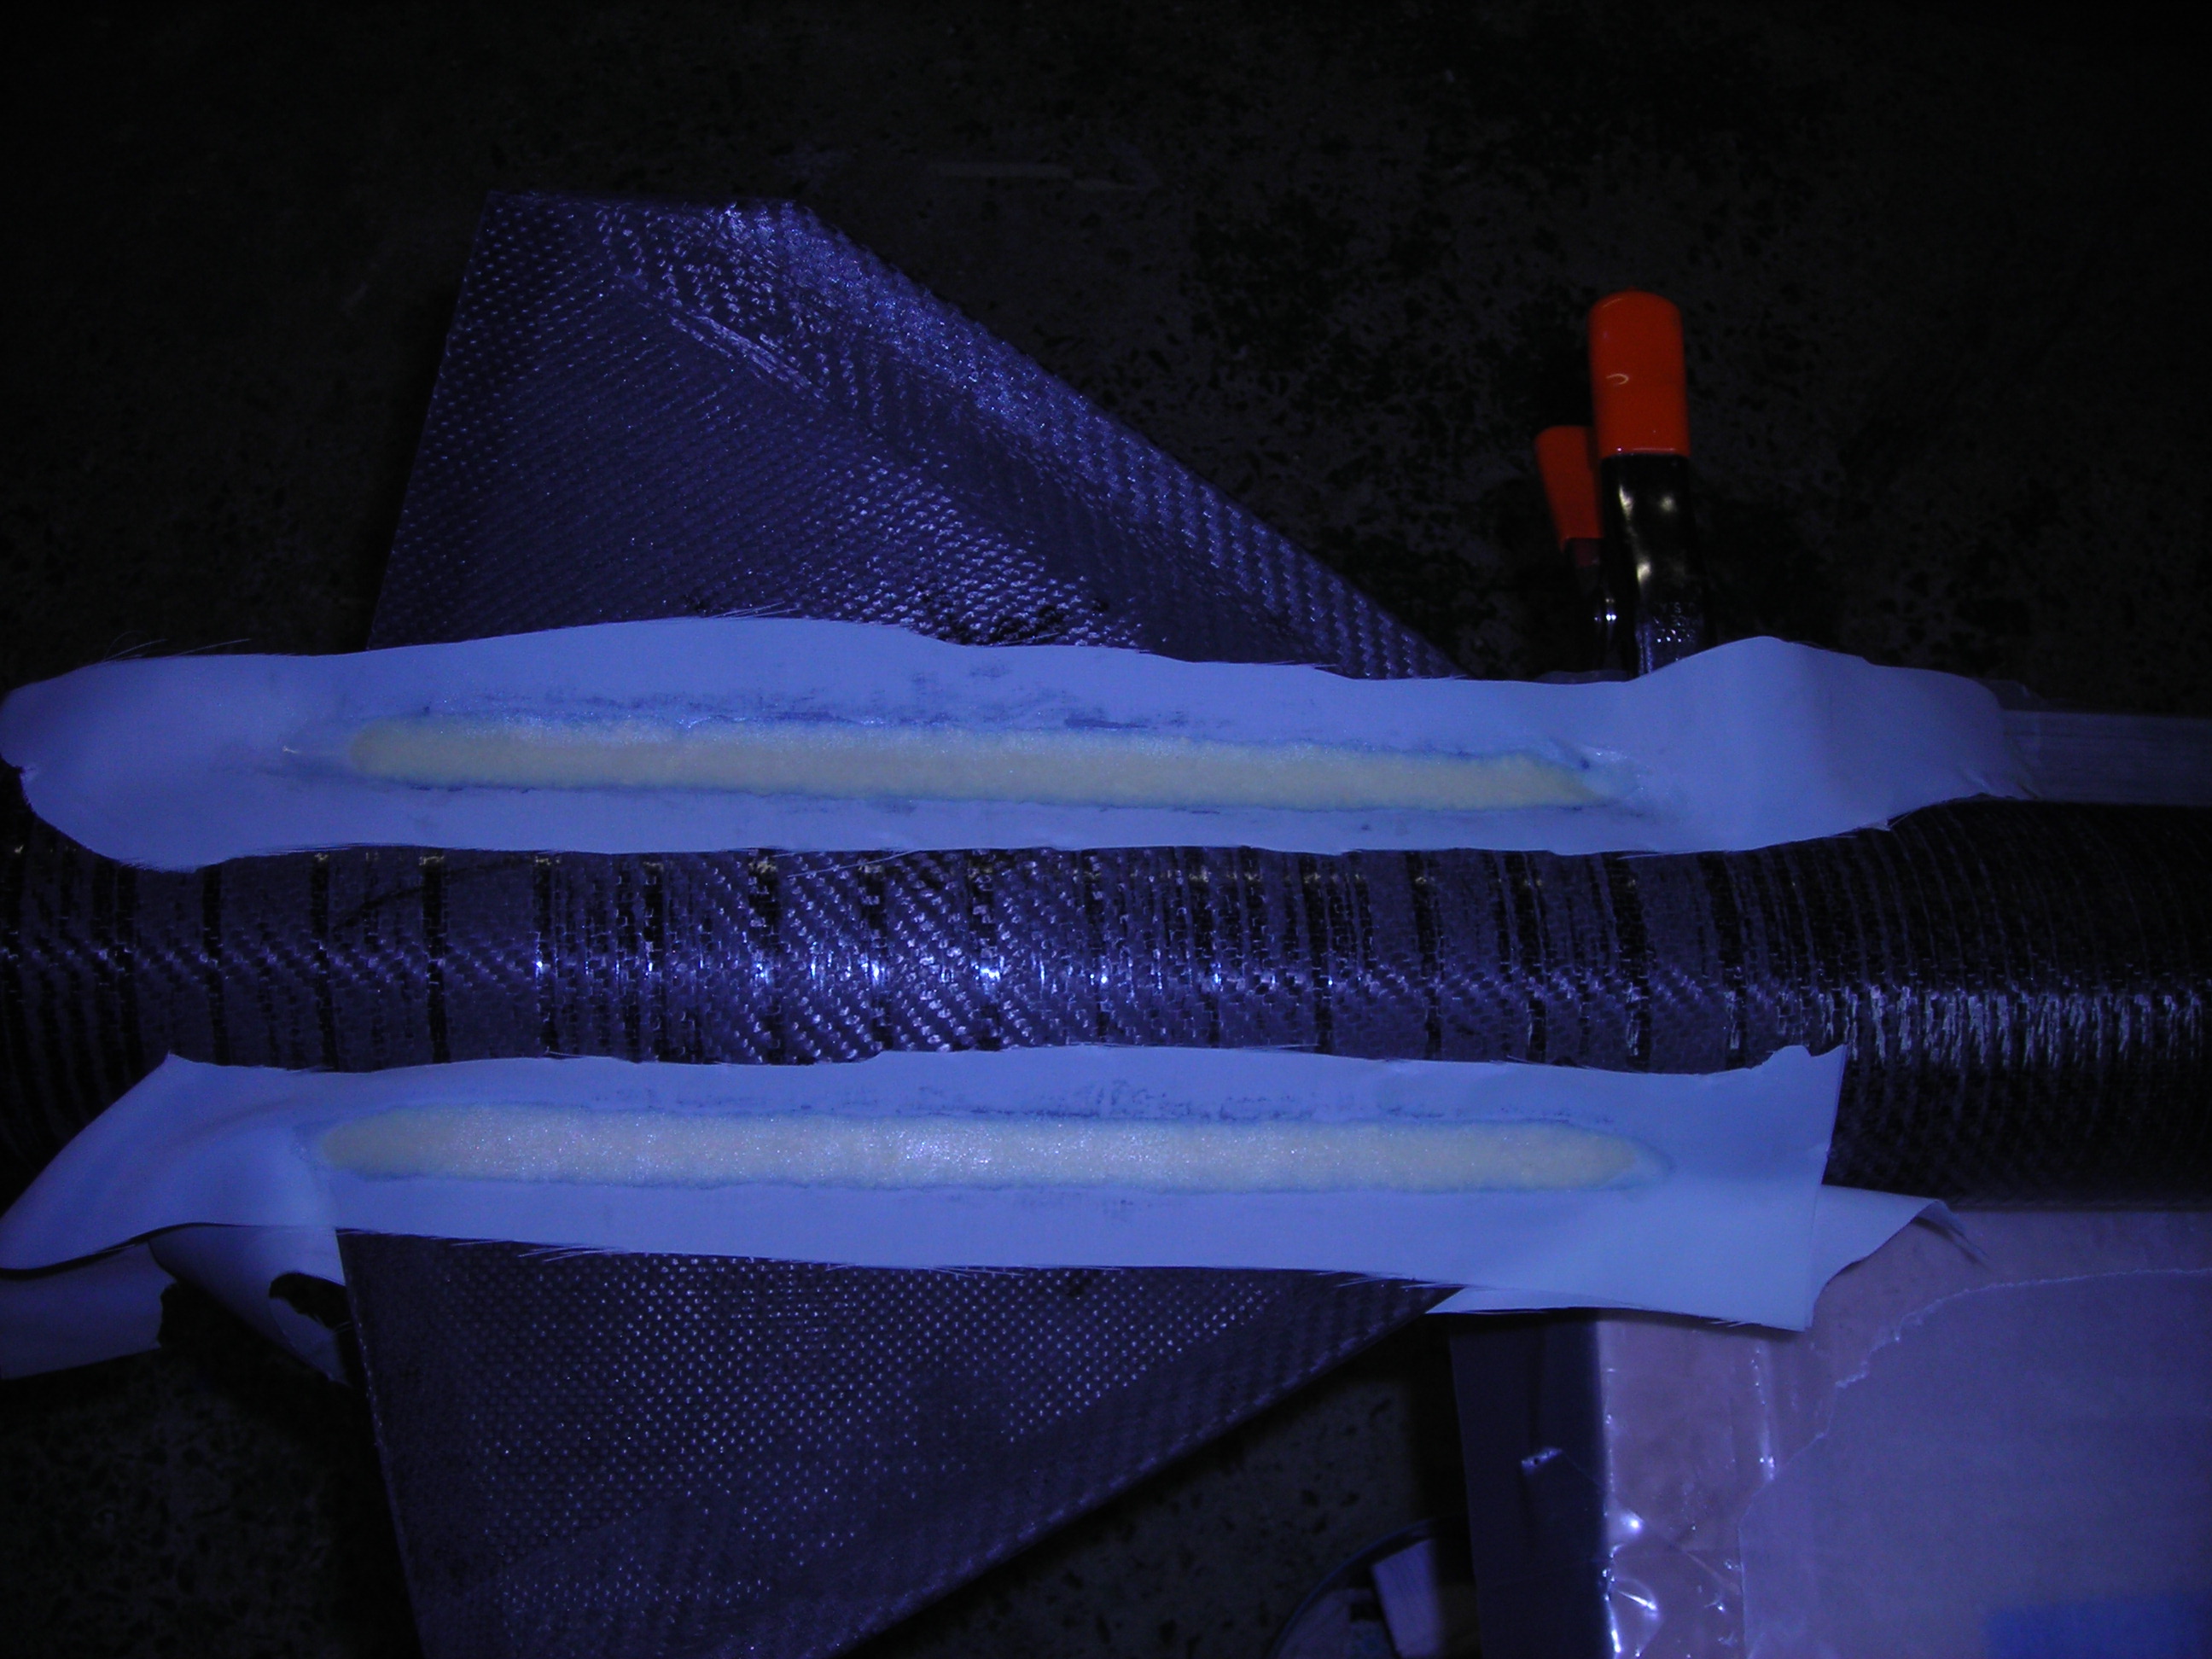
I thought I would add some details as to how I do my kevlar fillets.
I do two fillets at a time, on opposite fins.
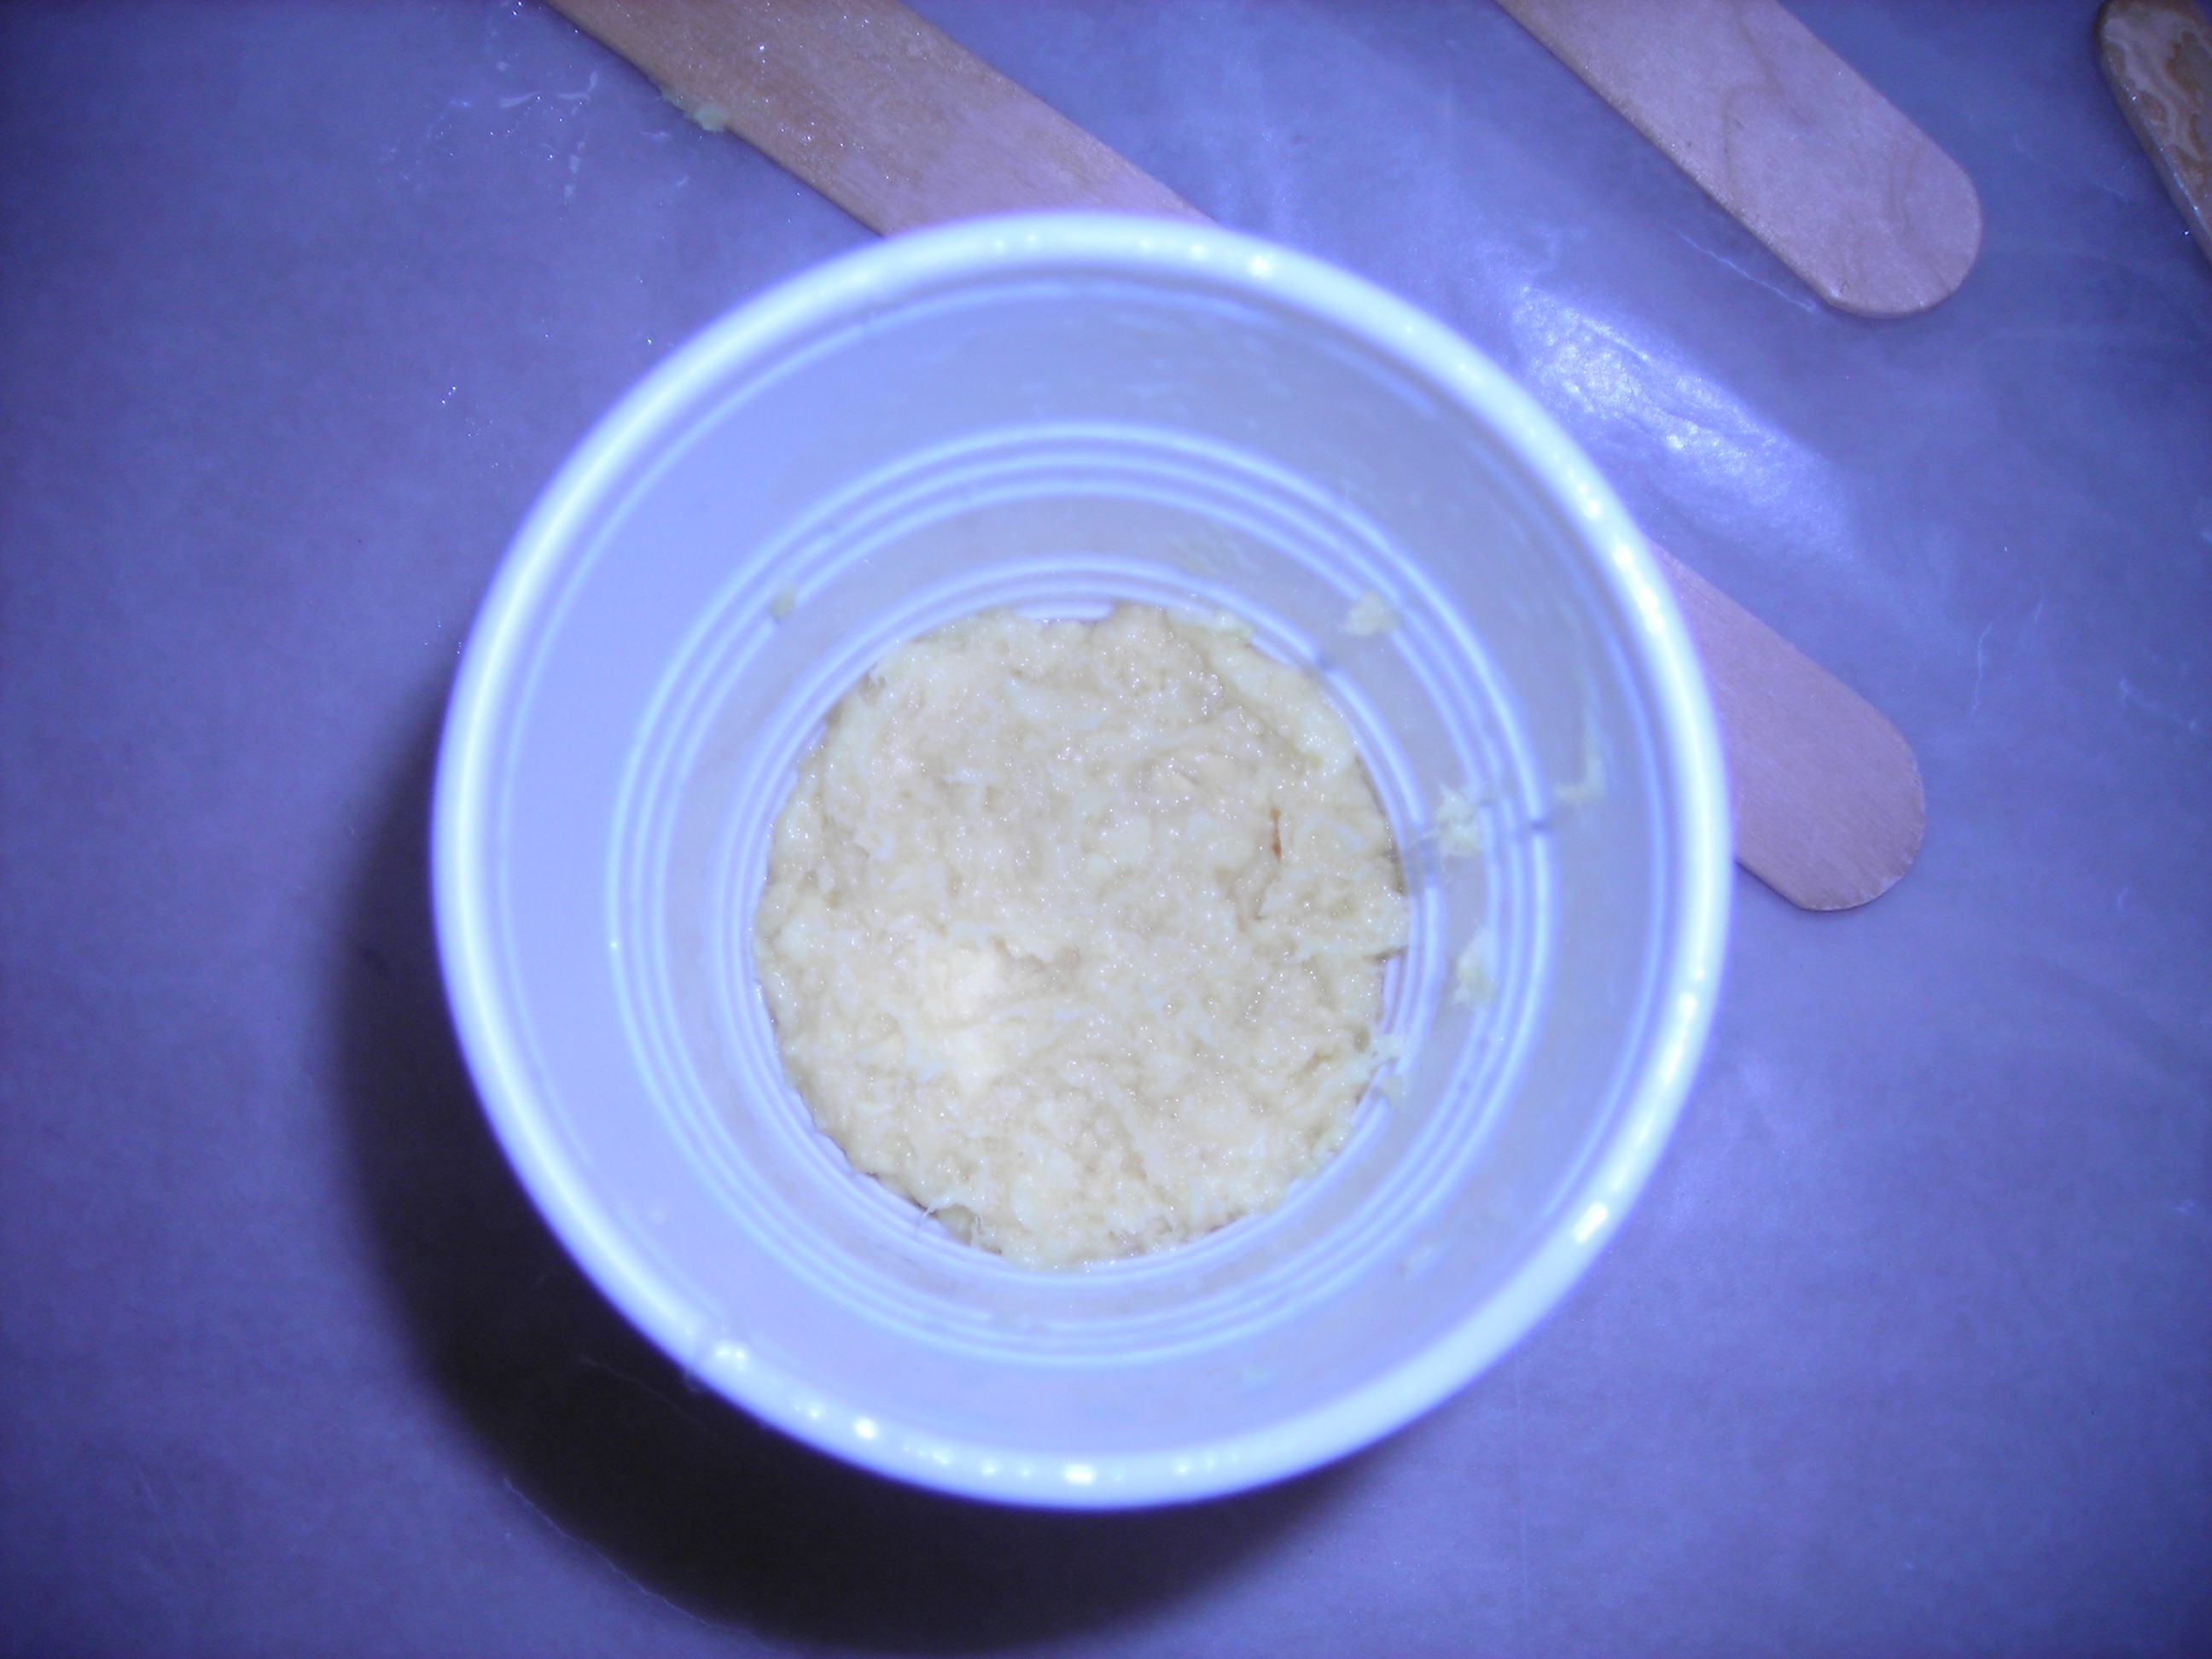
I used Cotronics epoxy, Duralco 4461-IP.
I mixed up 30grams resin and 9grams hardner.
Once mixed I used a small acid brush to brush a small amount of epoxy where the fillet goes to get it wetted out.
epoxy brushed on
Ready to divide up

Applying fillet
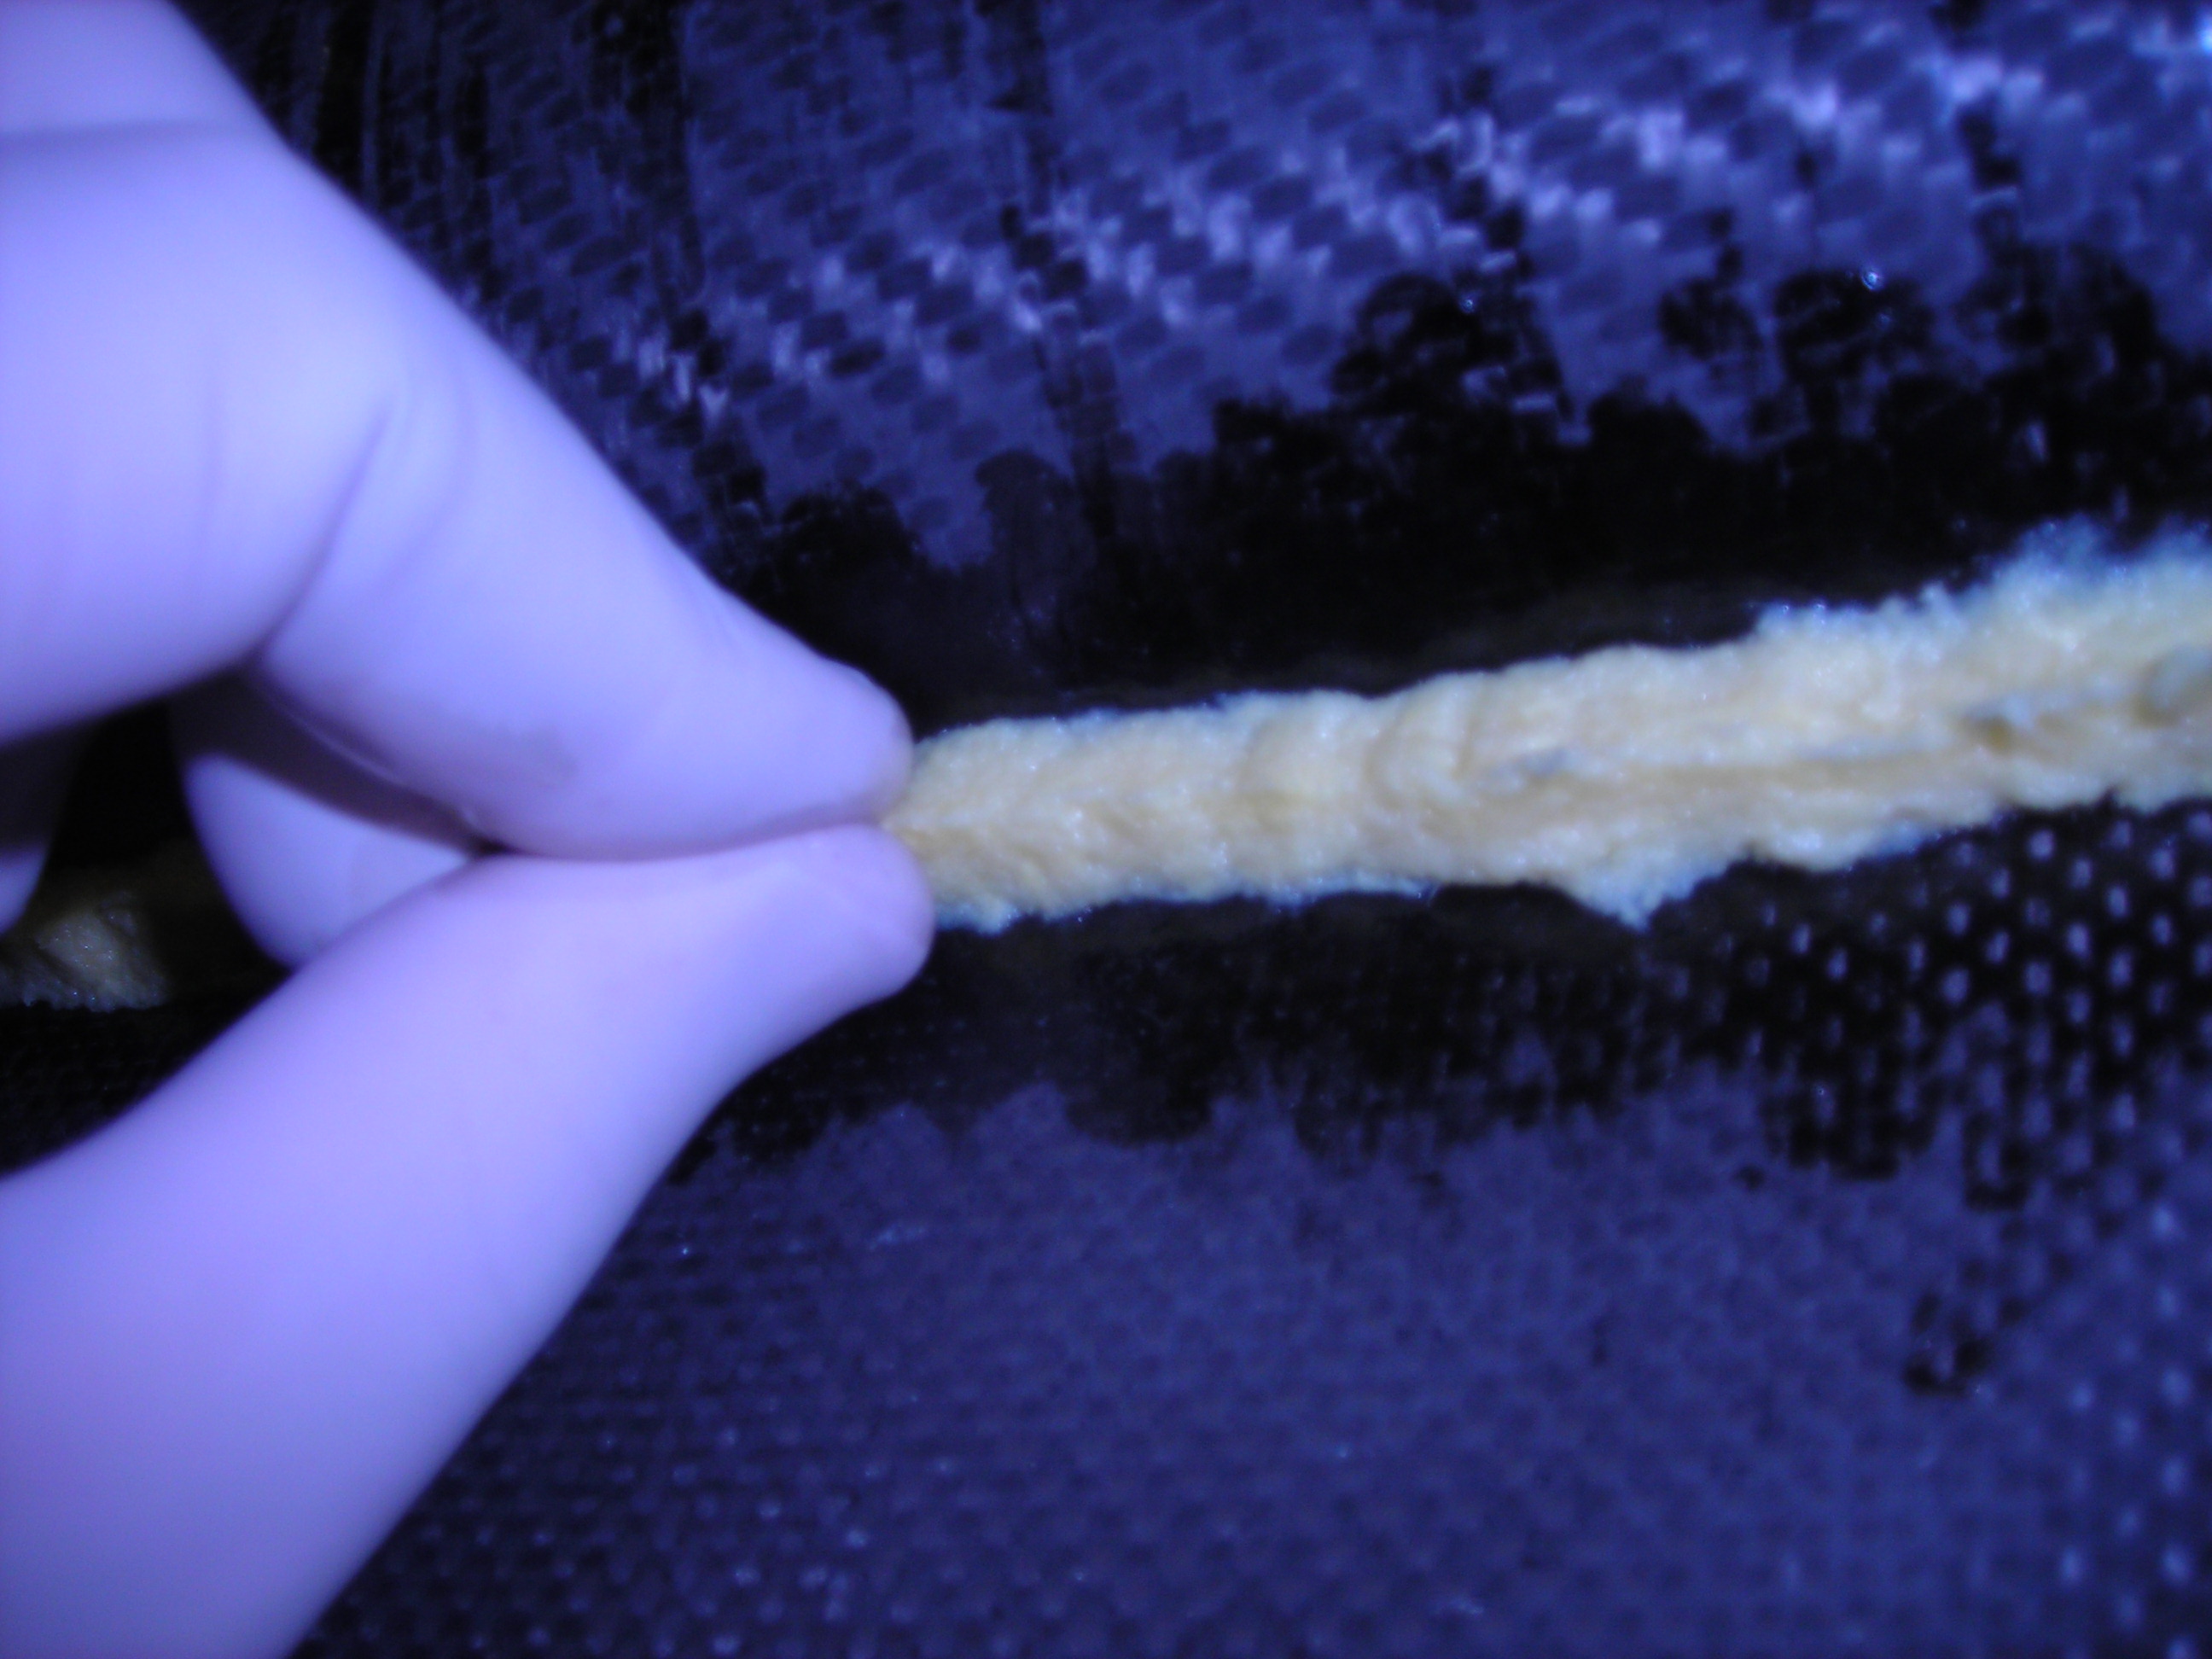
Pushing excess ahead of fingers
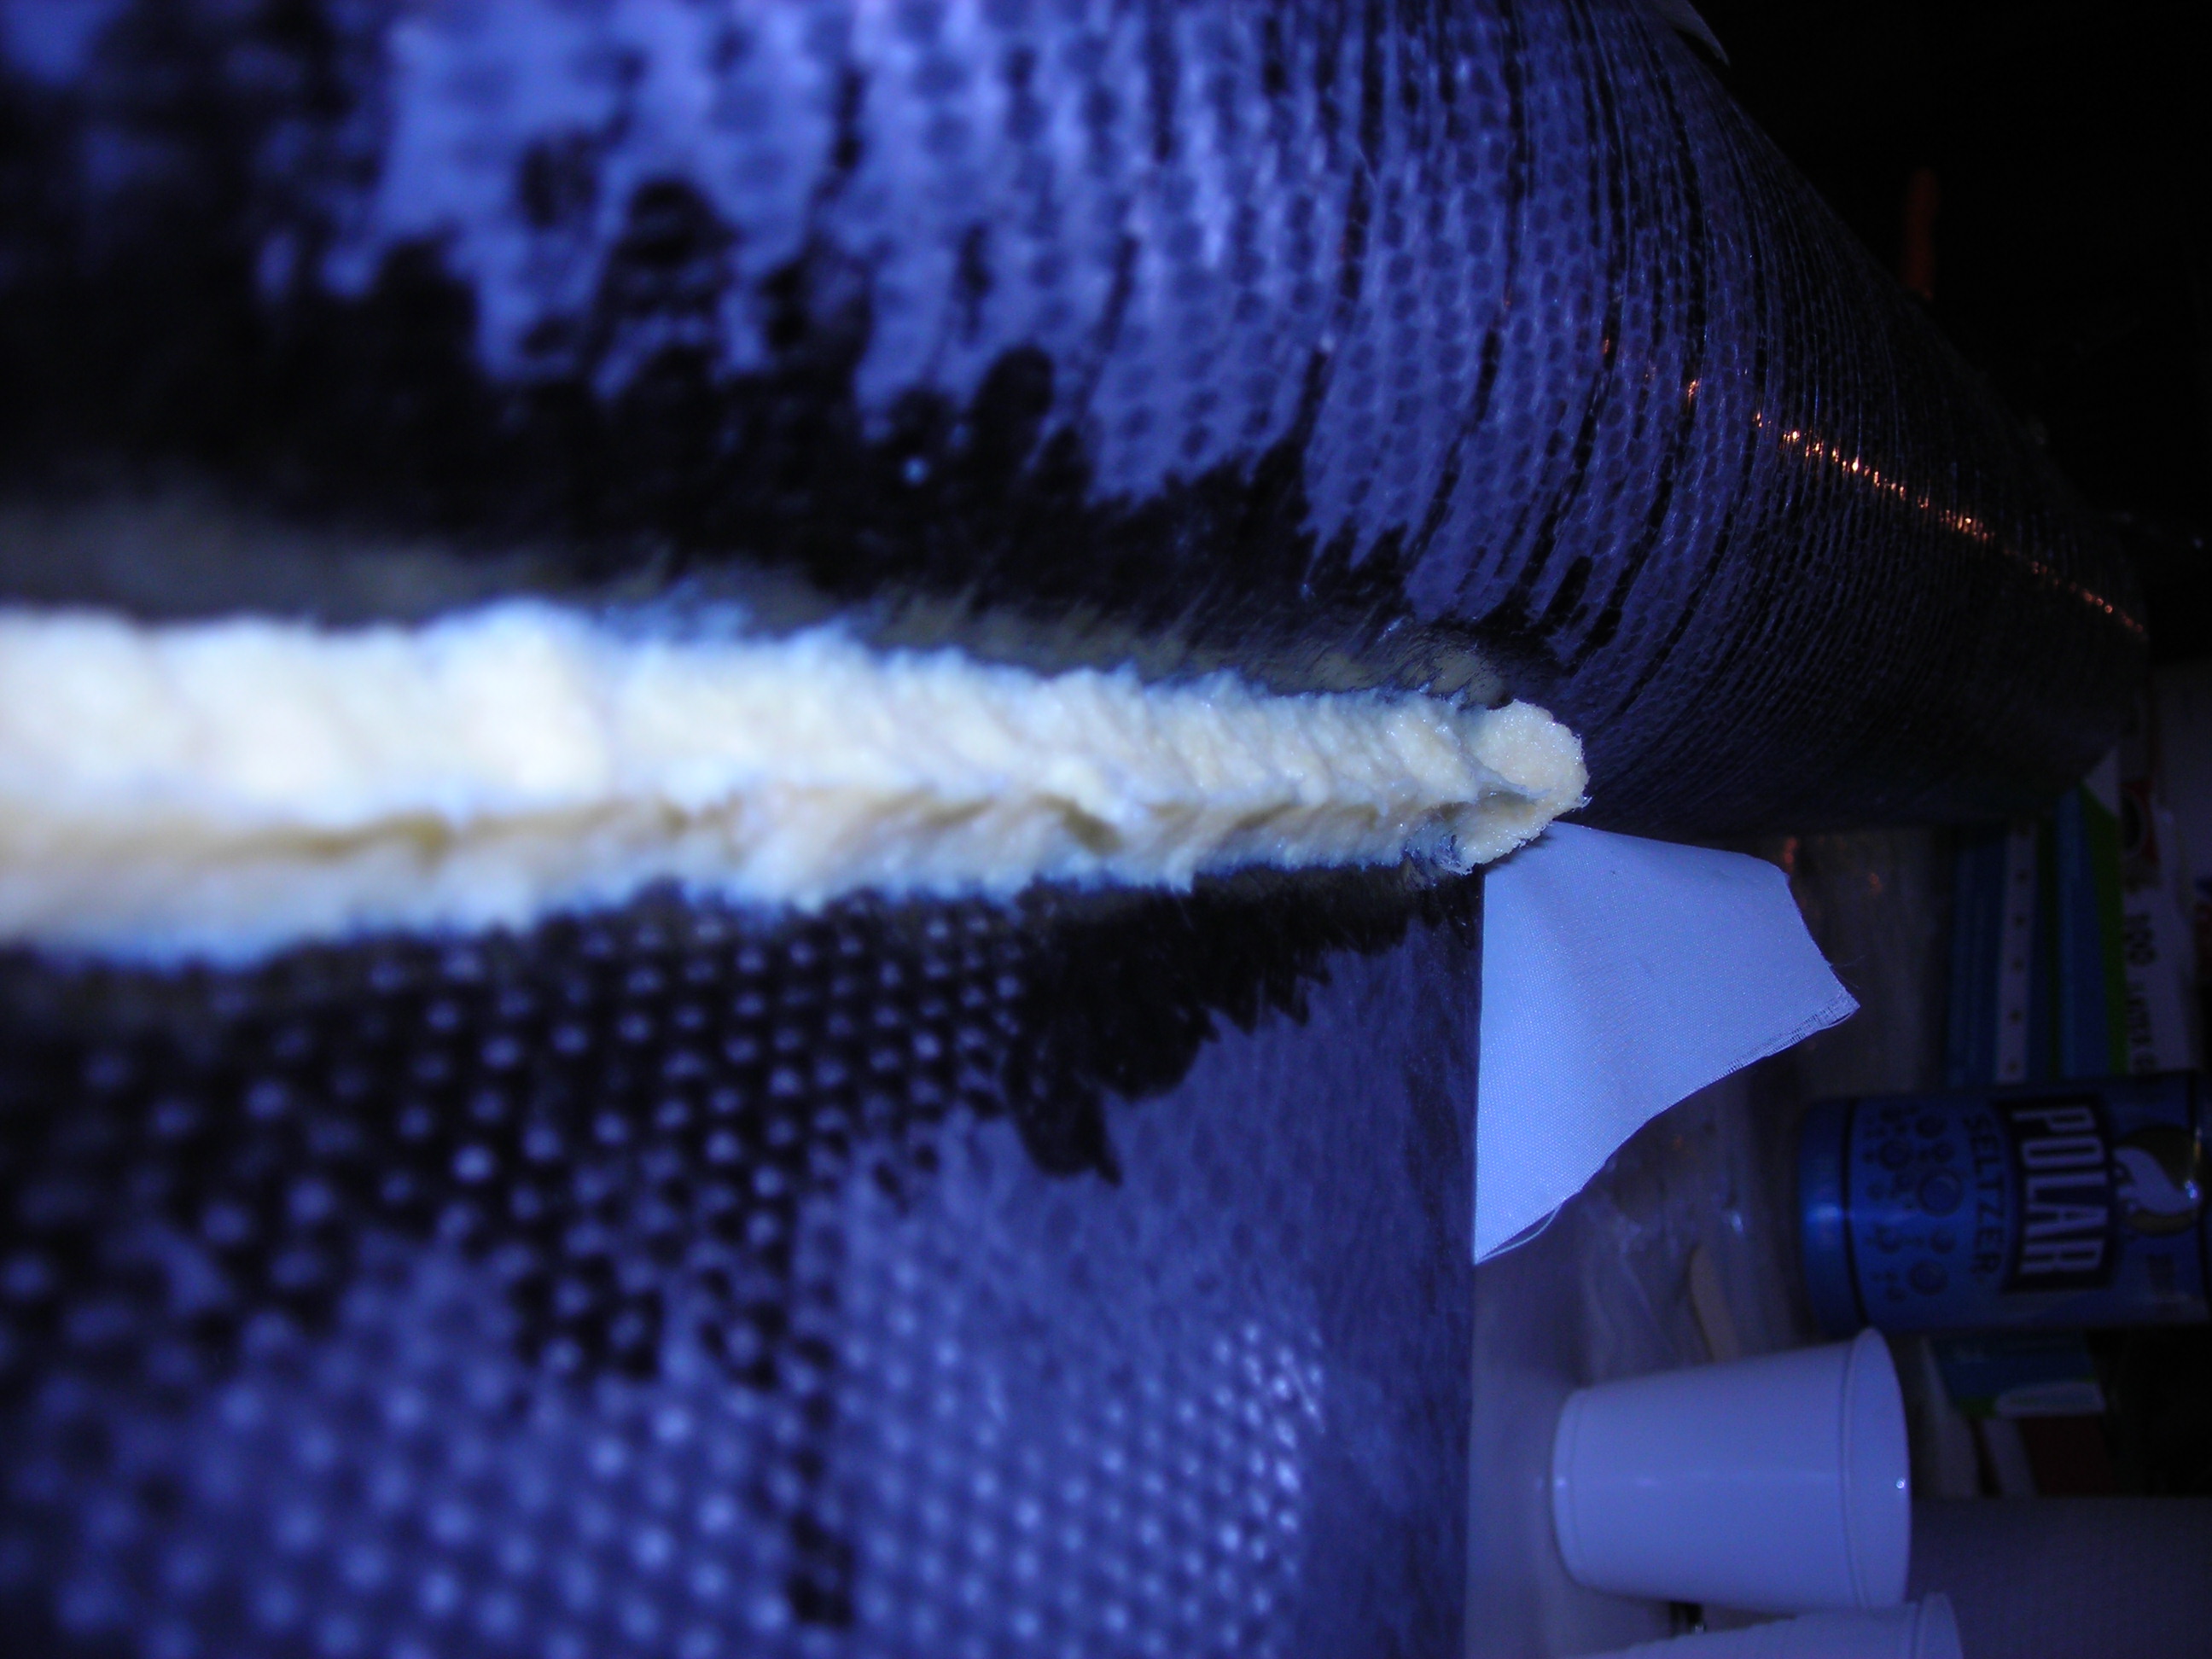
See the ridge
Smoothing out
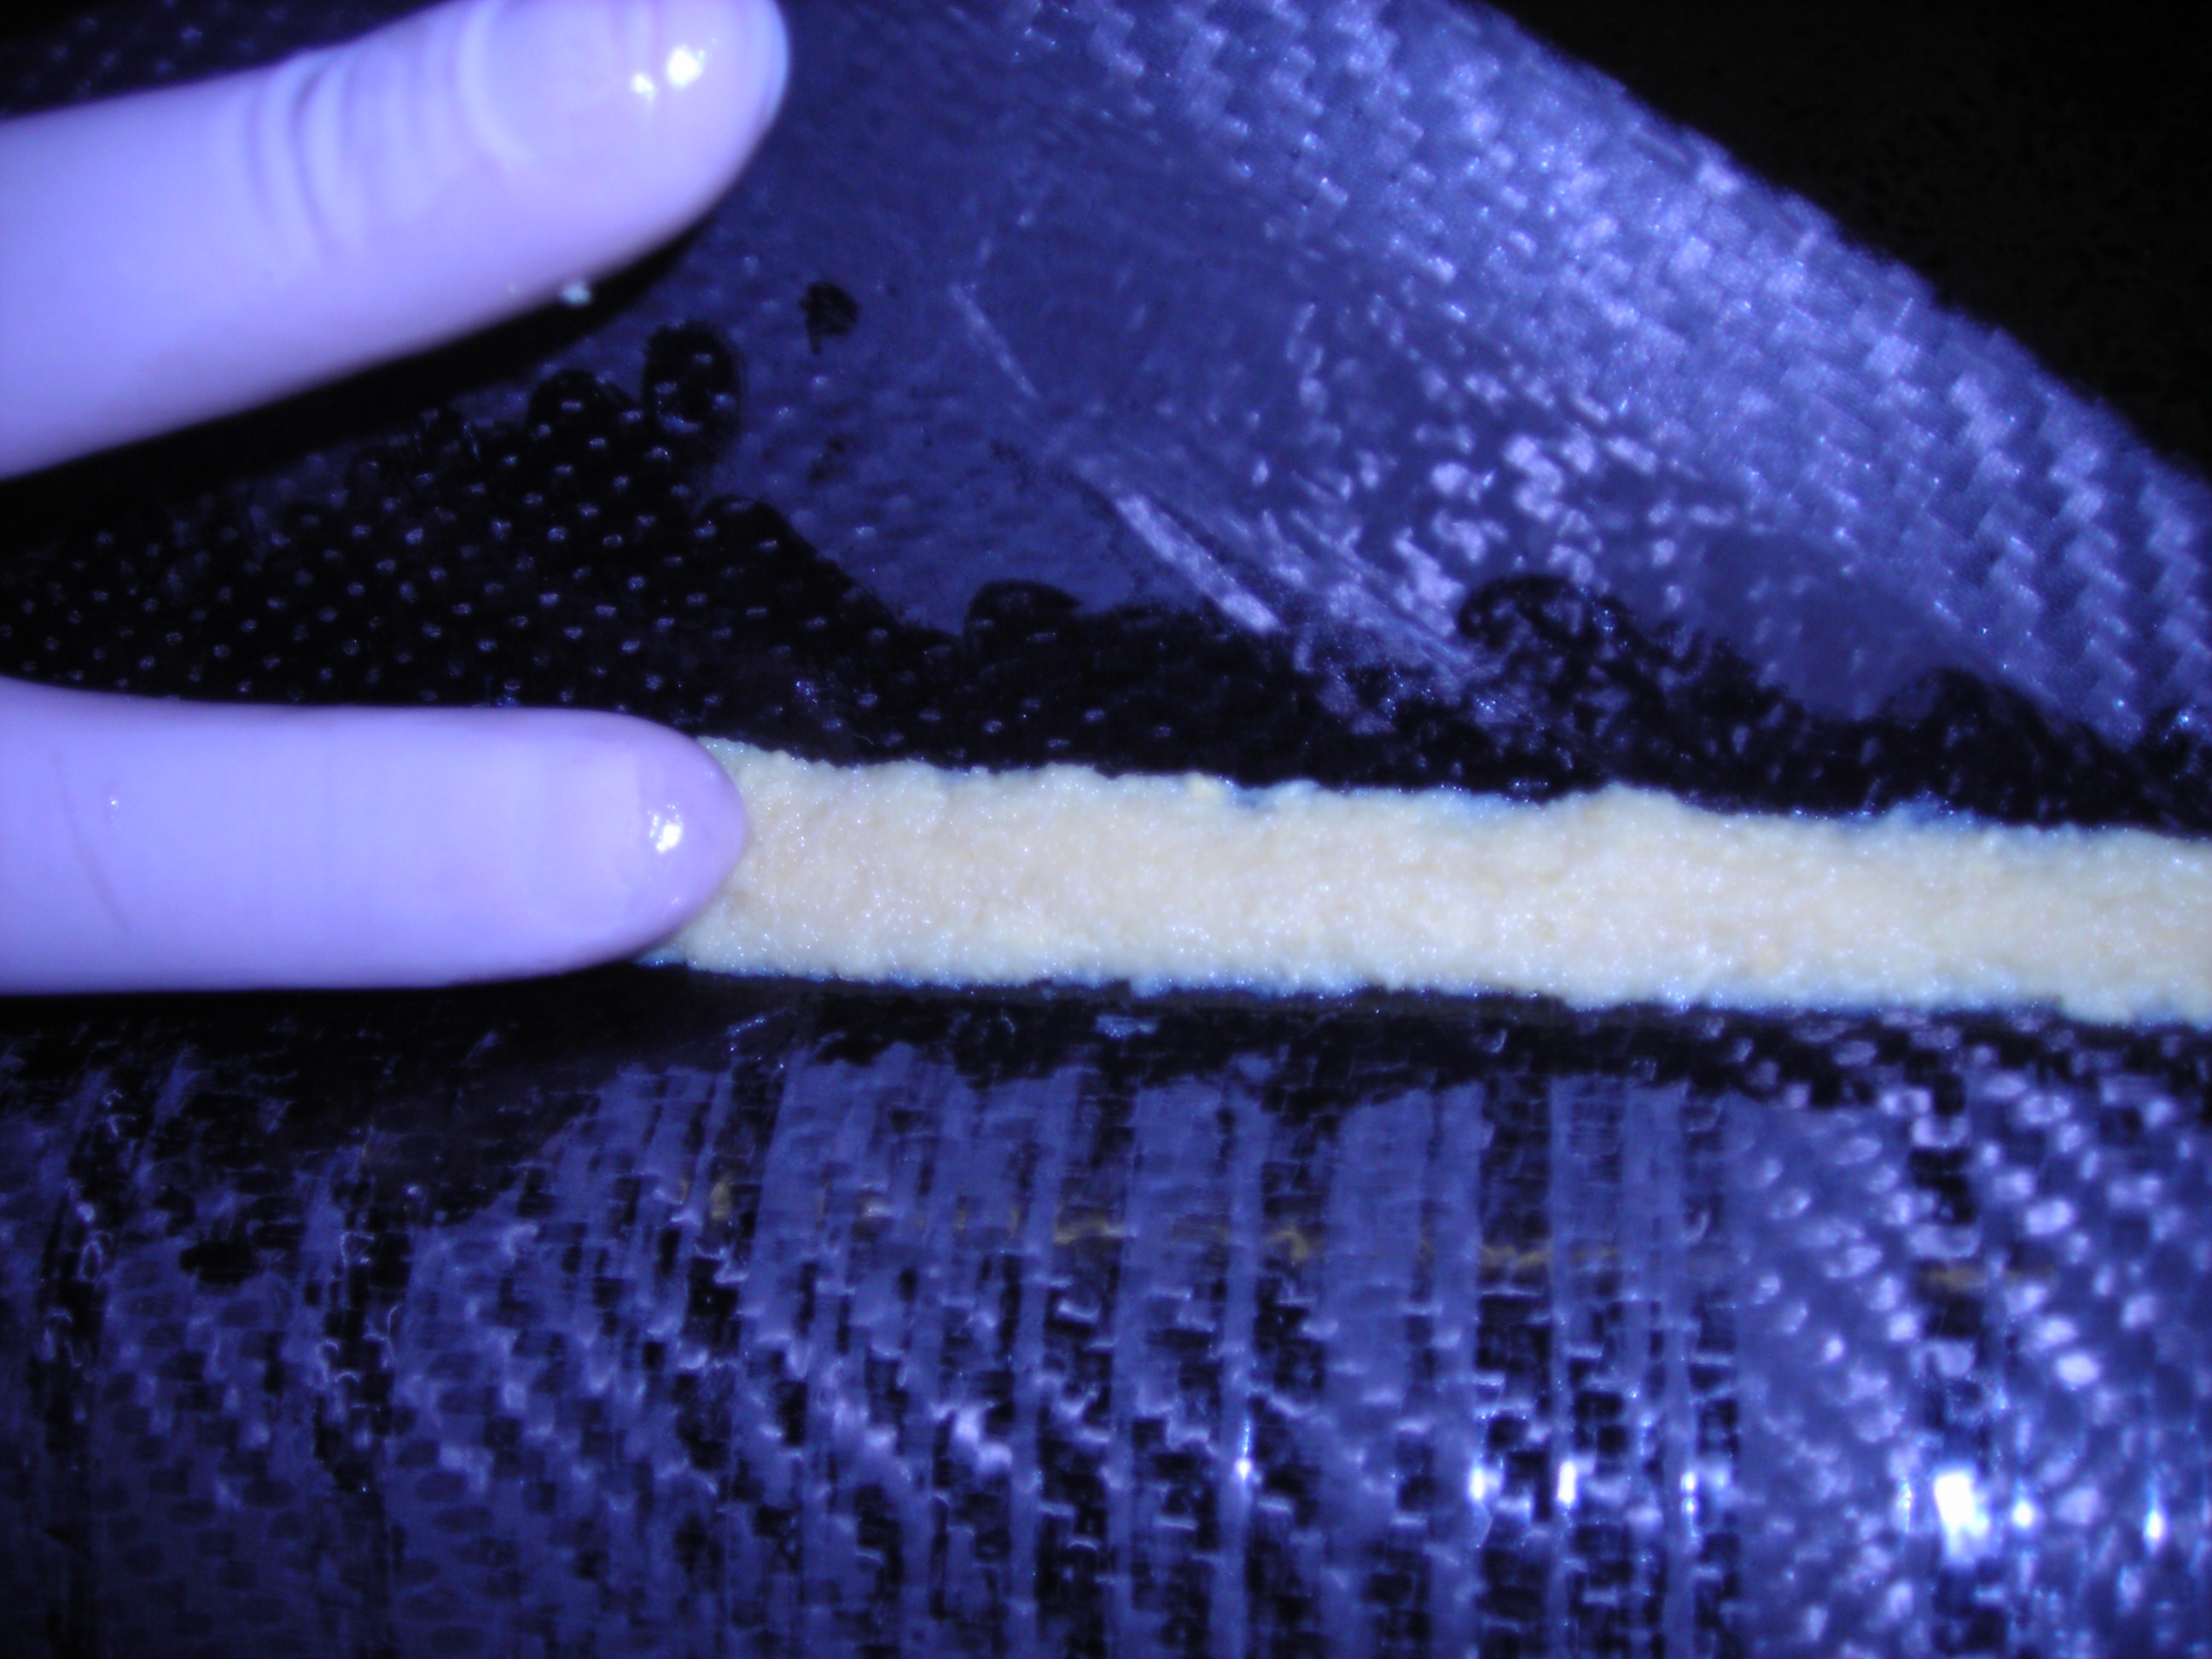
Shaped with thumb
Nice fillet

All glassed