These are some details of how I built a LOC Magnum for dual deployment.
The following PDF files have the original design and the new design
Original
Modified
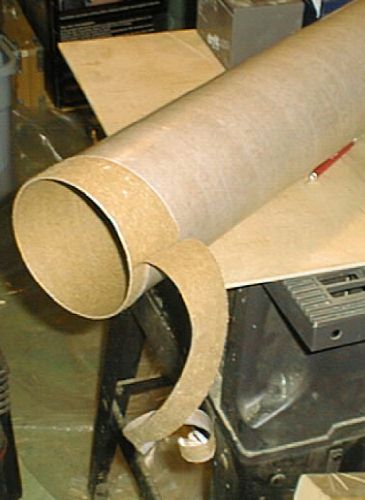
I started this project by glassing the 5.5in airframe.
The original design of the Magnum has one main tube 45in
long.
The new design called for this airframe to be cut into several
sections.
One 25" long that will form the main parachute compartment.
One
19in long that will form the drogue compartment.
And a strip one inch long
that will be glued into the middle of the e-bay.
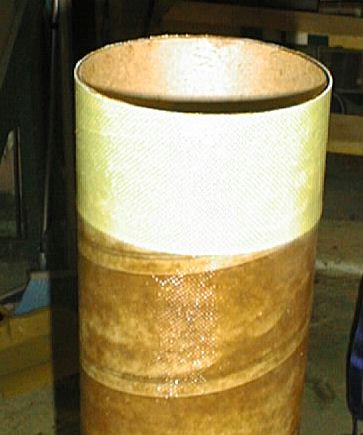
I started the glassing project by peeling off the glassine outer layer.
I put a Kevlar strip on the end of the tube and glassed over it.

The next day I cut the end flush.


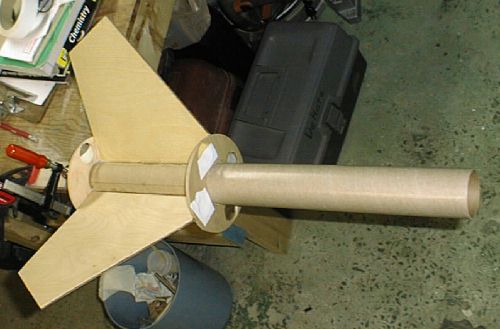
Since this rocket has outboard motors I tossed out the short MMT's that came with the kit and used a section of
29mm Phenolic tube I had.
I also made a new CR for the aft end. I did this for two reasons.
1) Since the core motor would be using an Aeropack motor retainer I had to move the outboards as far out as possible.
2) I wanted two CR's to support the outboards, as shipped the design was only going to use one.
Because the upper CR for the core MMT needs to be installed inside the coupler, I used the one that came with the kit as the aft CR.
I cut holes for the outboard MMT's in it and also cut new holes in the original aft CR to be used at the top of the fins.
I started by pealing the glassine layer off the MMT where the fins would be because I was going to glass aross the MMT from fin tip to fin tip.
I aligned the CR's with the outboard MMT and tacked them in place on the MMT with CA.


The next morning, before the epoxy fully cured, I trimmed the edges with a hobby knife.
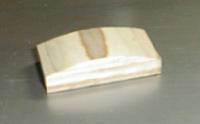
Rail Guides
I made two blocks for mounting the rail guides.
I cut two pieces of 1/2in
plywood and used my bench sander to sand them to the tubes inside shape.
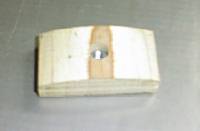
I marked the center point between the fins on the CR then glued the blocks in place.
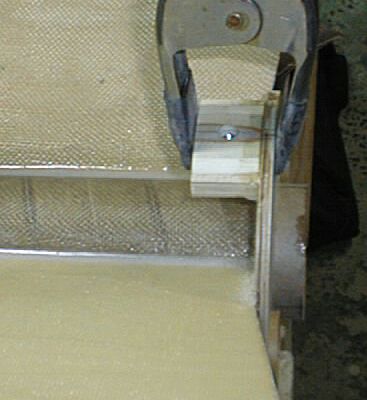
Once both were installed I placed my angle across them and marked three
points on it to help me locate them after the BT is installed. I marked the
center of both tee nuts and the bottom end of the aft CR.
This way I can
easily locate them later.
Fin slots
I like to cut the fin slots after the tube is glassed.
I made a jig to hold the tube so I can cut it on my table saw.
First I put the assembled section of the fincan into the BT and marked the locations of the fins.
Then I mounted it into the jig and made the cuts on the table saw.


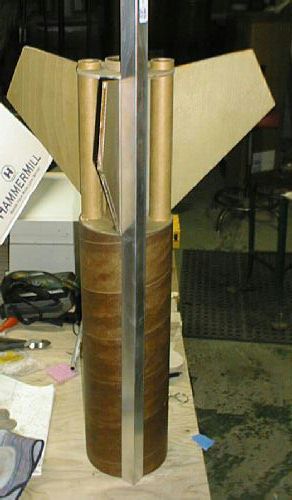
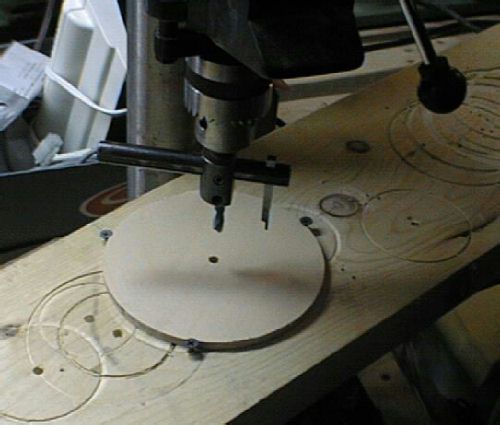
Fincan
Now that the lower BT is slotted I can test fit the pieces of the fincan.
But first I needed to cut the upper CR. I used my router circle cutter to cut the outside of the CR then used my fly cutter to cut the 54mm ID.
Electronics Bay
The e-bay needed a hatch to mount the altimeter.

They fit very nice
Nosecone
I cut the bottom off the NC and glued in a bulk plate.