
Screen shot
I decided to build this monster after the NC was donated to me.
It wasn't really a rocket nosecone but it will work for the project.
Target weight is 50lb so I can fly it on 3in M motors.
This is a link to a PDF drawing of its design(14.3kB)
Screen shot
Summary
This is a basic 3FNC design.
The fins have to be removable so I have designed that in.
I also want it
to be a coupler-less design.
What that means is that there will be two
sections of the rocket but they wont use a coupler to join them.
They will
simply disconnect from each other at apogee.
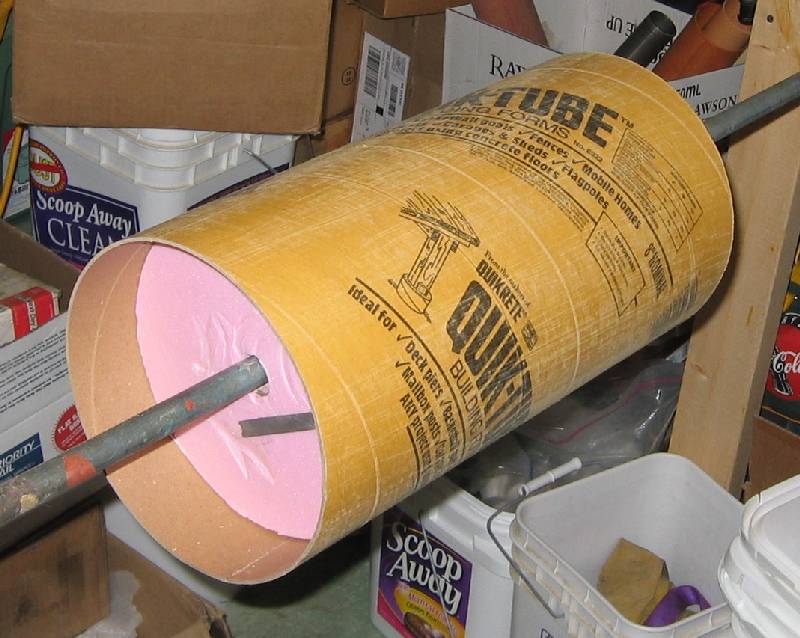
Nose Cone

The nose cone that started it all
Body Tube
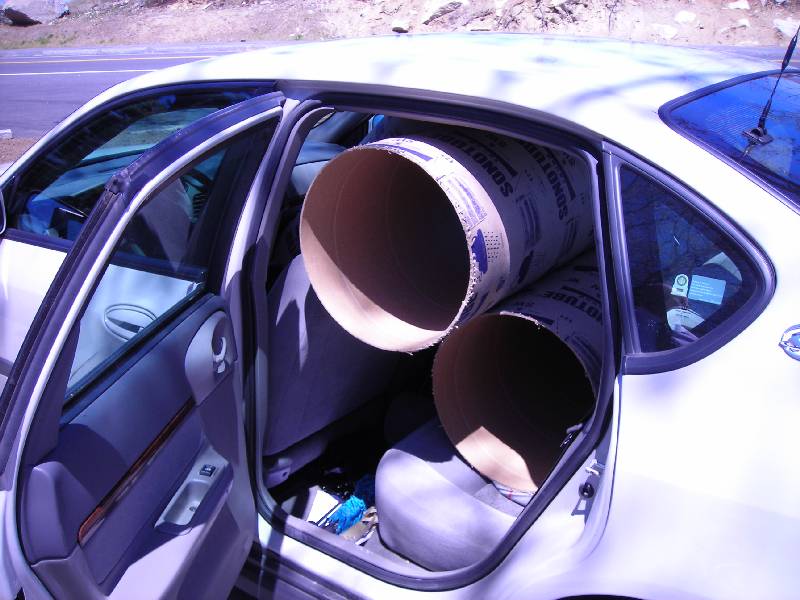
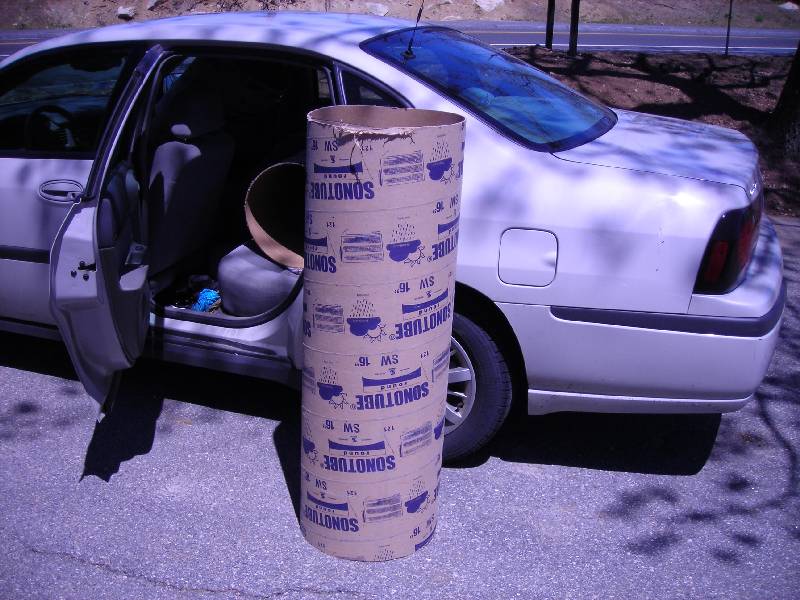
The tubes arrive!
I started this project with a 16in Sonotube.
That is too heavy so I decided to use it as a mandrel for a glass tube.
I made up two foam rings to center the tube on a 1in pipe
I had to sand the tube so it was smooth then I put mylar film over the tube.

Tube glassed

Tube pulled
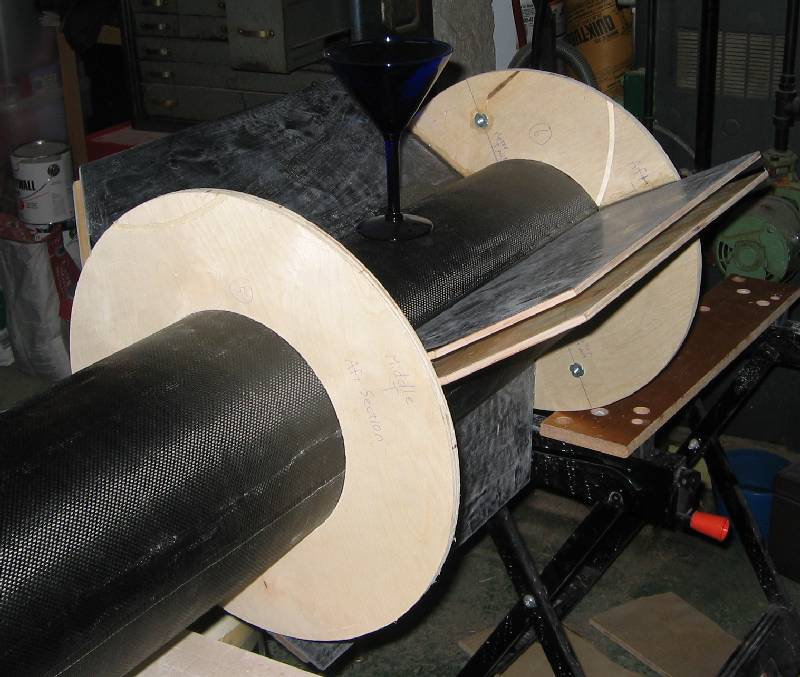
This light construction for the outer 16in tube makes a fairly flimsy tube so I decided to do a biaxial tube design.
With this I used an 8in sonotube I had as a mandrel and made some strong 8in tubes out of 2 layers of carbon and 4 layers of 6oz glass.
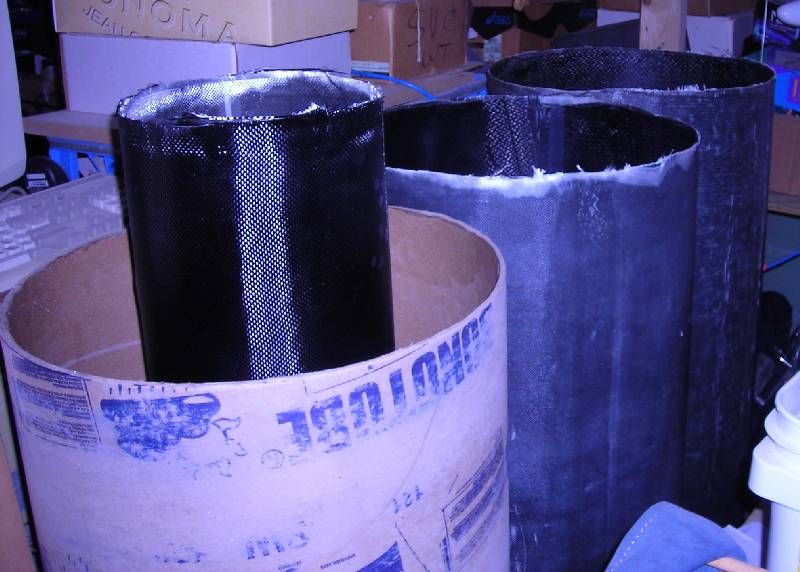
8in and 16in tubes
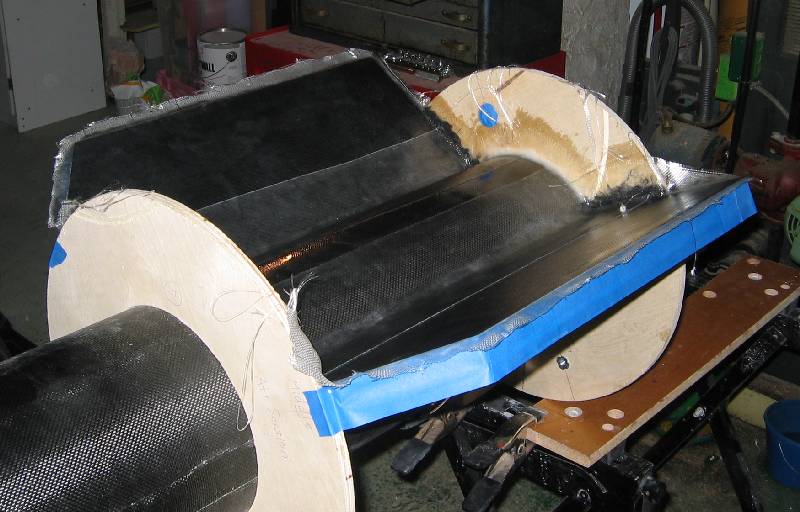
I was going to do some sort of pyro release to seperate the two
halfs but time ran short so I simply made an 8in coupler out of the sonotube I
had.
I made one cut length wise down the tube then glued it back
together.
The 1/8in kurf of my table saw blade reduced the OD by about
.04in.
Enough to get a couple wraps of CF and glass on there.
Coupler waiting for glass
Fins
I need the fins removable so I can fit it in my car for transport.
I also wanted them light to keep overall weight down and to cut down on nose weight.
I initially wanted to use 1/4in plywood but I needed sheets at least 24x24 and didn't have time to order online.
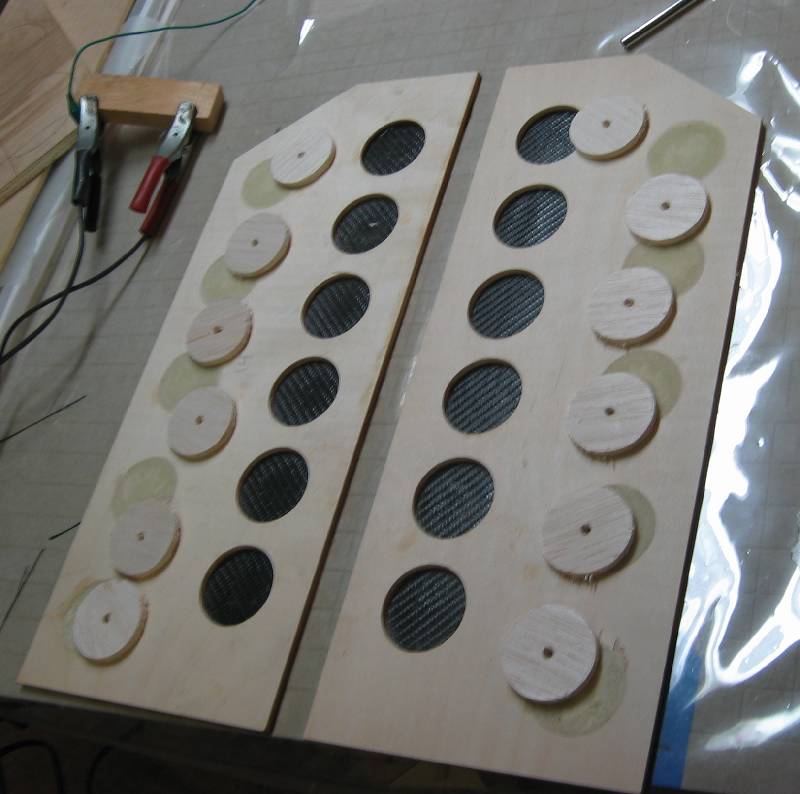
I opted to use 1/2in foam from Home Depot
I put 2 layers of 5.7oz CF and 2 layers of 6oz unidirectional glass on each side.
This made for a very light and strong fin.
The original 1/2in ply fins I cut were 40oz each w/o any composit on them.
The completed foam fins were only 30oz each!! That saved me 7.5lb in the tail.
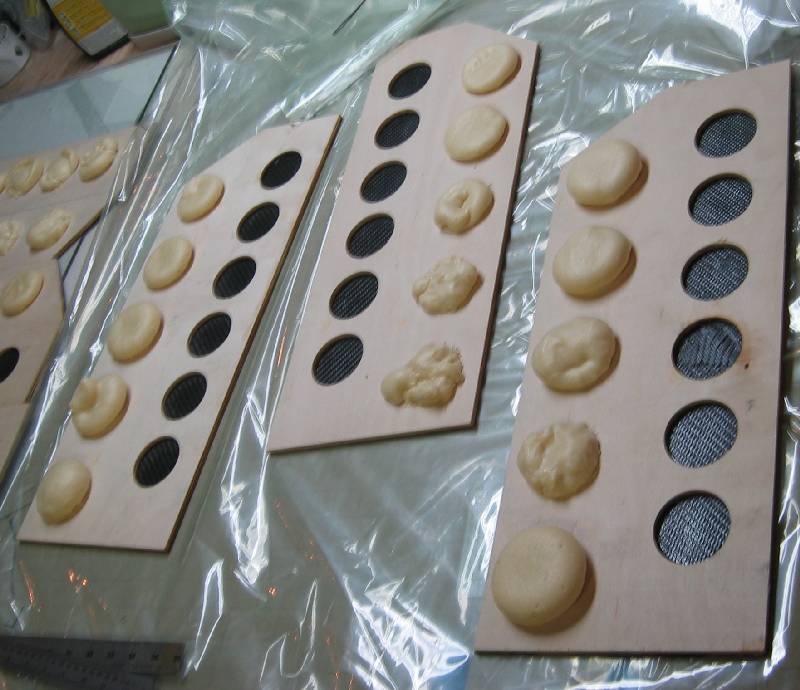
Filling lightening holes
Filling with balsa
Sub fins tack down
Sub fins glassed
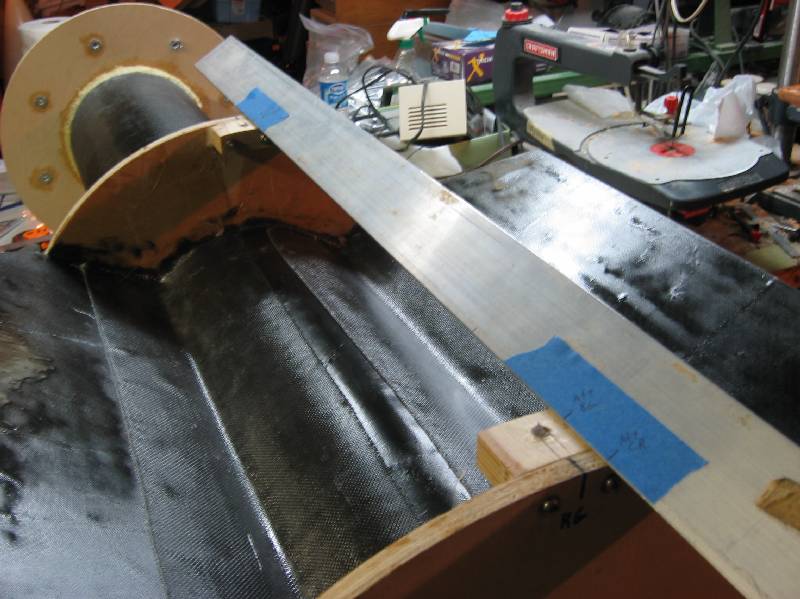
Rail guides
I like to put nice strong blocks for my rail guides to mount to.
I used 3/4in plywoood cut roughly 2in square.
I shape one side to conform to the curve of the body tube.
A 1/4in tee nut is inserted into the back of the block.
These were bolted in place with two stainless #8 bolts as seen in the following photo.
You can almost make out the vaseline that I filled the threads and hole with.
This keeps the epoxy out of the hole/threads when I mount the body tube.

Rail guide mounts
Rail guide mount locations
Test Fit
Time for a test fit and photo op...
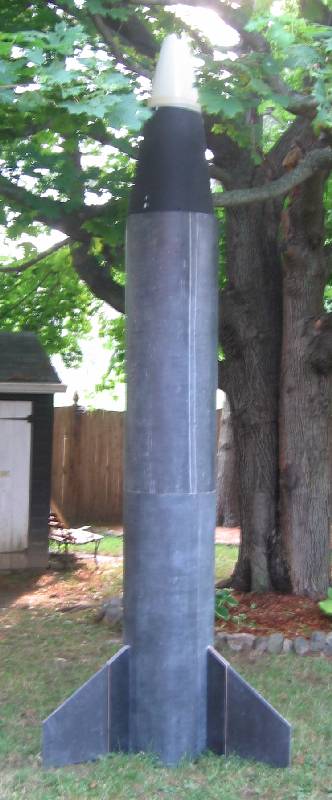
Looks good