Construction Details
11/4/2002
The Basic Box:
The basic structure is 3/4" MDF with straight butt joints.,
glued and screwed (screws removed after the glue set). If you have proper shop
equipment, then reducing a 4'x8' sheet of MDF to flats is academic. Not having
access to table saw, I have two choices: Buy 12"x48" shelving material
have Home Depot rough cut the panel. I usually use shelving material, but
this time, partly because of the cost and partly because of the number of cuts
to be made, I let the guy at Home Depot make the cuts. He was friendly, helpful
etc., but the flats were only close to spec, and the panel saw blade was only
close to vertically square. I had to do some squaring of the material with a
plane before construction. Anyway, reduce some MDF into the following panels:
- Baffle: Note that this piece is the full width of the cabinet,
but butt against the top and bottom pieces.
- Sides(2): Butt against the baffle.
- Back:
- Lower Back: This piece forms the ascending part of the pipe. The
back functions as a partition here.
- Top: The baffle and sides butt against the top.
- Bottom: The baffle and sides butt against the bottom.
- Upper Shelf Brace: All three braces are 3/4" thick with 1" wide
latticework, and can be either high quality plywood or built up from hardwood
strips. MDF will work in a pinch, but is really too weak in compression for
bracing. All braces should be cut a little long in depth and then trimmed for a
tight fit. The short arm of the upper brace is trimmed to be a tight fit against
the driver magnet.
- Middle Self Brace:
- Lower Shelf Brace:
- Corner Reflectors(2): Optional. I did some testing that proves
corner reflectors make no audible difference in this type of cabinet. Some folks
like to use them just because.
- Furring Strips: Because I used a 1 1/2" round-over on the front
corners of the cabinet, furring strips are required here to maintain the
structural integrity of the butt joints. Use 3/4"x3/4" fir, pine, whatever,
probably rip a 1"x2" board in two. I recommend that you do not use MDF for
this.
- Driver Trim Panel: Because I did not flush mount the
drivers, I put a 1/8" hardboard panel on the baffle. This effectively flush
mounts the drivers and adds visual interest to the front of the cabinet.
Future speakers are a stack of boards.
About the shelf braces:
This cabinet has rather large unsupported panels. Panel
vibration is a potential problem. I used different techniques in each of the two
cabinets that I built. The first cabinet has 1/8" vinyl floor tiles glued to all
of the panels with vinyl mastic. The second cabinet has a 1"x2" furring strip
glued to the center of each panel down the long dimension. The vinyl tile
approach is the most successful.
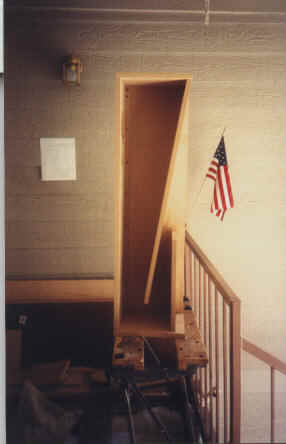
Looking for a better method, I wondered what the effect of
bracing would be. I simulated shelf bracing by adding sections to be pipe 3/4"
in length with a substantially reduced area, then expanding the pipe cross
section back to the original area. To my delight, the bracing does not effect
the harmonic structure of the pipe. It simply acts like stuffing. With this
information in hand, I added three shelf braces to the design.
If you use the shelf braces (highly recommended), you MUST put
the stuffing in place prior to sealing the cabinet, as it will be impossible to
stuff the lower two sections through the driver hole. Therefore, tuning the pipe
after completion is not possible. Any tweaking must be done before you glue the
second side on.
As an alterative to shelf bracing, you could use 1" birch
doweling. I would simple drill 1" holes through the panels and install the
dowels after the cabinet is complete, but before finishing. If you stagger the
dowels from front/back to sides, you might still be able to stuff the cabinet
after it is sealed.
Order of construction:
The basic construction method is glued and screwed butt joints.
I use yellow PVA glue. You can use biscuits if you want. If you are going to use
rebated or tongue and groove joints, you are on your own for adjustments to
panel sizes. I use 1 3/8" course drywall screws. Drill pilot holes the full
depth of the screw, and drill a clearance hole through the outer panel. Be
careful not to strip the holes when inserting the screw, particularly when
screwing into the edge of a panel. Remember that the screws provide no strength
to the joint. They are for alignment and pressure until the glue sets. I remove
the screws after the glue set. The easiest method of construction that assures
everything is square:
- Make sure all of the panels are to correct dimension and
square. It is really time consuming to have to adjust or replace a panel later
on!
- Cut the driver cutouts . Use whatever technique works for
you. You may flush mount the drivers if you want. I did not; I used a 1/8" trim
panel to accomplish the flush mount. What I did was: Cut the trim paned to side
and tape to the baffle. Mark the center points of the drivers. NOTE: Make sure
that you make the two cabinets mirror images -- The tweeter on the left on one,
on the right on the other. Drill the center point through the trim panel and the
baffle. I used a compass to mark the driver cutouts and cut the holes with a
saber saw.
- Make provisions for mounting the cross-over. The simple
crosse-over I used fits on a 6"x6"x1/8" piece of 1/8hardboard. I placed
the cross-over at the top/back of the cabinet behind and above the 850122. Drill any
screw holes you expect to use now, because it will be nearly impossible once the
cabinet is sealed.
- Glue the furring strips to the front edge of both side
panels. NOTE: You will have to notch the edges of the shelf braces to match the
furring strips.
- Dry fit everything using the steps below. Use enough screws
to hold the cabinet together. It makes sense to drill all of the screw holes at
this time. When you are satisfied that everything fits correctly:
- Glue the baffle to one side. I usually start with the baffle
to the left and the left side down. Use the top and bottom panels to assure
alignment, gluing them to the baffle and side.
- Glue the shelf braces and the back panel to the side/baffle.
- Glue the lower back panel to the side. Install the corner
reflectors if you choose to use them.
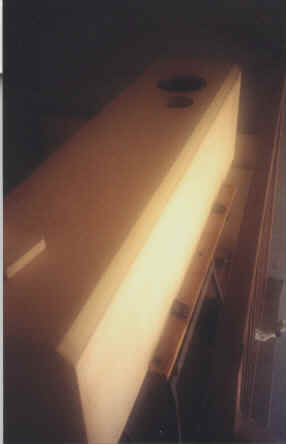
Here is what you should have at this point, except you have the
three shelf braces installed:

- Install the vinyl tiles. You will need about 20 12" tiles.
Cut the tiles to fit, covering the entire inside of the cabinet plus the inside
of the lower back panel. Don't forget the top and bottom. Before you apply the
mastic, cover the edges that will be glued to the other side with masking tape.
Put masking tape on the glue lines of the missing side. And try to keep the
mastic off of the outside of the cabinet. Mastic does not mix well with PVA glue
or anything you might use for finishing. Now apply the mastic with a notched
trowel and place the tiles. You do not need a lot of pressure to secure the
tiles. Just make sure there is good contact between the tile and the mastic.
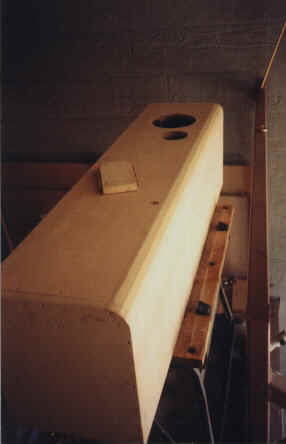
- Install the stuffing. 1 lb/ft3 in the first two section, 1/3
lb/ft3 in the third section. You now have:
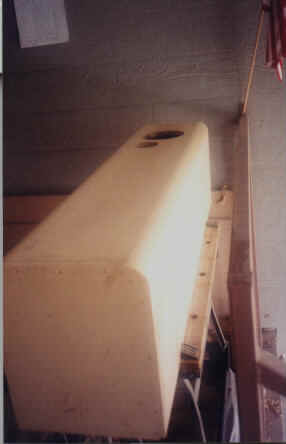
- Glue the right side to everything else Now you have:

- Time to do the round-overs. Anyone can run a router over the
edges with a 3/4" round-over bit. But that's not very good for defraction
avoidance. I chose a 1 1/2" round-over. I started by making a template, easiest
if you have a CAD program. I cut a 45 degree flat and then 22 1/2 degree flats
using a hand plane:

Next, I added more flats until I had seven equal flats. From
there, 60 grit sandpaper finished the round-over:
>Round-over complete!
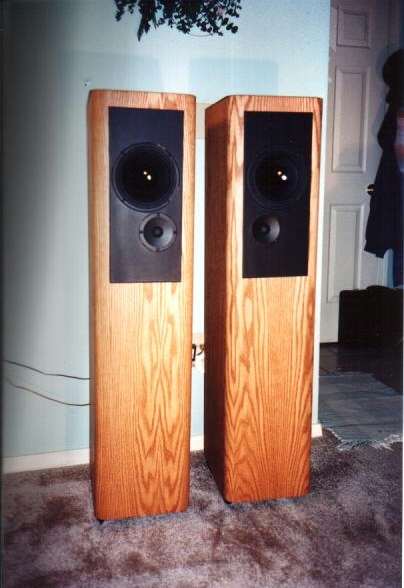
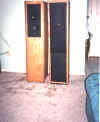
- Finishing: I wraped the cabinets with red oak veneer. With
the large round-overs, the unknowing think the whole cabinet is cut from a
single log! I used the yellow glue/iron-on technique on this project. See
Veneering. The trim panels are finished to fit
around the drivers and sprayed with truck bed liner. The back of the cabinets
are also sprayed with truck bed liner.
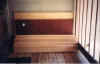
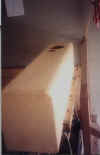
- Mount a pair of wiring terminal on the back of the cabinet.
I used threaded posts because they do the least violence to the structural
integrity of the panel. See the picture of the back below as a suggested
location.
- Mount and wire the drivers. Wire of you choice. Mine is
Radio Shack 16ga speaker wire. YOU'RE DONE!

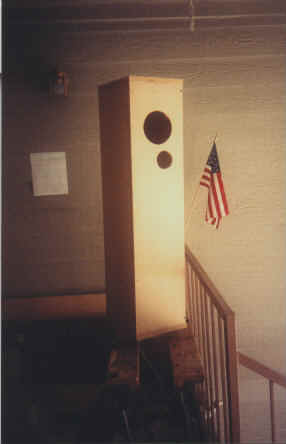
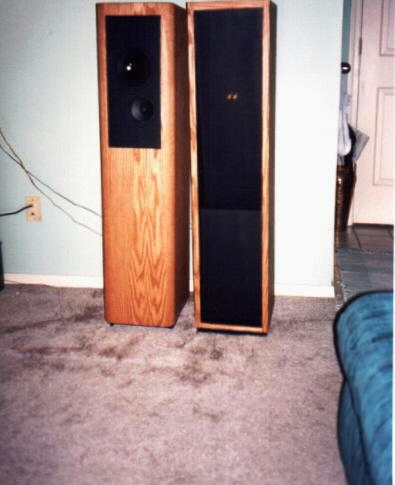
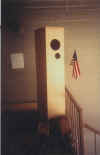
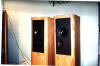
Here is a front/back view. The back was sprayed with truck bed
liner, extra heavy so that it has a sandy texture.
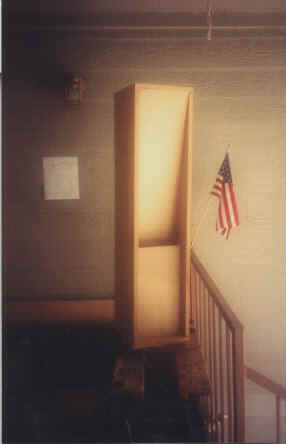
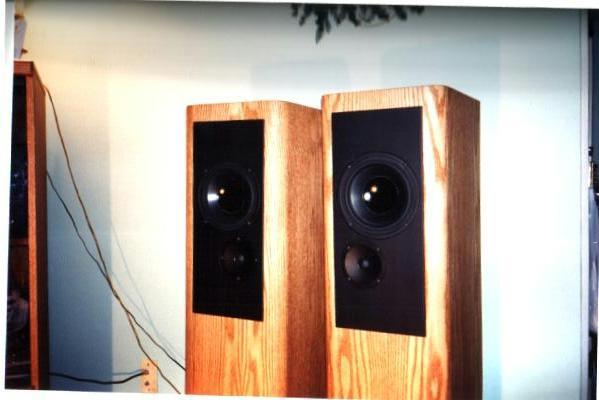
 Finally a view of the trim panels.
Top
Home