|
Please feel free to give this tutorial a try.
Only thing I ask is that you do not take it
and place it on another site or claim it as your own.
Thank You
The sunset picture used in this tutorial was
taken by me. The tube I added to it and sorry, but do not
know the creator. If it is yours, please let me know so that
it may be removed or so I can give the proper credit
to the creator.
Not sure what to call this, so will just say
Donated steps from all...lol
By: The Class of SassyNPsp
and written by SwtKitty99 aka Chelle
Ok we had a class and everyone took a turn on giving
a step to do. It turned out really pretty and I was
asked by a few how we did it, so I am going to try and
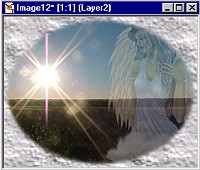
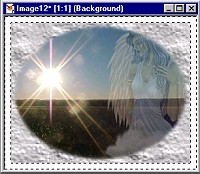
tell ya. 1st this is what we made and what this tut
will help you make

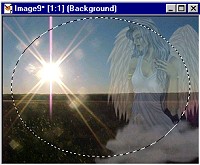
Ok Step 1 find a picture you want to use...I will use this one

Open it in psp and go to edit copy then edit paste
as new image. Close the original so you dont lose it.
Now, get your selection tool settings are
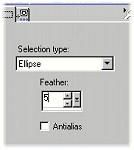
and draw around the part of the image you want to
use...dont get to close to the edges :)
Something like this
Now go to edit and copy, then edit paste as new image
and you can close the other image. Now we have this
Add a new layer to your image. Ok, get your eye
dropper tool and pick a color from your picture. Next get your
lil bucked tool and flood fill the image. Next go to layers
arrange send to bottom.
You should now have something similar to this.
Now go to effects textured effects texture. These
settings are really up to you, but here are the ones I am
using for this picture
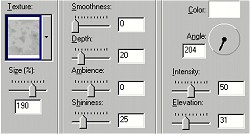
I think that texture is called granite, but dont hold
me to that :)I know have this
Ok you can now go to layers merge all flatten
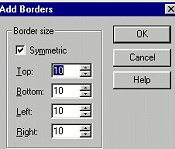
Next be sure your background color is white and go to image
add borders and apply these settings
Now get your magic wand and with these settings
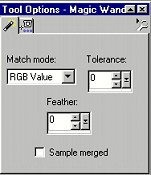
Click on the white area around your image so that you have this
Now go to effects plugins flaming pear super blade pro
or just blade pro and apply your choice of settings.
I now have this
Dont deselect yet...go to selections invert.
Now go to effects 3d cutout and apply these settings (I cant
remember the exact settings we used, but play with it till you
get something you like) Here are my settings
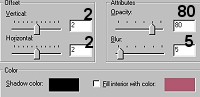
Now apply these settings again, but change the vertical
and horizontal to minus 2
Go to selections select none. Almost done :)
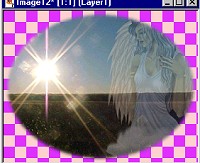
Go to edit copy...Now go to edit paste as new image...set
the original to the side for a second. On the one you just
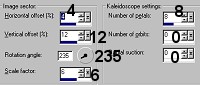
pasted go to effects reflections kalidoscope and apply
these settings
Now...go back to the other image

and go to edit copy...now go to the one you applied
the kalidoscope to be sure you have that image selected and
go to edit paste as new layer. It will totally cover the
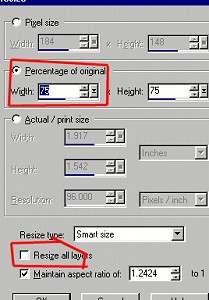
image below it.Now go to image resize and use these settings
(be sure all layers is NOT checked)
Now go to effects sharpen and sharpen 1 time
Go to layers Merge all flatten
I now have this

Ok...yes almost done :)
Be sure background color is still white and go to image
add border and use the same settings as before.
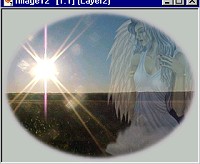
Repeat the previous steps...Get the magic wand...same
settings, click on the white border and apply the same
blade pro preset. Now Invert and apply the same cutout
as before. 1st using vertical and horizontal set at 2,
then again set at minus 2. Go to selections select none.
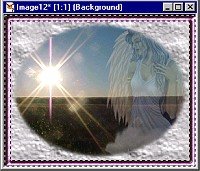
I now have this

Ok, thats it :) add a few sparkles, or whatever
you want and you are done. Bet you thought I would
never finish...lol Hope you like
(((((Hugs Chelle)))))
To return to the tutorial index please click below.

To return to main page please click below.

Copyright � Jan.2002 Chelle
|

