|
Please feel free to give this tutorial a try.
Only thing I ask is that you do not take it
and place it on another site or claim it as your own.
Thank You

Key To My Heart
Do not alter this tutorial in anyway or take the images
from it. Thank You SwtKitty aka Chelle
This tutorial is written in psp7
If you have any questions please feel free to email me at
[email protected]
With Valentines coming I have seen all kinds of heart and
key tubes, but wanted to try and make my own.
I have saved the selections files if you would like to use
them click below to download these files.

Plugins Used~Flaming Pear Super Blade Pro
Now lets get started
1. Open a 400x400 transparent image.
Add a new raster layer.
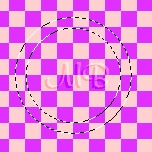
Go to Selections~Load from Disk and choose Heart01.sel
Your image will look like this
2. Get your Flood Fill Tool, Set your foreground color
to white and fill the selection on your image.
Now go to effects~plugins~flaming pear~super blade pro
I am using the preset gold_shiney.q9q
(NOTE: You do not have to use a filter effect on this, you
can also flood fill it with a picture, Use a texture...be
creative and make it your own)
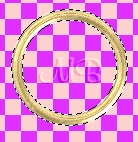
You can use whatever preset you would like. That is totally
up to you. I now have this
3. Go to selections~select none.
Add a new raster layer.
Go to selections~load from disk and choose Heart02.sel
You should have this
4. Get your Flood Fill Tool, Foreground color still set
to white and fill the selection on your image.
You should have this
5. Now go to effects~plugins~flaming pear~super blade pro
Same settings. Next go to selections~select none.
Now go to Layers~Merge~Merge Visible
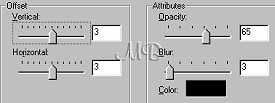
Now go to Effects~3D~Drop Shadow and use these settings
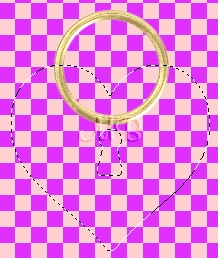
6. Now add a new raster layer. Go to selections~load
from disk and choose Heart03.sel
Dont worry about where the key is. Its on its own layer and
in a minute we will move it.
You should have this
7. With your flood fill tool, fill the key with white.
Now apply the same Super Blade Pro preset.
Go to selections~select none.
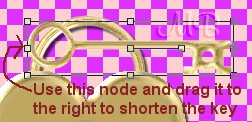
If the key is to long for you, you can use the deformation
tool and pull it in on the sides a lil bit. See Picture below.
8. Also if you do deform it I like to go to
effects~sharpen 1 time. Next lets place the key where we want
it. Get your mover tool, and move the key to where you would
like it. You can also rotate it if you would like.
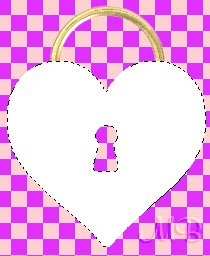
When you do have it positioned add the same drop shadow we used
earlier. I placed mine going into the keyhole.

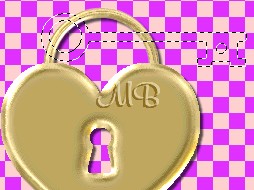
9. Now go to layers~merge~merge visible.
Go to edit~copy. Now edit~paste and new image.
You can now save your heart as a tube.
Hope this was easy to understand.
Enjoy (((((Hugs Chelle)))))
To return to the tutorial index please click below.

To return to main page please click below.

Copyright � Jan.2002 Chelle
|

