|
Please do not place this tutorial on any
other site, or claim them as your own. Thank You
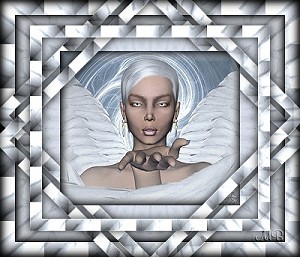
Diamond Rotated Frame
Written By Chelle aka Swt99Kitty
For this tutorial you will need
Paint Shop Pro 7
Which you can get at www.jasc.com
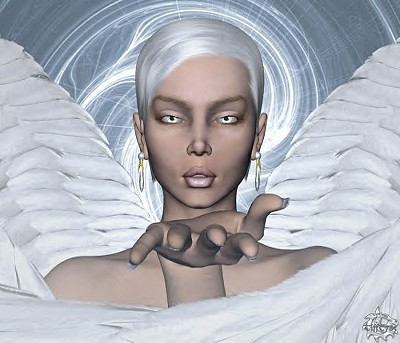
A picture of your choice
I am using Kiss Of An Angel By: TiffT785
Filter Factory A-Which you can get here http://showcase.netins.net/web/wolf359/plugins.htm
Note: Your final image may be a bit different depending
on the size of your image, I resized mine to 400X343
1. Start by opening the image you want to use, hit shift+D and
a copy of your image should open, do this 1 more time.
Close the original.
You should have 2 copies, minimize one of them.
2. On the one that is active go to effects/plugin/Filter Factory A
Kaleidoscope II, settings-Division 114 Rotations 255.
3. Selections/select all.
4.Selections/Modify/Contract By 20
5. Selections/Invert
Effects/Plugin/Filter Factory A/Holidays In Egypt.
Settings, Size 38 Line below that 43
Go to Edit/Copy, then Edit Paste as new image and minimize for now
Selections/Invert
Selections/Float
Effects/3D/Cutout, Settings V&H 0 Opacity 85 Blur 17.5
Shadow Black Fill Interior Not Checked.
6. Be sure your foreground and background color is black
Effects/3D/Buttonize-Settings Height & Width 15
Opacity 75 Solid Not checked Transparent Edge Checked
7. Select None.
8. Maximize the copy of the frame you make a second ago, be sure
its your active image & go to Edit/Copy, you can now close it.
Active the image you have been working on & got to Edit/Paste/As new layer.
9. Image/Resize Percentage of Original Checked
Width & Height 80 Be sure all layers is not checked Click OK
10. Effects/Sharpen/Sharpen
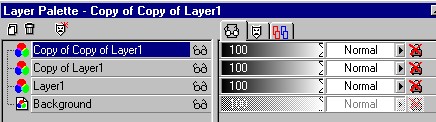
11. Layers/Duplicate
12. Then do this again, Layers/Duplicate
Open your layer palette and it should look like this
13. Click on Layer 1 in the layer palette so it is highlighted
14. Image/Rotate Settings-Right checked Free checked 45
Be sure all layers is NOT checked, click ok.
15. Selections/Select All
16. With your selection tool click anywhere inside your image.
You should now have marching ants going around the selected frame
17. Selections/invert
18. Effects/3D/Cutout & use the same settings as before.
19. Selections/None
20. On the layer palette click 1 time on Copy of Layer 1
so it is your active layer.
21. Now repeat steps 14 through 19 Except rotate to the left.
22. Now on your layer palette click on the copy of copy of layer 1
23. Selections/Select all
24. With the selection tool, click anywhere inside the image.
25. Selections/Invert
26. Again add the same cutout as before, then Selections/Select none
27. Activate the copy of the picture you set aside in the beginning.
28. Edit/Copy You can minimize or close it after you copy it.
29. Activate the image we have been working on, Edit/Paste/As New Layer
30. Go to Image/Resize check percentage of Original set at 60
Be sure all layers is NOT checked and click OK.
31. Effects/Sharpen/Sharpen
32. Layers/Arrange/Move Down, repeat this step one more time.
In your layer palette your picture (layer 4) should now be below the copy of layer 1.
33. Be sure layer 4 is your active layer and go to Selections/Select all.
34. With the selection tool again click anywhere in the image.
35. Effects/3D/Buttonize and use same settings as before.
36. Selections/Select None.
37. Layers/Merge All Flatten
Resize & Sharpen if needed and you are done.
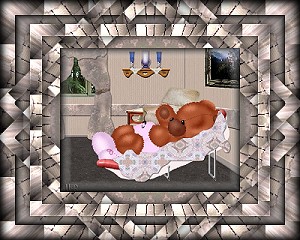
Here is another I did with a image I made.
Thank you for trying my tutorial, I hope you like your results
If you have any questions please email me at [email protected]
Please put Regarding your tutorial in subject line or it might
deleted. Thank You
Copyright � April, 2003 Chelle
To return to Kitty's main page
please click the link below.

|

