|
Please feel free to give this tutorial a try.
Only thing I ask is that you do not take it
and place it on another site or claim it as your own.
Thank You
I received many request on how I made some of
my backgrounds. I use a wonderful program
called 20/20 along with PSP 7. If you would
like to try 20/20 you can go here to check it out. http://www.hotfreeware.com
Making a Background with Psp and 20/20
By: SwtKitty99
Ok I am sure there are several ways to do this,
but this is how I make background :o)
In this tut I will tell you how I make
a background with a tube.
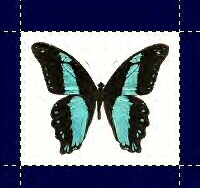
Open the tube you want to use in psp.
I am using this one
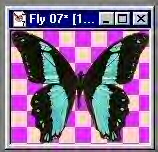
As you can see there is no extra space around
the tube, so you want to add some to it. To do this go
to Image~Canvas Size
A screen will open...
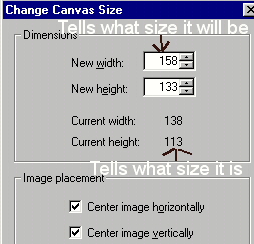
Current width tells the actual size of the image.
Above that is where you enter what you want to change
it 2. As you can see I added 20 to each the width and height.
When you have the settings click ok.
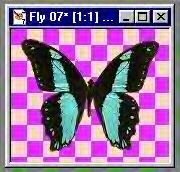
Now we have this
ok...to make a background in 20/20 we have to
merge the layers. So go to Layers Merge All Flatten.
Now go to File~Save As
Name it and save as a .jpg
Put this in a folder where you know where it is.
You can close the image after you save it.
Ok open the program 20/20
Your screen will look like this

Ok go to file~open
Open the image you just saved
Your image should now be open in 20/20
will look like this
Will have Blue all around it.
Ok now from the bar at the top you want to click on
where it says Image

next you want to click on the muted background
option which is here

This screen will open
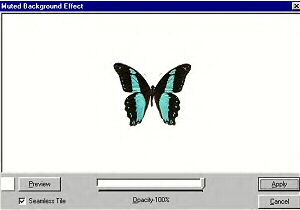
Ok...for this we are going to make a seamless
background so be sure that is checked. Now with the
slide bar lower the Opacity...I am setting mine on 30.
Now click on preview...This will show you what your
image will look like when you are done. When you are done
looking at the preview just close it by clicking on the
X in the top right corner of that window.
If you are happy with it click apply.
Note: You can also uncheck seamless tile for a different
background. Click preview to see if you like it that way :o)
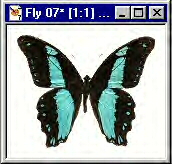
After you click apply you should see something like this
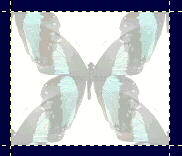
If you are happy with the results all you have to
do now is save it. Go to file~save and it will apply the
changes to the image, or go to file~save as if you want to
use the image of the butterfly for something else :o)
Now you are done.
You can do this the same way when using a picture.
Hope this is easy enough to understand.
Have fun
(((((Hugs Chelle)))))
To return to the tutorial index please click below.

To return to main page please click below.

Copyright � Jan.2002 Chelle
|

