
HOW TO OPTIMIZE YOUR JPG IMAGES
When uploading images to your web sites or using images at newsgroups, it will load on the page quicker when optimized. This lesson will show you how easy it is to optimize a graphic before saving.
Step 1
After you have completed making your graphic, you will be ready to save. Here is a completed graphic:
Step 2
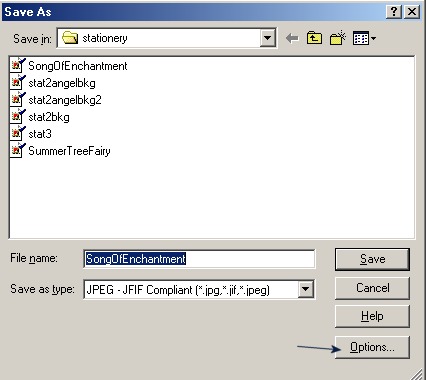
Go to File/Save as. Locate your file and for type, locate jpg. Now don't click save, but instead click the options button.
Step 3
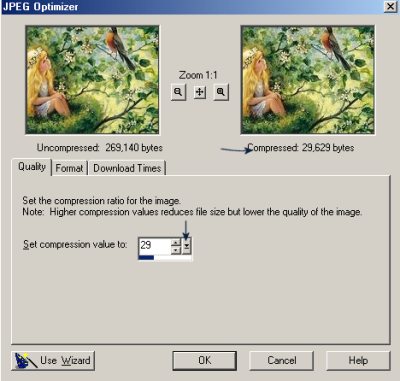
Go to the area that says set compression value, and locate a value that will make your image's compression less than 30,000 bytes. The lower the compression value, the larger the bytes. The higher the compression value, the lower the bytes being used. Look at the top right image - and it will tell you how much the image is compressed by the value you chose.
Step 4
Once you have a compression that is less than 30,000 bytes, click ok and then click save and your image will be both saved and compressed.
You will find that if you compress your jpg's, the color bleed you have been experiencing without compressing will be eliminated. You will save on web space by optimizing your images and will also make viewing your page more enjoyable to others because your images will load faster eliminating that long waiting period for the page to finally fully load.