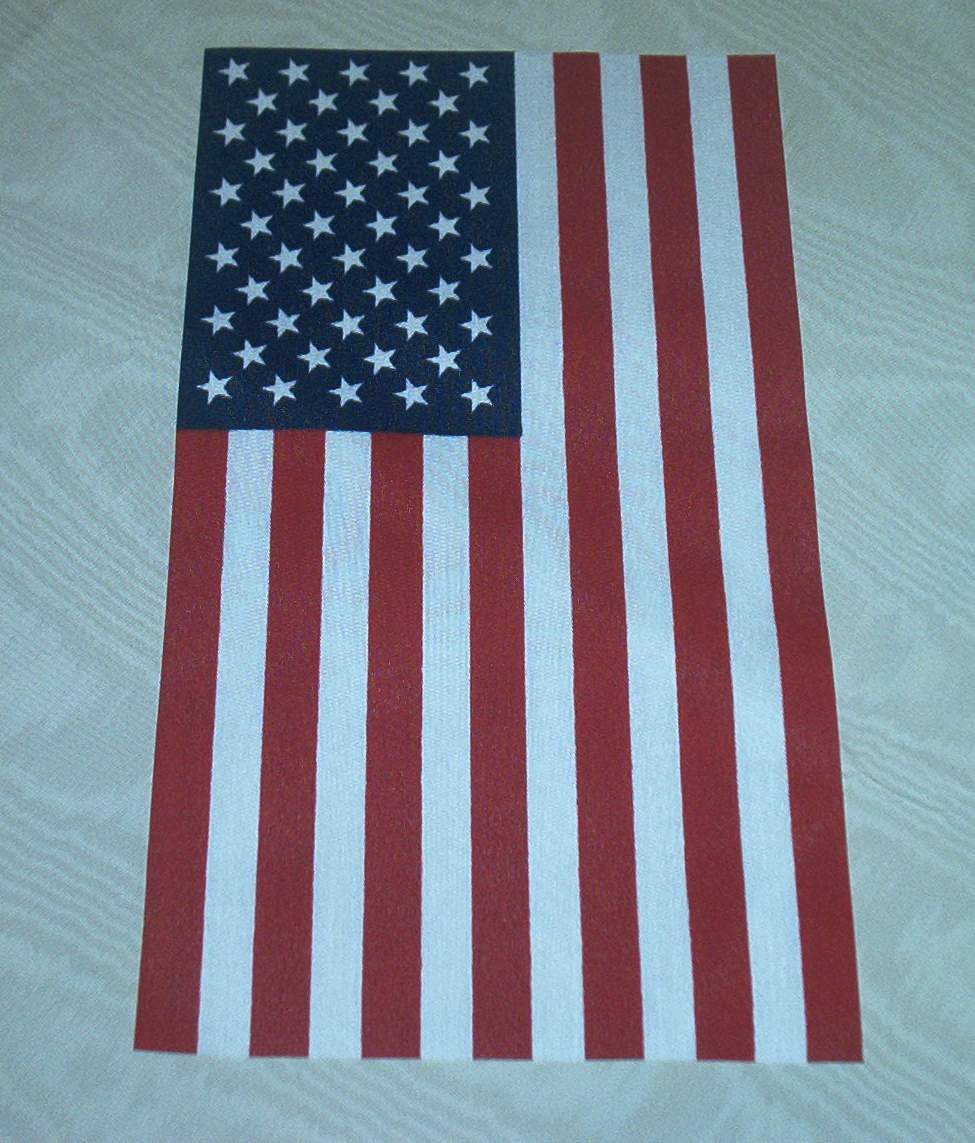
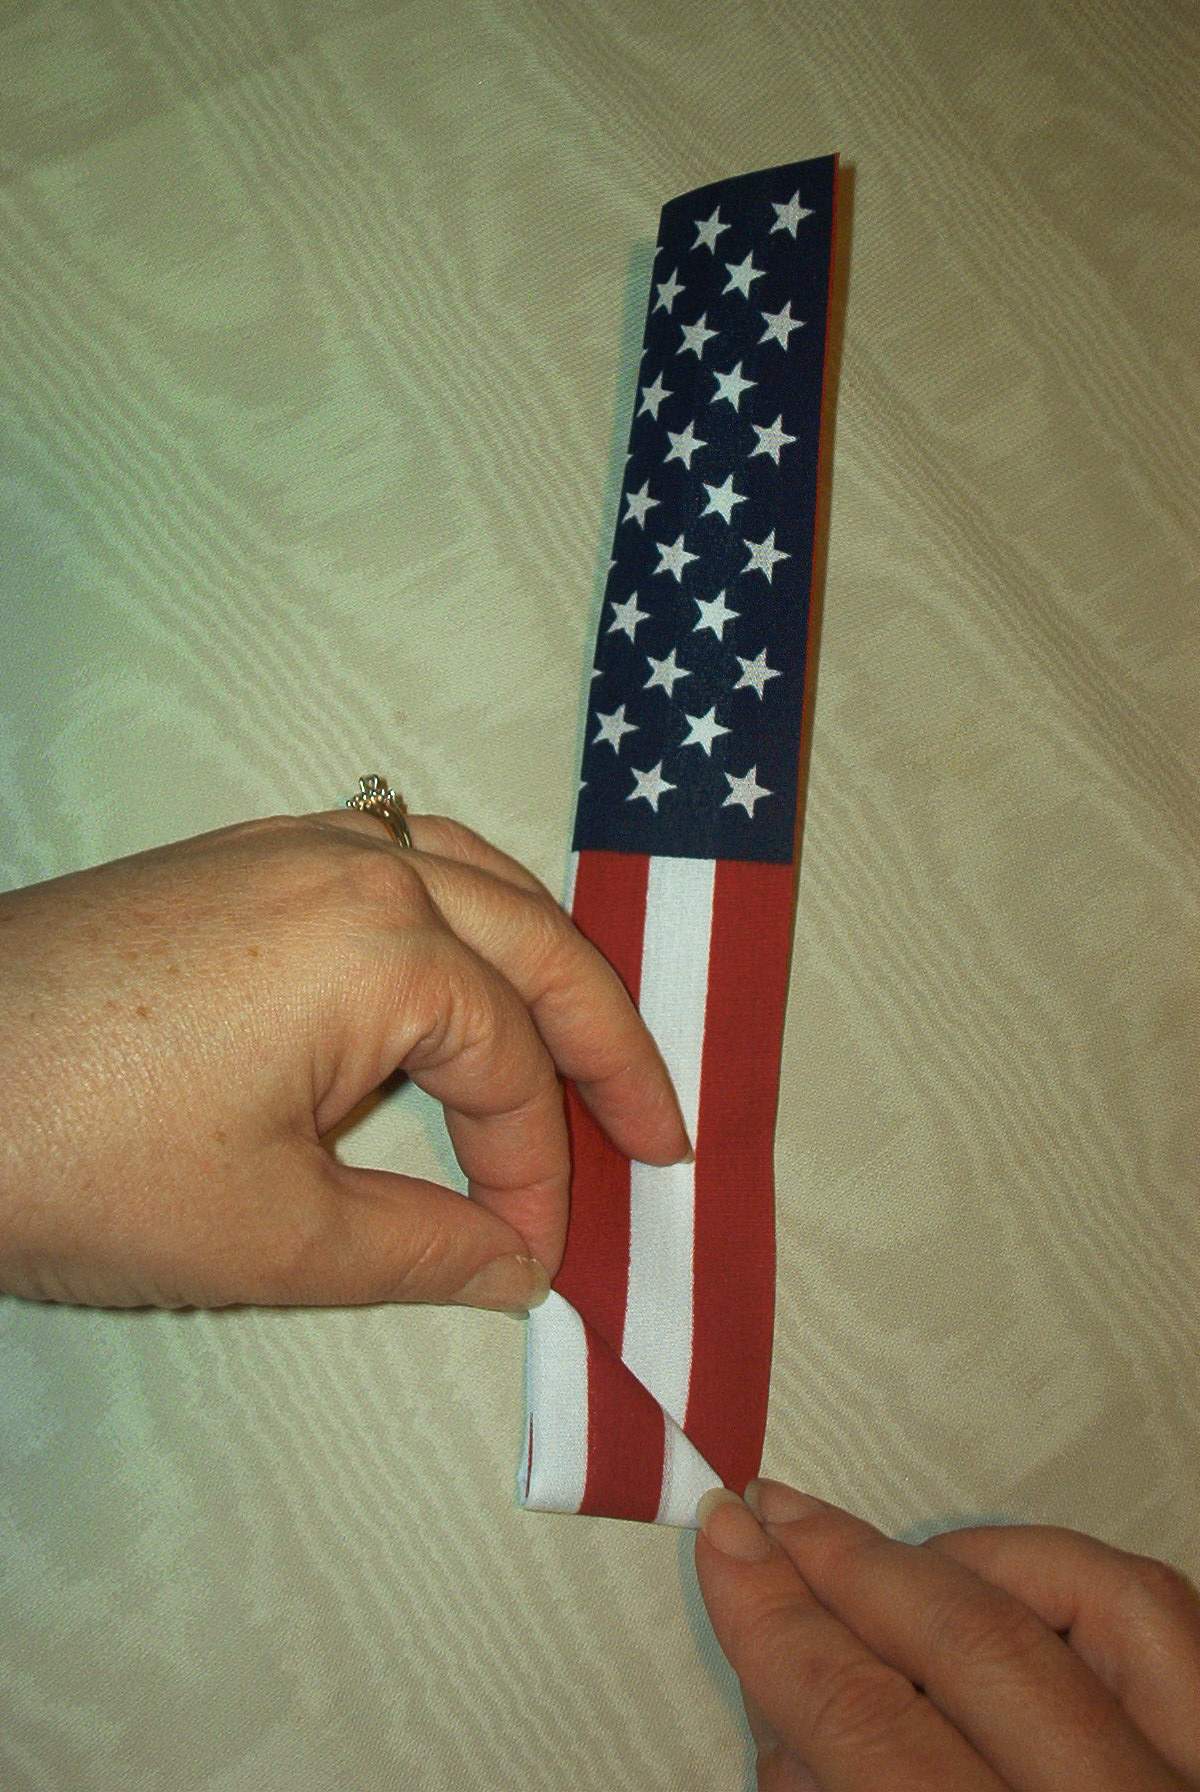
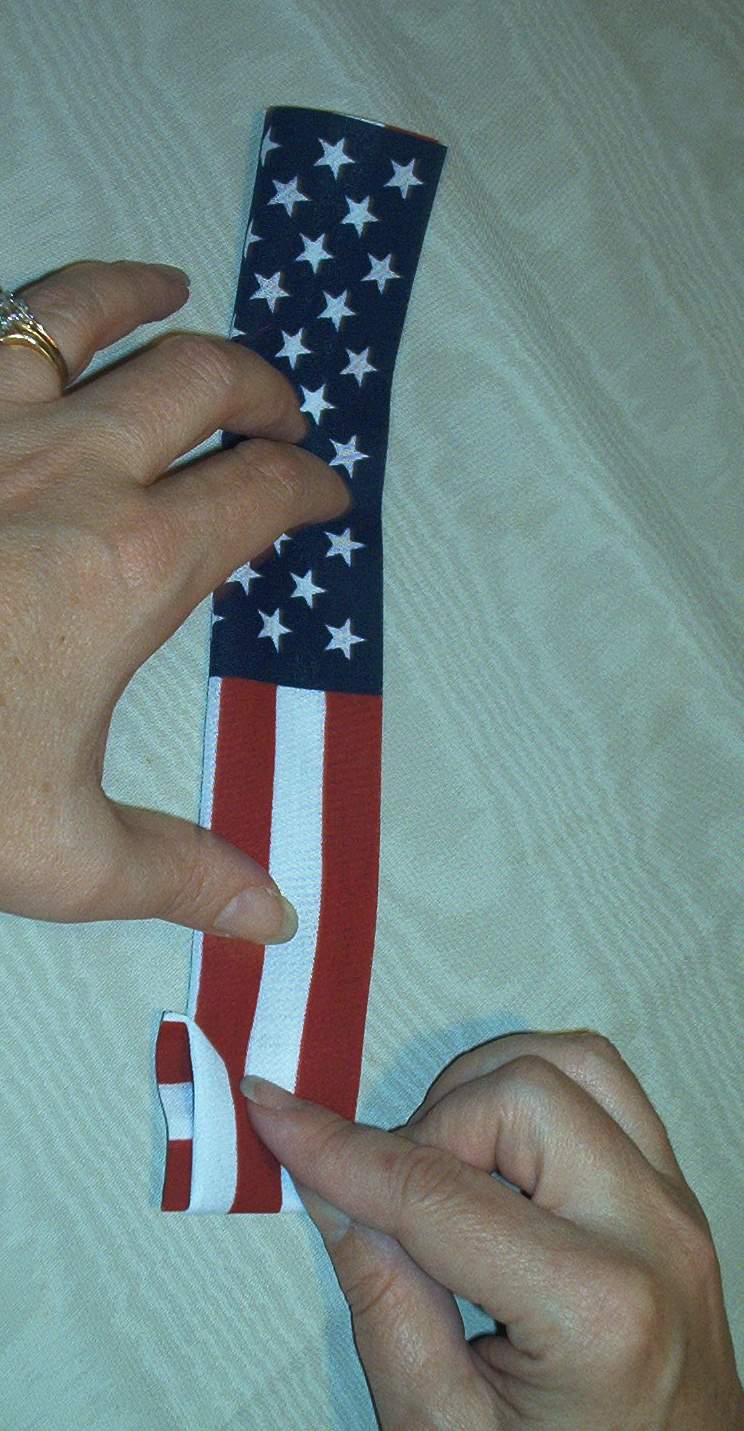
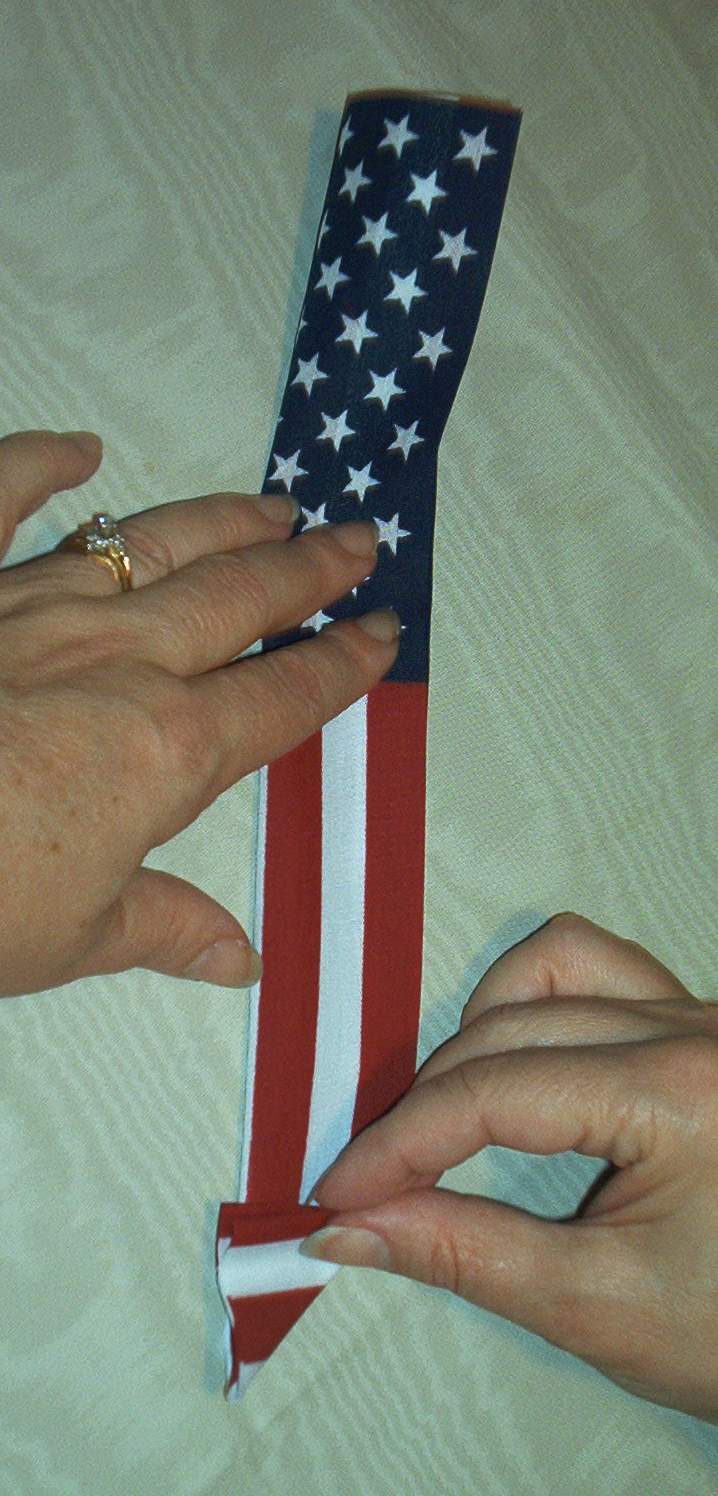
Start with the field of blue stars at the top left as you are looking at the flag laid flat on a table or work surface.
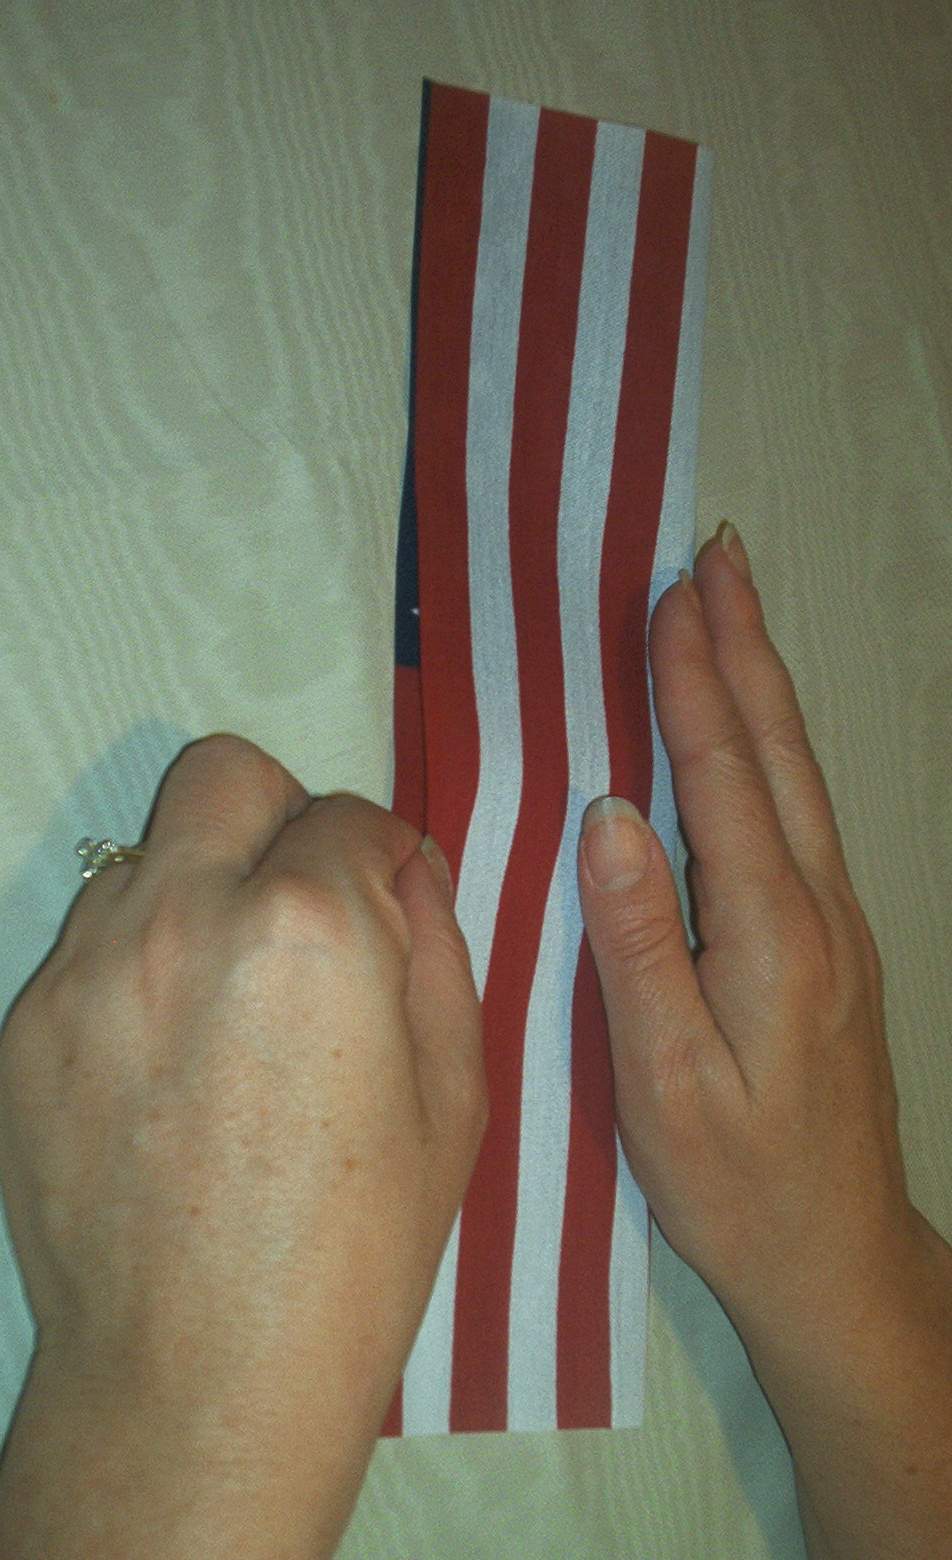
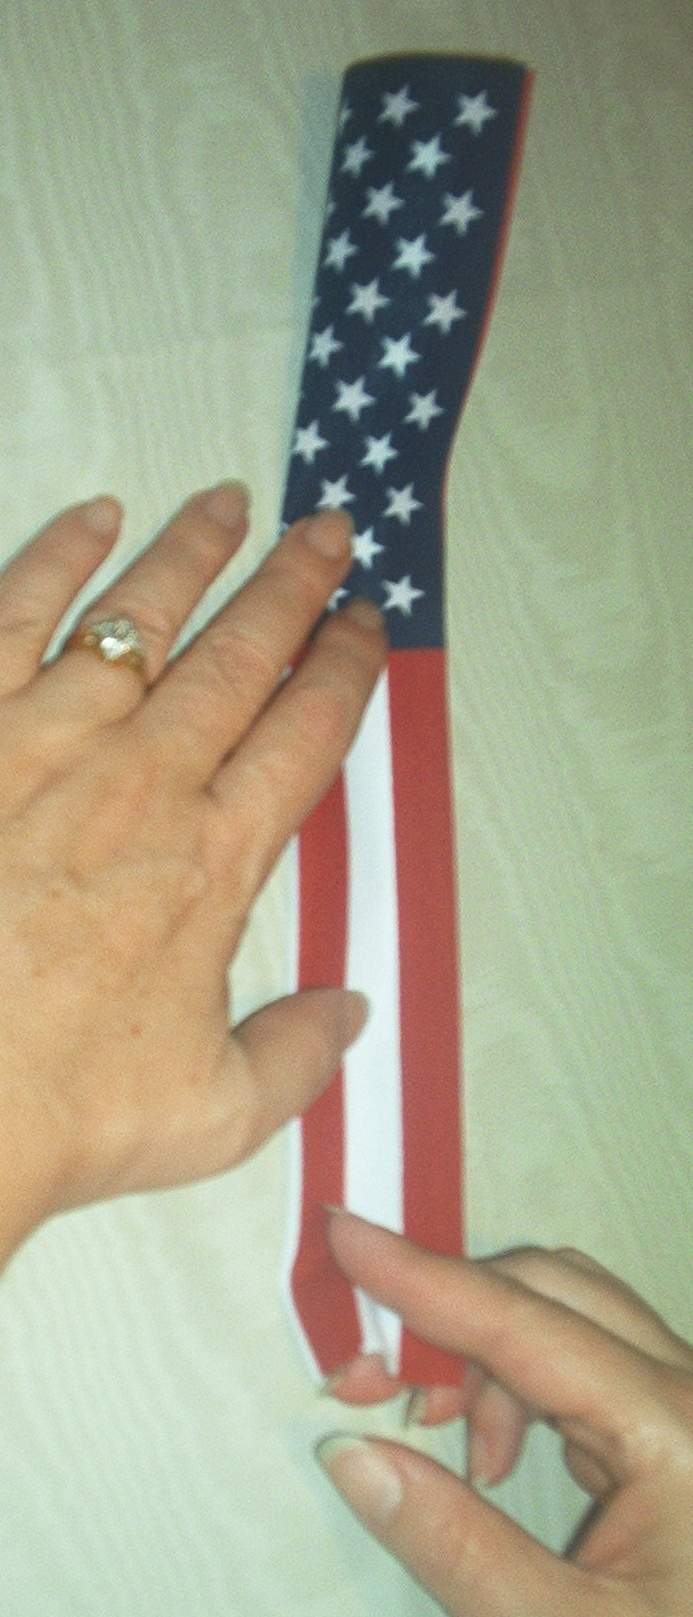
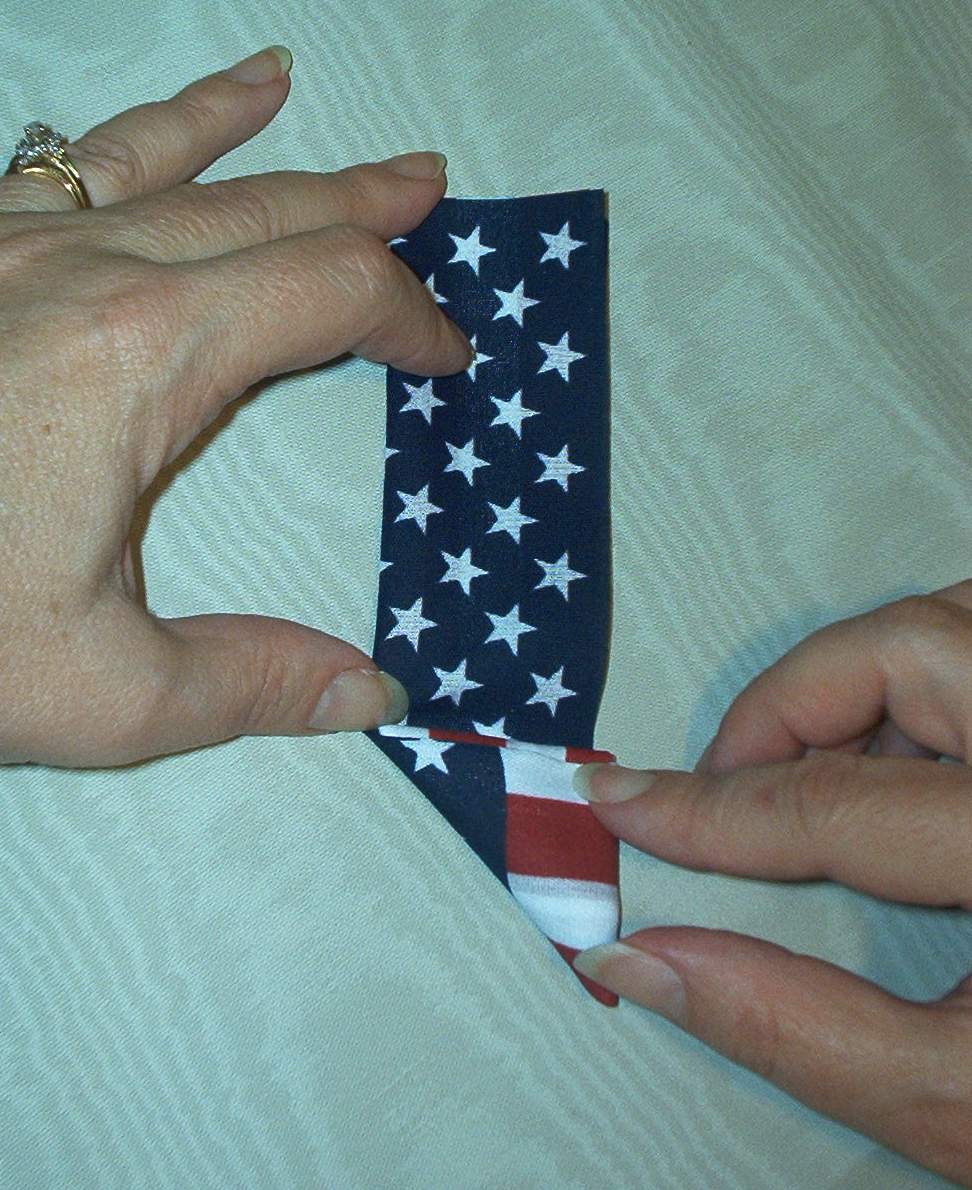
Fold the lengthwise cut edges together then bring them back to the first fold. Keep the stars on the outside of the flag when making the second lengthwise fold.
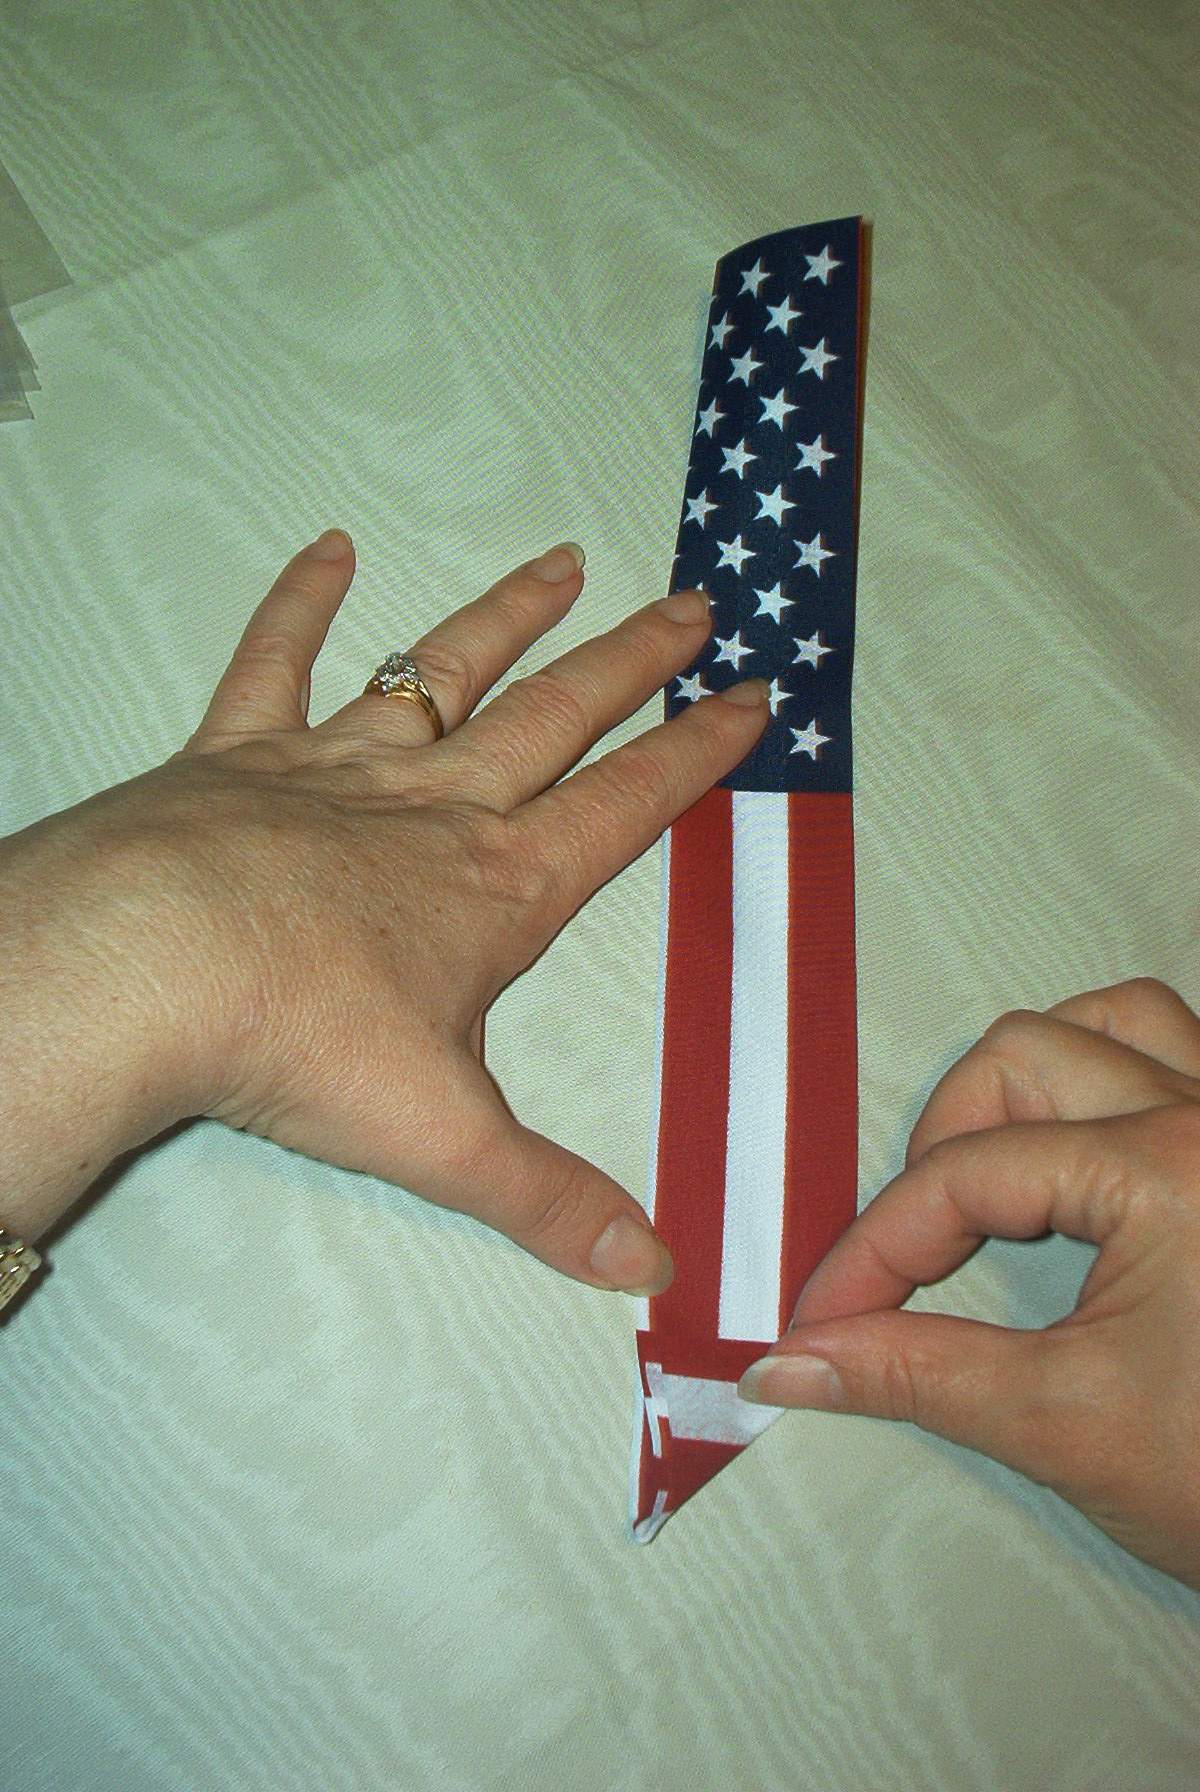
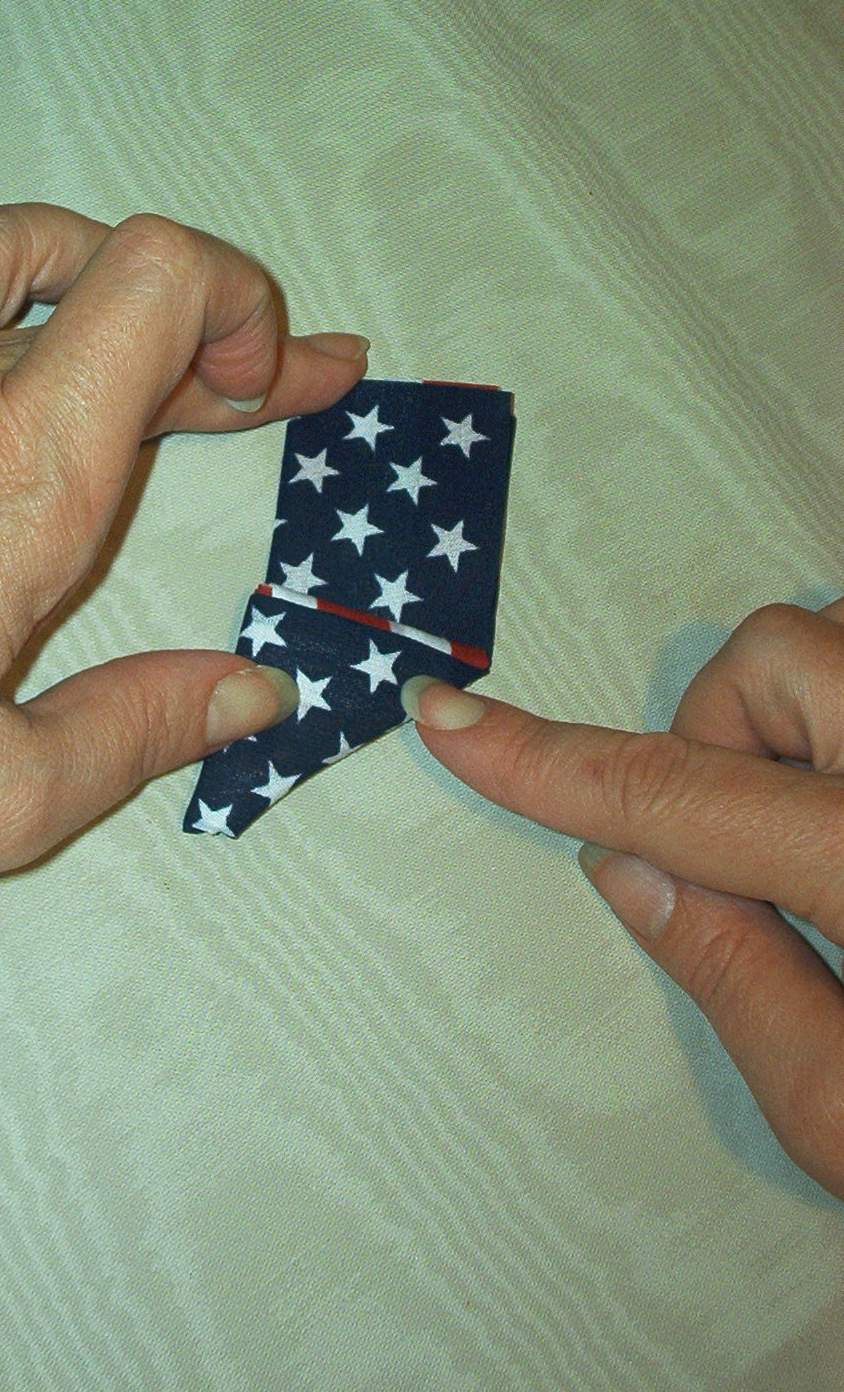
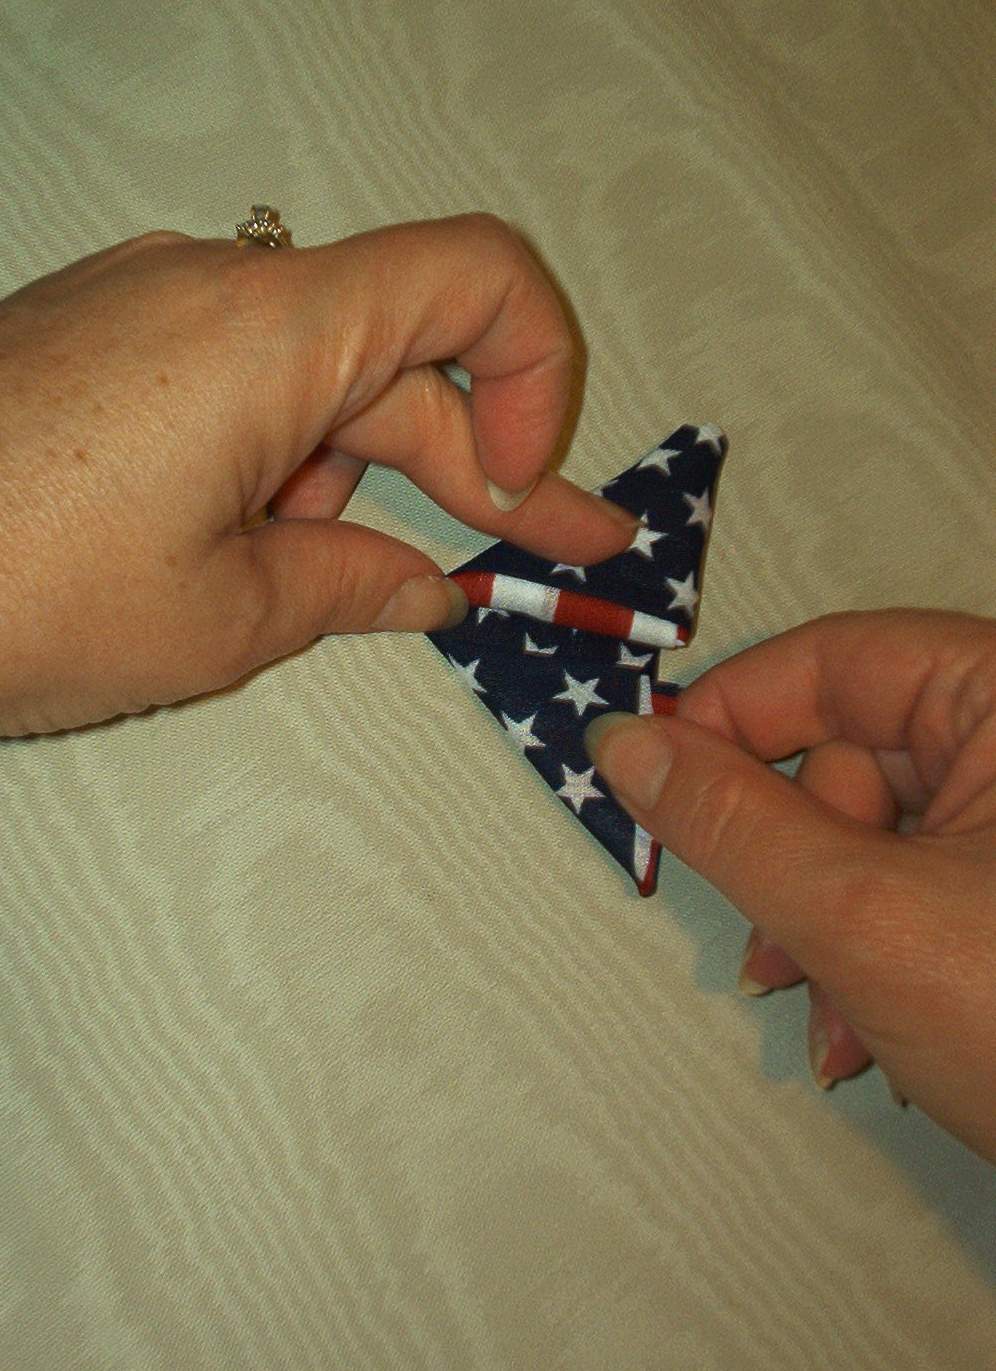
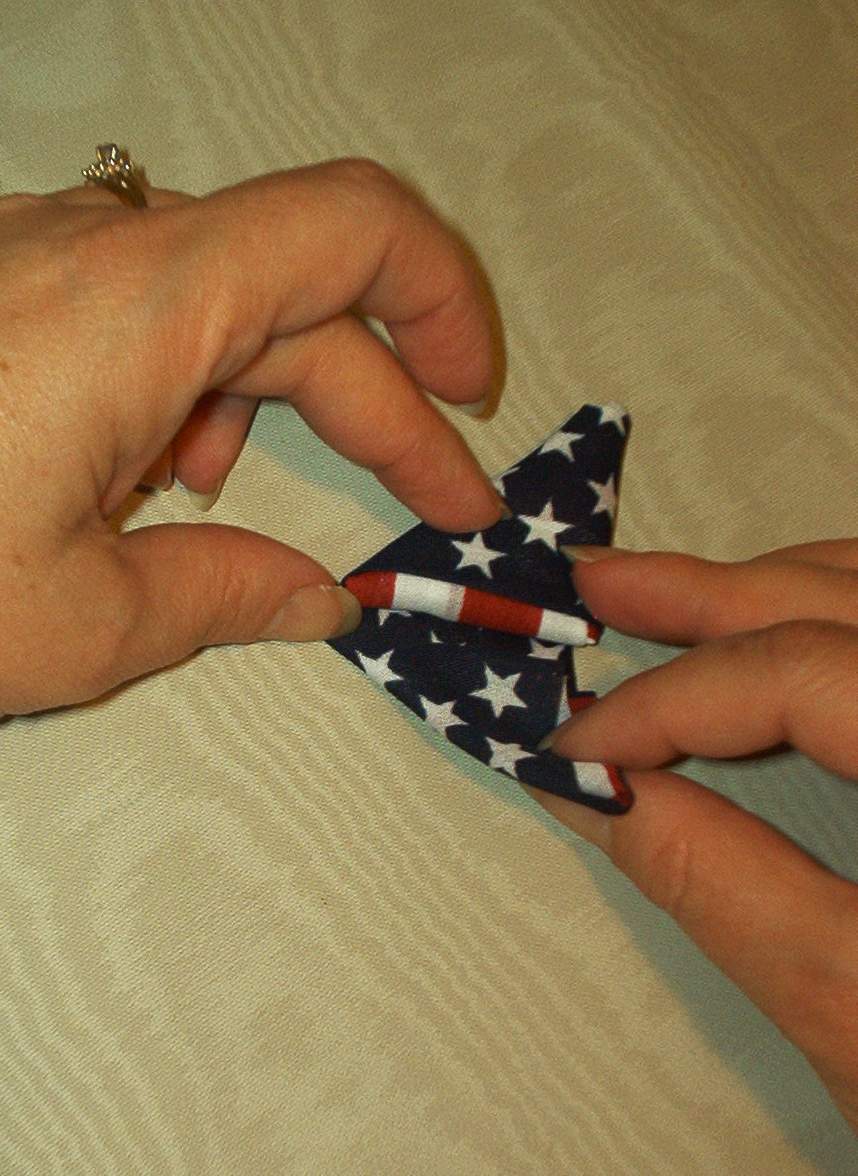
Keep the cut edges on top as you fold into the triangle.
Have someone else hold the "stars" end of the flag as you start the triangular folds. If working alone, use a clipboard or a weight to hold the other end for you.
Fold in the traditional manner for folding the US Flag.
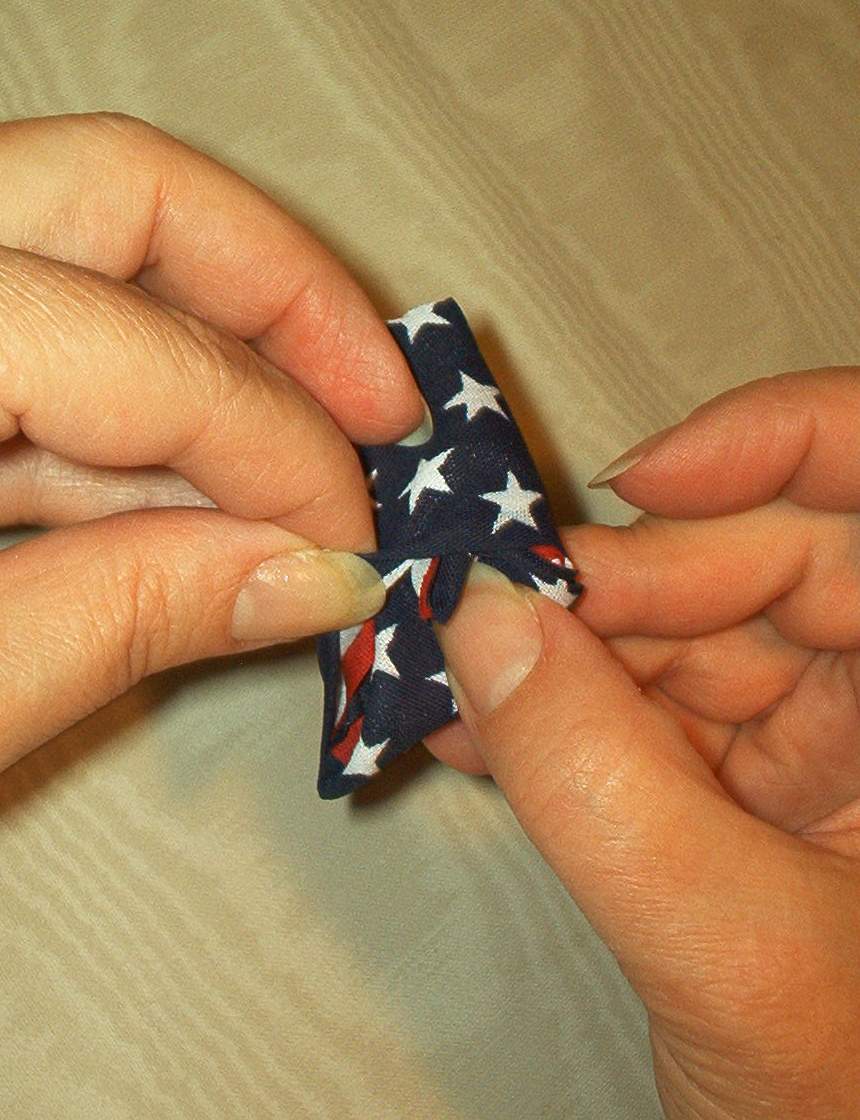
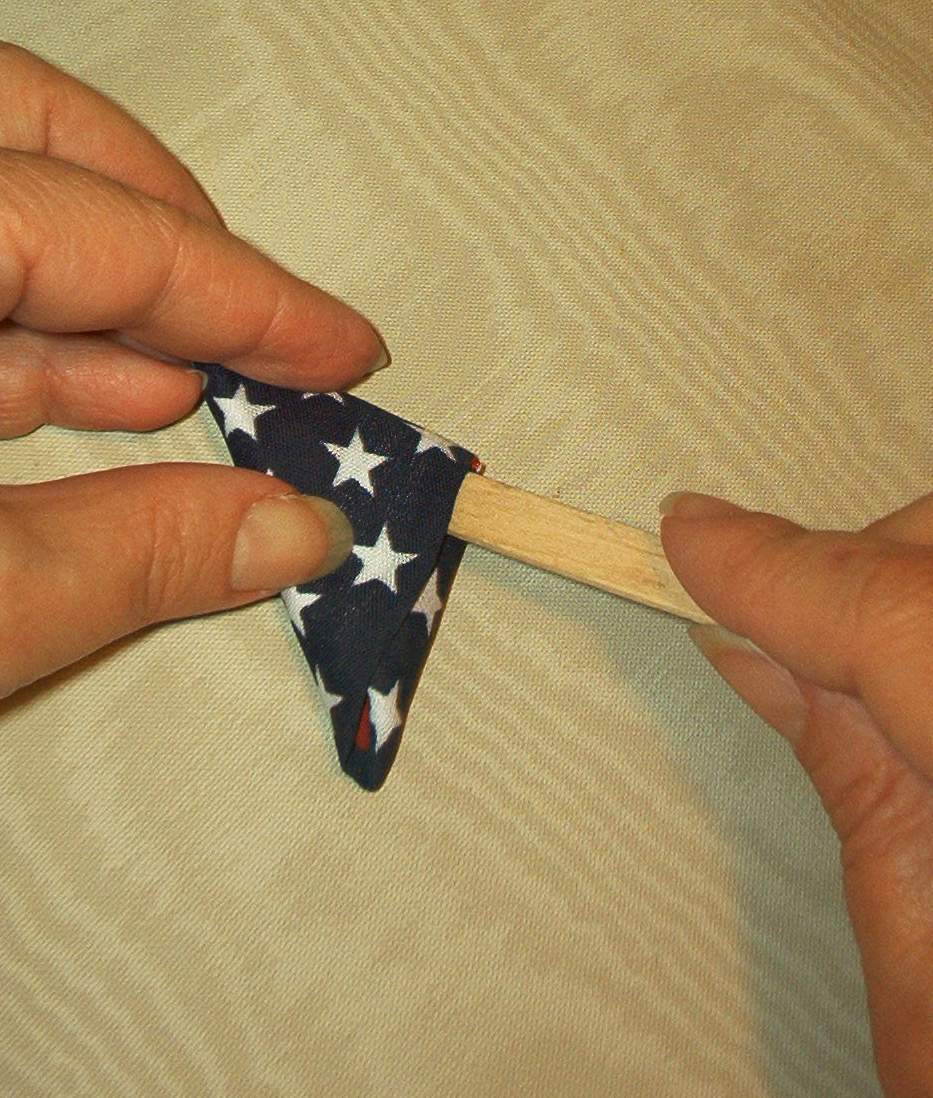
When you get to the end and need to tuck in the last of the flag, rotate it one half turn and start to tuck end in.
It helps to fold one corner at an angle matching the angle where you will tuck it in.
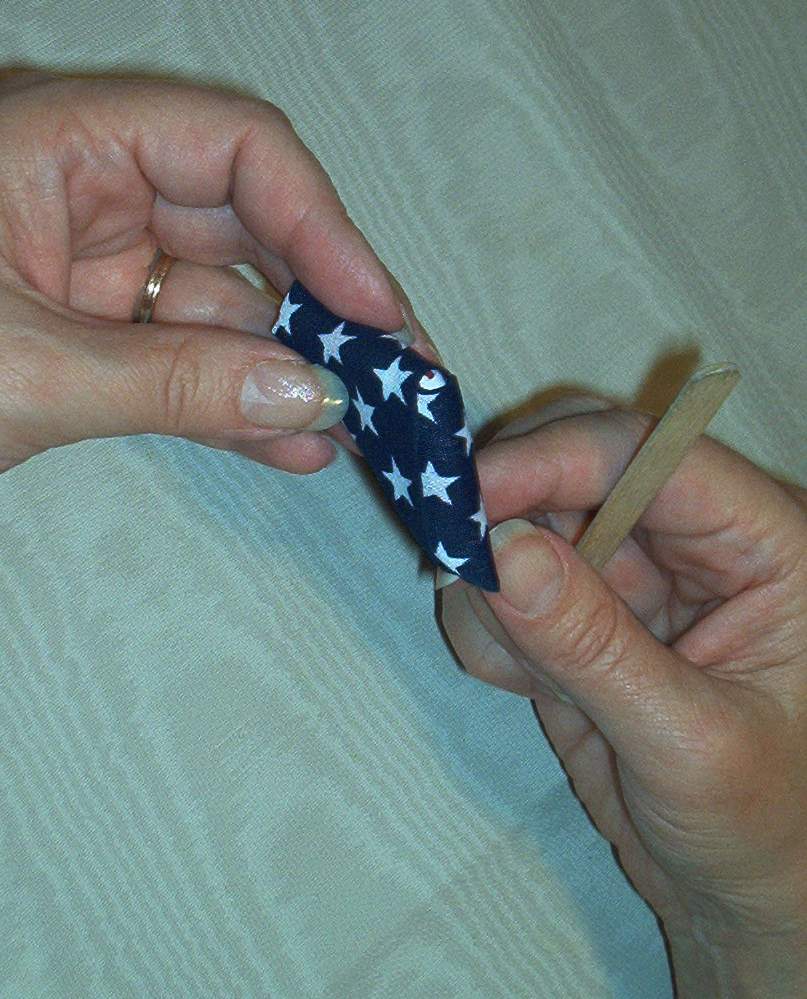
Use a popsicle stick, craft stick, spoon handle or similar utensil to help tuck the end in tightly and spread it smoothly.
Be sure that no red shows when the flag is finished.
Practice helps you to figure out your own tips and techniques.
PLEASE SHARE ANY TIPS YOU FIND AS YOU WORK ON THIS PROJECT WITH US AND WE WILL POST THEM TO HELP OTHERS.
If you see that the end to tuck in is too long, start and refold but extend the cut edge beyond the fold at first fold of triangle. This extra will be folded into triangle folds.